Whether you’re a beginner or you want to fill some knowledge gaps, this article gives insight into the Zortrax 3D printing technology. Zortrax Knowledge Base summarizes all the information useful while printing with Zortrax devices. It is a compilation of basic questions and terms as well as all the do’s and don’ts of using our printers.
Useful Terms
Here’s a short overview of technical terms which are most commonly used in the whole Zortrax experience. If you’re new to 3D printing technology, the list below organizes and helps to understand all the necessary terms.
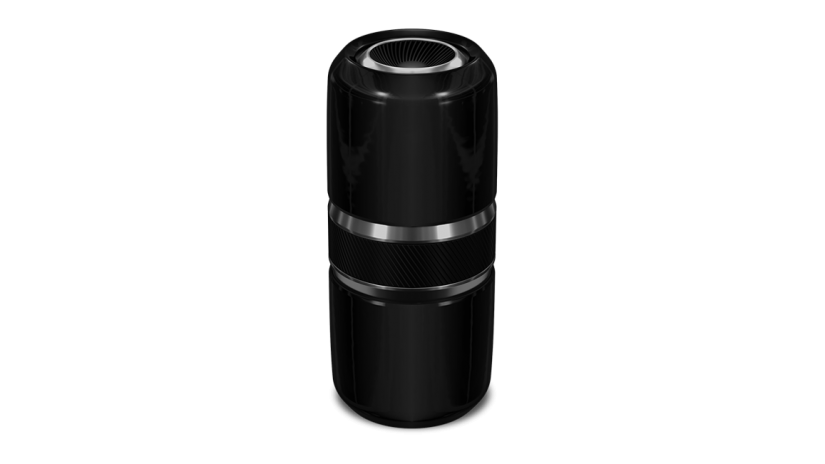
 EXTRUDER
the mechanism which ensures material feeding, heating and extruding as well as cooling of the print. Its main components include the hotend and the nozzle. The material is loaded and melted in the hotend, and then pushed through it until it exits the nozzle. The melted thermoplastic is deposited layer by layer to form a previously designed shape. Additionally, there are two fans on the extruder which cool the whole mechanism and the print.
 FIRMWARE
the software programmed into the Zortrax printers which controls and monitors all the data in the device. It also gives the possibility to enable/disable the printer’s options. Whenever there is a technical issue, the firmware immediately informs you about it by displaying an error message on the screen. The whole list of firmware error messages along with the possible causes and solutions is available here.
We systematically update our firmware. The latest update is available at here. Simply download the file, upload it on the SD card, insert the card into the slot in the printer and turn on the printer. The firmware will be automatically installed. Remeber to check zortrax.com for updates.
 HOTEND
an essential heating system which consists of an aluminium block and a heater & thermocouple. The hotend is responsible for heating and melting the material as well as for ensuring the proper temperature of the material during the whole printing process.
 LPD (LAYER PLASTIC DEPOSITION) / FFF
a technology in which a melted material is deposited on a surface. This technique involves applying one layer of material after another in order to accurately form a computer-designed shape. This technology is used by Zortrax devices – the printer starts to print from the bottom and builds the object until it is fully formed. The model and the support structures are created using the same material.
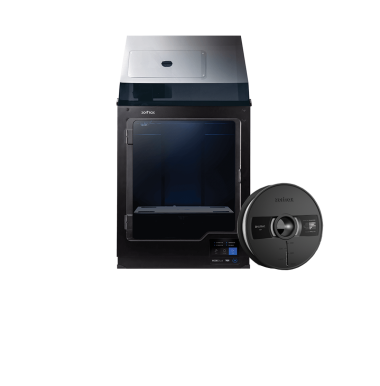
 M SERIES PRINTER
printer model which constitutes one part of the whole 3D printing environment, that is a 3D printer, materials and software. M Series printers use LPD technology – the model and the support structures are printed with the same thermoplastic material and the same hotend. The print is applied onto the heated perforated plate.
 MATERIALS
specially dedicated Zortrax printing materials which maximize the benefits of 3D printing. These thermoplastic materials are in the form of filaments wound on spools. Zortrax offers a wide choice of materials, which are available at: zortrax.com. Each material has different properties, and can easily be adapted to a wide range of needs and applications. Moreover, most of the materials can be mechanically and chemically post-processed.
 MODEL LIBRARY
the collection of ready-made models available within Z-SUITE. All models are divided into categories, for instance art. & design, education or robotics. You can find many useful and attractive models there that have been uploaded by users of Zortrax printers. Moreover, there is also one category called Zortrax Parts, in which you can find models of parts that are useful when printing with Zortrax printers, for example spool holders or extruder top covers.
 NOZZLE
the final element of the extruder. It is used to direct the material throughout the entire printing process.
 PLATFORM
an integral part of the 3D printer, on which the model is created. It consists of two parts: the heatbed and the perforated plate. The heatbed provides proper platform heating, whereas the perforated plate increases adhesion of the model to the platform surface. The platform can easily be removed from the printer or put back in place.
 PLATFORM CALIBRATION
a procedure which lowers the risk of issues that may occur during the printing process. It involves checking the distance between the nozzle and five points on the platform, and tightening/loosening the calibration screws.
 POST-PROCESSING
all procedures of mechnical and chemical treatments that improve the final look of the model. Post-processing techniques include: polishing, sanding, smoothing, painting, or gluing two or more parts together.
 RAFT
RAFT
the first few layers of material, which begin the whole printing process. These layers are always printed on the platform before the main object and have a larger area than the object. Once the printing process is done, the RAFT needs to be removed from the platform together with the rest of the model. The RAFT enhances the adhesion of the whole print to the platform and reduces the risk of warping.
 SIDE COVERS
plastic panels that can be easily attached to the casing of the printer. Side covers provide protection from drafts and temperature differences that can occur in the printing room. Constant temperature inside the printing chamber is important for avoiding cracks and warping. The side covers protect the model during the printing process and help it to adhere better to the platform.
 STARTER KIT
several pieces of equipment that are put together in one set. Apart from the perforated plate, the set contains tools and protective materials and elements. The Starter Kit is what you need to make your maintenance and repair work of M Series printer easier and more efficient. Each printer is delivered with equipment including, for example, a set of nozzle keys or safety gloves.
 SUPPORT STRUCTURES
if your model has any overhanging or protruding parts, they have to be supported with special structures so that they don’t fall down. Without these structures, the model may lose its predesigned shape. The support is printed with the same material as the model. Once the printing is done, it is necessary to remove the support carefully by hand or using pliers.
 ZCODE
ZCODE
the type of file which contains a model prepared for 3D printing with previously selected print settings (such as layer thickness, infill type, etc.). All print settings can be managed in Z-SUITE before generating the .zcode. The .zcode format can only be created by saving an .stl / .dxf / .obj / .3mf file in Z-SUITE.
 Z-SUITE
the application created specifically for Zortrax devices. Z-SUITE prepares a model for 3D printing by generating a project and saving it in the .zcode format. Z-SUITE allows to change and adjust the print settings, such as the size of the model, layer thickness, a type of infill or how many support structures will be generated. Once the .zcode file is generated, the print settings cannot be changed. The last step is to save the .zcode onto an SD card and then the model is ready to be printed. All Z-SUITE functions have been collected in manuals available at: Z-SUITE 1 and Z-SUITE 2. Remember to update Z-SUITE regularly – all updates are available here.
General Questions
How does printing with Zortrax devices work?
Everything begins with preparing a model. The work on the model can be started in any program which creates 3D models and generates .stl, .obj, .3mf or .dxf files. These are the standard file formats supported by most 3D modeling software – the model is saved as a set of three-dimensional triangles (triangle mesh).
The next step is to open the .stl file (or other) in Z-SUITE – the program created specifically for Zortrax devices. Z-SUITE prepares the model by slicing it into individual layers and saving it as a .zcode file. Each layer represents the movement pattern of the extruder and the platform while building the whole object. Z-SUITE also allows you to choose the material type to be used for the model and to adjust the necessary print settings, such as the size of the model, layer thickness, the type of infill or how many support structures should be generated. The file is then ready to be printed.
Also, it is possible to use ready-made models from the Zortrax Model Library available within Z-SUITE. The Library offers a collection of models that have been uploaded by users of Zortrax printers. The collection is divided into many categories, such as art&design, education, or robotics. There is also one category called Zortrax Parts, in which you can find models of parts that are useful when using Zortrax printers, for example spool holders or extruder top covers.
Once your model is prepared, save the .zcode onto the hard drive and then on an SD card. In order to transfer the model, insert the SD card into the card reader at the front of the printer.
Next, prepare the material which corresponds with the one you have chosen in Z-SUITE. The full material offer is available at: zortrax.com.
To start the printing process, turn on the printer, place the spool with material on the spool holder at the back of the printer, and load the material with the options from the menu. Open the Models menu and turn the knob to select the model to be printed. Push the knob to begin the printing process.
How does the Support Center work?
Support Center is a part of zortrax.com website. It is a platform where you can find various manuals and tips&tricks articles. If you have a technical problem, just browse through the categories of: Repair it yourself or Printing/material issues to find the appropriate instructions. There are also guidelines and maintenance work tips that you should follow while keeping your printer in good condition. You can also use tags to search for solutions for hardware and software issues.
If you cannot find the solution to your problem, or need more help while repairing your device, fill out the support form available within the Support Center. Once you report the issue in detail, our specialists will diagnose the problem and provide you with the best solution. Our team will be able to make the diagnosis faster once you attach a photo or a short video showing the problem with your printer. With a detailed description of the issue and a photo/video, the feedback will be more precise – it always includes suggested solutions and, if it is covered by the warranty, you will receive the part that needs to be replaced.
What software is necessary to print with Zortrax devices?
The only program that you need to print with Zortrax devices is Z-SUITE. You can download it here. In order to download Z-SUITE, you need to enter the serial number of your device.
What electronic equipment do I need to print with a Zortrax printer?
All you need to have is a computer with Windows (or Mac OS X), and an SD card.
What are the technical specifications of Zortrax M Series printers?
All technical specifications are available here.
How much time is needed to print a model?
It all depends on several factors. First of all, the size and shape of the model strongly influence the time of a particular print job. Secondly, the printing time can be extended or shortened by changing the print settings in Z-SUITE, for example, smaller layer thickness or maximum infill will surely make the printing process longer. All print parameters are entirely controlled by the user in Z-SUITE.
Is it possible to print more than one model at the same time?
Yes, it is possible to print more than one model at one go. Simply add several models to the workspace in Z-SUITE and arrange them with an appropriate distance between them.
What are the best conditions for 3D printing?
First of all, place the printer on a flat and stable surface. Always provide adequate conditions: avoid drafts and ensure appropriate temperature (between 21 and 28 ⁰C / 70 – 82 ⁰F) in the print room.
What materials can be used with Zortrax devices?
Zortrax offers a wide range of specially dedicated materials, which are available at: here. In order to obtain the best quality of models, we advise you to print with Zortrax certified materials, however, it is possible to print with third-party materials.
Where can I find the TDSs and SDSs for Zortrax materials?
Here you can find all the necessary information on Zortrax materials. Just click on the material of your choice to learn more about it. You can also download Technical Data Sheets and Safety Data Sheets for each material available in our offer.
How much maintenance work is required while using Zortrax printers?
Maintenance work should be regular in order to keep the printer in good condition and achieve high quality prints every time. Some parts require maintenance before each print and some every few hundred working hours. All maintenance activities do not take much time and are not complicated. Each printer is delivered with a full set of tools needed to carry out maintenance work. While working with Zortrax M Series printers, follow the rules included in maintenance guides for each model: M200 and M300.
M Series Manuals
Zortrax manuals provide thorough instructions on various matters. All manuals are available at our Support Center. The manuals are divided into several categories. There is also an effective search engine so sometimes typing one word is enough to find a useful manual. Using tags is also helpful while looking for a solution to the problem.
The categories include:


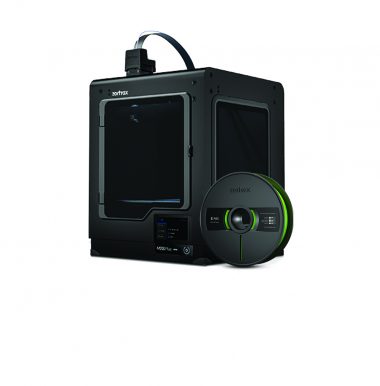
M200 Models
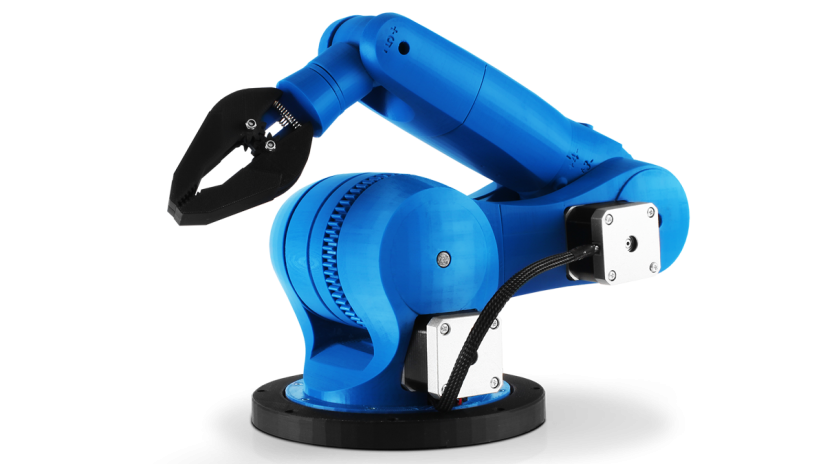
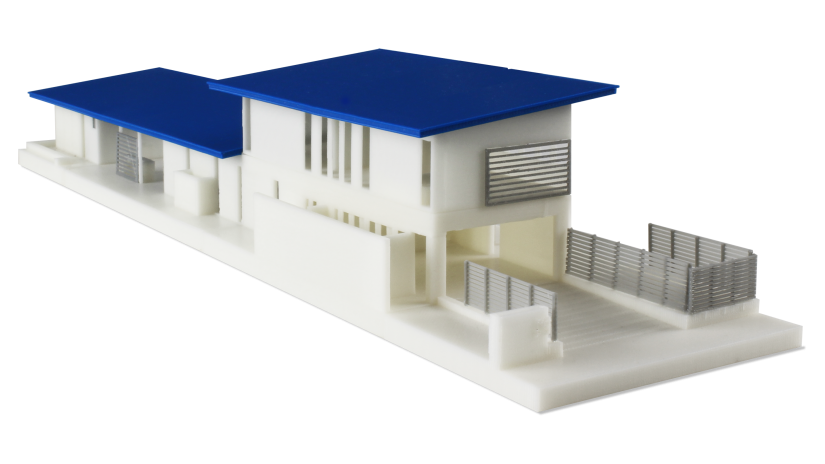
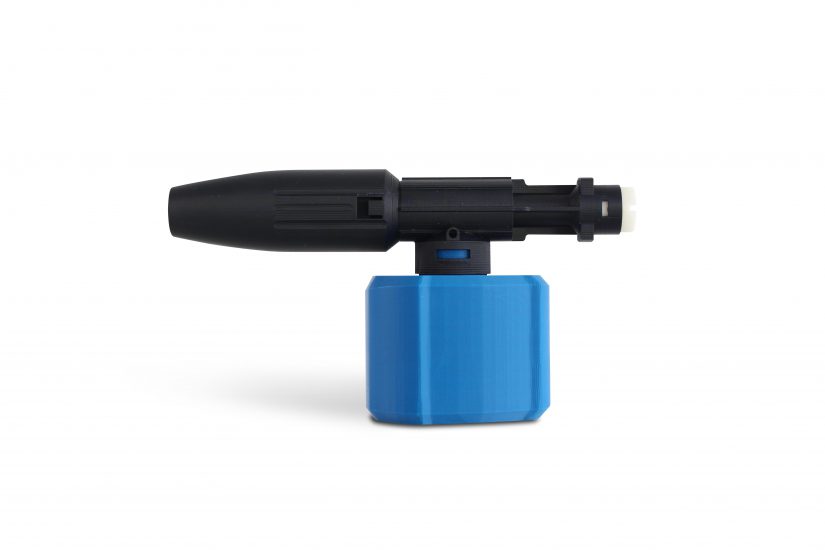
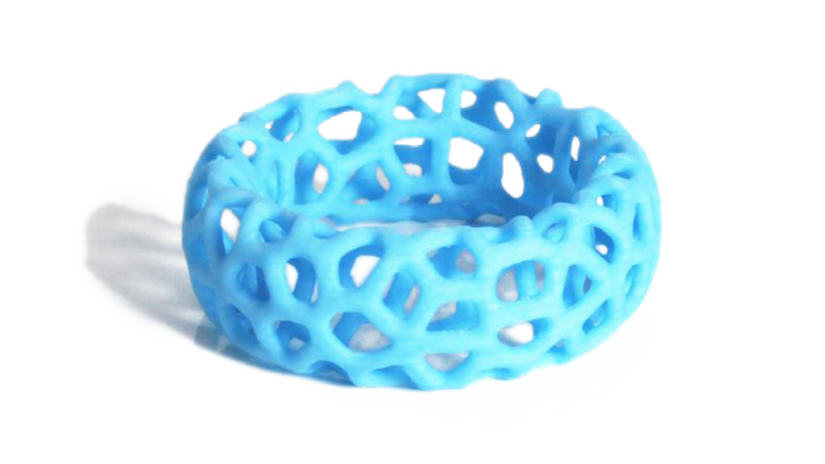
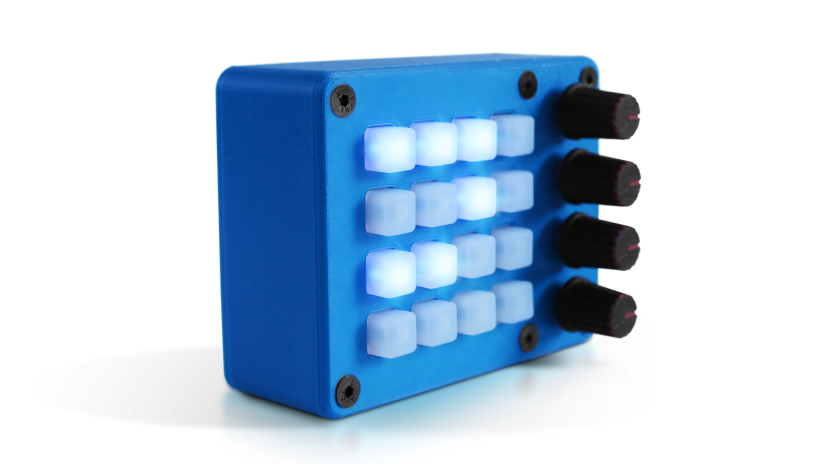
Whether it’s a product to be mass-produced or a gadget to be used at home, 3D printing is a solution for both. With a high-quality project and materials available in various colors, you can print objects with diverse purposes. A wide range of materials with different properties makes it possible to turn your ideas into shapes that can easily be adapted in many industries – from heat-resistant automotive parts, conceptual models and elements that can be exposed to many external factors to decorative objects.
To acquire even better results, you can try some methods of enhancing the final look of the model. You can make your model more attractive-looking by assembling it from several parts, printing it in many colors or applying one of the post-processing procedures. Post-processing methods include: spackling, gluing or painting the print. Not to mention the acetone vaporizing method – for prints made of Z-ABS only. We give you a helping hand at your attempts while printing with the Zortrax M200– feel free to contact us at Support Center in case you have any problems.
A great source of new and inventive models is the Zortrax Library. It is a collection of models uploaded by our company as well as Zortrax users. Visit the Library to get new ideas and inspiration. Our Blog is also updated with news about original ways and methods for creating 3D prints. Sign up for the newsletter.
This gallery shows what types of models are achievable with the M200.
M300 Models
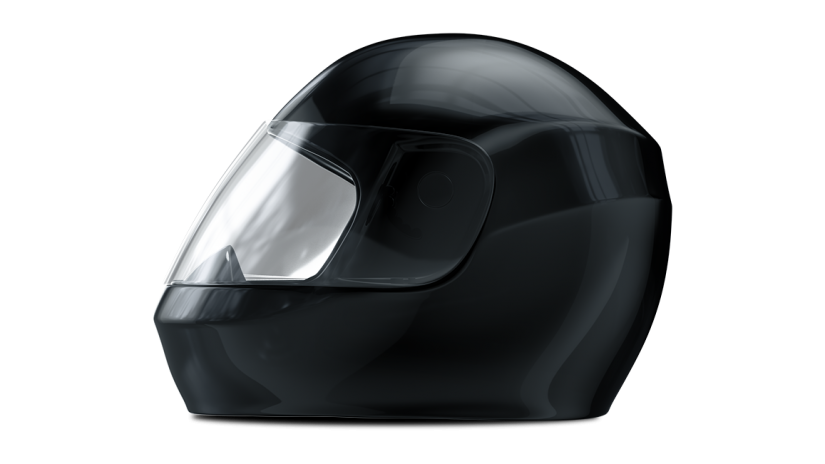
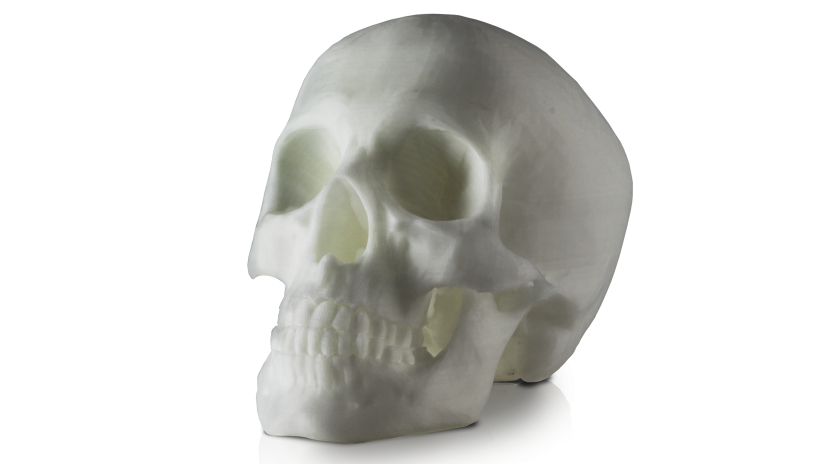
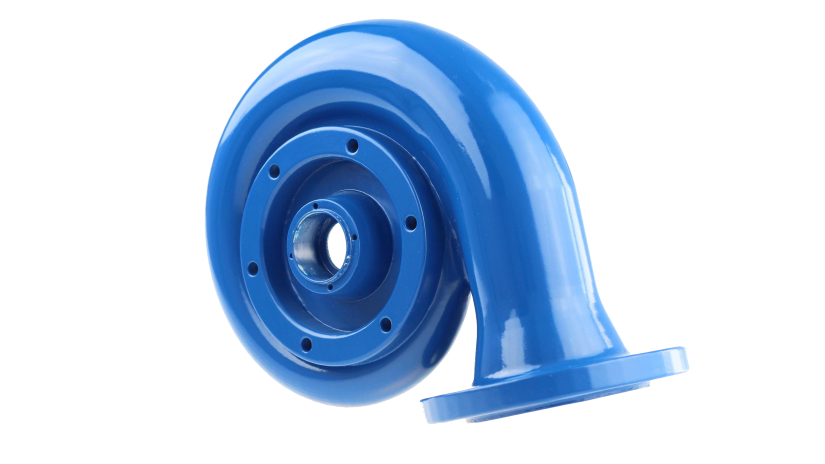
The M300’s workspace gives even more opportunities. You can either print a really big model or several smaller ones which wouldn’t fit in the M200’s workspace all at once. To make something even bigger, split the model into parts in Z-SUITE and put them together in one piece after printing. What’s more, you can enhance the final look of the model and acquire even better results by applying one of the post-processing procedures. Post-processing methods include: spackling, gluing or painting the print. We give you a helping hand at your attempts while printing with the Zortrax M300– feel free to contact us at Support Center in case you have any problems.
This gallery shows what types of models are achievable with the M300.
General Notices
Always read Zortrax data and information sheets. They are always a source of basic information and safety procedures for the equipment you bought. It is extremely important to update the firmware in Zortrax printers so as to avoid any kind of failures. Visit our website regularly to see the latest news and updates.
Zortrax machines operate at high temperatures so never touch the heated up components – especially the hotend, the nozzle or the platform – with bare hands. Once the print job is done, wait about 30 minutes for the components to cool down before reaching into the printer. Always remember to wear safety gloves.
Also, the M Series printers have movable components, so never reach into the printer when it is running or about to start running. Do not attempt to slow/stop the extruder or any elements of the entire drive system during the print job.
Check the printer from time to time for proper functioning during the print job. To avoid potential accidents or breakdowns, do not leave the machine unattended for too long during the print. Turn off the machine once the print job is finished.
Do not attempt to remove the print from the platform if the print job has not been finished. Always wait for the printer to cool down and wear safety gloves and goggles.
Be careful while using any sharp objects from the Starter Kit box. Do not forget to wear safety gloves and goggles.
Monitor your device for wear and tear regularly. Contact our Support Center for assistance with replacing worn or broken parts.
Before commencing any repair, maintenance or cleaning work, turn off the printer and disconnect the power cable.
Device modifications and repairs should be completed according to the manuals available in our Support Center or advice given by the service technicians. Changing any parameters of the 3D printer may cause malfunction and warranty loss. If you are unfamiliar with a particular repair work, seek assistance from our technicians at our Support Center.
Keep the printer away from heat sources, fire, flammable materials, humidity as well as from water and other liquids. Place the machine away from any equipment emitting radiation. To prevent any inadvertent use, keep the device out of reach of children and animals. It is forbidden to shake or drop the printer as it may cause breakdowns. The equipment is not intended for use in a potentially explosive environment.
Zortrax Warranty Terms
This section is a summary of warranties provided for Zortrax products. Zortrax guarantees that the printers: will perform properly according to the products’ specifications and are free from factory defects in material and workmanship. Any repairs or exchanges of the product are possible for a certain period of time after its purchase.
If the product you bought does not function as originally intended, the service is handled by the manufacturer or authorized Resellers/Distributors.
The warranty is valid for:
– 12 months if you are a corporate client,
– 24 months if you are an individual customer.
The warranty period generally starts on the date of purchase by the original buyer (typically a Reseller).
If the printer fails to perform the functions indicated in the manuals or technical specifications, the Manufacturer or authorized Reseller/distributor will repair the machine or replace the defective parts (or the printer itself) with new or refurbished parts that are equivalent to the original ones. However, the warranty does not cover all consumable parts delivered with the equipment, so natural wear and tear of cables, perforated plate, nozzle, etc. is excluded from the warranty.
Most importantly, the warranty does not cover:
a) failures resulting from incorrect installation or other activities inconsistent with the manuals or technical specifications,
b) damage caused by misuse and abuse of the devices,
c) defects that occur after improper cleaning or maintenance.
Also, willful reconfigurations and constructional modifications will definitely void your warranty.
In order to retain your warranty entitlement, you should read the user’s manual before using the device for the first time. Always use the machine according to the manuals. Once the print job is done, unplug the power cable. There are some electrical components in the printer that should not be connected to the power supply for a long time.
Keep the original packaging handy in case the printer needs servicing. Zortrax packaging provides the best protection during the shipment. Information on how to pack your 3D printer is available at: M200 and M300
The Warranty Card for products bought within the EU is available for download here.
Due to the Z-SUITE 1.10 update, the Warranty has been updated on 24/04/2017 and the following notes: “Do not use other materials for print than the dedicated ones. Application of other materials can cause failure of the device’s elements and invalidate the warranty” and “Damage made to the Products caused by using materials other than those dedicated to the device and recommended by ZORTRAX shall not be covered by the Warranty.” have been removed.
As far as non-EU countries are concerned, we provide a warranty only for hidden defects. If you are a client from outside the EU and you bought equipment directly from Zortrax, you should report a defect to us – using the Support Form available here – as soon as you receive the printer or as soon as it comes to your attention (150 hours for the M200 and 300 hours for the M300).