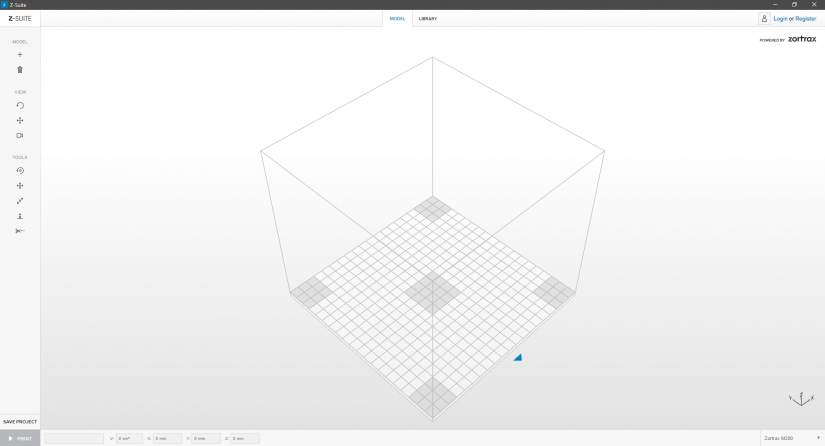
This manual shows how to use the Z-SUITE software correctly. The following topics describe step by step all options of our software. The hardware requirements for Z-SUITE are listed below.
| Minimum hardware requirements: | |
|---|---|
| Central Processing Unit | Intel / AMD (1,5+ GHz) |
| Graphics Processing Unit | Intel HD 4000 / AMD APU A4 |
| RAM Memory | 4GB |
| Operating System | Windows (7/8/8.1/10) / macOS |
| Recommended hardware requirements: | |
| Central Processing Unit | Intel i3-i7 or equivalent AMD (2,5+ GHz) |
| Graphics Processing Unit | GeForce GT 610+ / AMD R7 series+ |
| RAM Memory | 8GB+ |
| Operating System | Windows (7/8.1/10) / macOS |
| Supported File Formats* | |
| .STL, .OBJ, .3MF**, .DXF** |
*In the case of computers that do not comply with the hardware requirements, problems can occur when loading models over 100-150MB
**Some models may not be read correctly because of the limits of this file format
Downloading Z-SUITE
Download the latest version of Z-SUITE from the download section at the Support Center Download section. You will need the serial number of your printer to complete the download. To find the serial number, go to “Information” option on the display and choose “Serial Number.” Also remember to update your Firmware to the newest version. The newest version is available at the Support Center in the Download section – to update, extract a zip file. Copy update.bin on your memory card, insert it into the printer, then turn on the printer.

Z-SUITE Keyboard Shortcuts
This section lists keyboard shortcuts which you can use with Z-SUITE to make your work easier and faster:
| ctrl/cmd + ] | select the next printer model |
| ctrl/cmd + [ | select the previous printer model |
| ctrl/cmd + Left arrow | turn the workspace view left by 90° |
| ctrl/cmd + Right arrow | turn the workspace view right by 90° |
| ctrl/cmd + Up arrow | turn the workspace view up by 90° |
| ctrl/cmd + Down arrow | turn the workspace view down by 90° |
| ctrl/cmd + . | select the next model |
| ctrl/cmd + , | select the previous model |
| ctrl/cmd + alt + . | select the next model and focus |
| ctrl/cmd + alt + , | select the previous model and focus |
| ctrl/cmd + shift + . | add the next model to the selected one |
| ctrl/cmd + shift + , | add the previous model to the selected one |
| ctrl/cmd + R | auto arrange |
| ctrl/cmd + T | open the “Rotate” menu |
| alt + T | open the “Move” menu |
| ctrl/cmd + alt + T | open the “Resize” menu |
| ctrl/cmd + / | open the “Split” menu |
| ctrl/cmd + V | rotate the workspace view |
| ctrl/cmd + shift + V | move the workspace view |
| – | zoom out the workspace view |
| + | zoom in the workspace view |
| up arrow | rotate the workspace upward |
| down arrow | rotate the workspace downward |
| left arrow | rotate the workspace view left |
| right arrow | rotate the workspace view right |
| ctrl/cmd + 9 | select the workspace view |
| ctrl/cmd + (1 to 5) | switch the workspace view 1 for ISOMETRIC 2 for FRONT 3 for TOP 4 for LEFT 5 for RIGHT |
| ctrl/cmd + 0 | fit the workspace view to all models |
| ctrl/cmd + alt + 0 | fit the workspace view to the selected model |
| ctrl/cmd + c | copy the model (duplicate) |
| ctrl/cmd + o | open the file |
| ctrl/cmd + a | select all models |
| ctrl/cmd + s | save the project or save the .zcode |
| delete | delete the selected model |
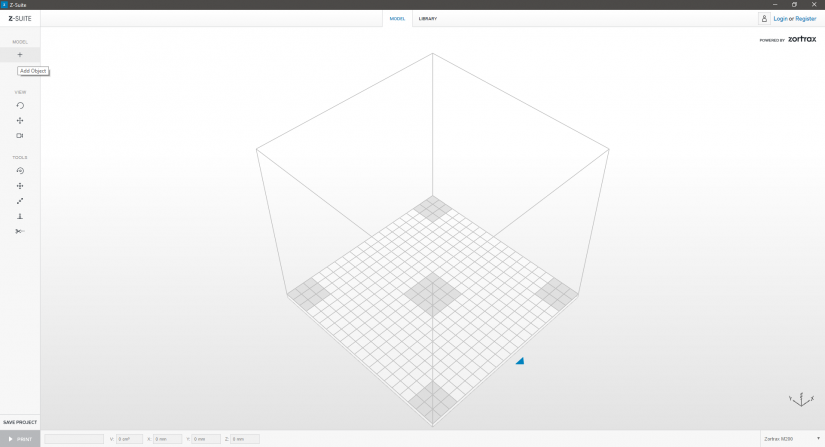
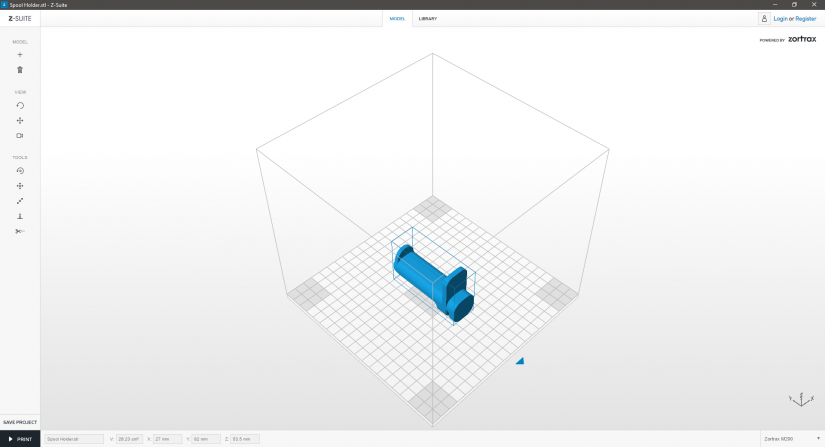
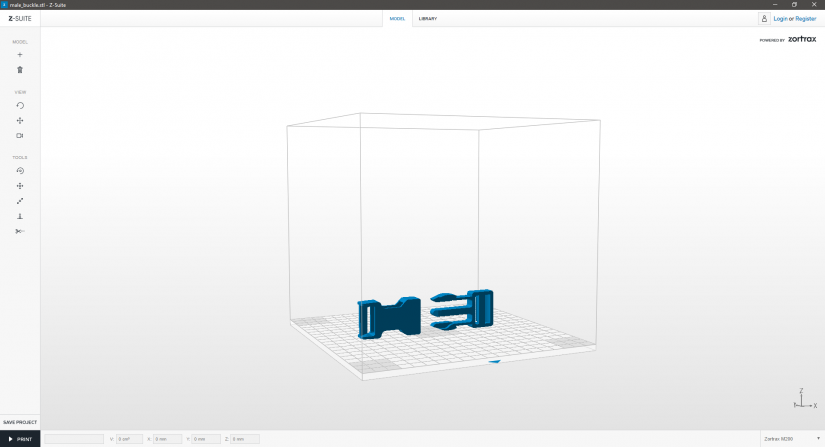
Adding a Model in .stl, .3MF or .obj Format
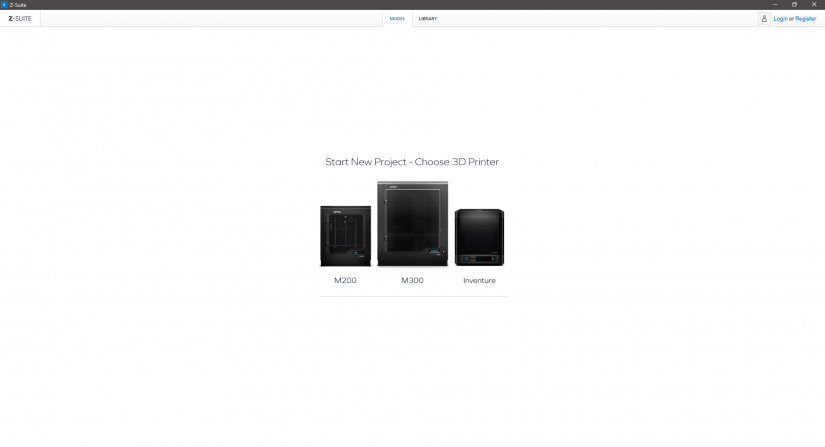


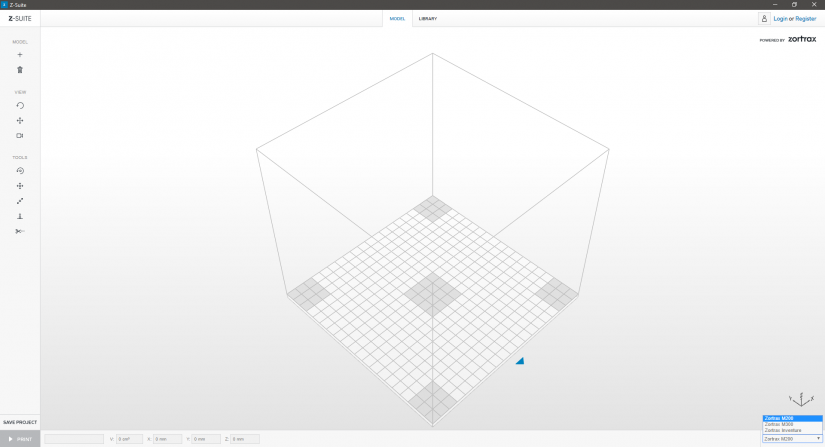
1. On the start screen, select the model of your printer which will be used.
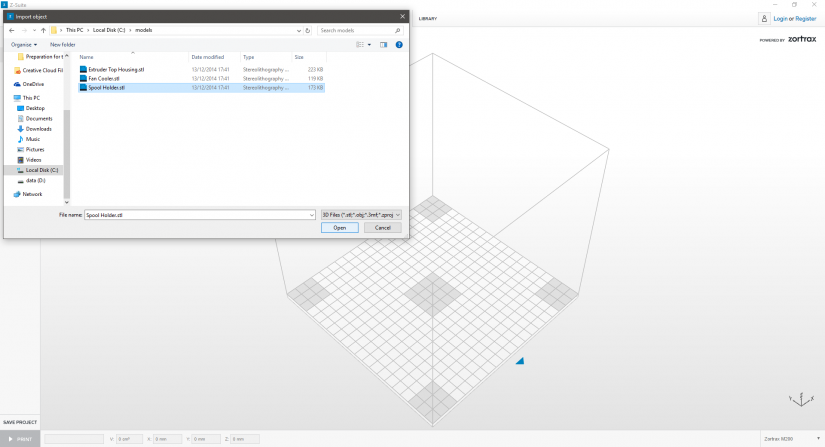
2. Use “+” icon or use drag and drop option to upload a model. You may do so with models saved in an .stl or an .obj format.
3. Select a model and click OPEN.
4. Your model is now within the workspace. To select the model, click the right mouse button. You can save your model at any time by clicking SAVE PROJECT.
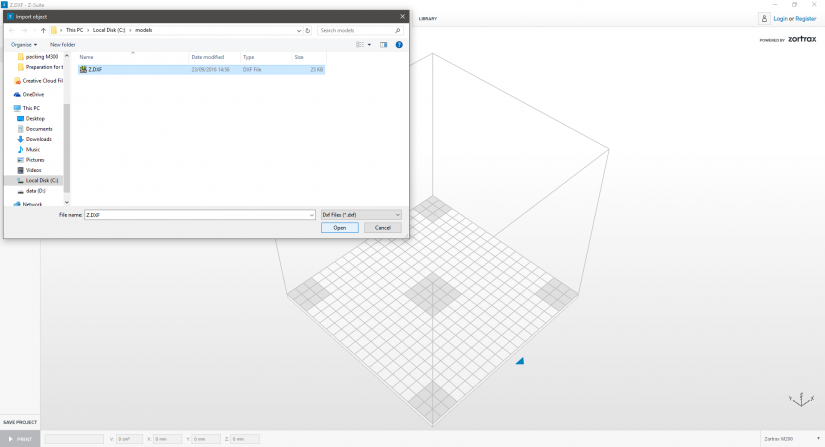
Adding a Model in a .dxf Format

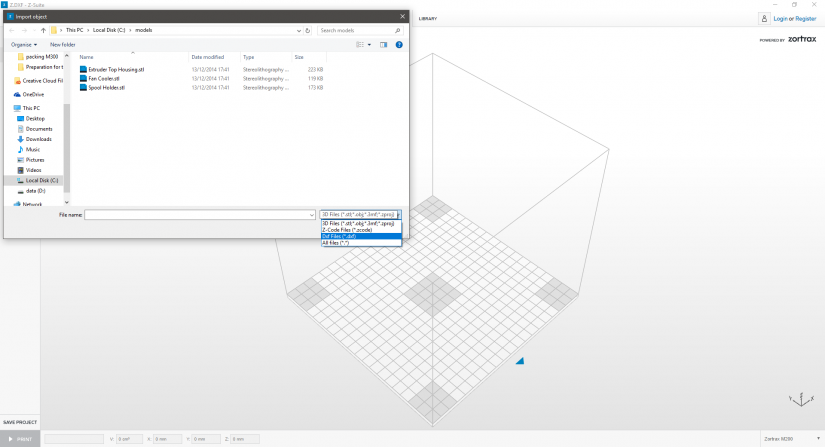
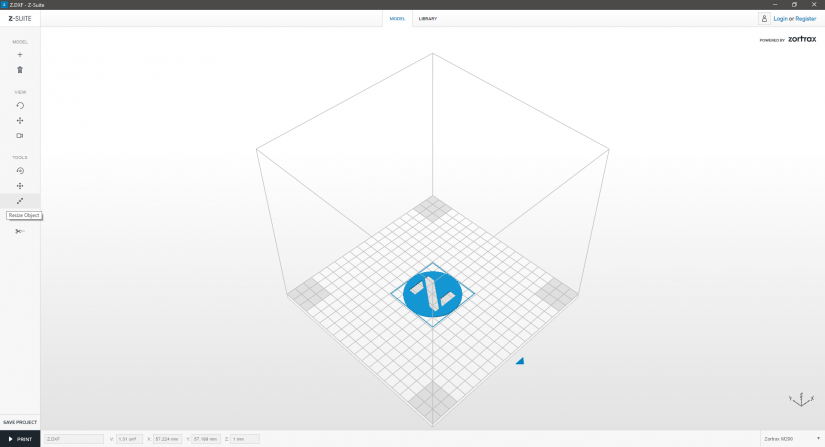
1. On the start screen, select the model of your printer which will be used.
2. Use “+” icon or use drag and drop option to upload a model in .dxf format.
3. From the list select a .dxf file and click OPEN. Make sure that your .dxf model is saved as a polyline of two dimensions – R12 ASCII type. Also, your model should contain closed polylines.
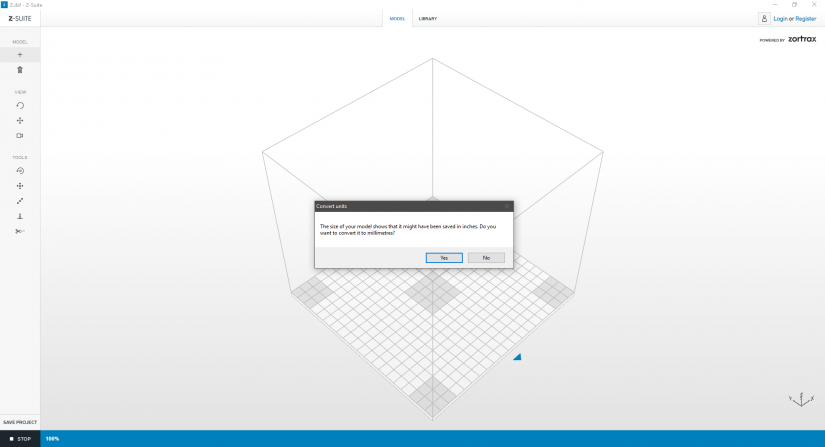
4. While adding the model, Z-SUITE will display a message about converting the units (from inches to millimeters).
5. A .dxf 2D model is automatically converted into a 3D model of 1mm height.
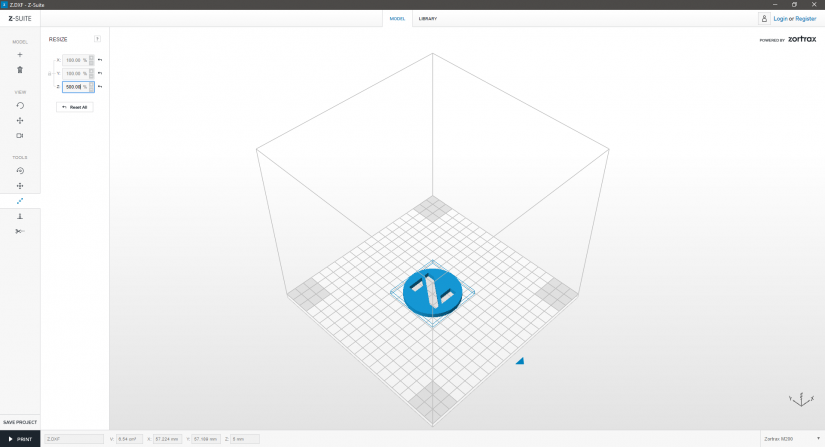
6. If you wish to change the height of your model, click “Resize Object” option. You can enlarge the model along the Z axis. Click a padlock icon to change only one measurement. If your model needs to be 50mm high, change its height 5 times (500%).
Splitting a Model
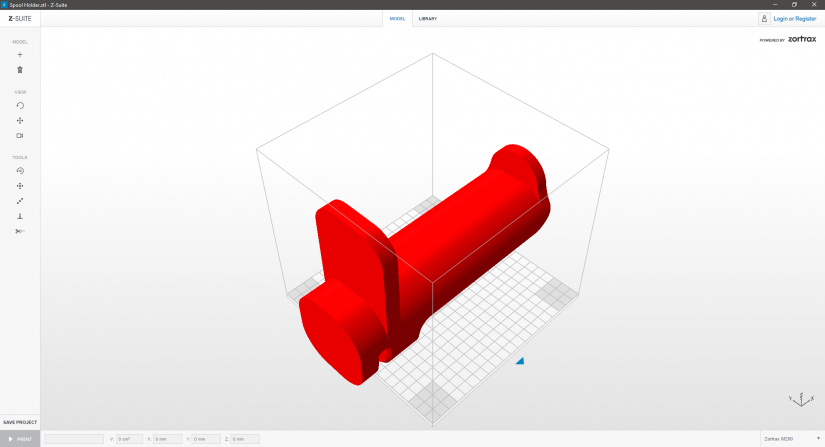
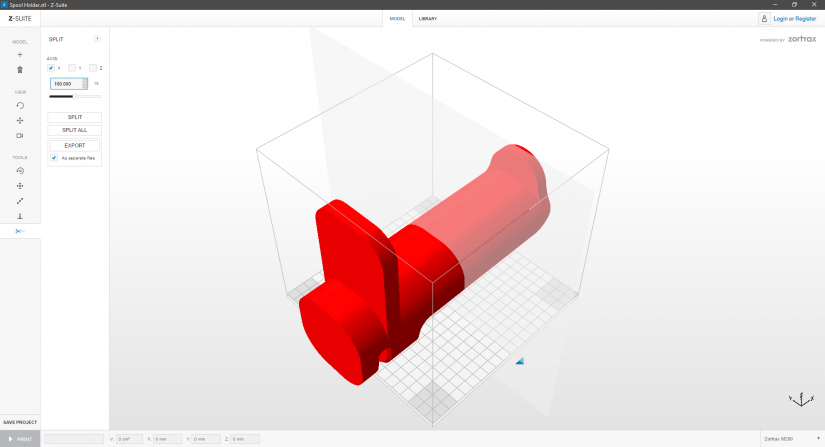
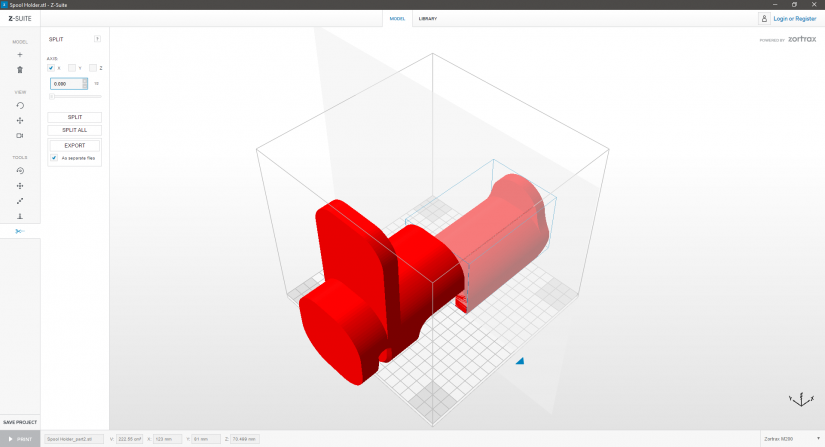
If your model does not fit the workspace, you can split it into smaller parts.
1. Click “Split” icon to split the model.
2. Choose the position of the cutting plane. You can change the parameters manually or adjust the slider and click “Split” or ”Split All.” Each separate part can be saved by clicking “Export”.
3. Delete one part of the model and “Auto arrange” the other part in the workspace to prepare it for printing.
Rotating a Model

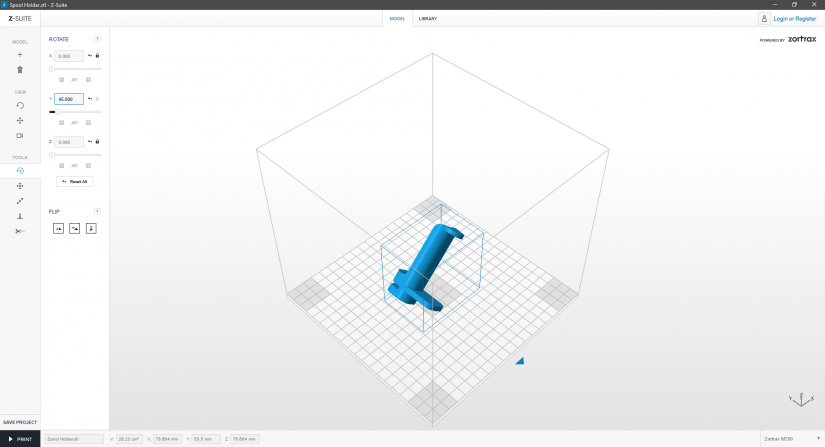
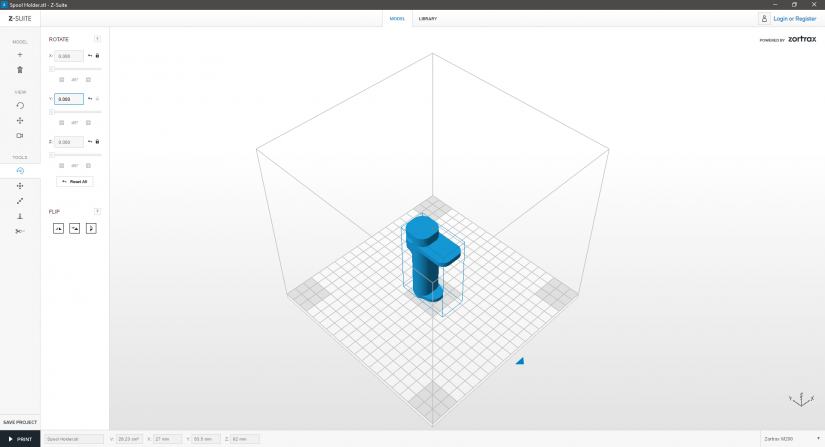
With “Rotate Object” option you can rotate a model in the workspace in three directions. You can rotate the model by adding an angle or clicking and dragging the selected model. Choose one of the three axes: X, Y or Z to decide in which direction you want to rotate the model.
To make it easier for you, there are three mirror flips.
Resizing a Model

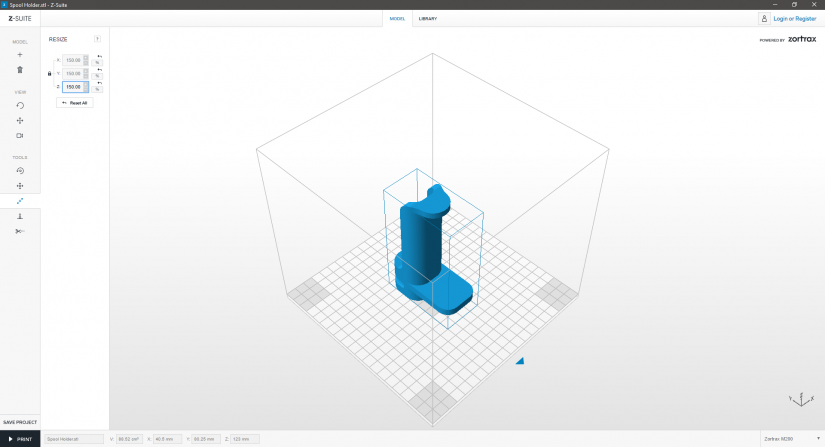
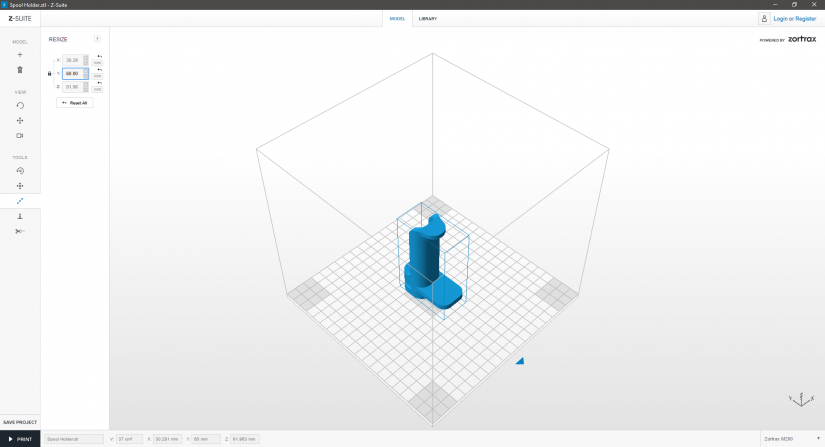
Click “Resize Object” icon to scale the model. You can resize the model by changing the parameters in the table or by using the click and drag option. If you want to enlarge your model in all axes click and secure the padlock icon. With an unsecured padlock you can change the parameters independently of one another.
You can acquire the desired shape of a model by typing the exact value in millimeters. Just click the “%” button to switch to “mm”. This option becomes useful whenever you want to change the height, width or thickness of the model and be sure of the precise measurements.

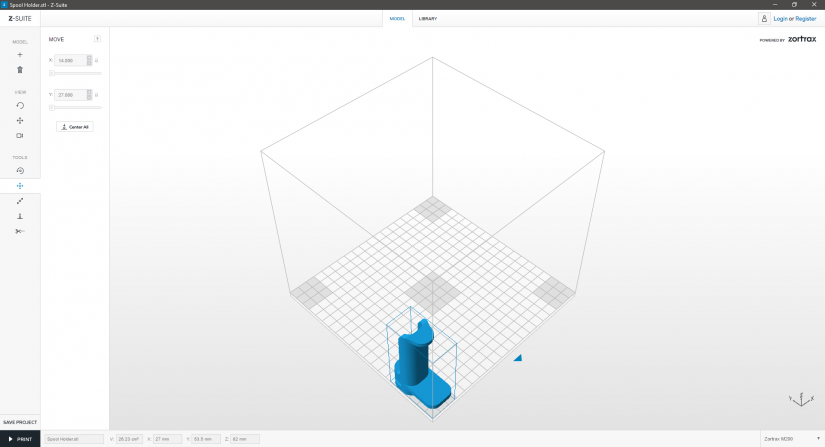


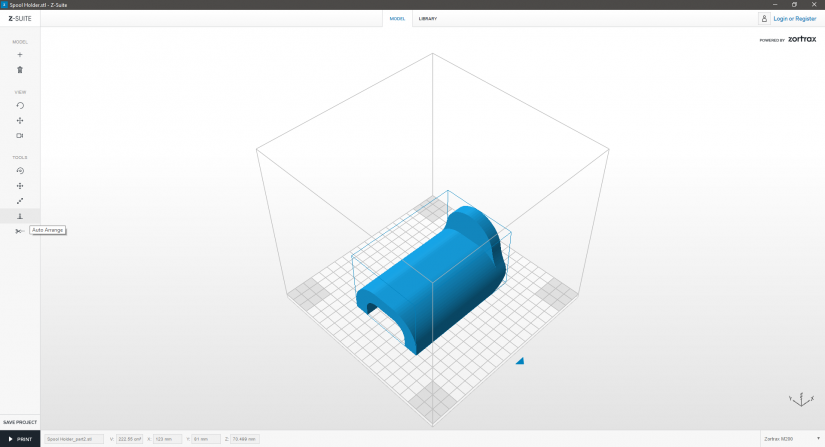
Placing the Models in the Workspace
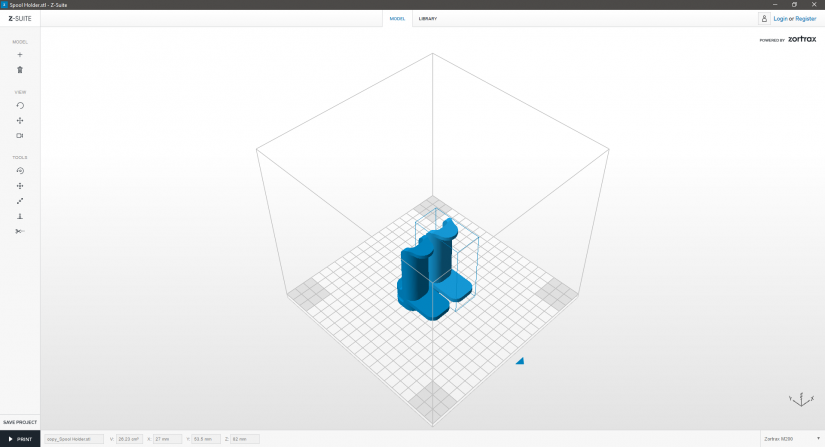
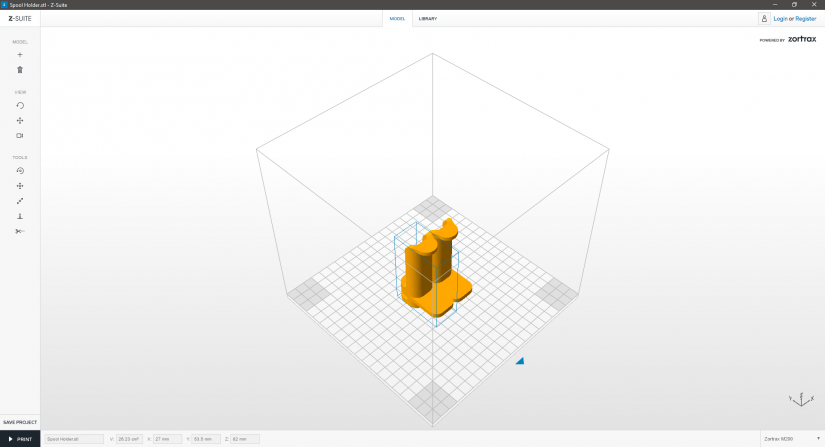
Click on the “Auto arrange” icon in the left menu bar to auto arrange your model in the workspace.
1. If the model turns red, it means that your model is outside the workspace. Resize or move the model to mould it to the workspace.
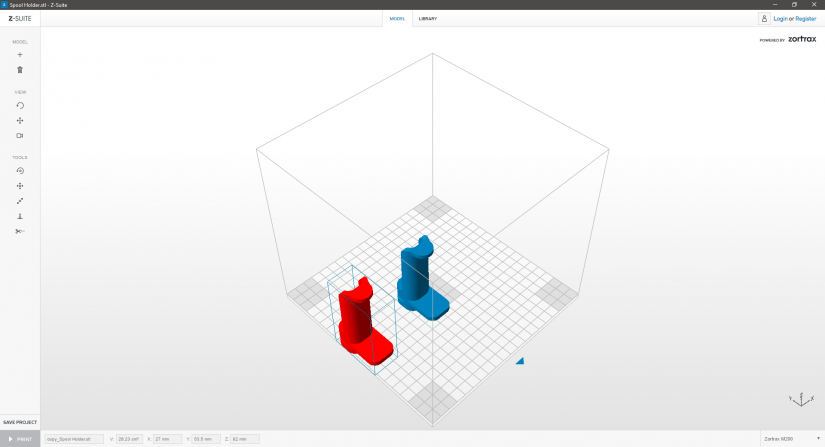
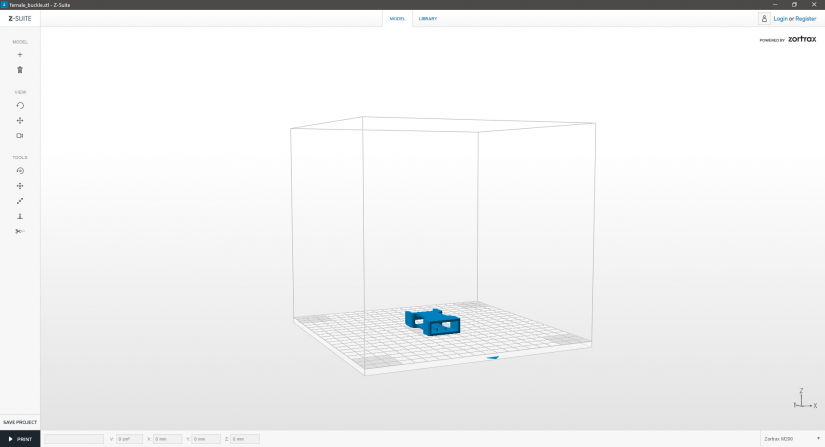
2. If the model turns orange, it means that a collision between the two models has been detected. You can still prepare them for print. The models will be merged together and printed as a one piece.
If you don’t want them to be printed as a one piece, resize or move the models around the workspace.
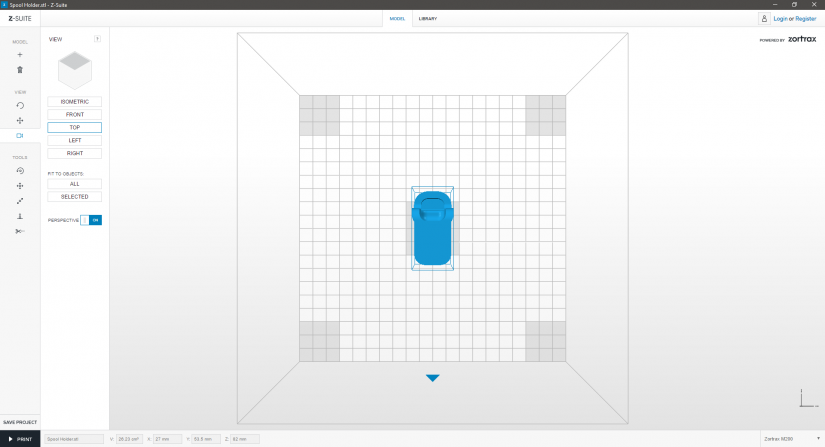
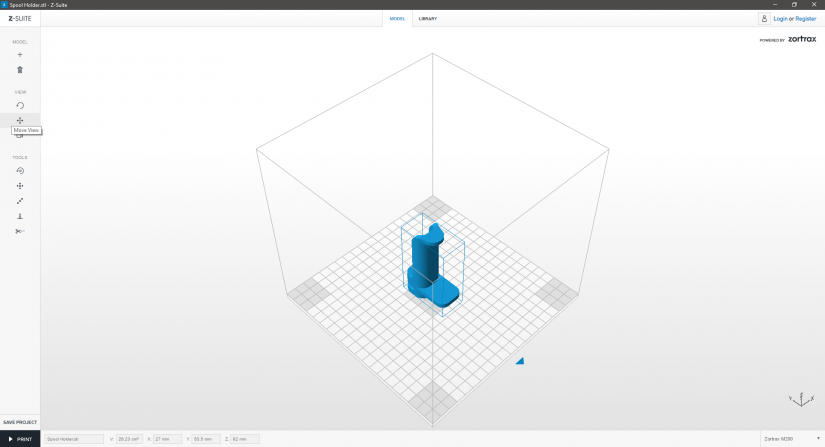
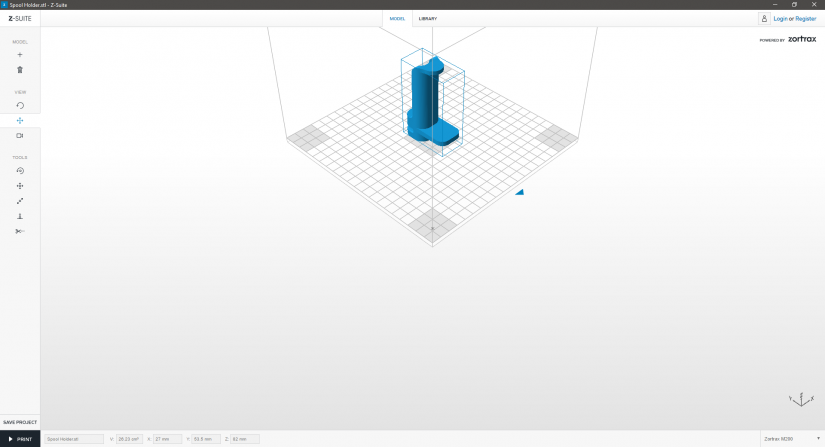
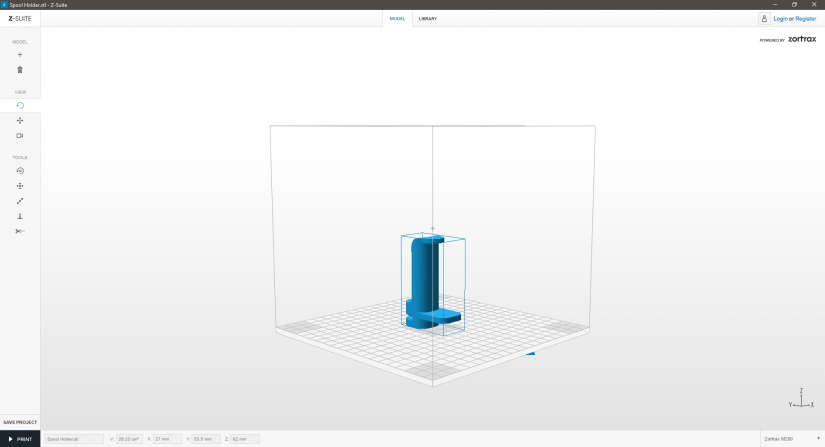
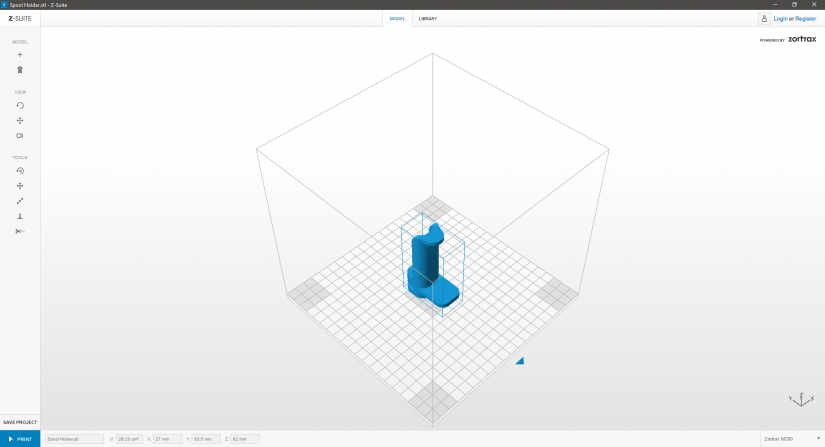
Rotating the Workspace View

Preparing to Print

1. If your model is ready to be printed, click “Print.”
2. Set printing options: PROFILE/LAYER THICKNESS/SPEED/INFILL. Read the article Print Options.
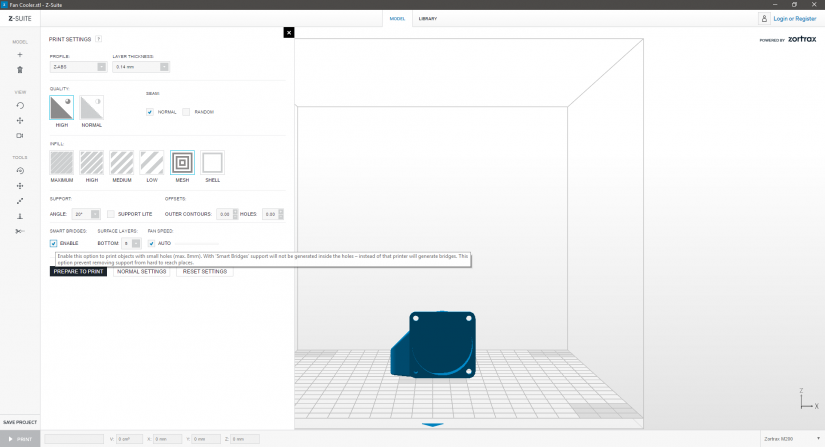
Normal Print Settings
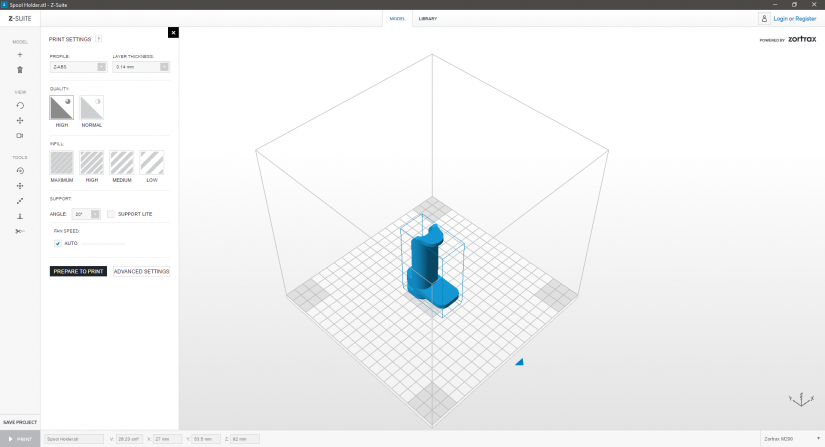
Normal print options include:
Layer thickness: choose the height of one layer: 0,09mm/0,14mm/0,19mm/0,29mm/0,39mm (depending on the material). Finer layers provide better surface quality but make printing more time- and material-consuming.
Quality (previously Speed):
in M200: HIGH/NORMAL. High quality gives better looking prints but increases the printing time.
in M300: HIGH/NORMAL/DRAFT. Models with HIGH option take more time to be printed but are of better quality.
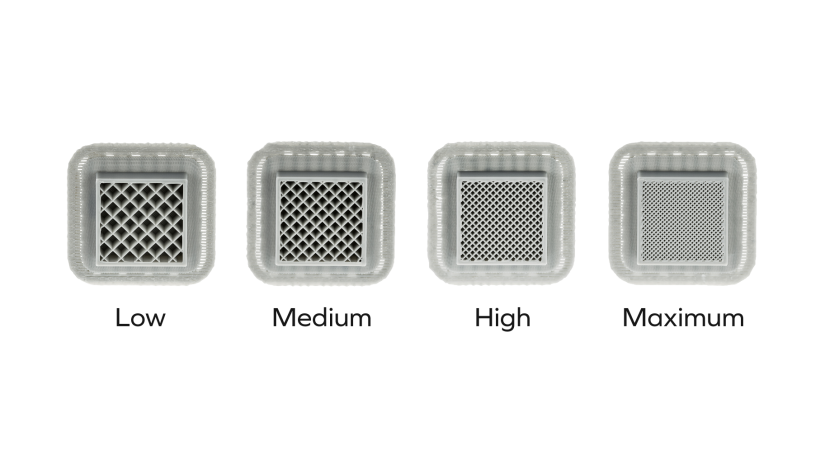
Infill: choose the model infill: MAXIMUM/HIGH/MEDIUM/LOW. All four types of infill are presented in the picture on the right. MAXIMUM infill allows printing with the highest strength level. But the larger infill, the more time and material is needed for such a print.
SUPPORT – Select the angle at which the support structure is generated. 20° is the default option. It means that for all hanging parts of the model the support structure is generated at a 20° angle.
SUPPORT LITE – Choose this option to generate the support structure without the outer perimiter. Support lite consumes less material and it is easier to remove.
PRINT COOLING – You can choose the fan speed which cools down the model that is being printed. Cooling is not useful for big prints without any thin parts, whereas high cooling is better for small and thin prints. We recommend leaving the default option – AUTO. The printer will adjust the fan speed accordingly.
Advanced Print Settings
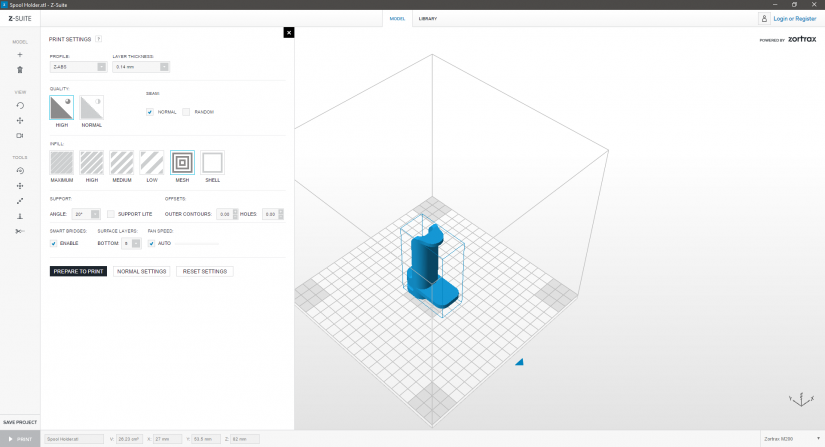
SEAM – It allows you to choose the starting point of every new layer (normal or random)
SURFACE LAYERS – If you aim at achieving a thicker finishing of the model, use this function. It helps you to choose the amount of layers at the top and at the bottom
OFFSET – this option helps to correct the internal and external dimensions of a model (in millimeters). It is possible to modify outer contours and holes dimension, however, only in the X and Y axis.
INFILL Advanced:
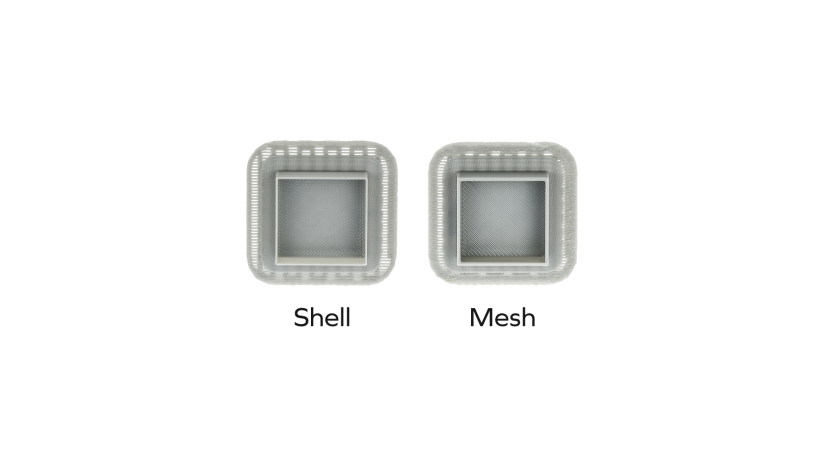
- MESH – Prints the model with 0% infill with horizontal surfaces (top and bottom) and the walls
- SHELL – Prints the model with 0% infill and no top and bottom surface layers. This option allows to choose the amount of the model wall. If you want the bottom layer to be printed, check the BOTTOM surface layer box while choosing SHELL infill.
There is a SPIRAL MODE available with SHELL option. If you choose this option, your model will be printed with no seam.
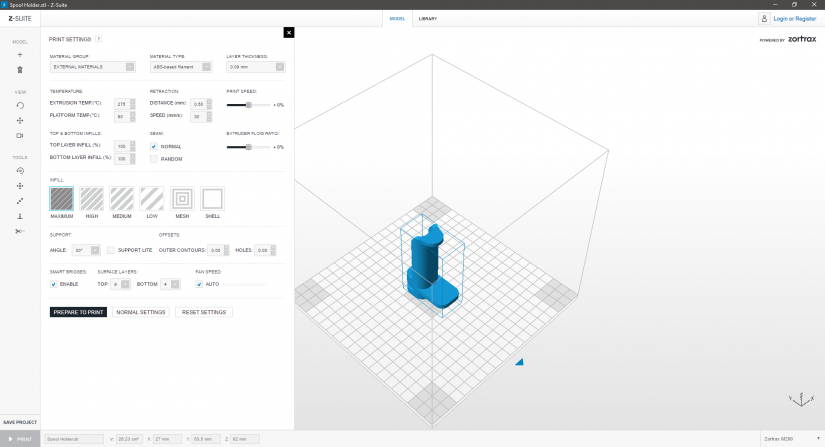
External Materials Settings
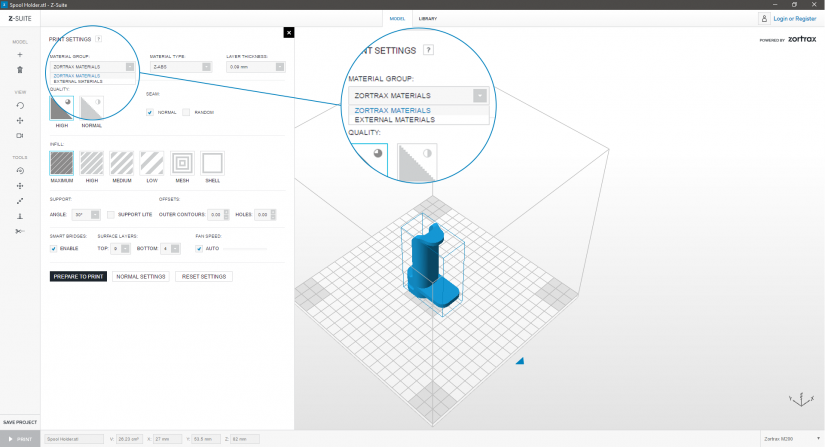
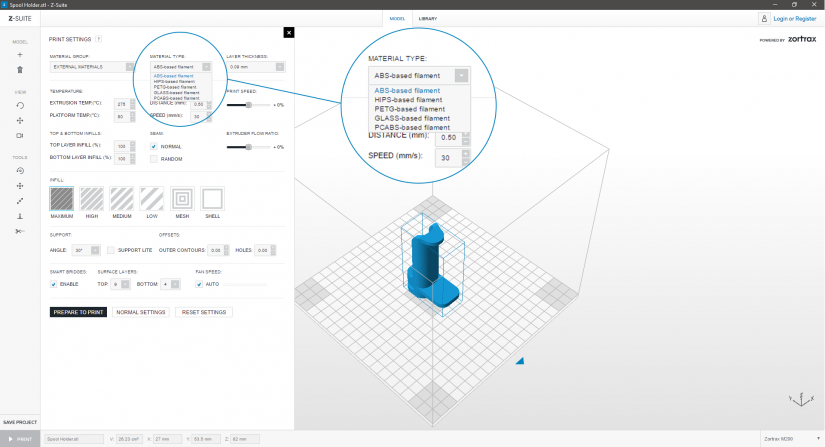
If you’ve decided to apply non-Zortrax materials, use Advanced Settings and change the material group to “External Materials” while preparing the model in Z-SUITE.
First of all, you have to choose the base material that’s going to be used from the dropdown list – Material type. The default values for each setting are the most recommended for the selected material type.
However, the settings for other materials than those produced by Zortrax can be still adjusted differently, according to specific requirements.
Temperature:
-Extrusion temp. (˚C) – The temperature which the material will reach during the extrusion [the hotend temperature (190-290˚C)]
-Platform temp. (˚C) – The temperature of the platform [30-105˚C]
Top & Bottom infill – A percentage of TOP and BOTTOM LAYERS infill. The default option is 100%:
-Top layer infill – infill value of the TOP layer [50-150%]
-Bottom layer infill – infill value of the BOTTOM layer [50-150%]
Retraction – Settings of the mechanism which helps to prevent strings from appearing on your model.
-Distance – the amount of unmelted material which the extruder will retract before making a non-print movement [0.0 – 2.0 (mm)]
-Speed – the speed at which the material will be retracted before a non-print movement of the extruder [20 – 50 (mm/s)]
Print Speed – A percentage (within limits) by which the print speed will be increased. The print speed comprises of the speed of printing particular layers, their contours and infills [-50 – 50%]
Extruder Flow Ratio – A percentage (within limits) by which the material extrusion speed will be increased. The material extrusion speed comprises of the speed of material extrusion of particular layers, their contours and infills [-50 – 50%]
Slicing a Model
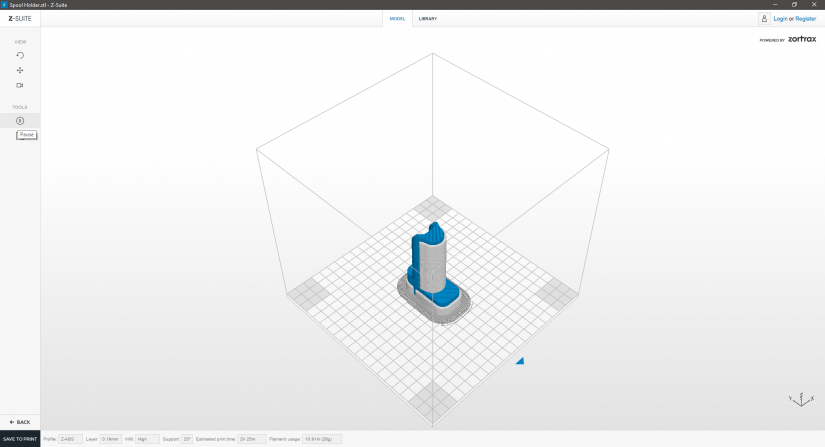

1. Generate the .zcode when preparing the model for print. Read the article Preparing the model to print.
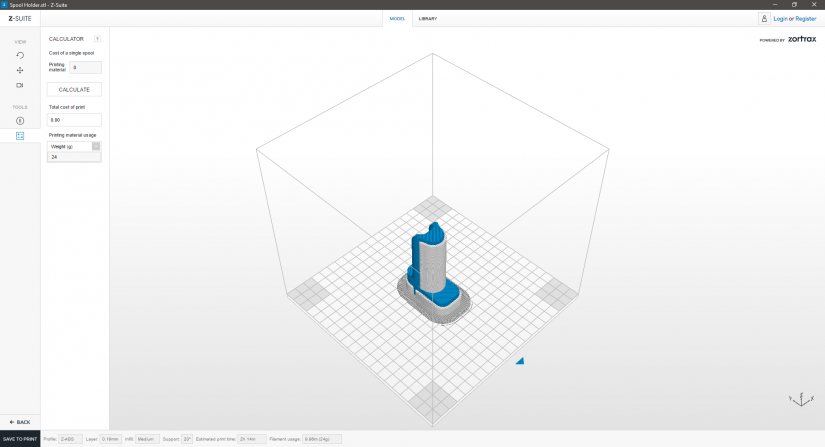
2. Z-SUITE will show the information on the material usage and estimated print time.
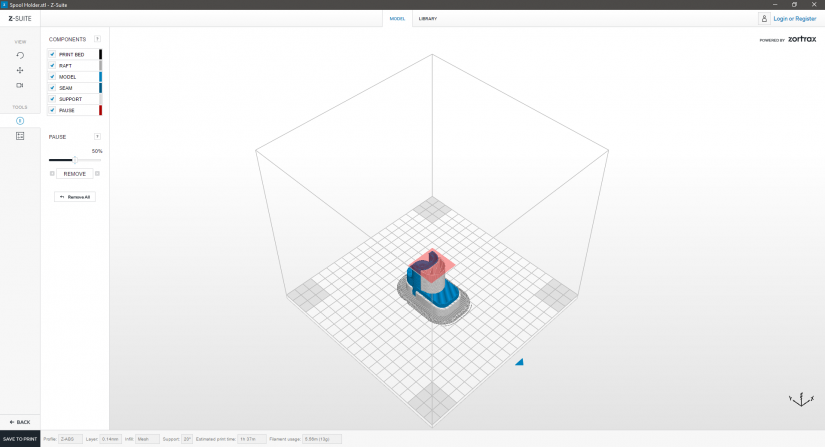
3. Add a pause – “PAUSE” option divides the print into stages and allows you to hold the printing process in order to change the material.
To plan a pause, move the slider onto a desired layer.
– “INSERT” function allows to set the pause in a chosen place. You can use this function several times in order to plan multiple pauses during one print.
– “REMOVE” function allows to remove a pause.
– “REMOVE ALL” function allows to remove all pauses.
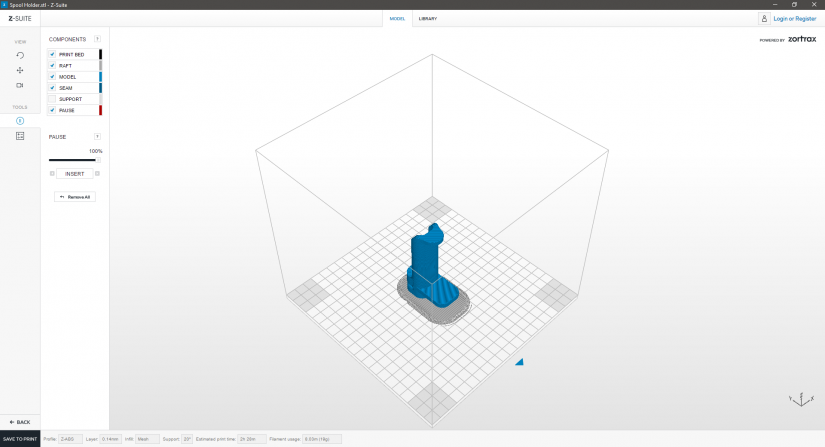
4. Apart from the “PAUSE” option, in the tools menu there is a list of components which you can show or hide from the final look of the model in .zcode format:
–PRINT BED,
–RAFT,
–MODEL,
–SEAM,
–SUPPORT,
–PAUSE.
For example, you can uncheck the model to see what the seam will look like in your print.
5. Save your .zcode (with pauses) on a hard drive or directly on the SD card – click Save to print button.

Saving the .zcode
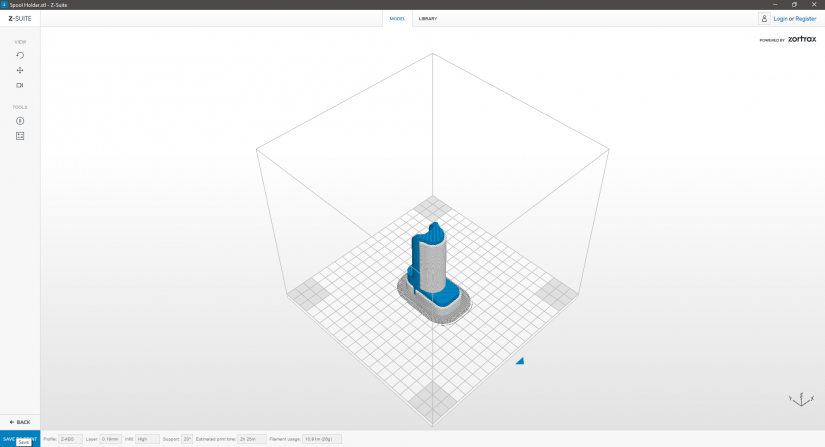

Once the .zcode has been generated, your model is ready to be saved on the SD card. Information about your print: profile, layer thickness, infill as well as an estimated print time and material usage will be shown at the bottom of the screen.
Save your .zcode on a hard drive or directly on the SD card by clicking “Save to print” button. Insert the SD card into the printer and start printing.
Position and Print Quality
Choosing your print’s orientation can highly influence the final look of your 3D print. By selecting the proper orientation, you can easily eliminate most defects that may appear on your print and, as a result, you can obtain a much smoother surface.
As your model is being printed one layer after another, you may notice some imperfections on its external shape. Every layer sticks to the already dried previous layer, so the two layers cannot stick to each other without leaving a visible mark on the surface.
Assembling Parts
If you want to print an object consisting of two or more seperate parts that are to be put together, remember to leave the proper space between the parts. The distance between these elements is crucial to avoid friction which may damage the final shape of the object. The minimal space recommended for such prints is 0.3 mm between each part.
An Error While .zcode Loading
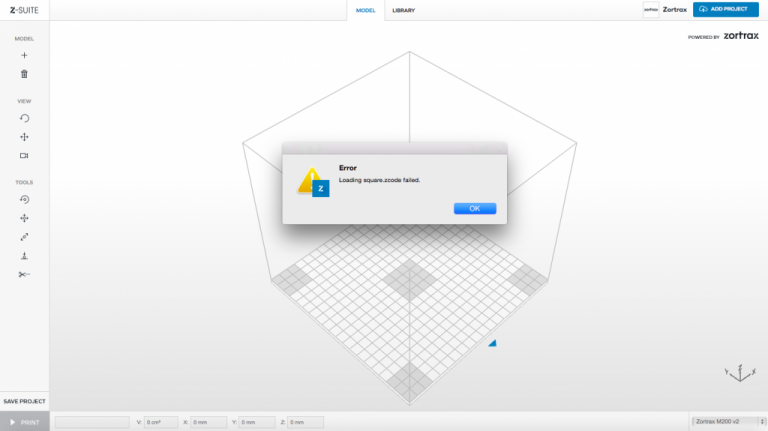
The file has not been saved correctly – the program was shut down too quickly or the SD card was removed before saving has been completed. Also, make sure that your SD card is working properly:
1. Oxidized SD card pins issue – clean the SD card pins.
2. The card needs to be formated – format the card using the FAT 32 file system and upload your .zcode file again.
The Preview is not Loading
Full preview of large models with complex structures is possible with high-performance computers, e.g.:
Processor: i5 / i7
Memory: 8GB DDR3 minimum
Graphics card: 2GB minimum
Z-SUITE does not open (a crash occurs while opening) [OSX]
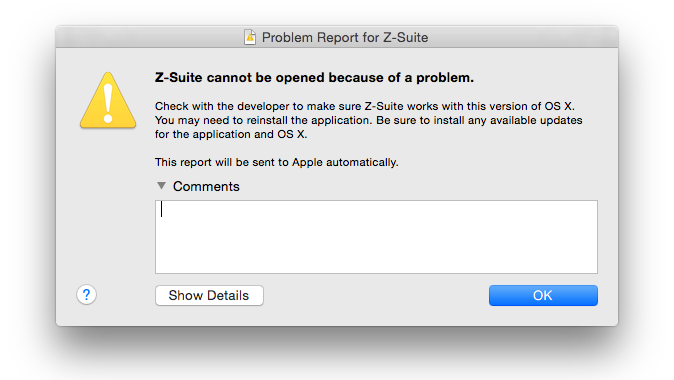
To fix the problem, download and install Mono framework.
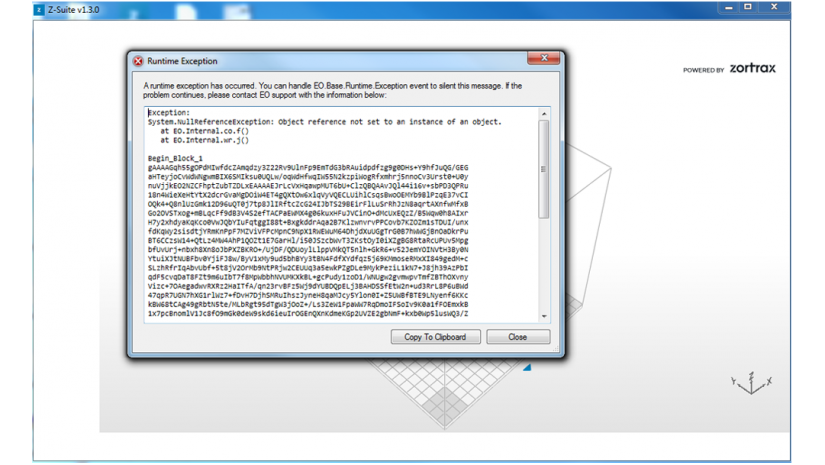
Z-SUITE does not open (a crash occurs while opening) [Windows]
Z-SUITE does not load panels (side and bottom panel) [Windows]
An antivirus program blocks one of Z-SUITE’s libraries which is responsible for generating panels. Z-SUITE should be added to the list of exceptions or the antivirus should be temporarily disabled while opening Z-SUITE. This problem usually occurs with Host-based Intrustion Prevention System (HIPS), such as NOD32, Bitdefender or Avast.


