Each smoothing process in the SVS technology consists of several stages, including creating negative pressure in the chamber or condensation of the solvent’s vapors. During each stage, the device has to keep full tightness of the chamber and solvent system to successfully complete the smoothing. To improve the tightness in your device, follow a few simple maintenance procedures included in this manual. Also, perform maintenance once you receive error messages: #005 and #007.
NOTE! Before any maintenance procedure, unplug the device and let it cool down. Make sure to perform maintenance at room temperature.
| Every unit requires an annual inspection conducted by the Zortrax Authorized Service to keep the ATEX certification valid and ensure safe operation of the device. |
Tightening the Filler Cap
First, remember to properly tighten the filler cap every time you unscrew it to refill or empty the solvent tank. Make sure the cap is properly attached and then tightened with the special key.
If you don’t have the key, the printable model is available at: Zortrax Library.
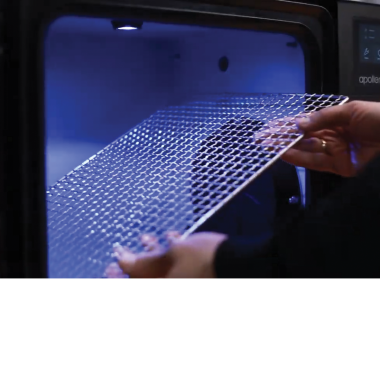
Cleaning the Chamber Door
Next, soak a piece of cloth in acetone or butanone (MEK) and thoroughly clean the chamber door. Focus on the point of contact between the door and the gasket.
Clean the door every 5-7 smoothing processes and after a few days of not running the smoothing process, or in the case of errors #005 and #007.
Cleaning the Gasket
Soak a piece of cloth in acetone or butanone (MEK) and thoroughly clean the chamber door gasket, directing the cloth along the gasket’s profile. Remember that the gasket cannot be cleaned with the use of sharp tools.
Clean the gasket every 5-7 smoothing processes and after a few days of not running the smoothing process, or in the case of errors #005 and #007.
Cleaning the Filler Cap
Next, pour a small amount of pure acetone or pure butanone (MEK) into the filler cap and leave it for 1-2 minutes.
Clean the filler cap every 5-7 smoothing processes and after a few days of not running the smoothing process, or in the case of errors #005 and #007.
Replacing the Filler Cap Gasket
If the filler cap gasket is significantly damaged, use a screwdriver to remove it from the cap. Insert a new gasket into the cap. A spare gasket is included in the Starter Kit.