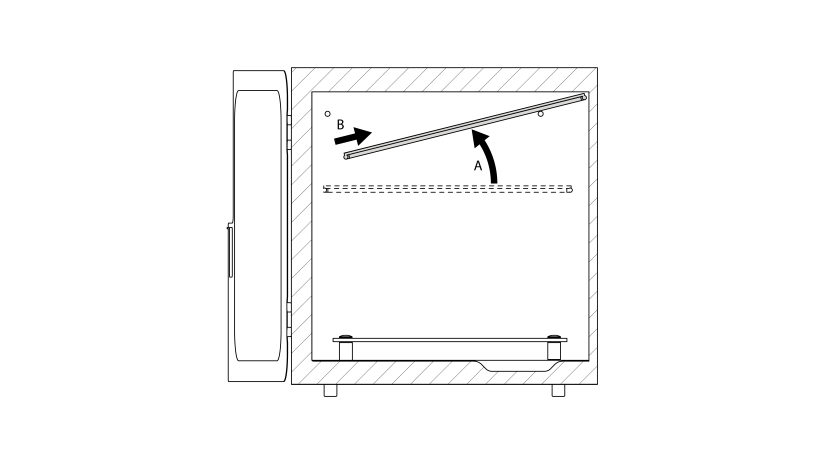
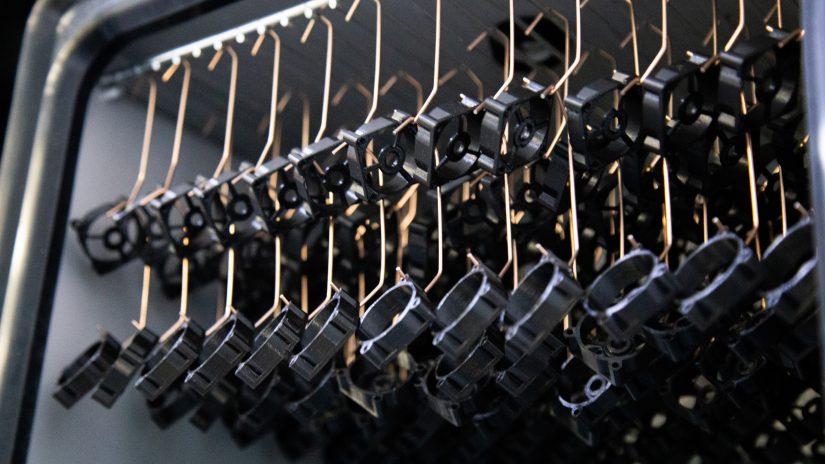
When using the Apoller, you can either place 3D printed models on the glass platform or suspend them on the hooks assembled in the grid in the upper part of the chamber. Before following the second method for the smoothing process, you have to install the grid in the chamber. The machine is delivered with the whole set for suspending models, including the grid and hooks. Follow the steps from this manual to properly install the grid.
| Every unit requires an annual inspection conducted by the Zortrax Authorized Service to keep the ATEX certification valid and ensure safe operation of the device. |


