Welcome to post-processing Tips and Tricks, a spin-off of the original series where we showed a step-by-step guide to processing your model after you remove it from the platform of your 3D printer. Take a look: post-processing workshops.
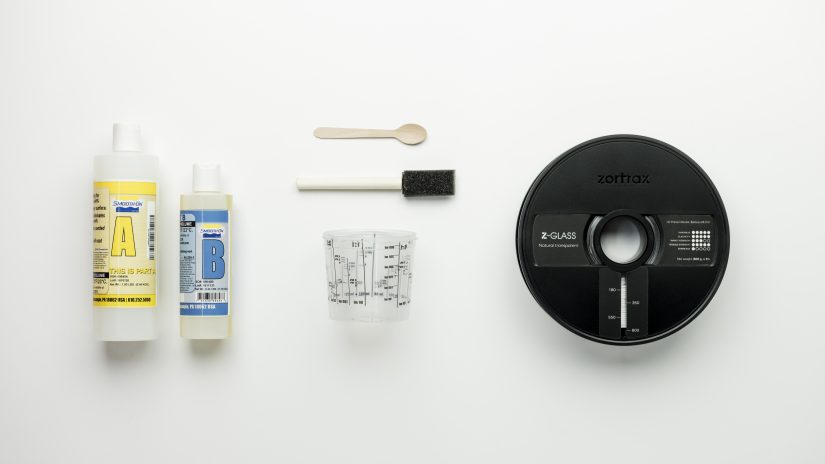
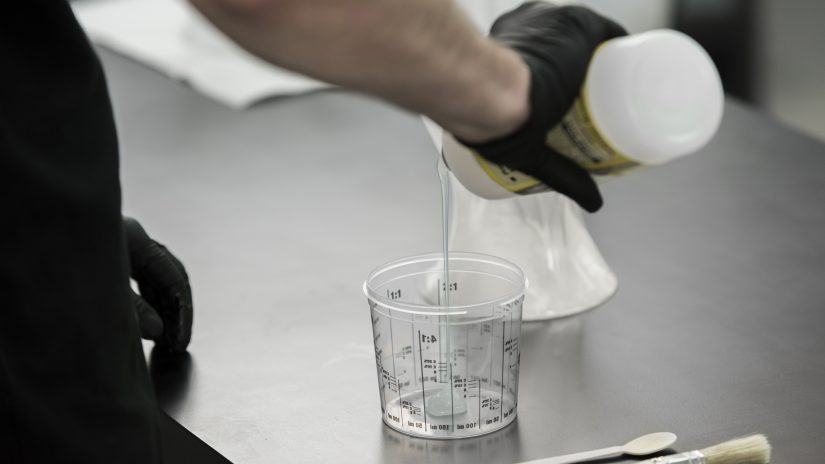
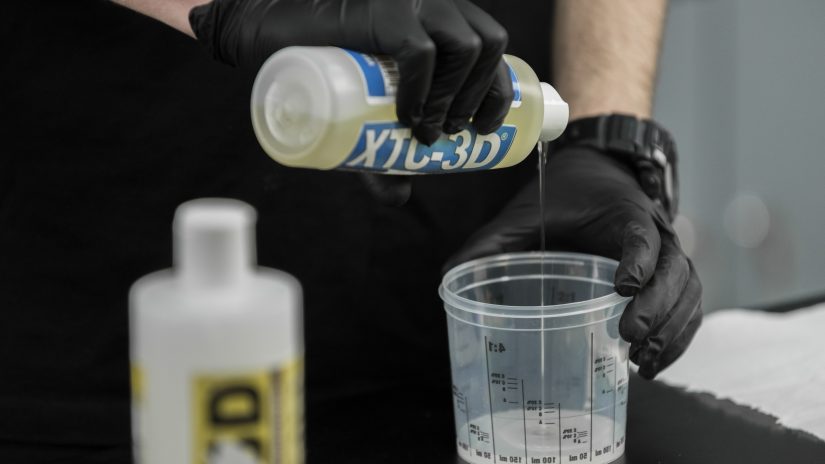
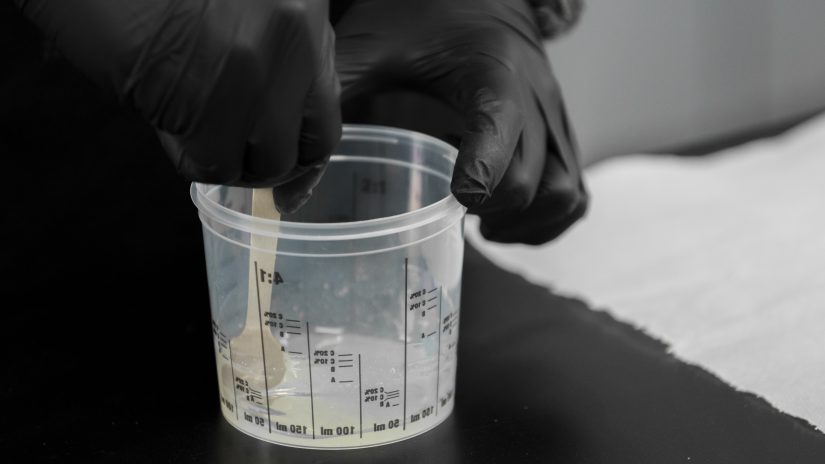
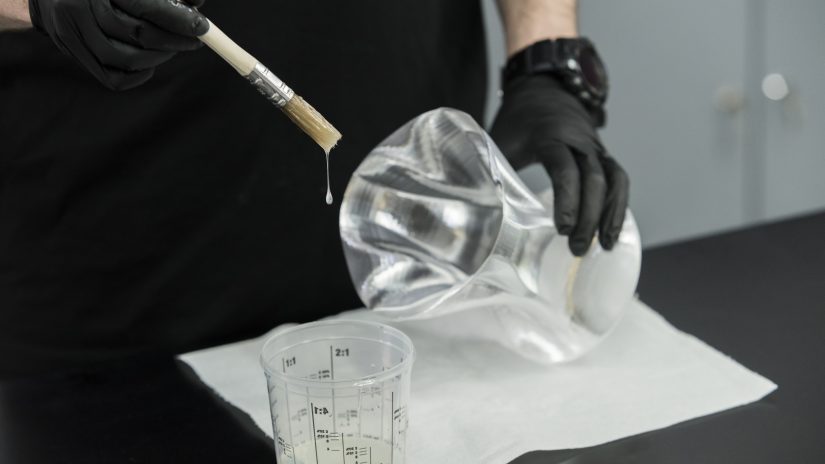
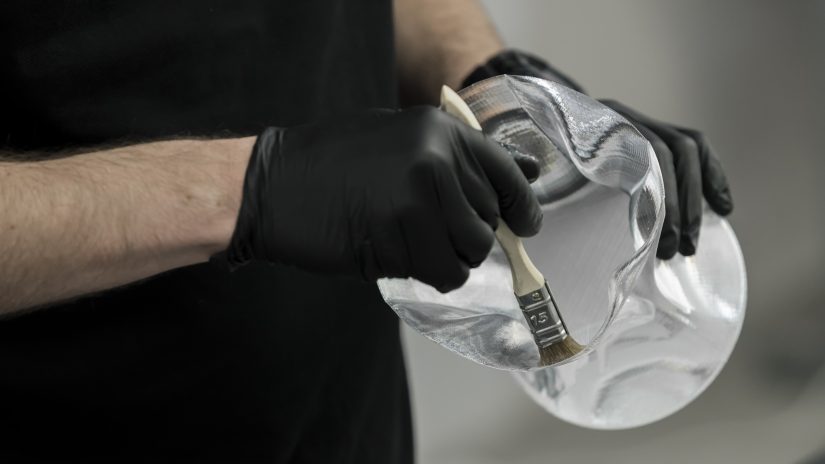
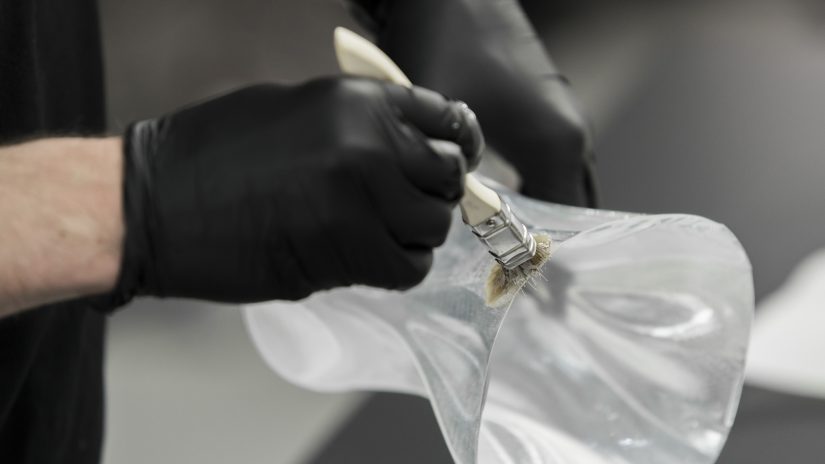
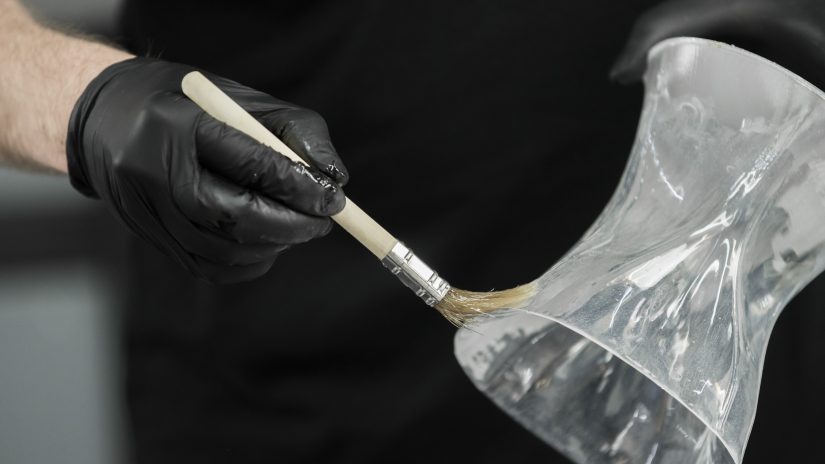
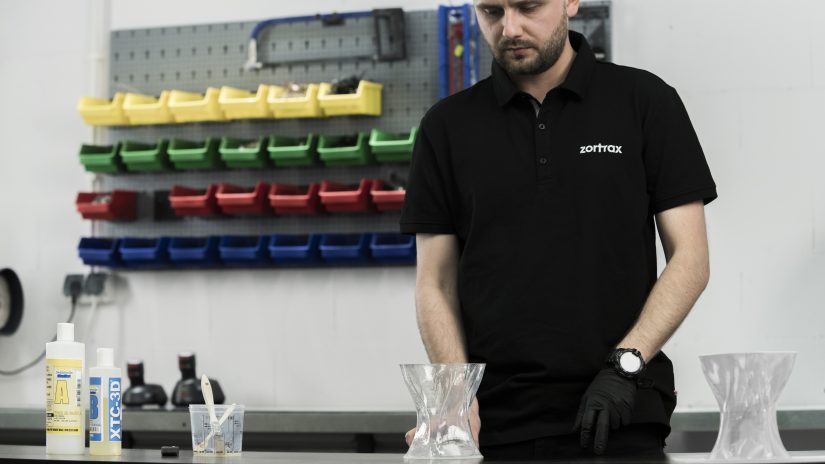
This manual is dedicated to Z-GLASS, a material suitable for printing objects which imitate glass and XTC-3D, a special coating substance which is used for sealing prints and making them glossy. We, however, will use it to achieve full transparency on our Zortrax models.
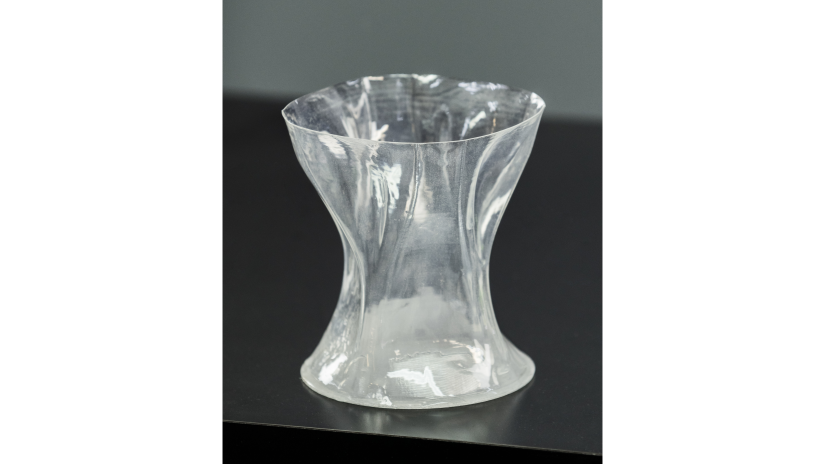
The effect can be achieved on any model and colour of Z-GLASS. We used a vase which is available for download here: vase
4
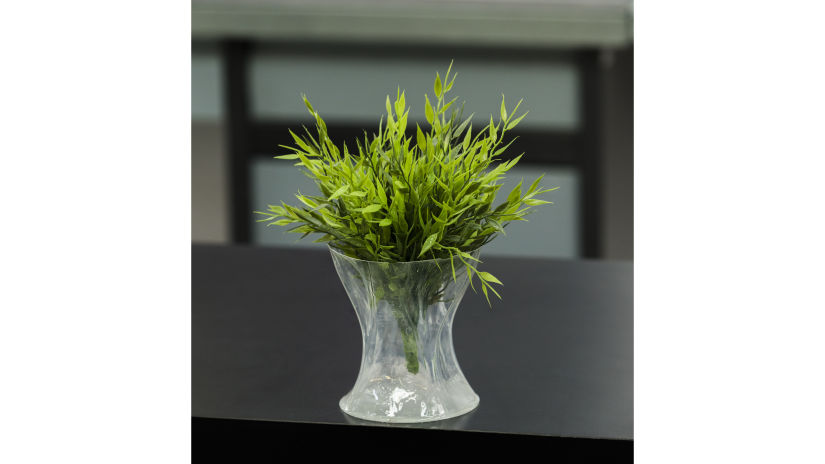
Final Result
You should see that the vase has become fully transparent.
EPISODE 02 CAN BE FOUND HERE: SOLDERING RIVET NUTS

