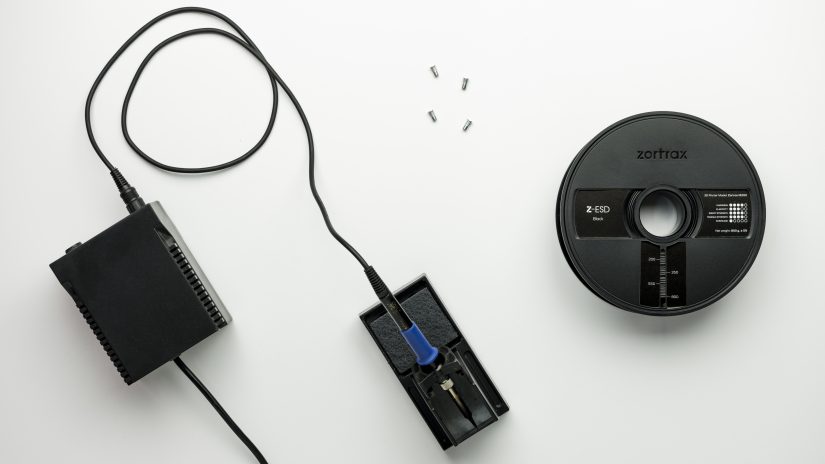
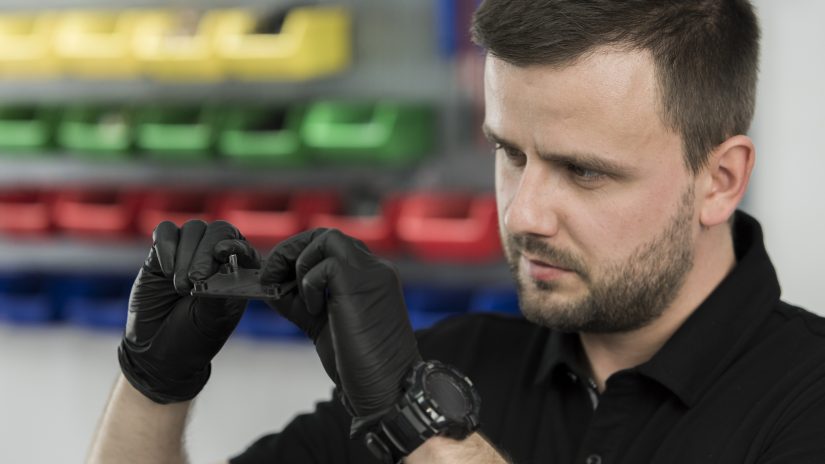
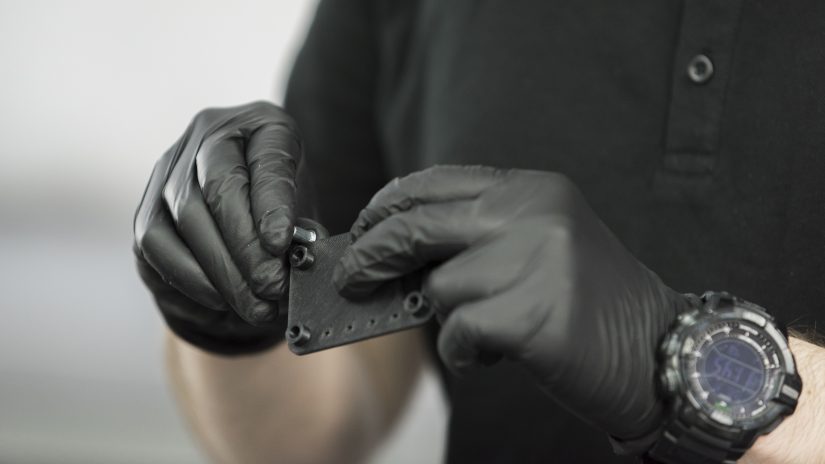
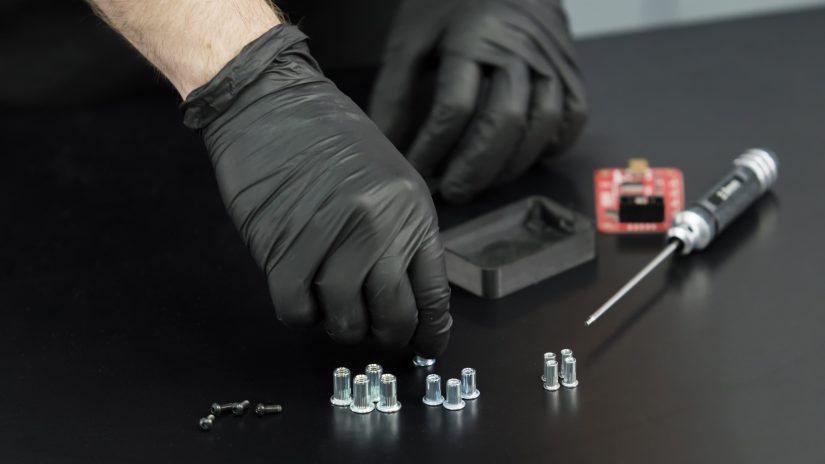
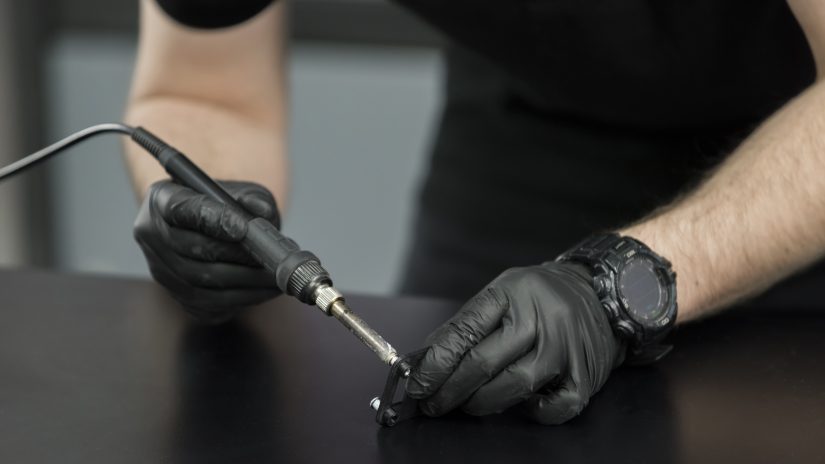
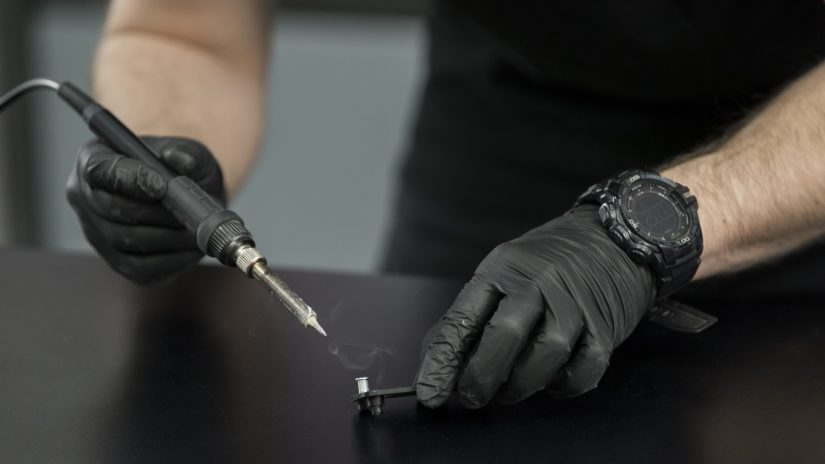
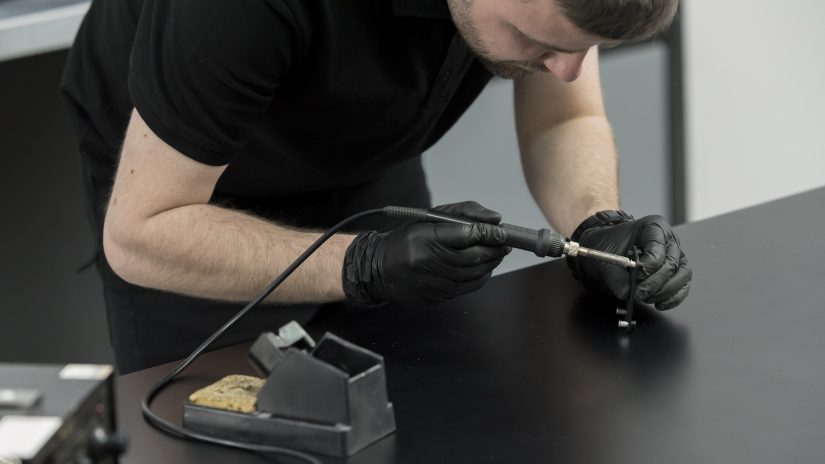
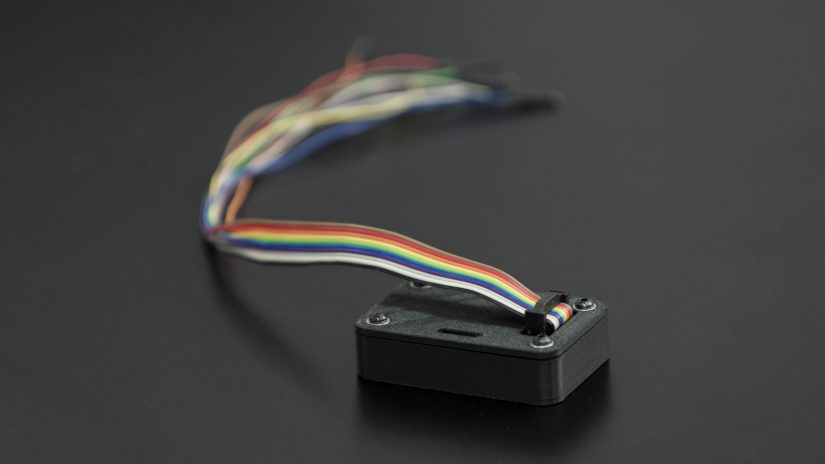
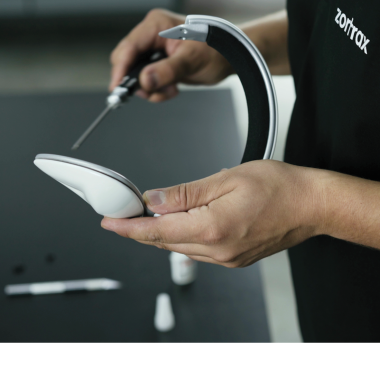
In this Tips and Tricks manual, we’ll show you how to turn your 3D printed model into a fully functional object. This time you’ll learn how to solder rivet nuts into a printed element in order to make a casing for the bus pirate. We used Z-ESD for 3D printing this particular model.
Because of this material’s properties, the electronics that will be inside the casing, will be protected from harmful effects of electrostatic discharge. The casing will be frequently opened and closed, so installing screws into plastic would be highly impractical and would cause the threads to wear off very quickly.
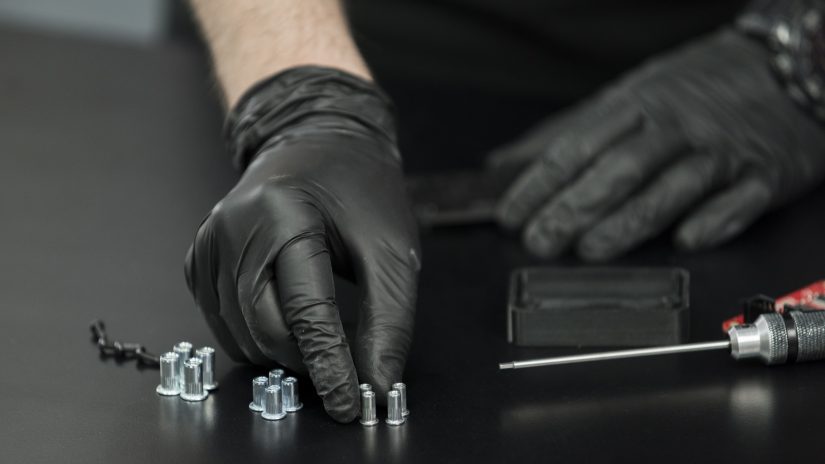
That’s why we recommend to solder rivet nuts into the casing to avoid damaging the model and having to reprint it.
Be sure to check the previous episode of the series to learn some useful tips on printing with Z-GLASS.
Fixing the Screws
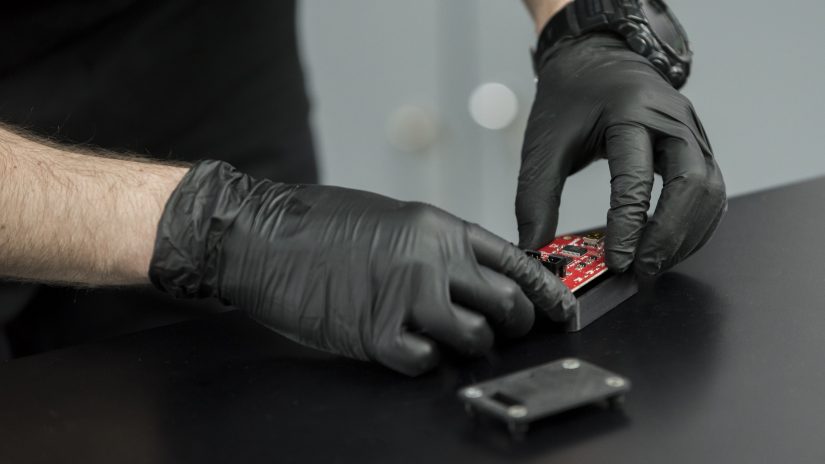
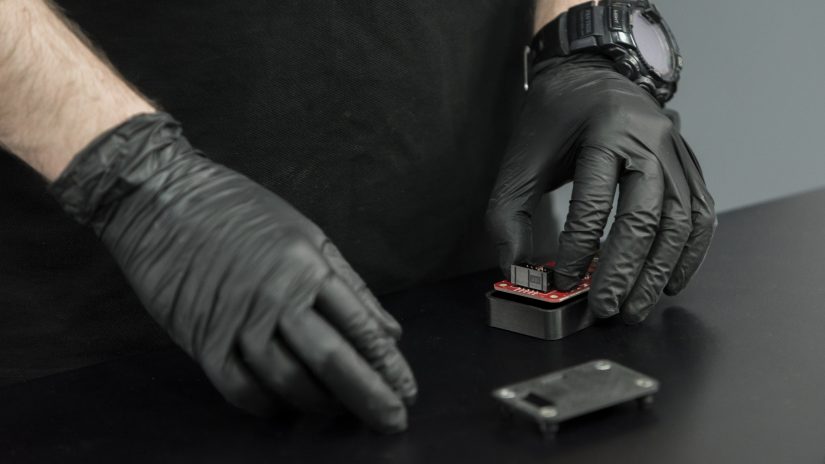
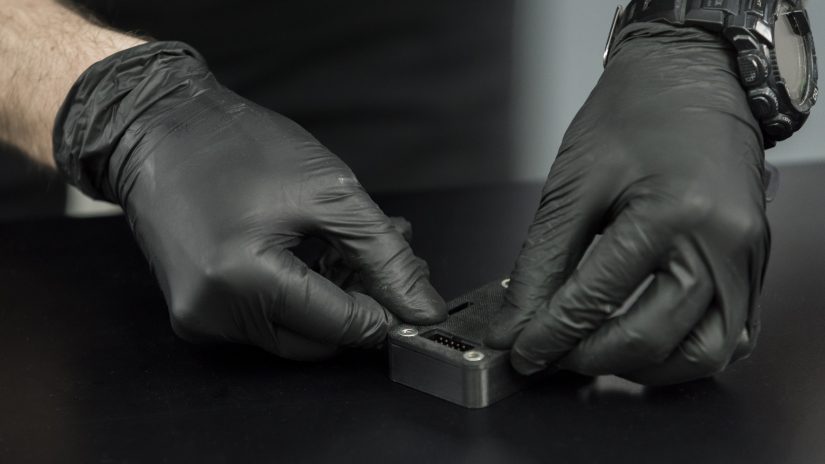
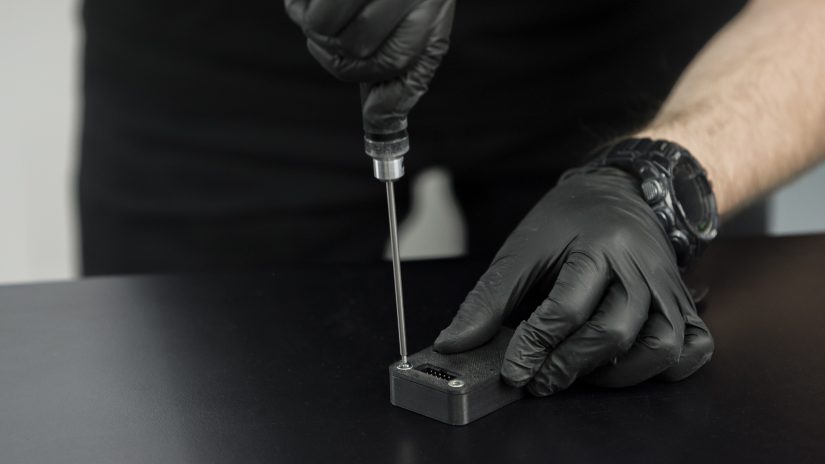
When the model cools off, put all the elements of the model together and insert the screws into the rivet nuts.
Now you can open and close the box as many times as you want without wearing off the holes.
