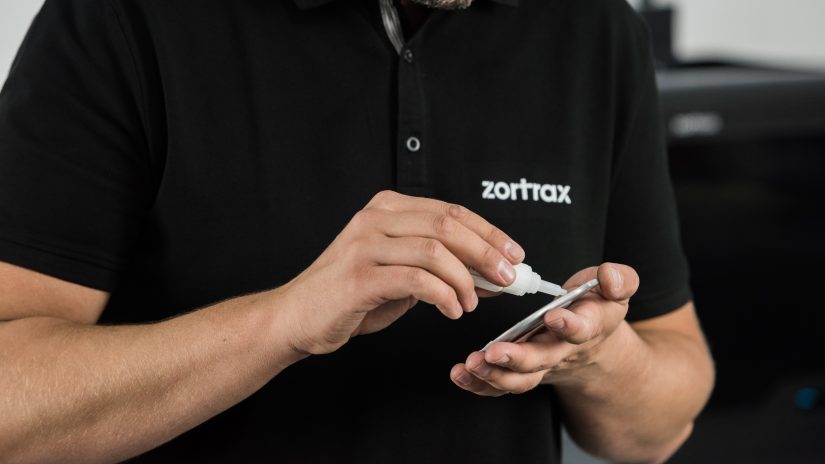
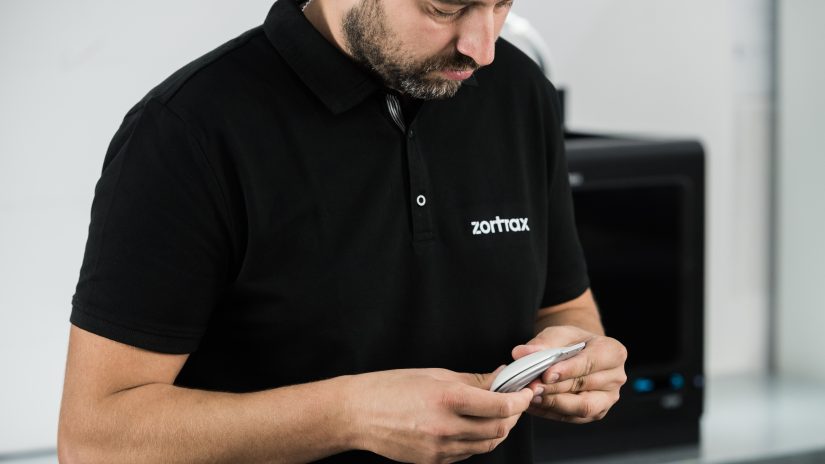
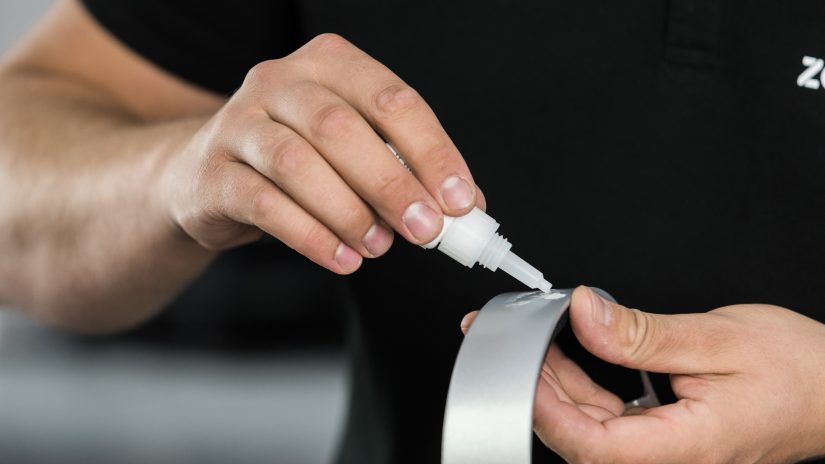
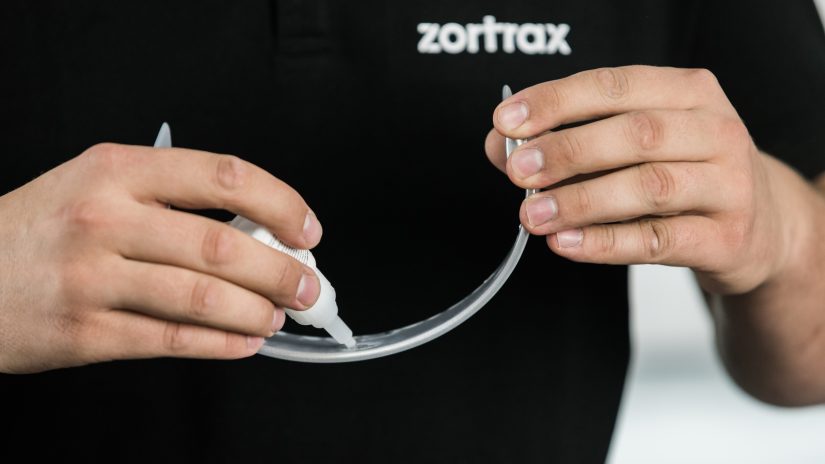
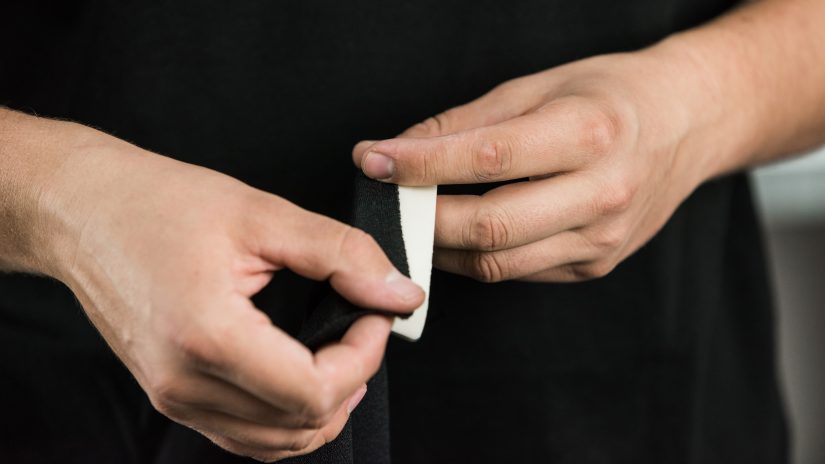
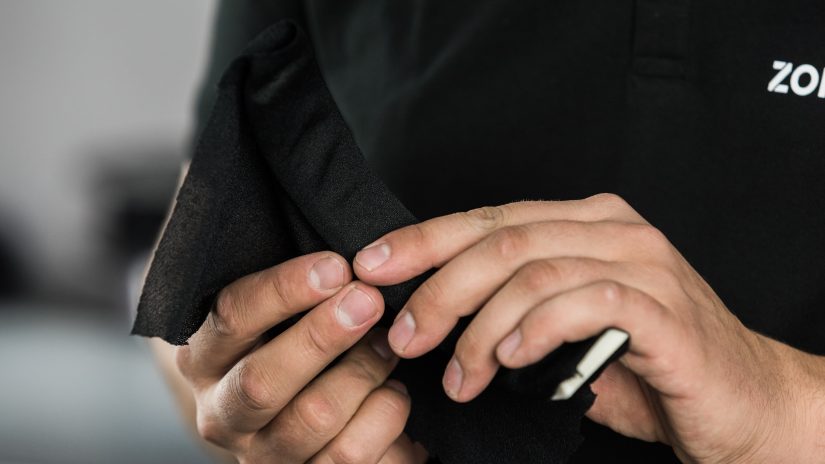
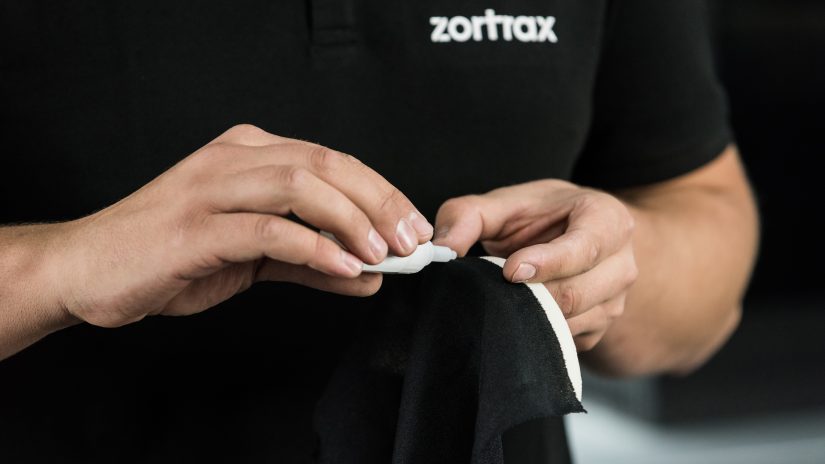
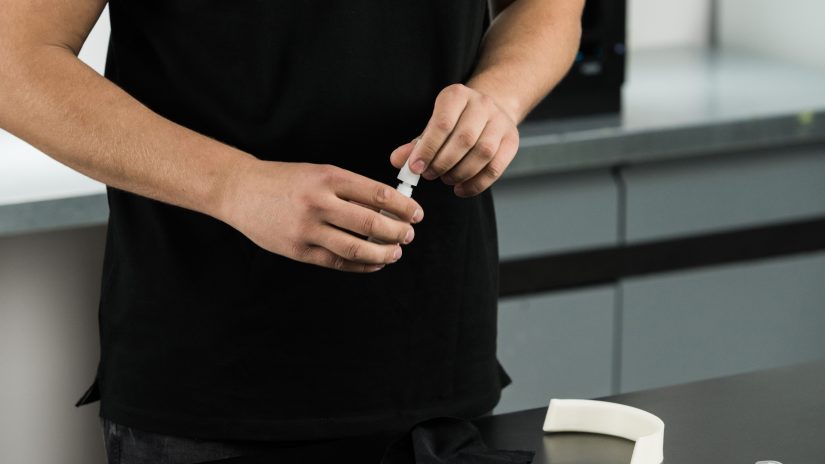
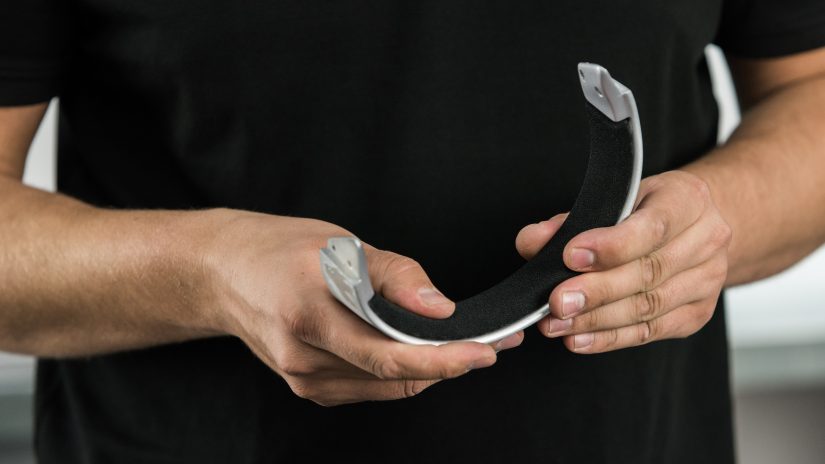
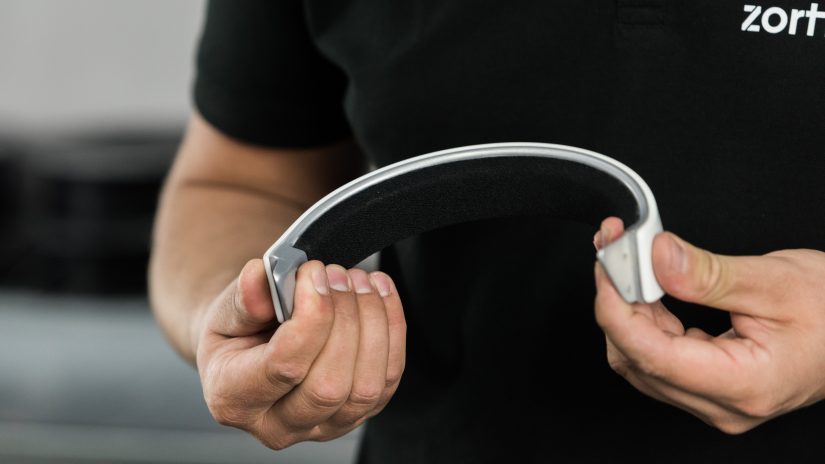
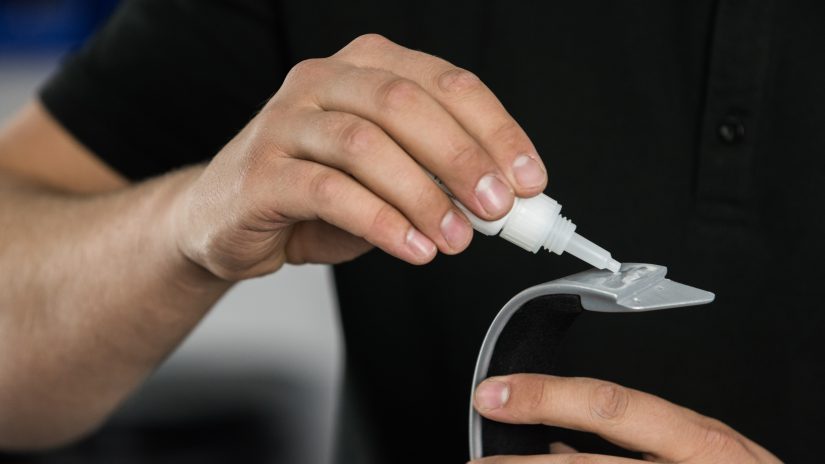
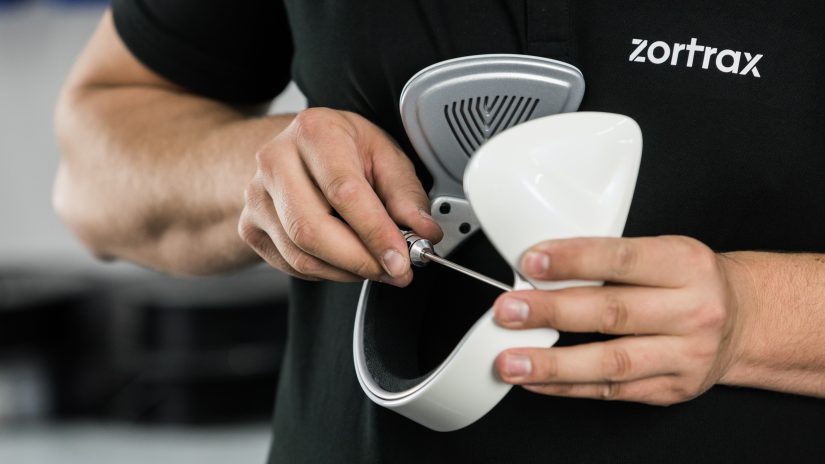
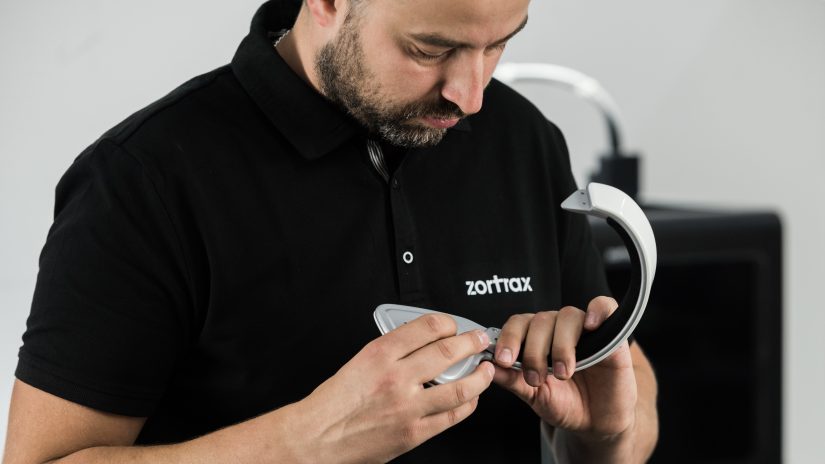
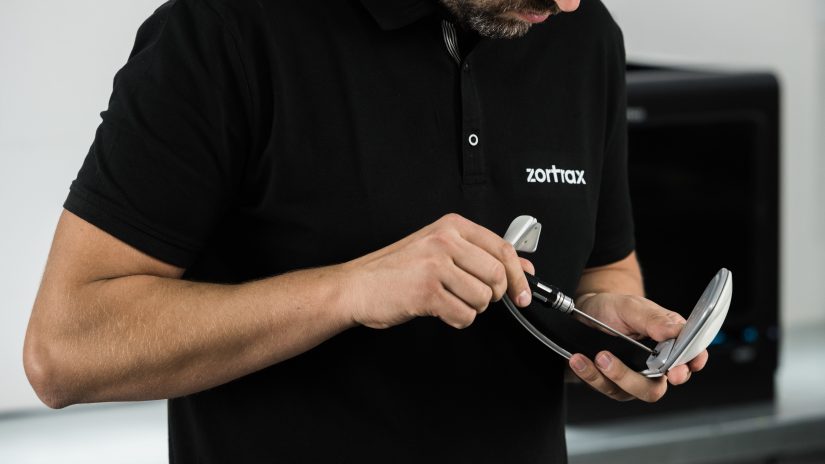
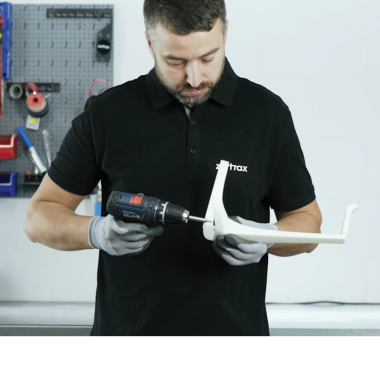
Welcome to the last step of our post-processing journey. Today we’ll glue and screw the parts of the headphones together to enjoy the final outcome: a ready model.
Be sure to check out the previous episode where we showed how to paint the model: Episode 05.
The .stl files are available for download here: headphones and a headphone stand.


6
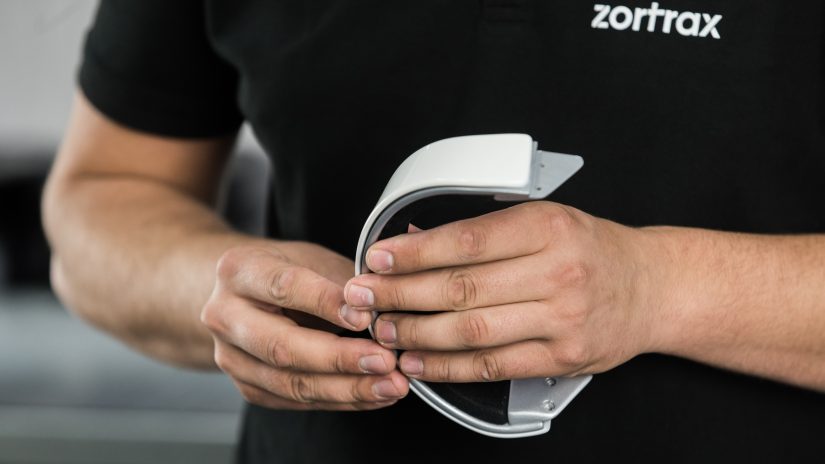
Completed Model
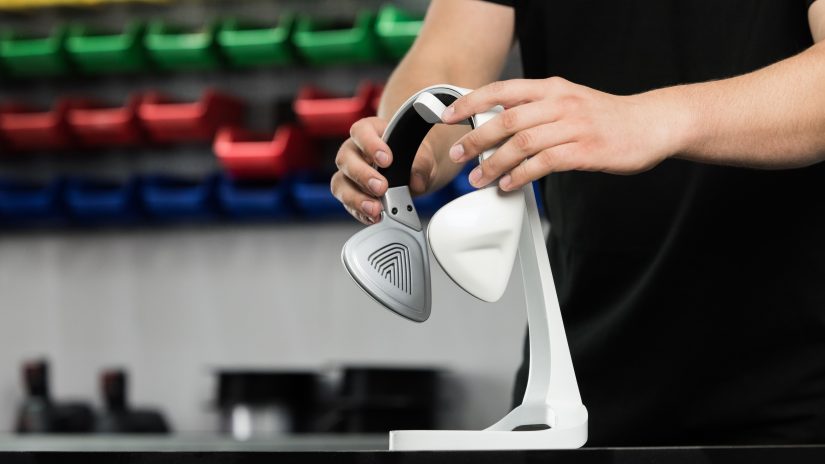
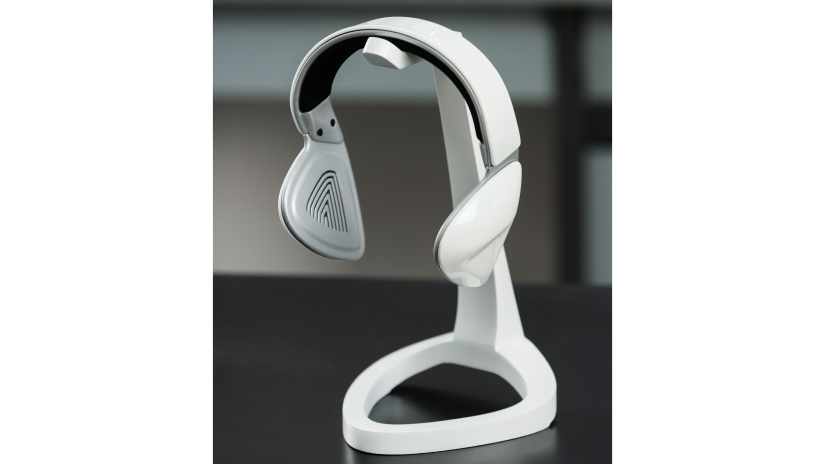

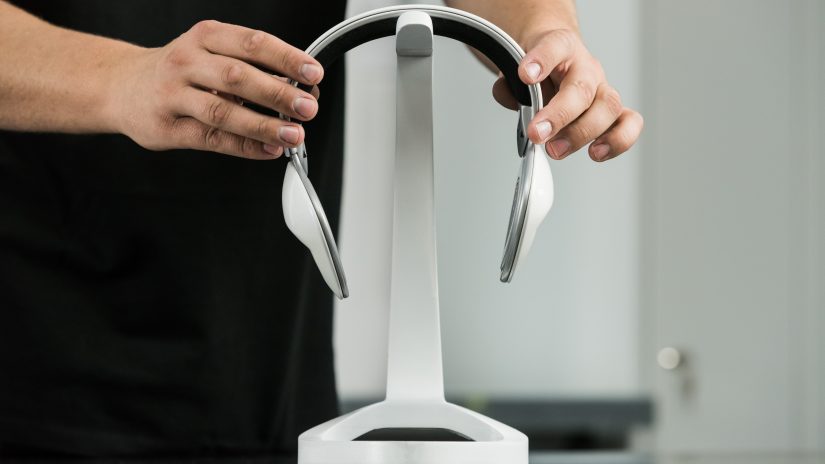
This is it! You can now enjoy the final result.
This is not the end of the series, though. EPISODE 01 FROM THE TIPS AND TRICKS SERIES CAN BE FOUND HERE: MAKING Z-GLASS TRANSPARENT
