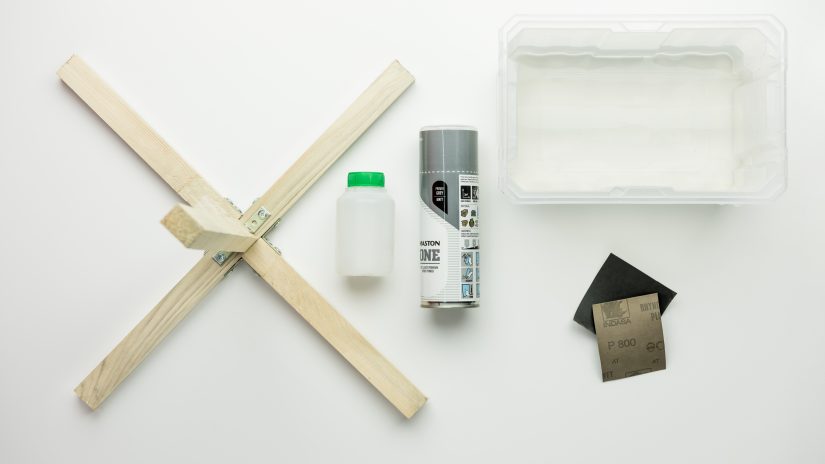
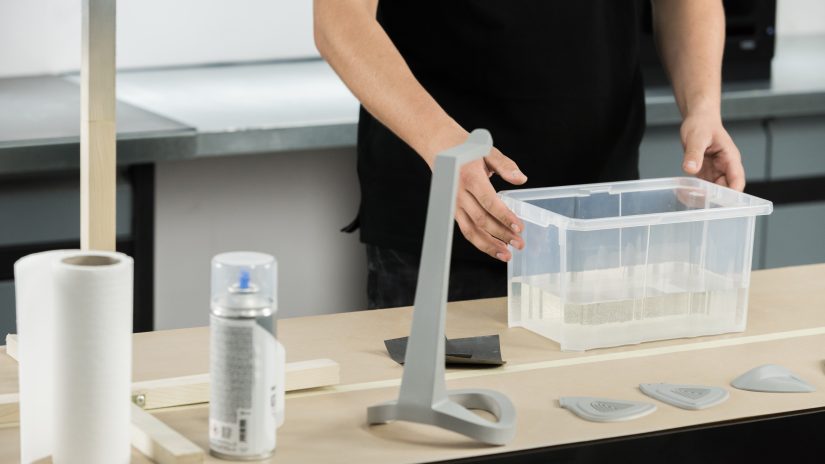
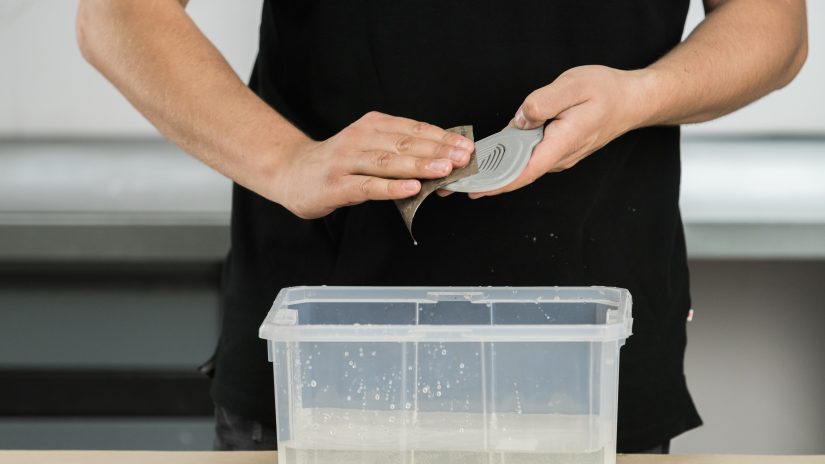
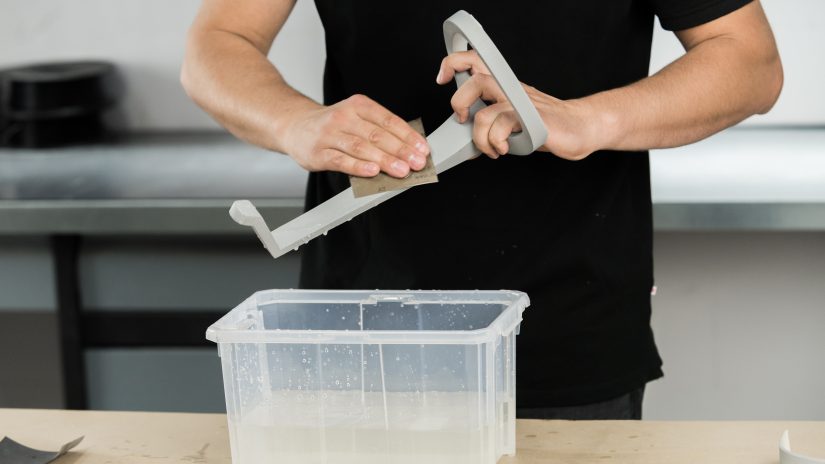
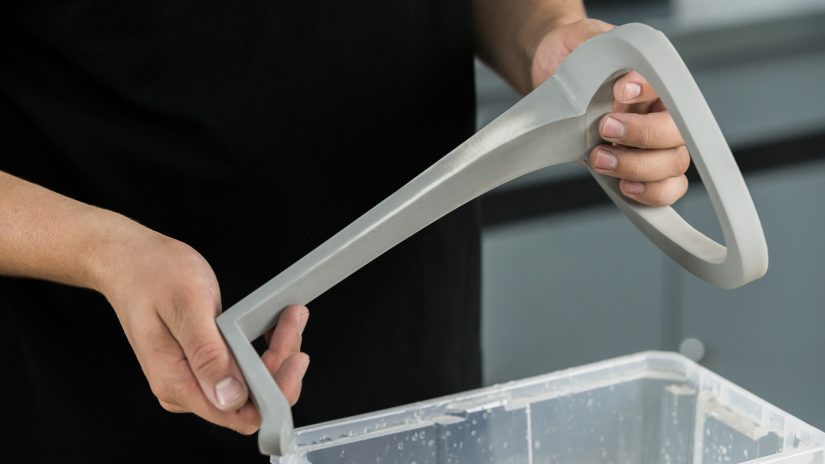
Once all the elements of the headphones and the headphone stand have been primed, they need to be smoothed down to prepare them for painting. This time the process of smoothing will require water. Wet sanding will make surface scuffings that appear during regular sanding less visible and, in turn, make the model even and regular.
Be sure to check out the previous episode where we showed how to sand all elements and apply the primer: Episode 03.
The .stl files are available for download here: headphones and a headphone stand.

4
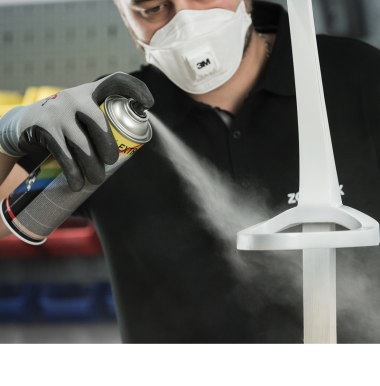
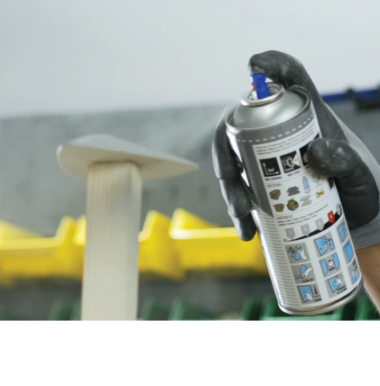
Reapplying the Primer
In case your smoothing goes a little too far and you sand through the primer to the model, you can easily apply the primer again, let the model air dry, and start wet sanding again.
EPISODE 04 CAN BE FOUND HERE: PAINTING THE MODEL
