The elements of the headphones stand require joining before priming and painting. Here’s a step by step tutorial on how to do it and how to process the cracks that appear while connecting individual parts. Welcome to the second episode of our post-processing workshops!
The .stl files are available for download here: headphones and a headphone stand.
Be sure to check out the previous episode where we discussed Z-SUITE preparations and removing the support structures: Episode 01
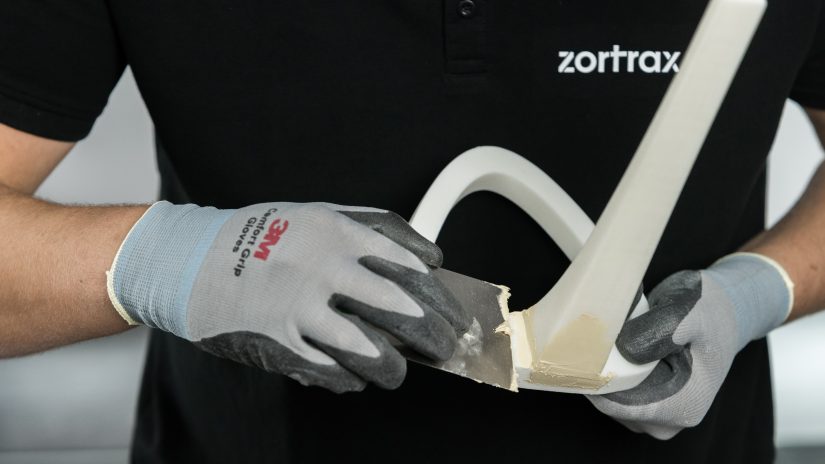
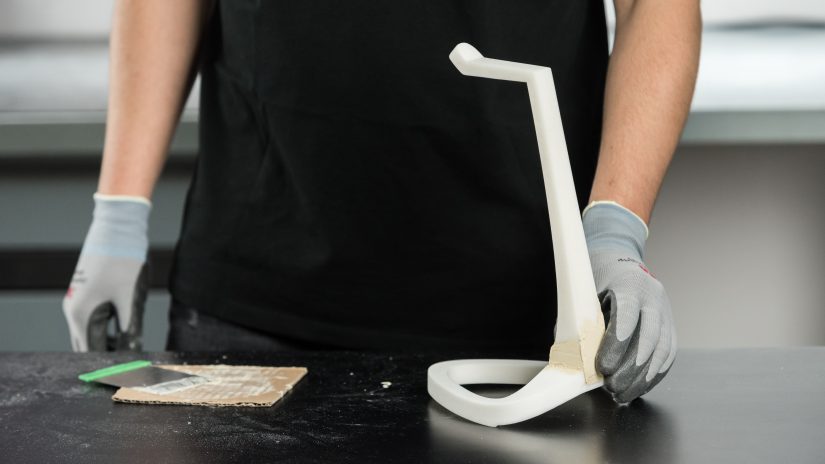
Joining the Elements
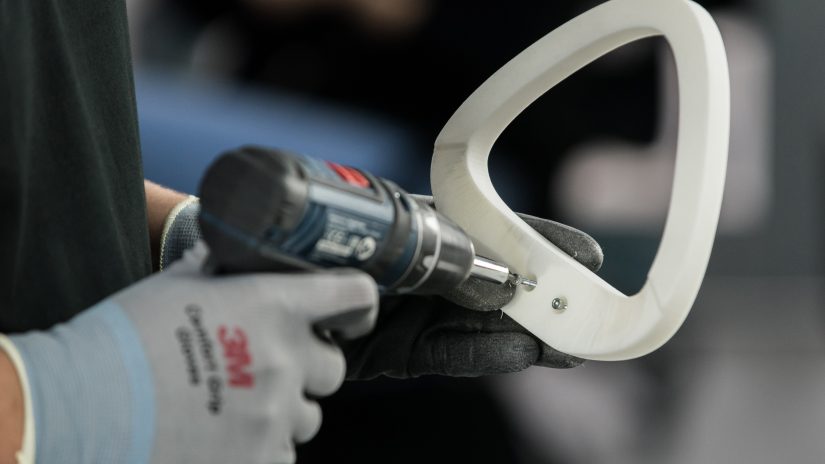
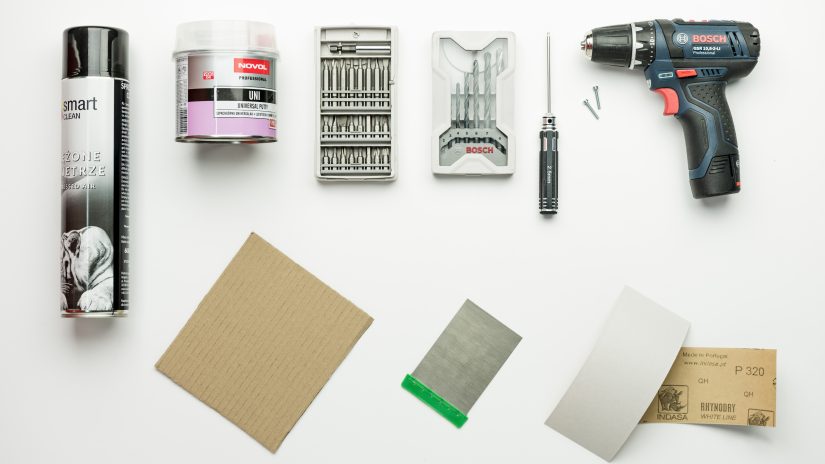
Select the right screws for the holes in the model. The screws cannot be too small because they won’t fit into the holes tightly or too big as they may break the model.
Connect the elements of the headphones stand with a screwdriver or an electric drill.
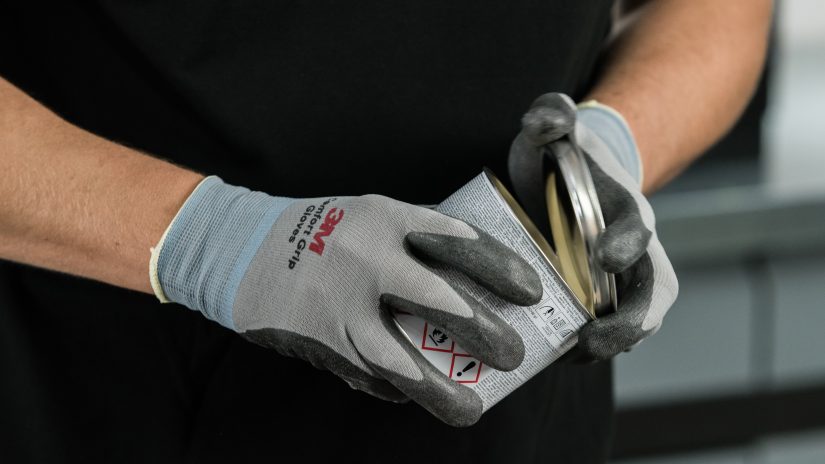
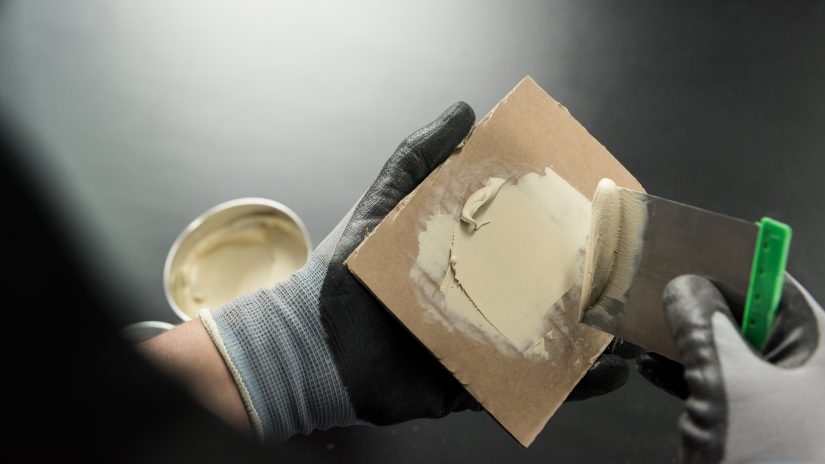
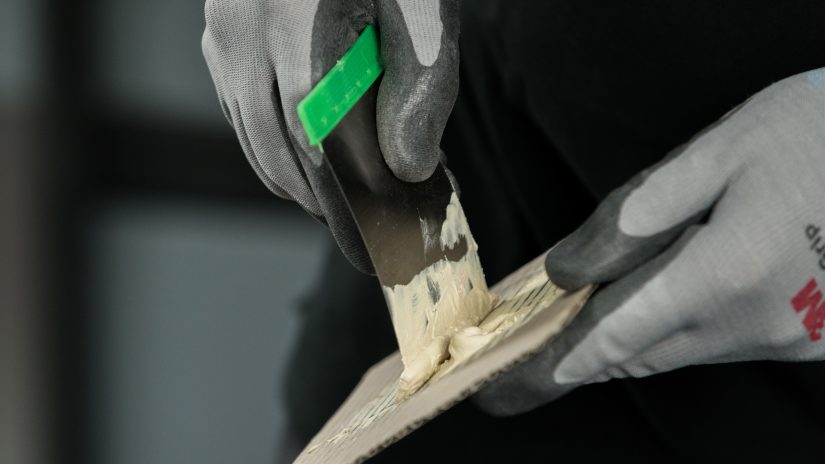
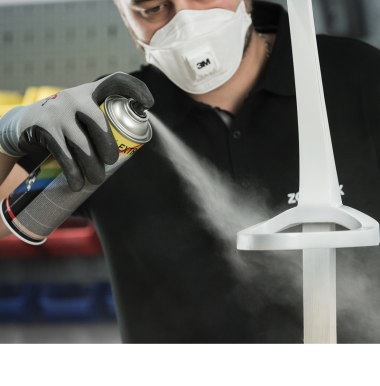
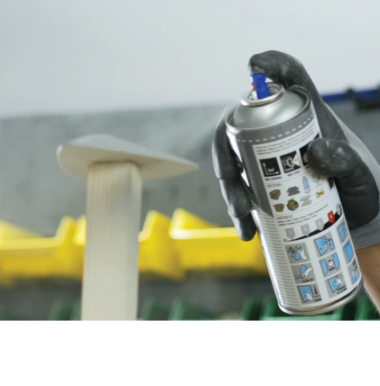
Spreading the Paste

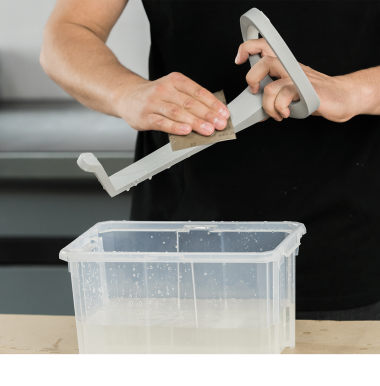
Leaving the Elements to Dry
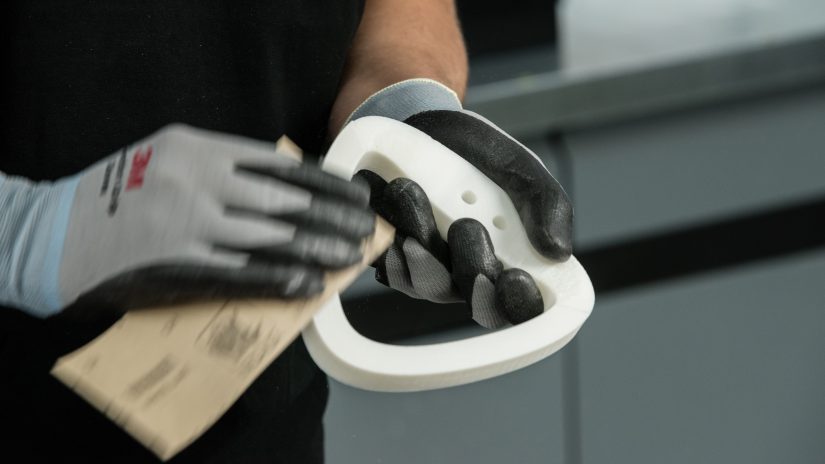
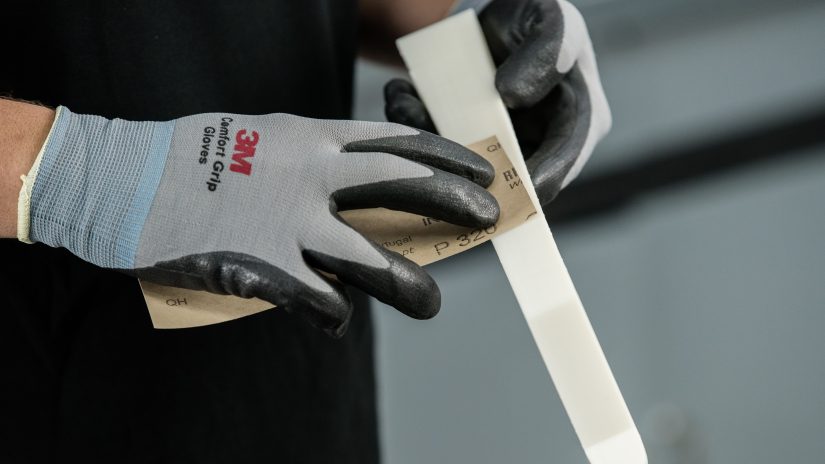
Leave the elements to dry for about 15 minutes at room temperature. Use sandpaper again to remove the excess of cured paste and clean the model with compressed air.
