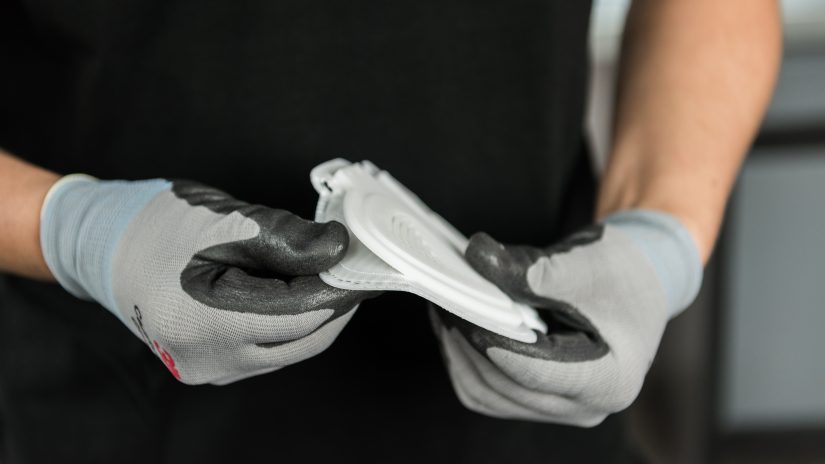
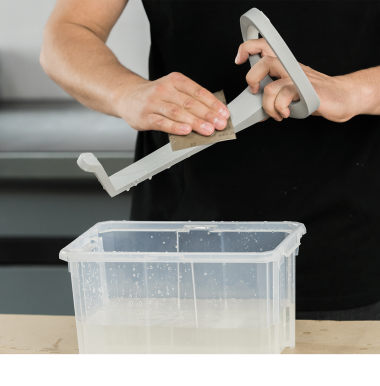
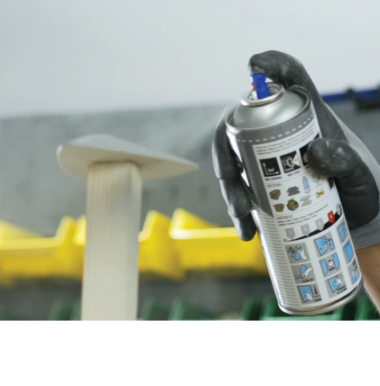
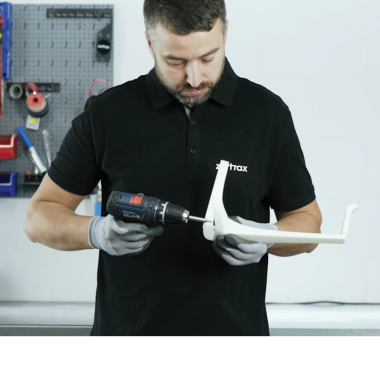
Post-processing involves many procedures of mechanical and chemical treatment that improve the final look of your 3D model. There are numerous techniques which include: polishing, sanding, smoothing, painting or joining two or more parts together.
In this manual we’ll show you how to turn your models into something more and make them look excellent. In fact, we’ll provide you with detailed instructions on how to make your own headphones and a headphone stand.
This is the first manual which will walk you through preparing the model in Z-SUITE and removing the support structures. The model we’re showcasing here consists of several .stl files. They are all available for download in section one below.
Preparations in the Z-SUITE
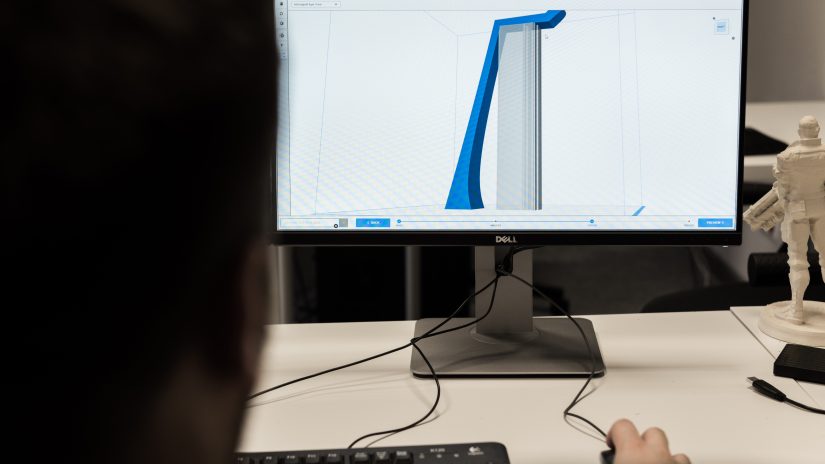

The work on the headphones and the headphone stand has to start in the Z-SUITE with some basic preparations. The folder with all the .stl files is available for download at: headphones & headphone stand.
First of all, you have to choose the best arrangement of the models in the workspace. With the right position, you can print the headband with very little support. The same can be done for the earpads when placed horizontally.
In the Z-SUITE 2.1 you are free to edit the support structures and adjust them to the needs of your model using different modes. Here, we used the Face type to support the headphone stand.
It is highly recommended to use Z-ULTRAT for creating functional objects, such as in this case headphones. It is durable and perfect for various methods of post-processing.
Since there are almost no details on the model, feel free to set the layer thickness to 0.14mm. Choose high quality and set 30 or 50% infill density.
Once your models are prepared, it’s time to begin the printing.

Printing the Model

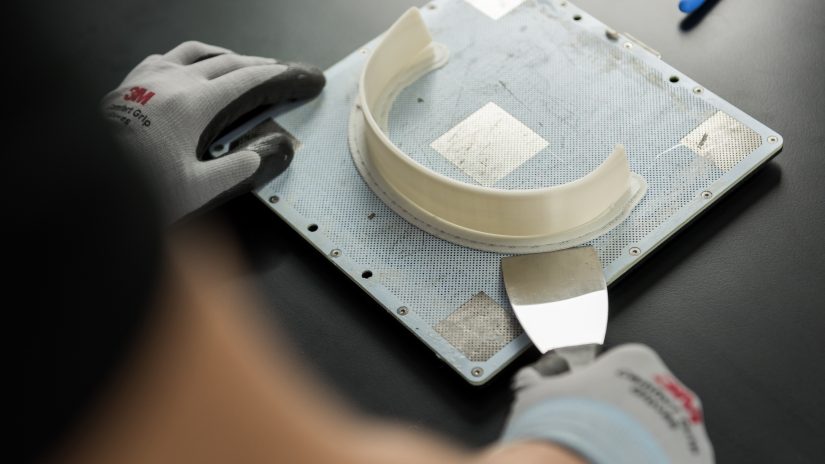
Once the printing process is completed and once the printer has cooled down, unplug the heatbed cable and remove the platform from the printer.
Use a spatula to remove the model from the platform.
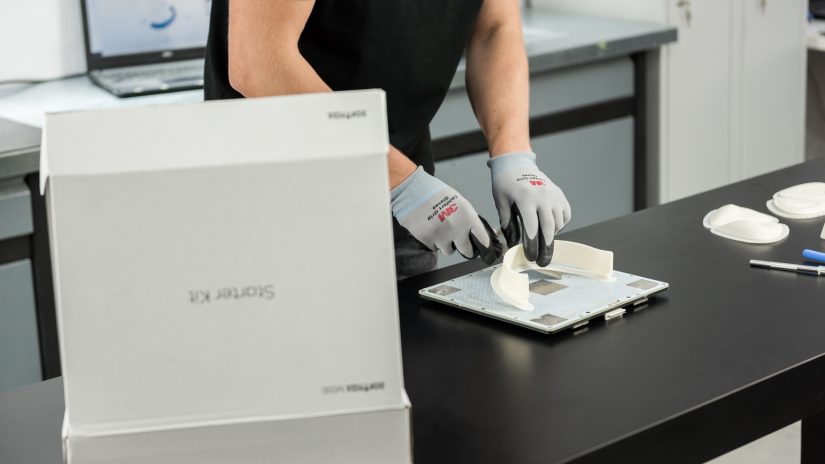
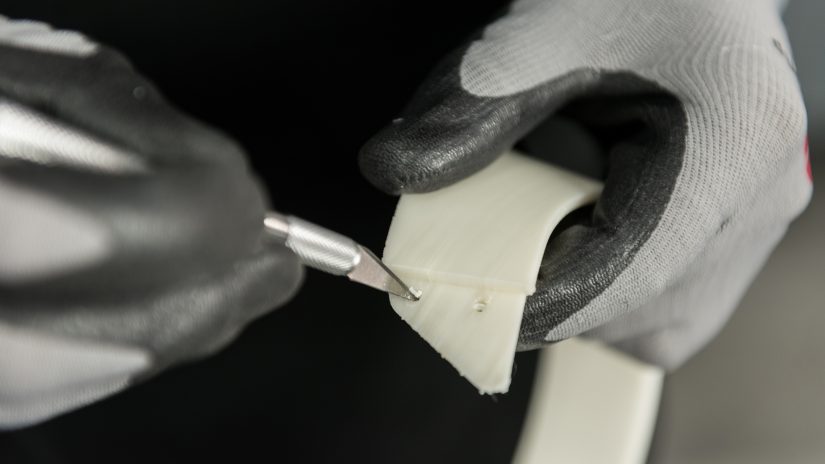
Removing the Support
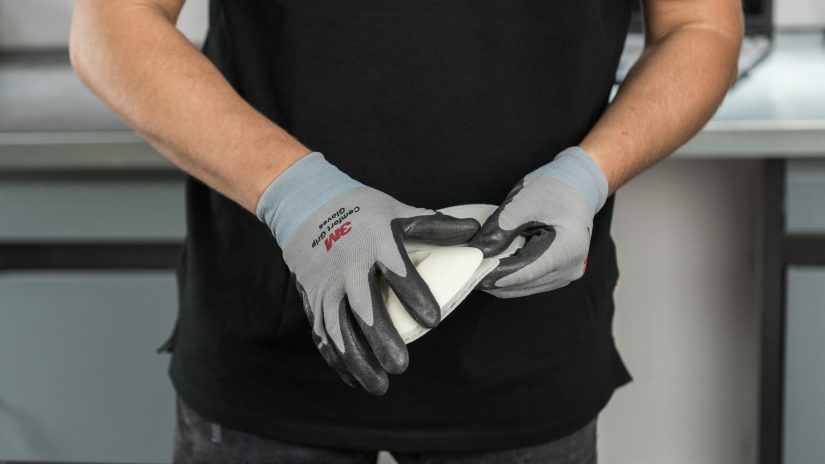
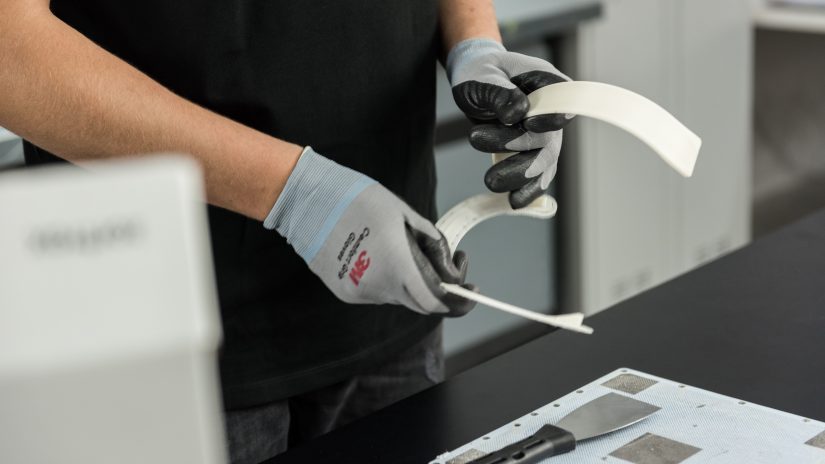
The post-processing has to begin with removing the raft from all the models – it breaks off of the objects easily.
Next, remove the remaining support from hard-to-reach areas of the headband with the scalpel.