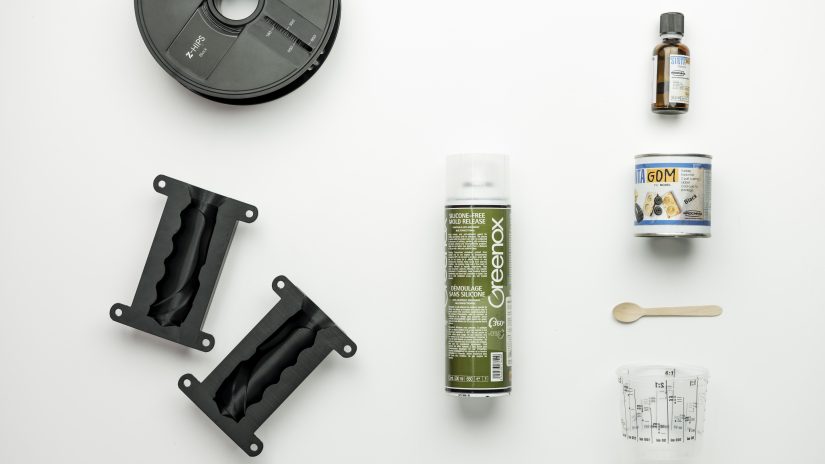
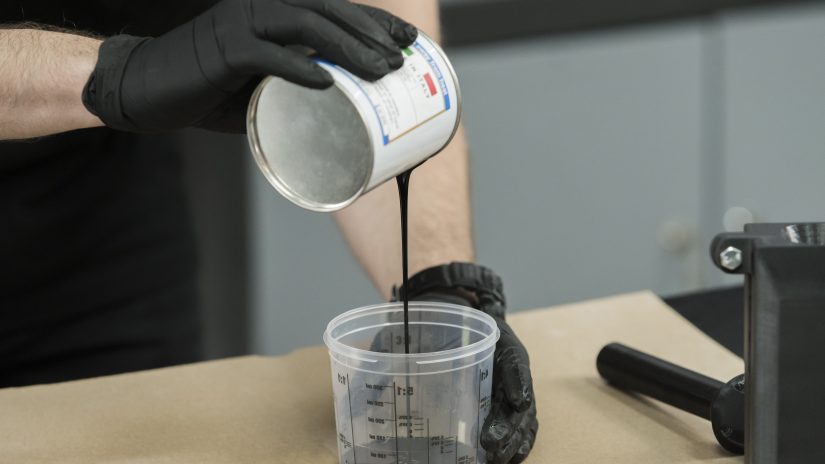
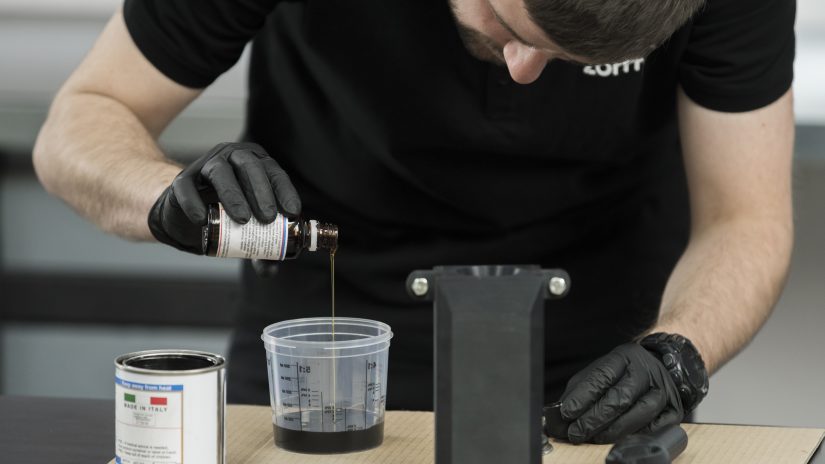
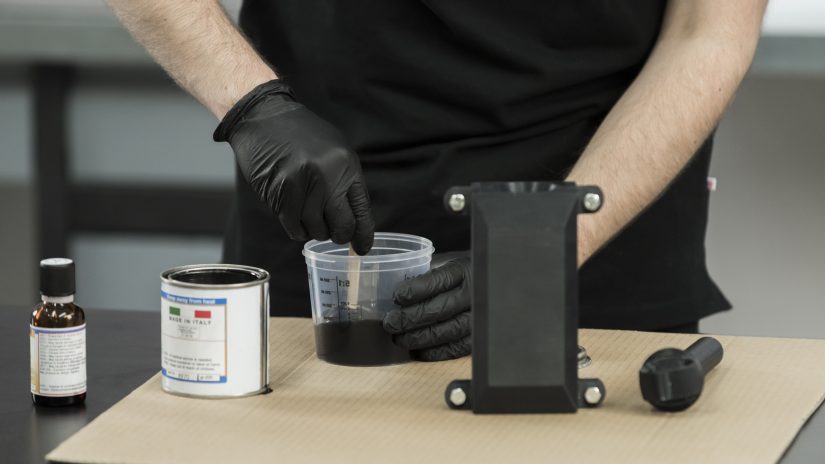
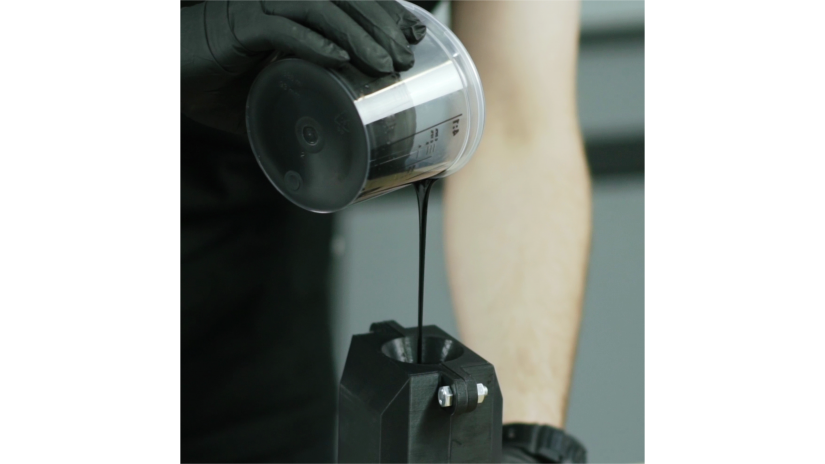
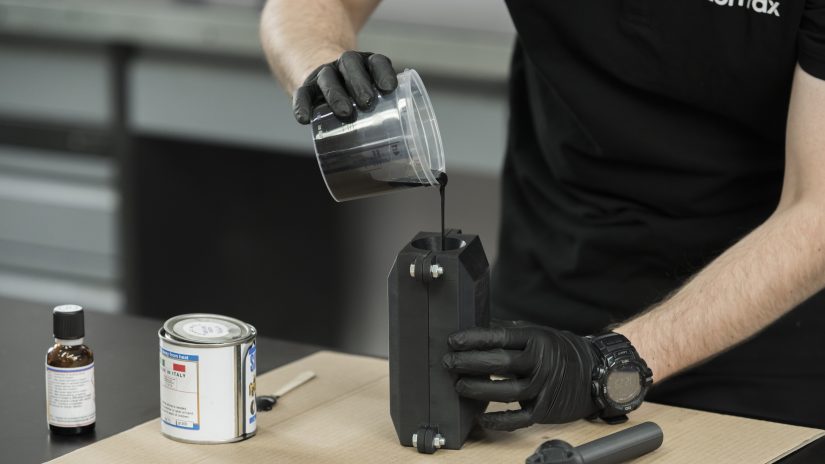
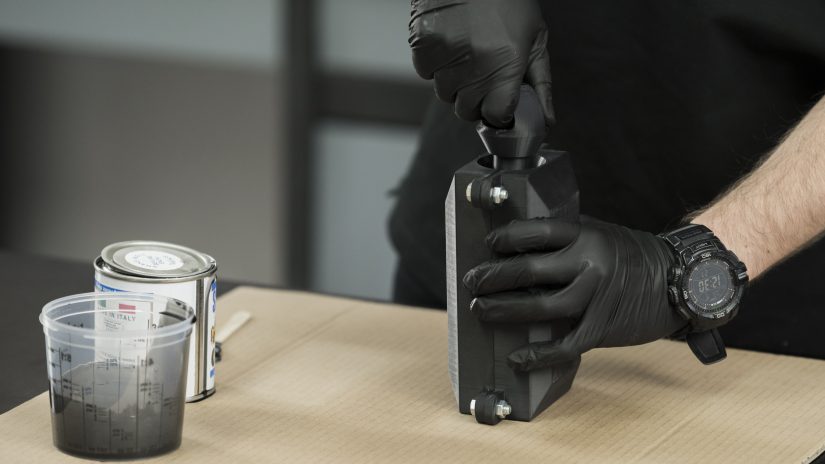
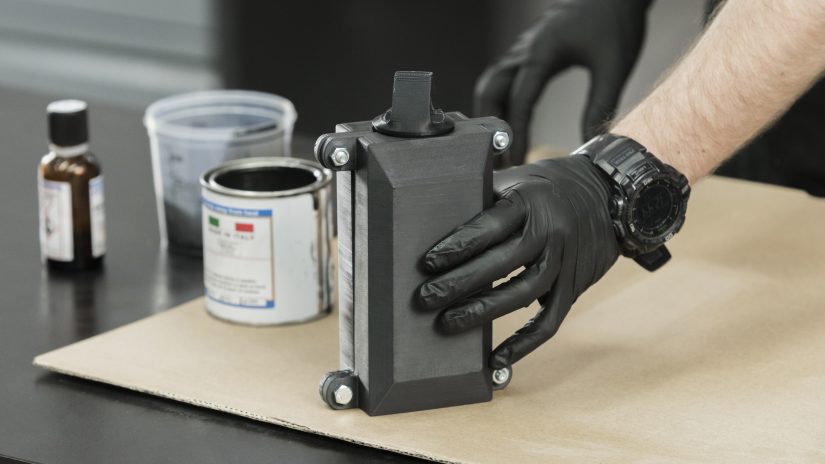
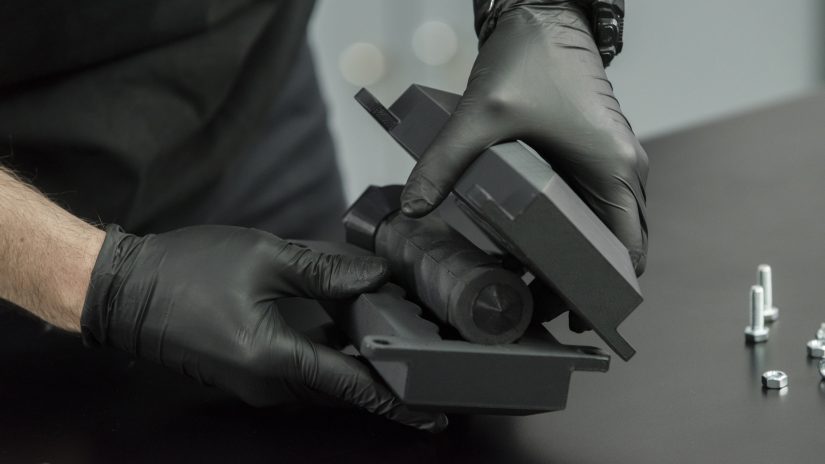
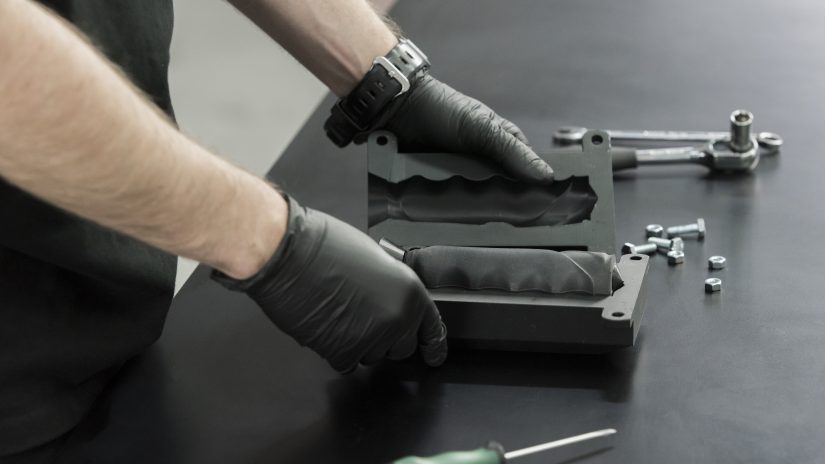
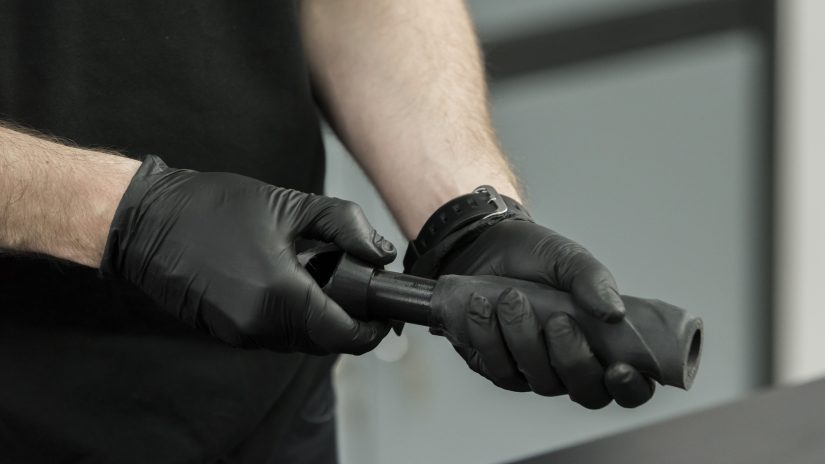
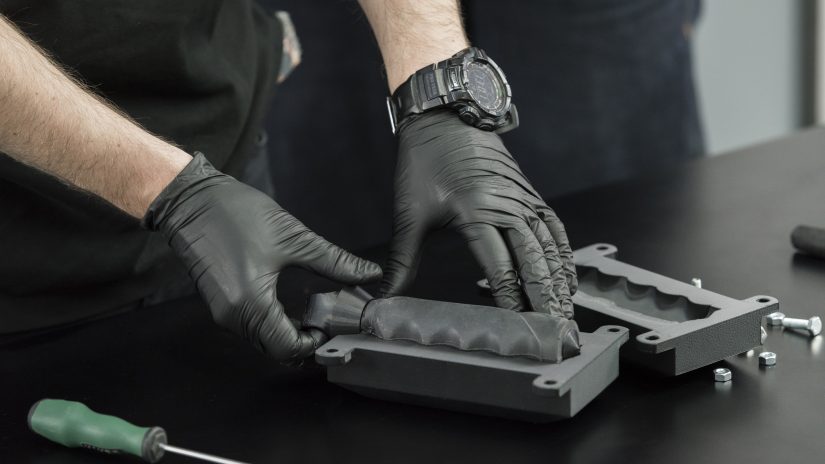
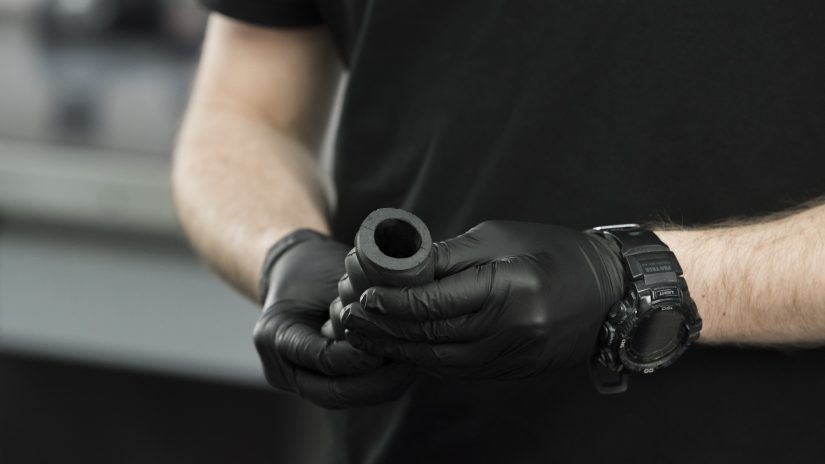
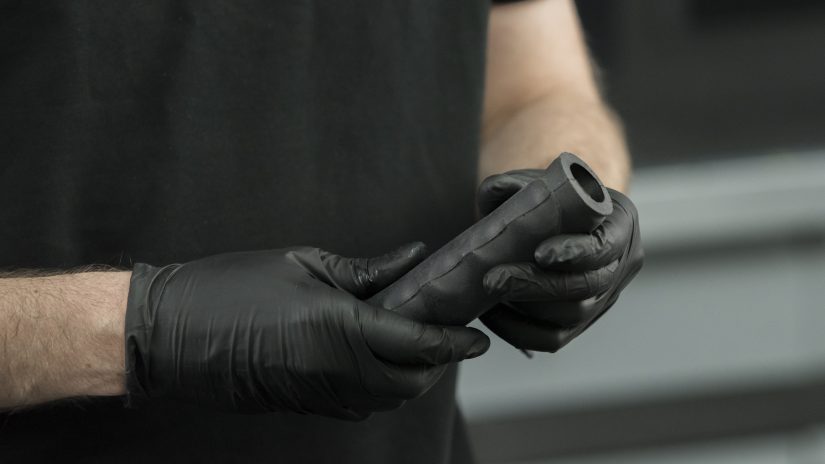
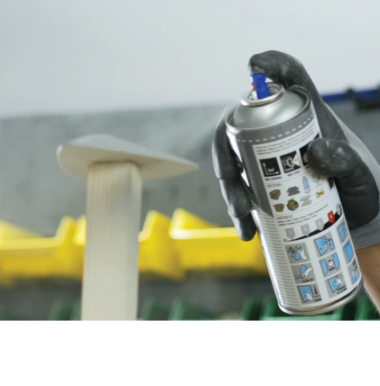
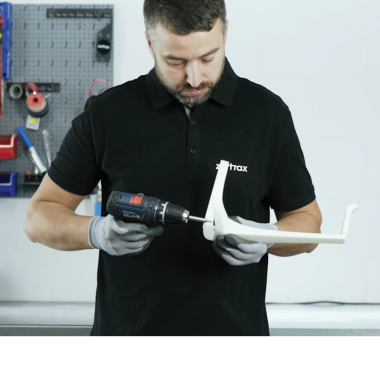
This episode is dedicated to molding. It is a popular manufacturing technique which involves using a printed mold to make a cast of another object. We’ll show you how to create a rubber handle with a previously 3D printed mold.
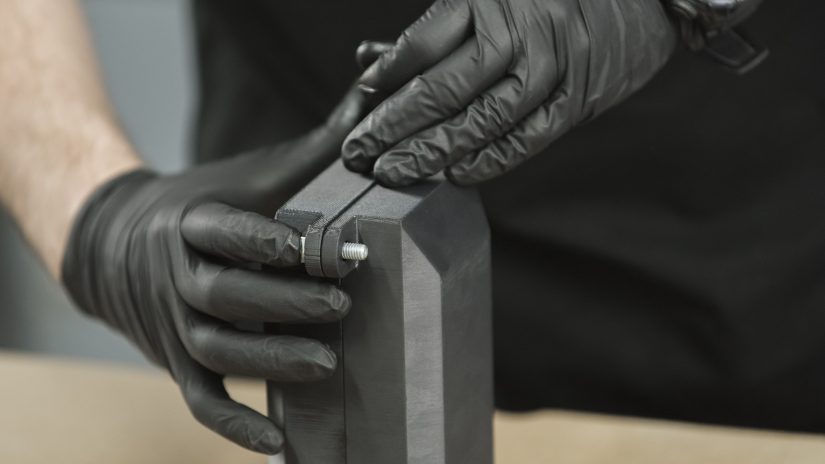
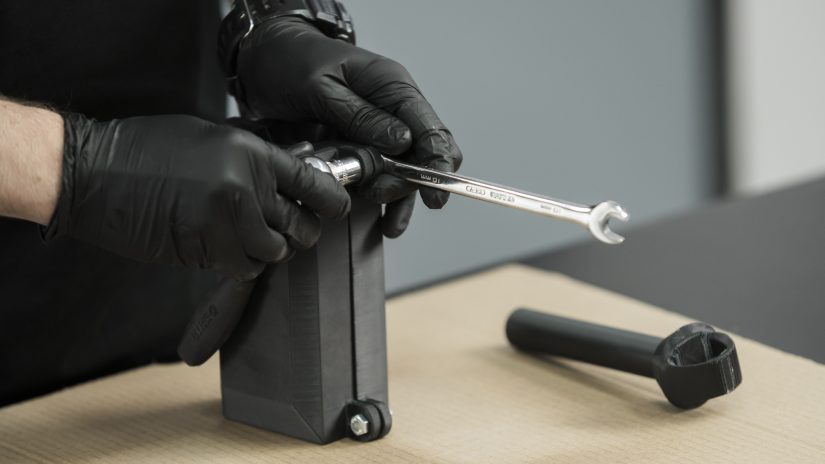
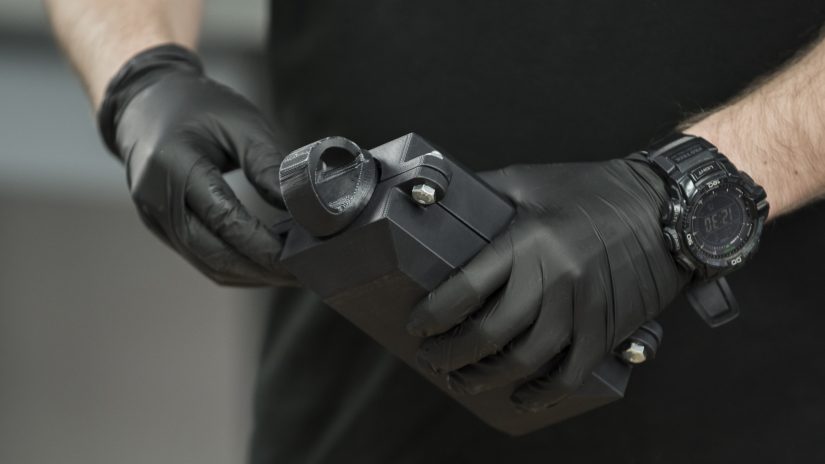
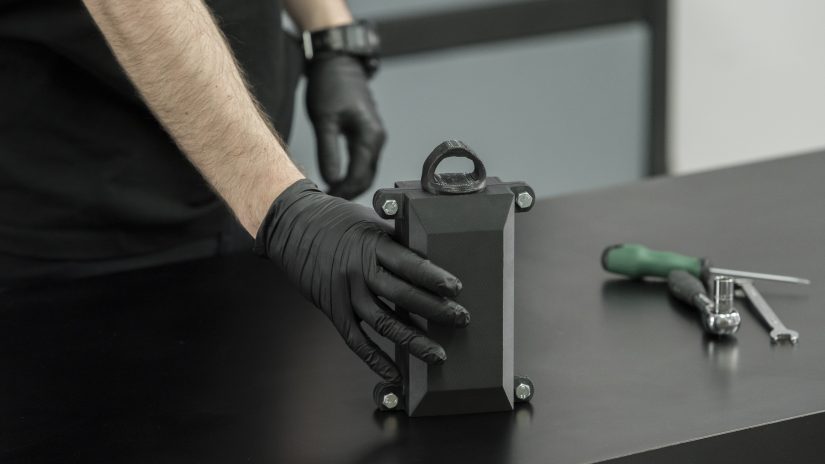
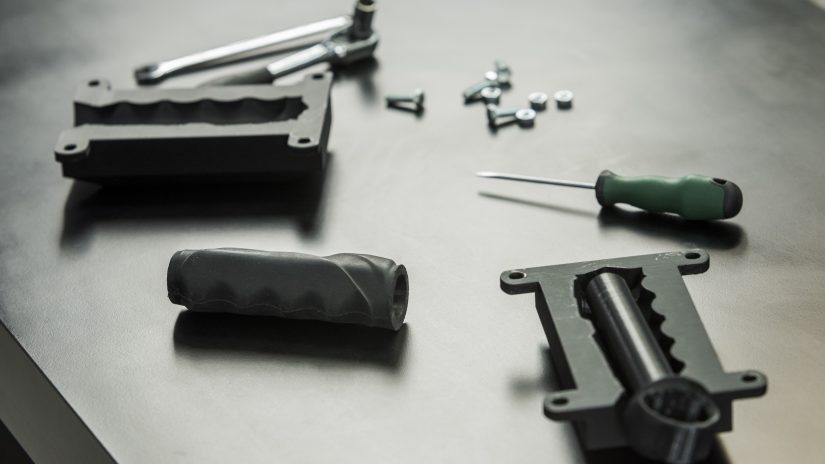
You have to print two parts: a mold which will contain the elastomer and a bolt that will help you make the handle empty inside. If you want to use our projects, they are available for download here. We used Z-HIPS to print both parts.
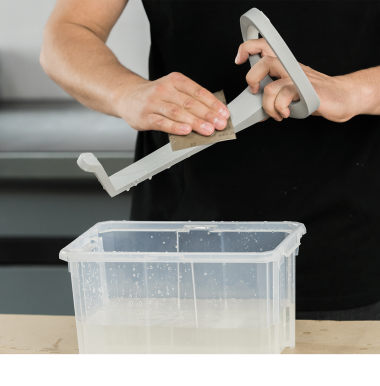
Check out the previous episode where we showed how to harden a print with resin and glass mat. It’s available here.
