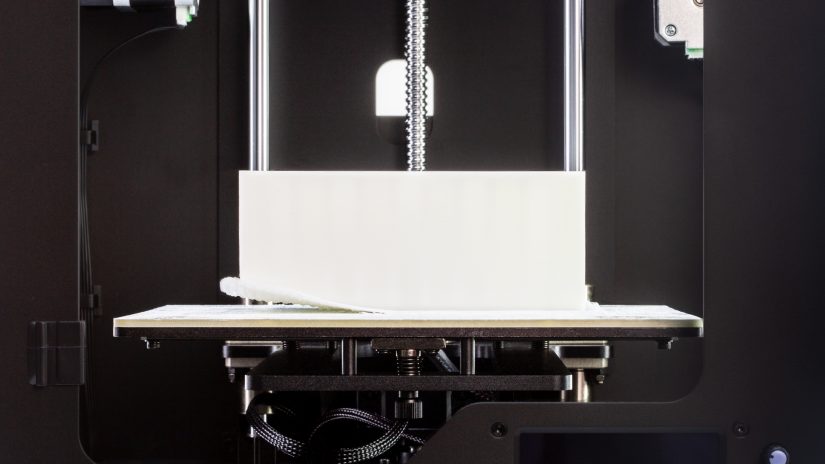
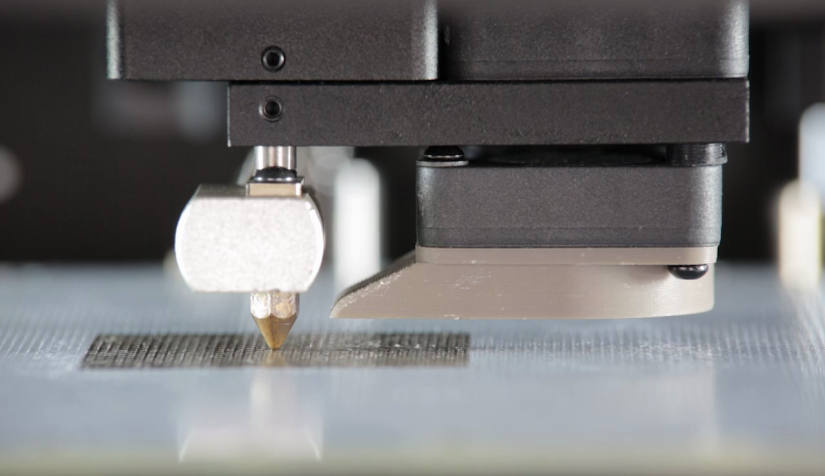
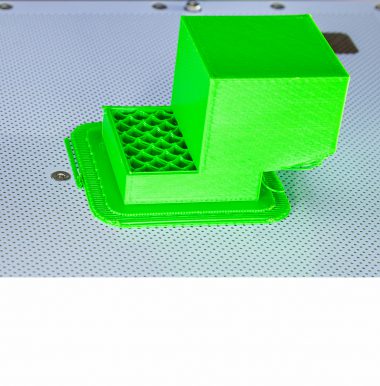
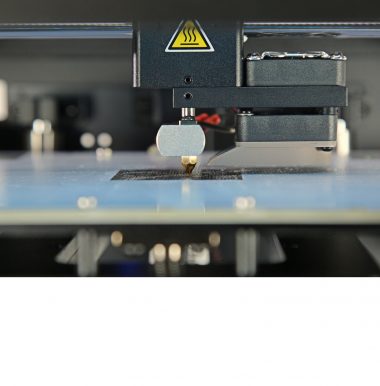
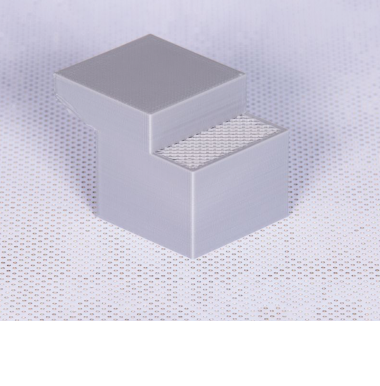
Warping is one of the most typical problems that can happen while 3D printing in the LPD technology. It usually occurs when a layer of material cools down after being extruded and deposited onto the platform. At the cooling stage, the material starts to shrink. Similarly, the next layers deposited on the already cooled layers shrink as they cool down. This results in creating stresses which pull the bottom layers upward and cause the corners of the print to detach from the platform. If cooling happens too quickly, for example because of strong air flows in the print room, more stresses can be created in the printed object, causing even greater deformation. That’s why, to prevent warping, at first you should make sure that there are no air flows around the printer. Close the windows and turn the air conditioning off. Also, print at a temperature between 21 and 28° C [70 – 82° F].
This manual provides more tips on how to avoid warping, and what to do once you notice that your models get deformed during the printing process.
Platform Calibration
The first step you should take once your prints become warped is to calibrate the platform. This procedure helps you to properly level the platform which makes it less possible for prints to deform during the printing process. The instructions on platform calibration are available in this manual.
Platform Maintenance
Platform maintenance is another procedure which improves adhesion in your printer. The instructions from the maintenance manuals will help you while dealing with adhesion problems and other printing issues.
Z-ABS Juice
If you’re still having troubles with platform adhesion, try coating the perforated plate with Z-ABS juice. It is a mixture of Z-ABS and acetone, which you can prepare on your own. See the manual.
One coat of Z-ABS juice is enough to achieve proper adhesion for several prints.
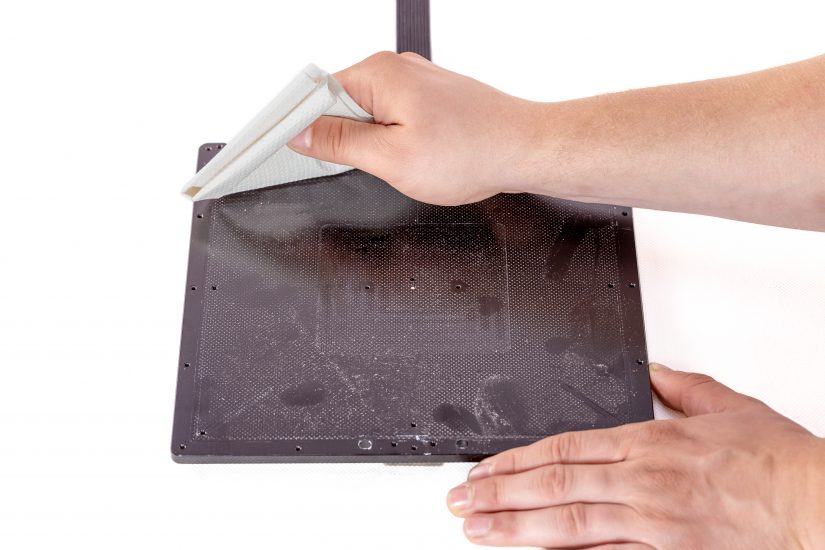
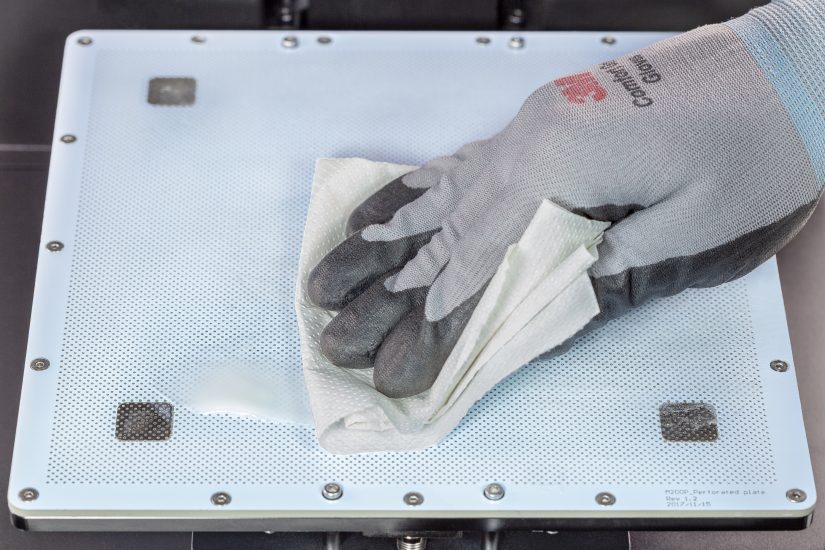
Remember that Z-ABS juice has to be applied while the platform is heated. Turn the printer on and wait until the plate heats up. Then, using a piece of cloth, apply a thin layer onto the perforated plate.
Side Covers & HEPA Cover
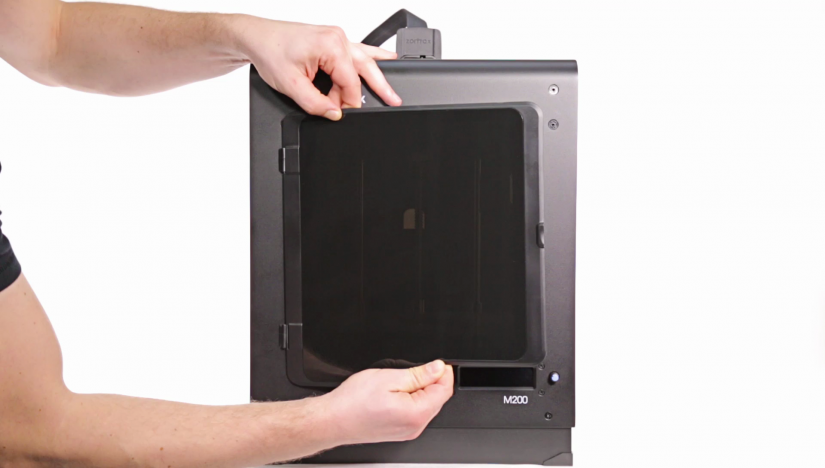
If you’re unable to provide the proper temperature in the print room (between 21 and 28° C [70 – 82° F]), isolate the printing chamber from the surroundings by installing side covers and a HEPA Cover in your printer. These accessories improve the printing conditions and protect your prints from temperature differences, and at the same time, reduce the risk of warping. This manual provides instructions on how to install side covers in your printer and this short film explains all the features of the HEPA Cover.
Z-SUITE & Firmware Update
Sometimes warping can occur if the software version you’re using hasn’t been updated. This also applies to the firmware version. All software and firmware updates include fixes and printing quality improvements.
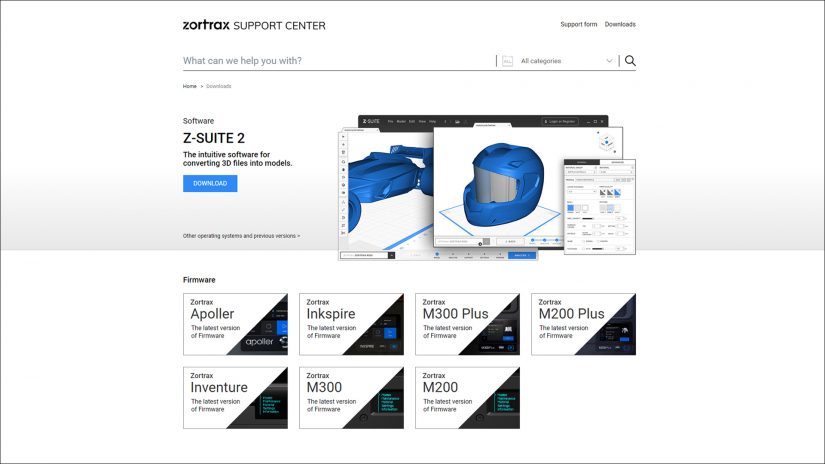
Always update the software and firmware in your device. You will find the latest updates in the Downloads section.
Z-SUITE Adjustments
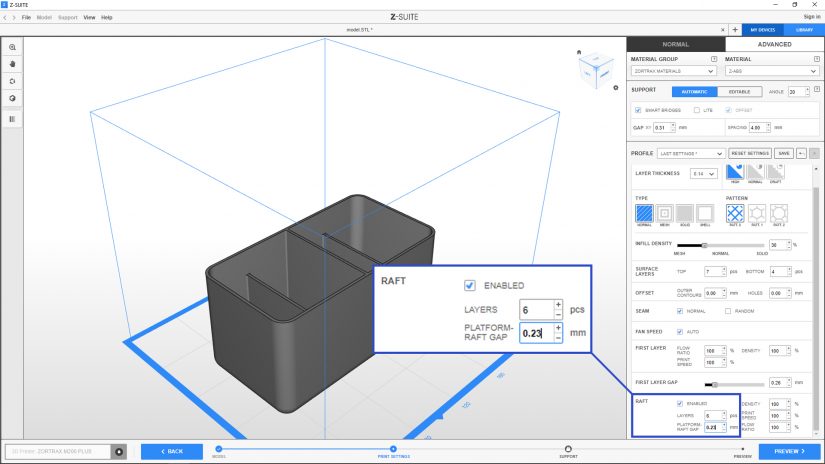
1. If the above measures do not help and you're still having adhesion problems, try one of the following Z-SUITE adjustments while preparing the model for printing:
Open the Advanced menu in the Print Settings step and decrease the Platform-raft gap value,
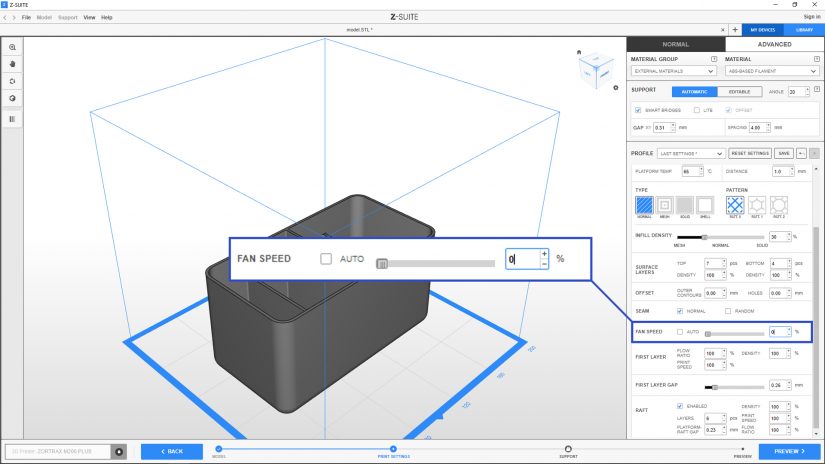
2. Open the Advanced menu in the Print Settings step and uncheck the Auto option, next reduce the Fan Speed to 0%,
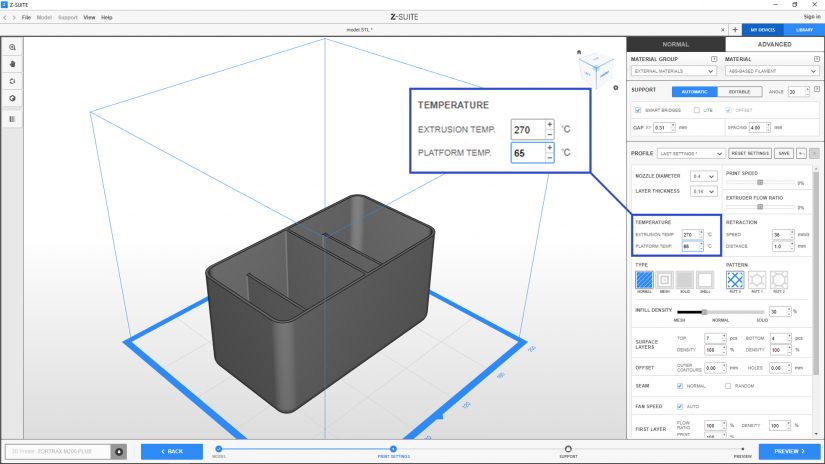
3. Increase the Platform temperature. This option is available in the External materials section in the Print Settings step. It is available for Zortrax materials and external materials as well,
1. If the above measures do not help and you're still having adhesion problems, try one of the following Z-SUITE adjustments while preparing the model for printing:
Open the Advanced menu in the Print Settings step and decrease the Platform-raft gap value,
2. Open the Advanced menu in the Print Settings step and uncheck the Auto option, next reduce the Fan Speed to 0%,
3. Increase the Platform temperature. This option is available in the External materials section in the Print Settings step. It is available for Zortrax materials and external materials as well,
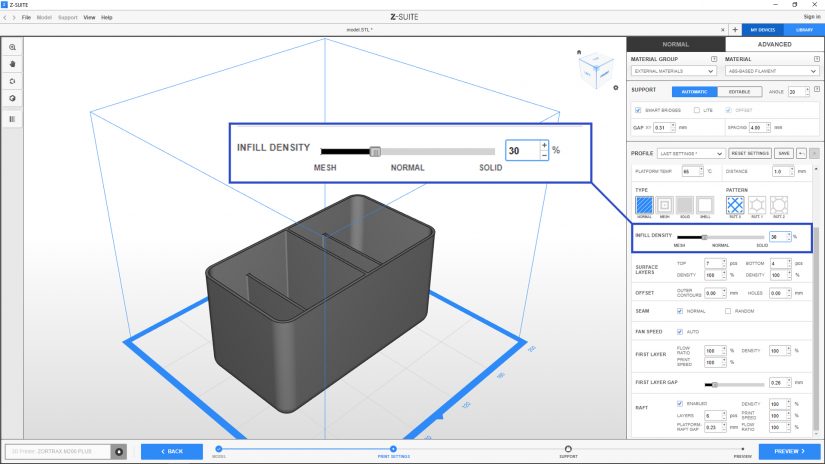
4. Decrease the Infill density value in the Print Settings step,
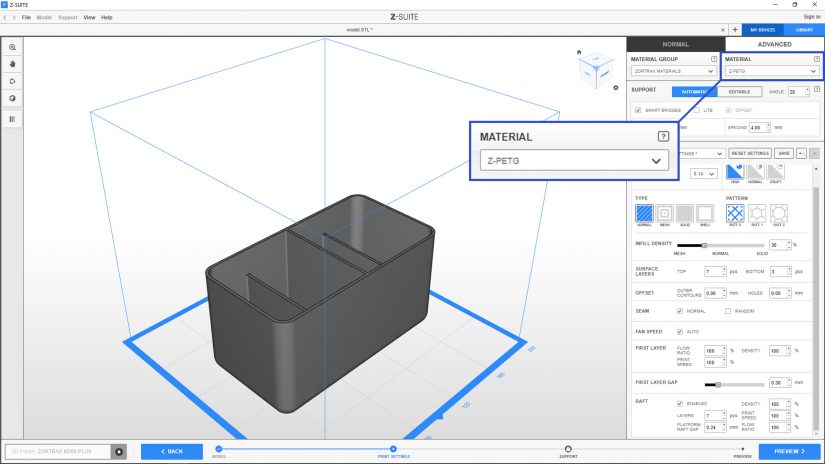
5. If adjusting the above settings does not help, try printing with a material of low shrinkage, for example Z-PETG. Change the material type in the Material group section in the Print Settings step, and remember to change the spool before the printing process.

