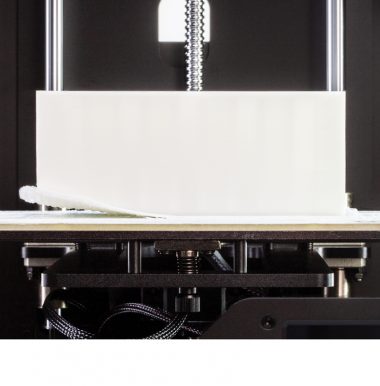
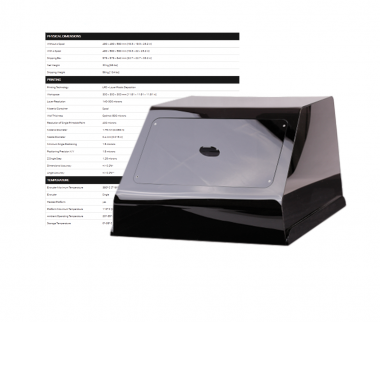
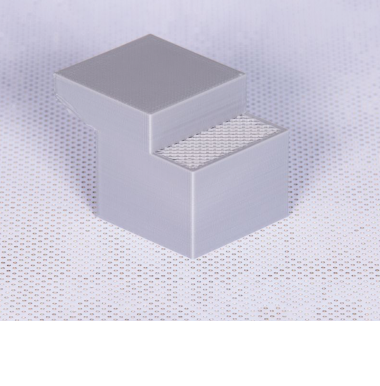
The side covers are plastic panels that can be easily attached to the housing of the printer. They have been designed to provide protection from drafts and temperature differences that can occur in the printing room. Constant temperature inside the printing chamber is important to prevent cracks and warping. The side covers protect the model during the printing process and help it to adhere better to the platform. The set of covers consists of two side covers, one front cover, magnets and hinges. The front panel is fixed to the housing with two hinges and closed by hidden magnets, whereas the side panels snap on.
We especially recommend using the side covers especially for large-sized prints and prints made of materials with high or medium shrinkage level, like Z-ABS.
| The following manual shows the M200 repair work. For the M300, M200 Plus and M300 Plus these procedures are the same. |
Unplugging the Power Cable
Turn off the printer and unplug the power cable.
Front Cover Installation
Upper Magnet Installation
Prepare one magnet and the positioning element marked UP, and put them together. Peel off the security tape of the magnet and glue it inside the housing.
The positioning elements marked UP and DOWN help to determine the height at which the magnets should be placed.
Lower Magnet Installation
Prepare the other magnet and the positioning element marked DOWN, and put them together. Peel off the security tape of the magnet and glue it inside the housing.
Upper Hinge Installation
Remove the security tape from the upper hinge using a scalpel and tweezers. Attach the hinge to the frame of the printer. The positioning element will help you set the front cover in the housing properly.
Lower Hinge Installation
Remove the security tape from the lower hinge using a scalpel and tweezers. Attach the hinge to the frame of the printer. The positioning element will help you set the front cover in the housing properly.
Front Cover Installation
Install the front cover in the hinges.
Side Covers Installation
Attach the side cover to the housing and push the cover gently until it clicks into place. Repeat with the other cover on the other side of the housing.
Plugging the Power Cable
Plug the power cable in.


