Communication between the Android PCB (also called GUI PCB) and the motherboard ensures the printer’s proper operation and allows users to control both the device and printing. The Android PCB regulates the printer’s interface through which users select commands so that the motherboard can properly respond before and during the printing process. Sometimes, data transfer between these two components can be disrupted when connectors on the motherboard become detached or, in the rare case, one of the PCBs is malfunctioning.
Signs that indicate Android-motherboard communication problems include:
-a notification with the Error #8 or #19,
-grey/white/black background that displays on the screen upon the printer’s startup or during the printing process,
-incomplete booting process – the Zortrax’s logo does not disappear from the screen upon the printer’s startup and the main menu cannot be accessed,
-problems with firmware update – the whole process freezes and cannot be completed.
Follow the steps from this manual once your printer has one of those issues.
Android PCB-Motherboard Communication Problem
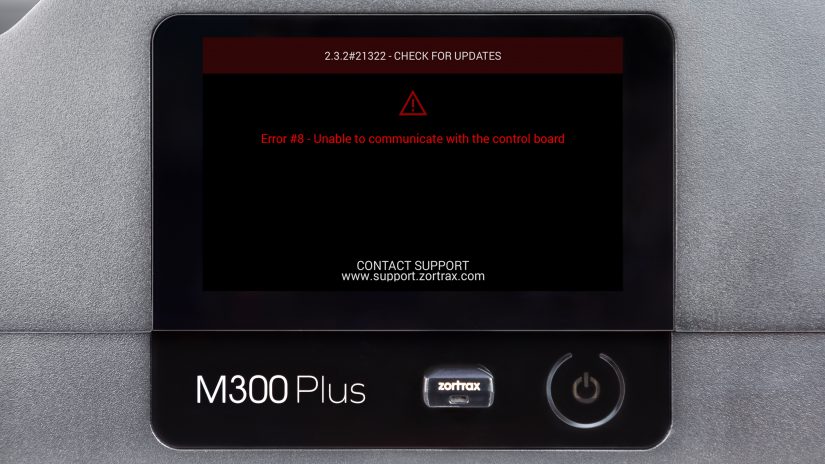
The picture shows a firmware message that indicates an Android PCB-motherboard communication problem. Once you receive this notification, follow the steps from this manual.

Checking Motherboard Connections
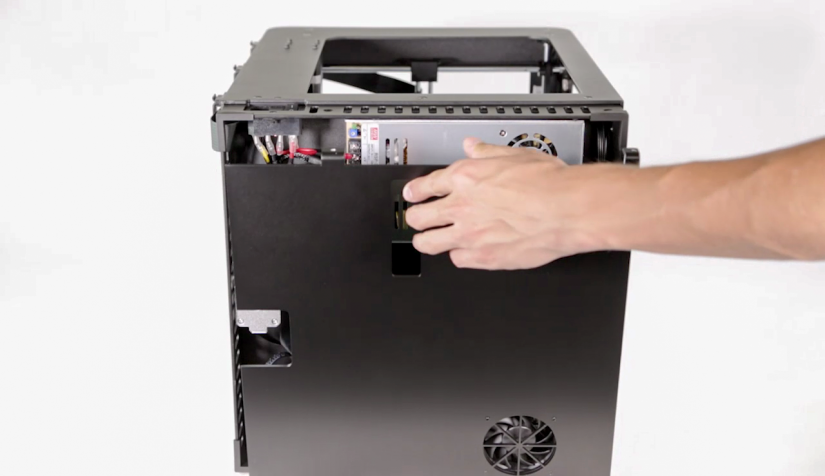
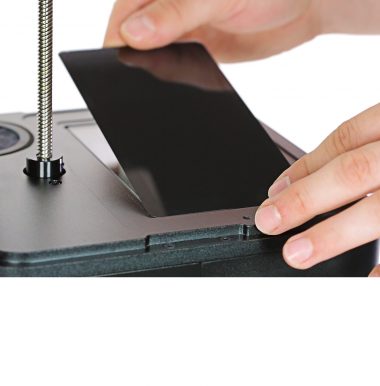
Turn the printer off. Grab the printer’s housing and change the printer’s position so that you can easily access the bottom plate. Unscrew the four screws that secure the bottom plate.
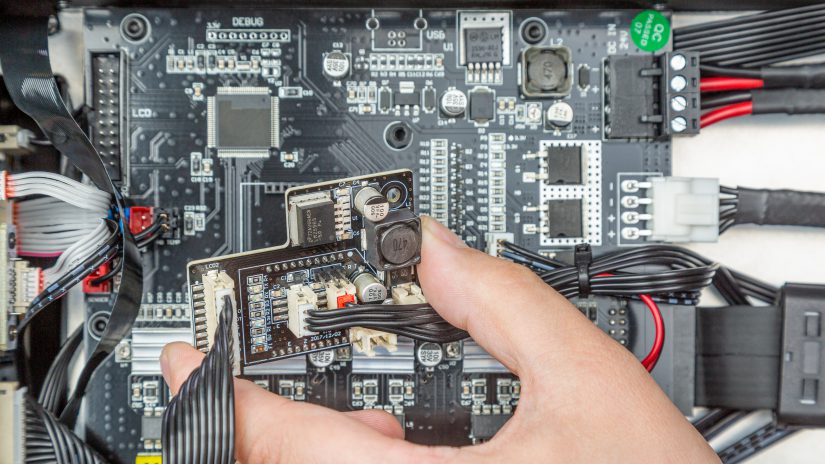
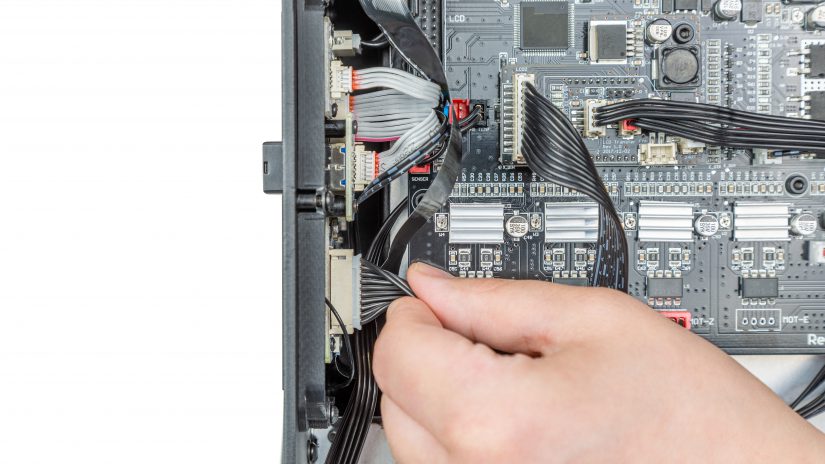
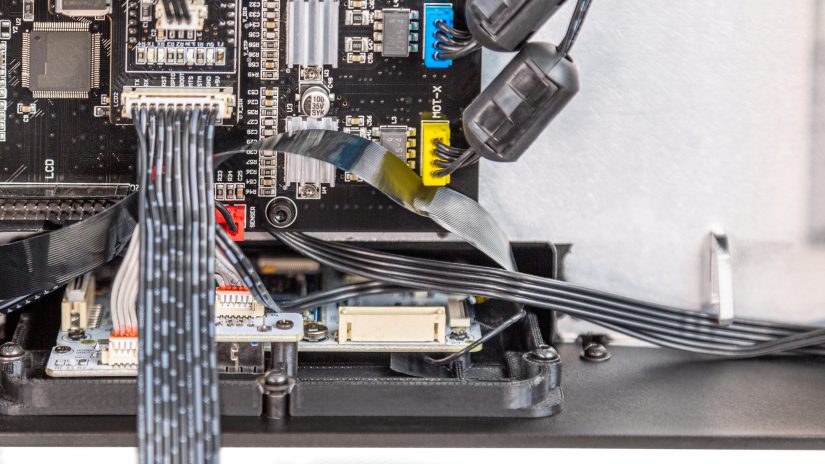
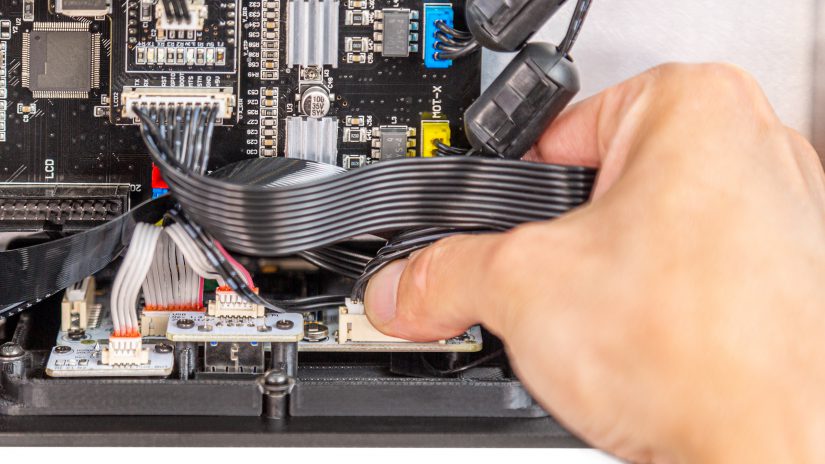
Next, check the following connections on the motherboard:
-all cables that are connected to the LCD through (picture no. 1),
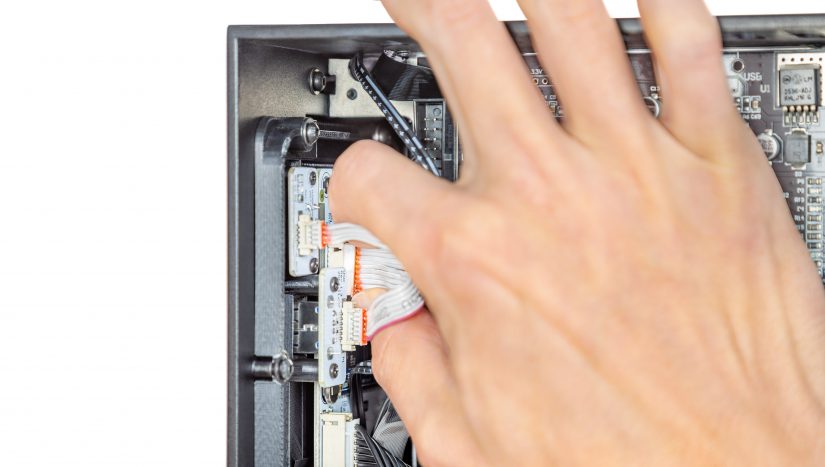
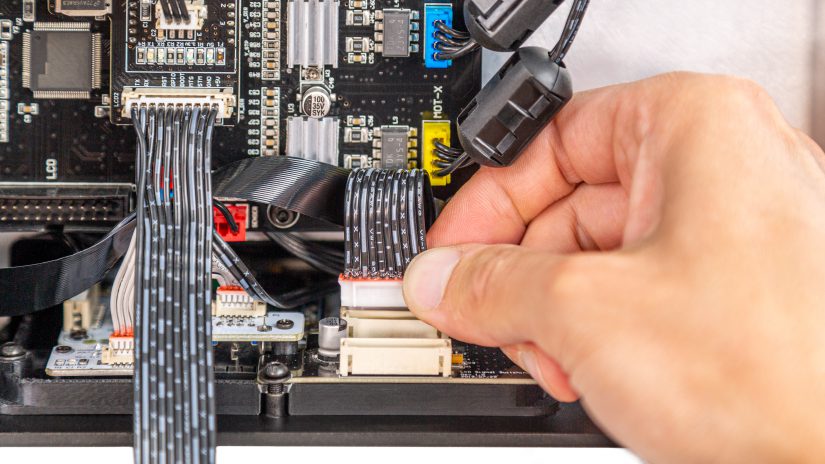
-Android cable to the Android PCB (picture no. 2),
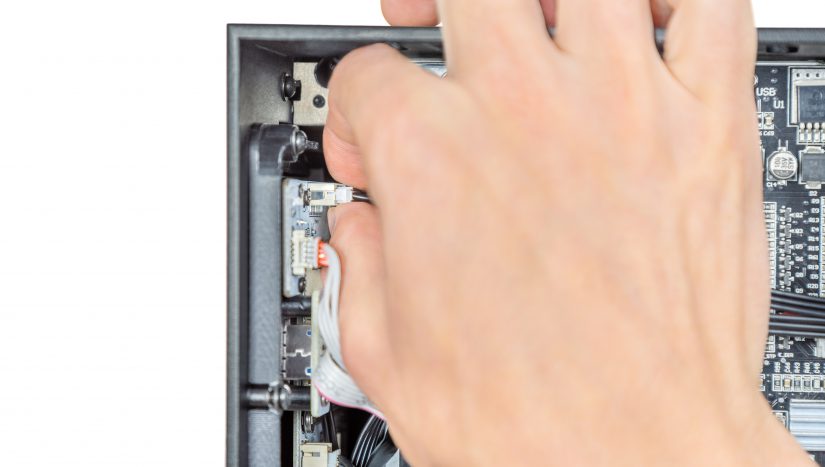
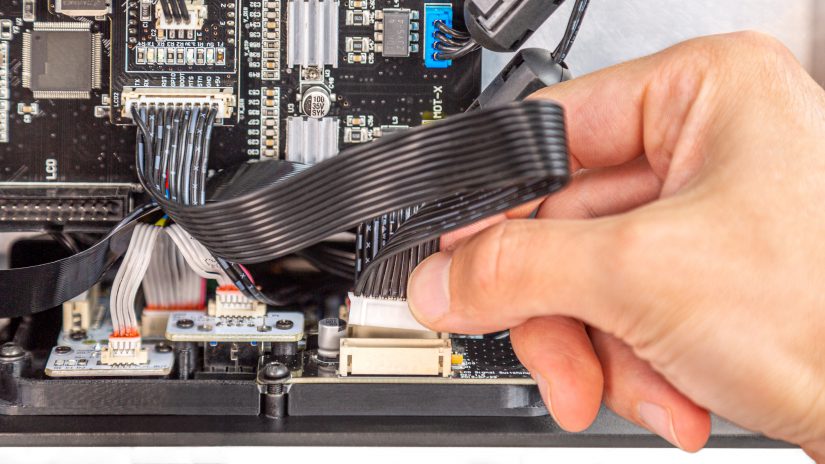
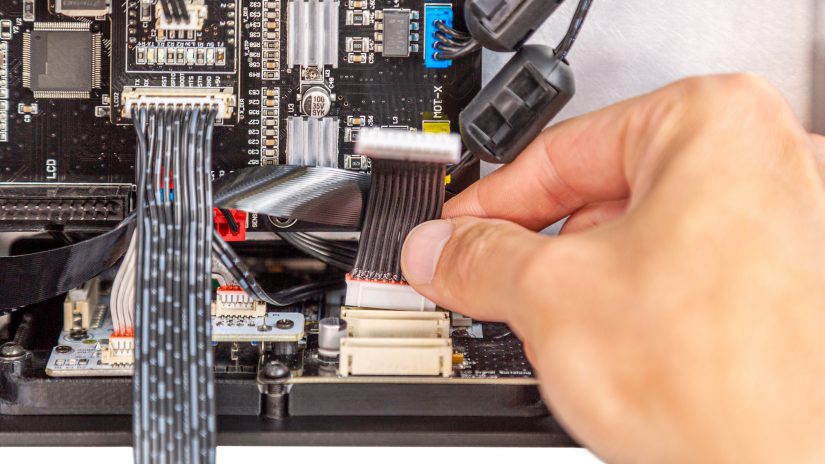
-all cables on the Android PCB (picture no. 3 and 4).
It’s best to unplug and plug these connectors in again. Next, plug the power cable in and turn the printer on. If this solution does not help, move on to the next step of this manual.
Signal Adapter Removal
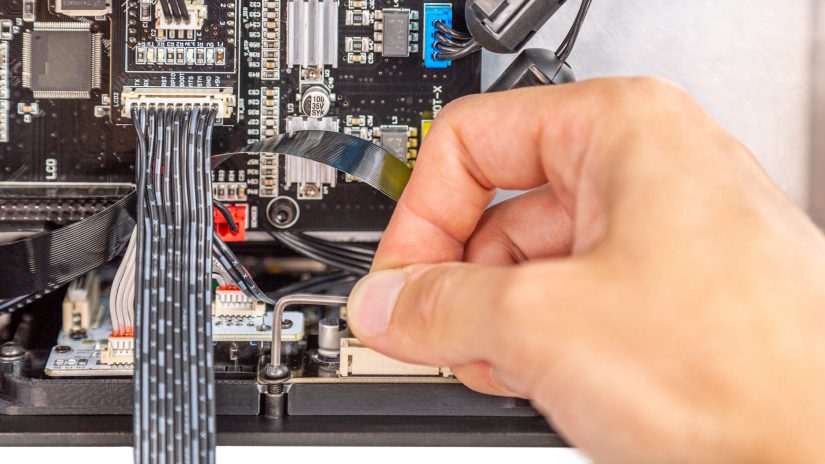
If your printer is equipped with a signal adapter:
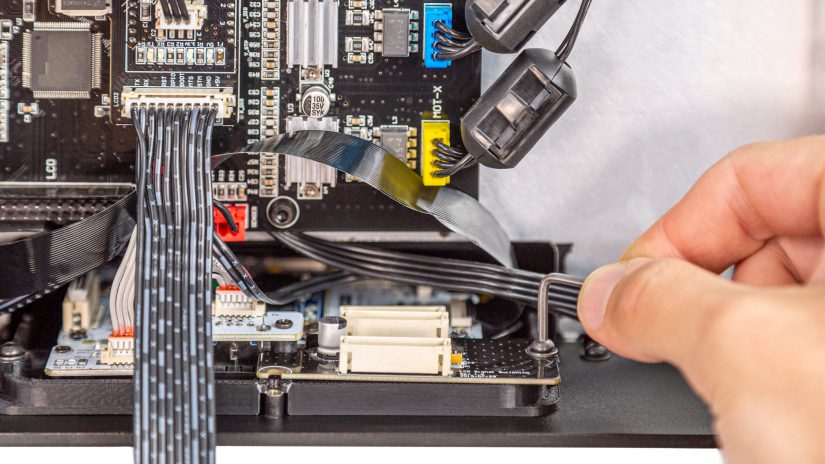
Unplug the three cables from the signal adapter and unscrew the two screws that secure it. Remove the adapter from the motherboard and plug in the cable shown in the picture no. 7. Turn the printer on.
If this solution does not help with the problem, contact Customer Support through the support form available at: support.zortrax.com/support-form.


