The LCD screen is the flat-panel display essential for 3D printing in the UV LCD technology. It is responsible for projecting images of layers on the underside of the resin tank during the whole printing process. It also masks the UV light so that the resin that is outside the image of a layer is not cured and can be used to print the rest of the model. Therefore, if the LCD screen does not work properly and does not project any image, or it is damaged and has visible cracks, you should replace it before restarting the printing process. Follow the instructions from this manual to replace the LCD screen.
NOTE! The LCD screen has suggested replacement time of about 200 working hours. This period highly depends on the type of resin you use most often. To ensure the highest possible lifespan of the screen, perform regular maintenance according to the maintenance guide.
UV Cover Removal
Remove the UV cover.
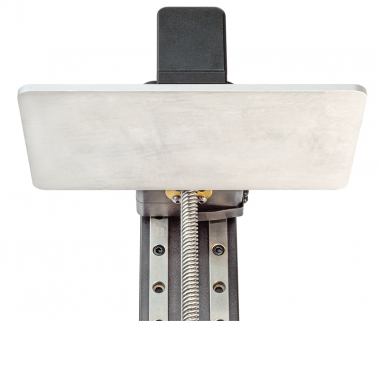
Lifting up the Platform
From the menu select “Tools,” “Platform” and “Move the platform.” Keep the UP arrow pressed to lift the platform.
Unplugging the Power Cable
Turn off the printer and unplug the power cable.
Unscrewing the Inspection Hatch Cover
Unscrew the two screws that secure the inspection hatch cover. Next, remove the cover using the adhesive piece.
Unplugging the LCD Screen Cable
Use tweezers to unplug the LCD screen cable from the PCB.
Resin Tank Removal
Loosen the two screws that secure the resin tank. Next, remove the tank.
LCD Screen Removal
Stick both adhesive pieces to the left side of the LCD screen and pull them upwards to lift the LCD screen. Remove the LCD screen cable from the slot in the housing and remove the screen.
LCD Screen Installation
Carefully remove the protective foils from the new LCD screen. Next, pass the screen cable through the slot in the housing. Use tweezers to take out the cable from behind the PCB. Install the screen in its place.
Resin Tank Installation
Install the resin tank in its place and tighten the two screws.
Plugging the LCD Screen Cable
Plug the LCD screen cable into the PCB.
Securing the Inspection Hatch Cover
Install the inspection hatch cover in its place and secure it with the two screws.