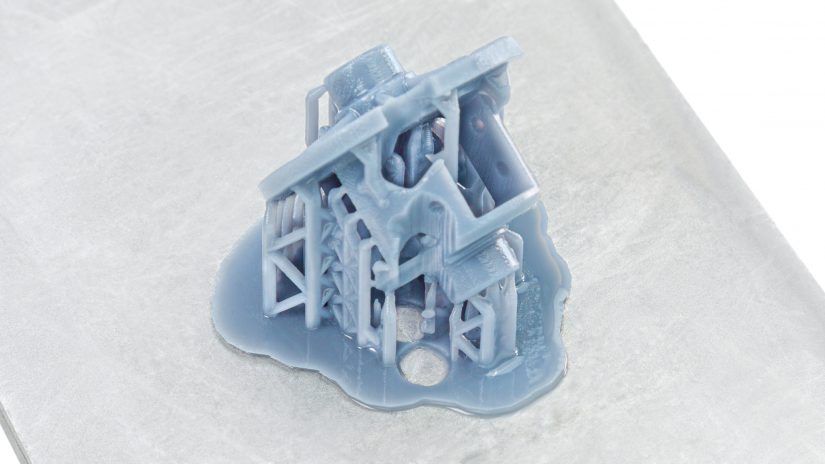
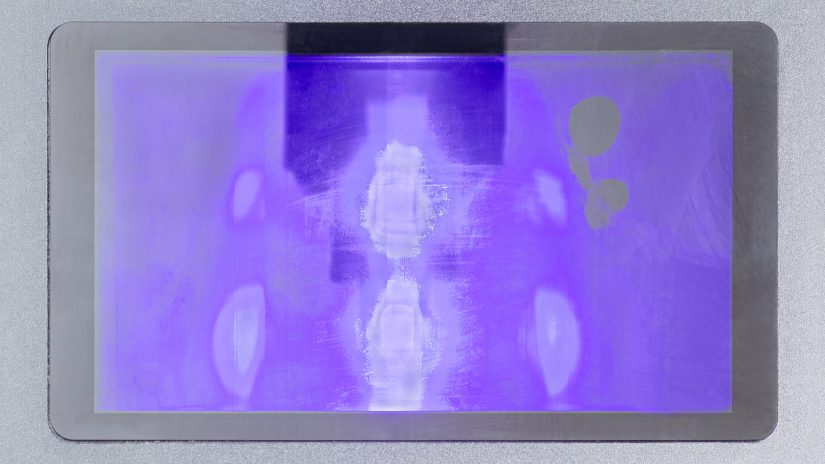
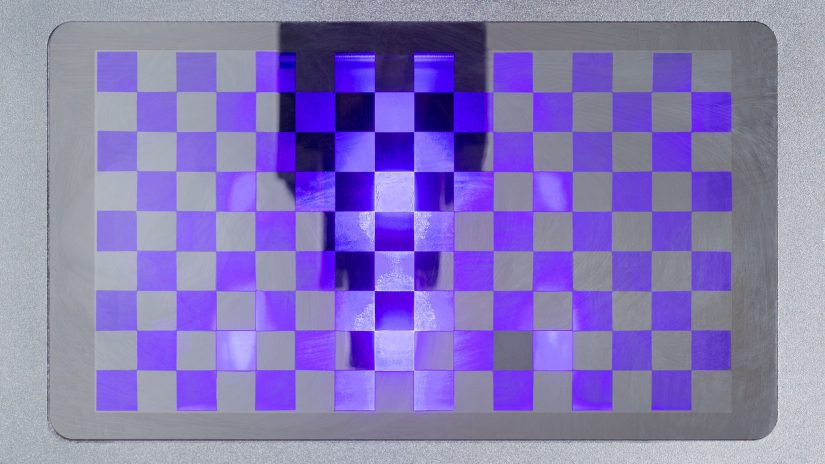
Keeping the resin tank in good condition is crucial for producing successful prints. Any residue of cured resin that remain on the FEP film during the printing process can block the UV light and influence the quality of your models. If you don’t clean the FEP film from bits of cured resin before you start to print, you will notice defects in the final object, for example, some part of it may not be printed at all. In addition, the same effect can be caused by a damaged or worn out LCD screen. If there are discolored stains or cracks on the screen, the UV light will not be able to properly cure the liquid resin during the printing. Remember that you should always be very careful when installing the resin tank. Follow the maintenance guides from this manual and learn how you should inspect the LCD screen.
Cleaning the FEP Film
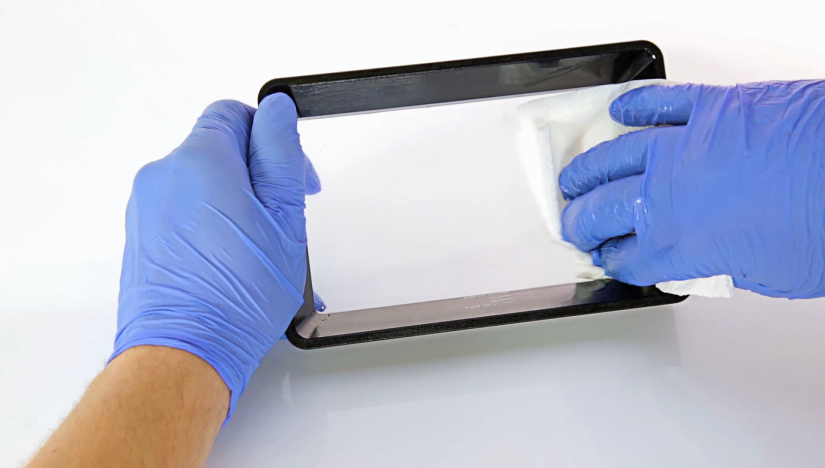
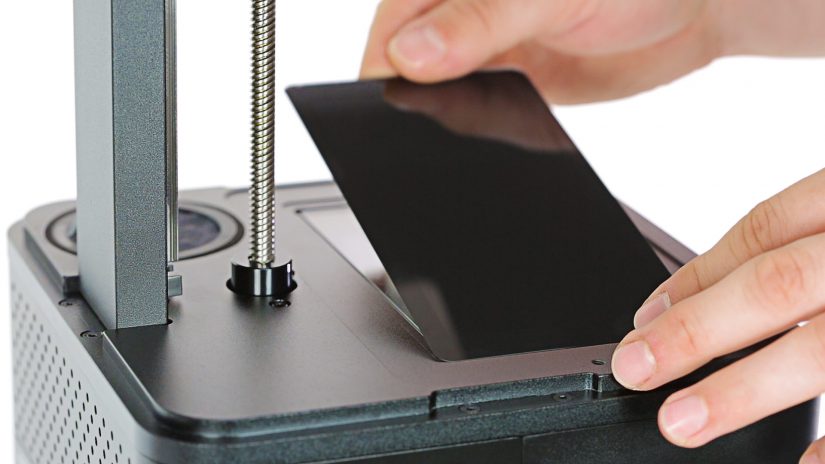
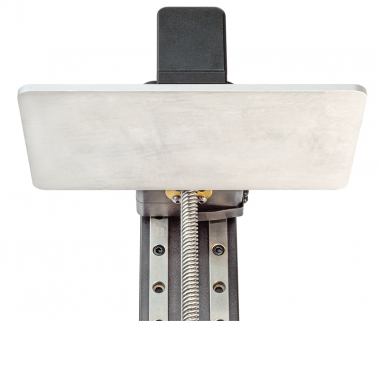
Thoroughly clean the resin tank and FEP film using a paper towel soaked in isopropyl alcohol. If there is cured resin on the film, remove it with a plastic spatula. More details are available at: resin tank cleaning.
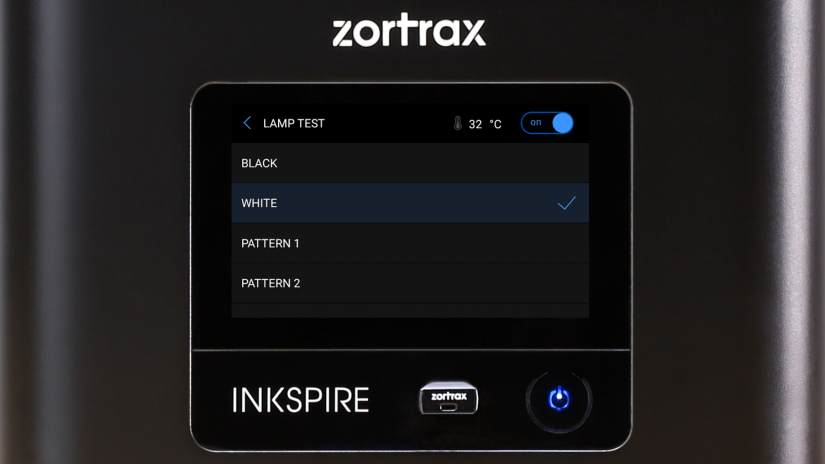
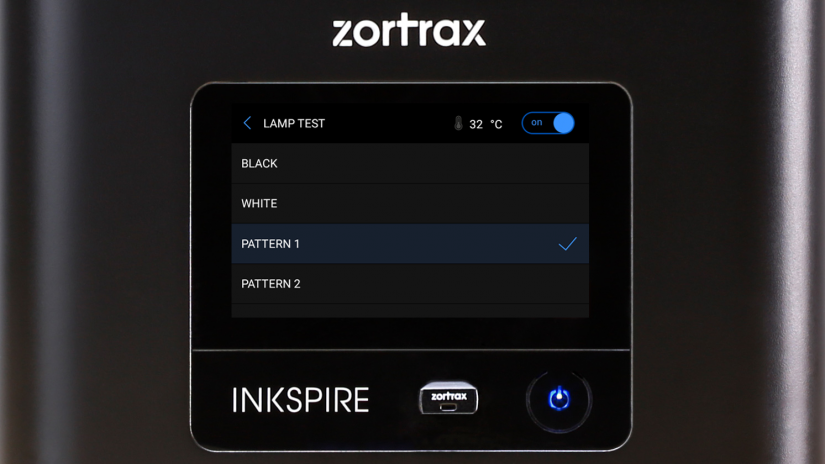
LCD Screen Replacement
If stains are clearly visible on the screen, replace it according to this manual: LCD screen replacement.


