Maintenance work should be regular in order to keep the printer in good condition and achieve high quality prints every time. Some parts require maintenance before each print and some every few hundred working hours. All maintenance activities do not take much time and are not complicated. Before commencing any repair, it is important to turn off the printer and let it cool down. Remember to always wear gloves and glasses.
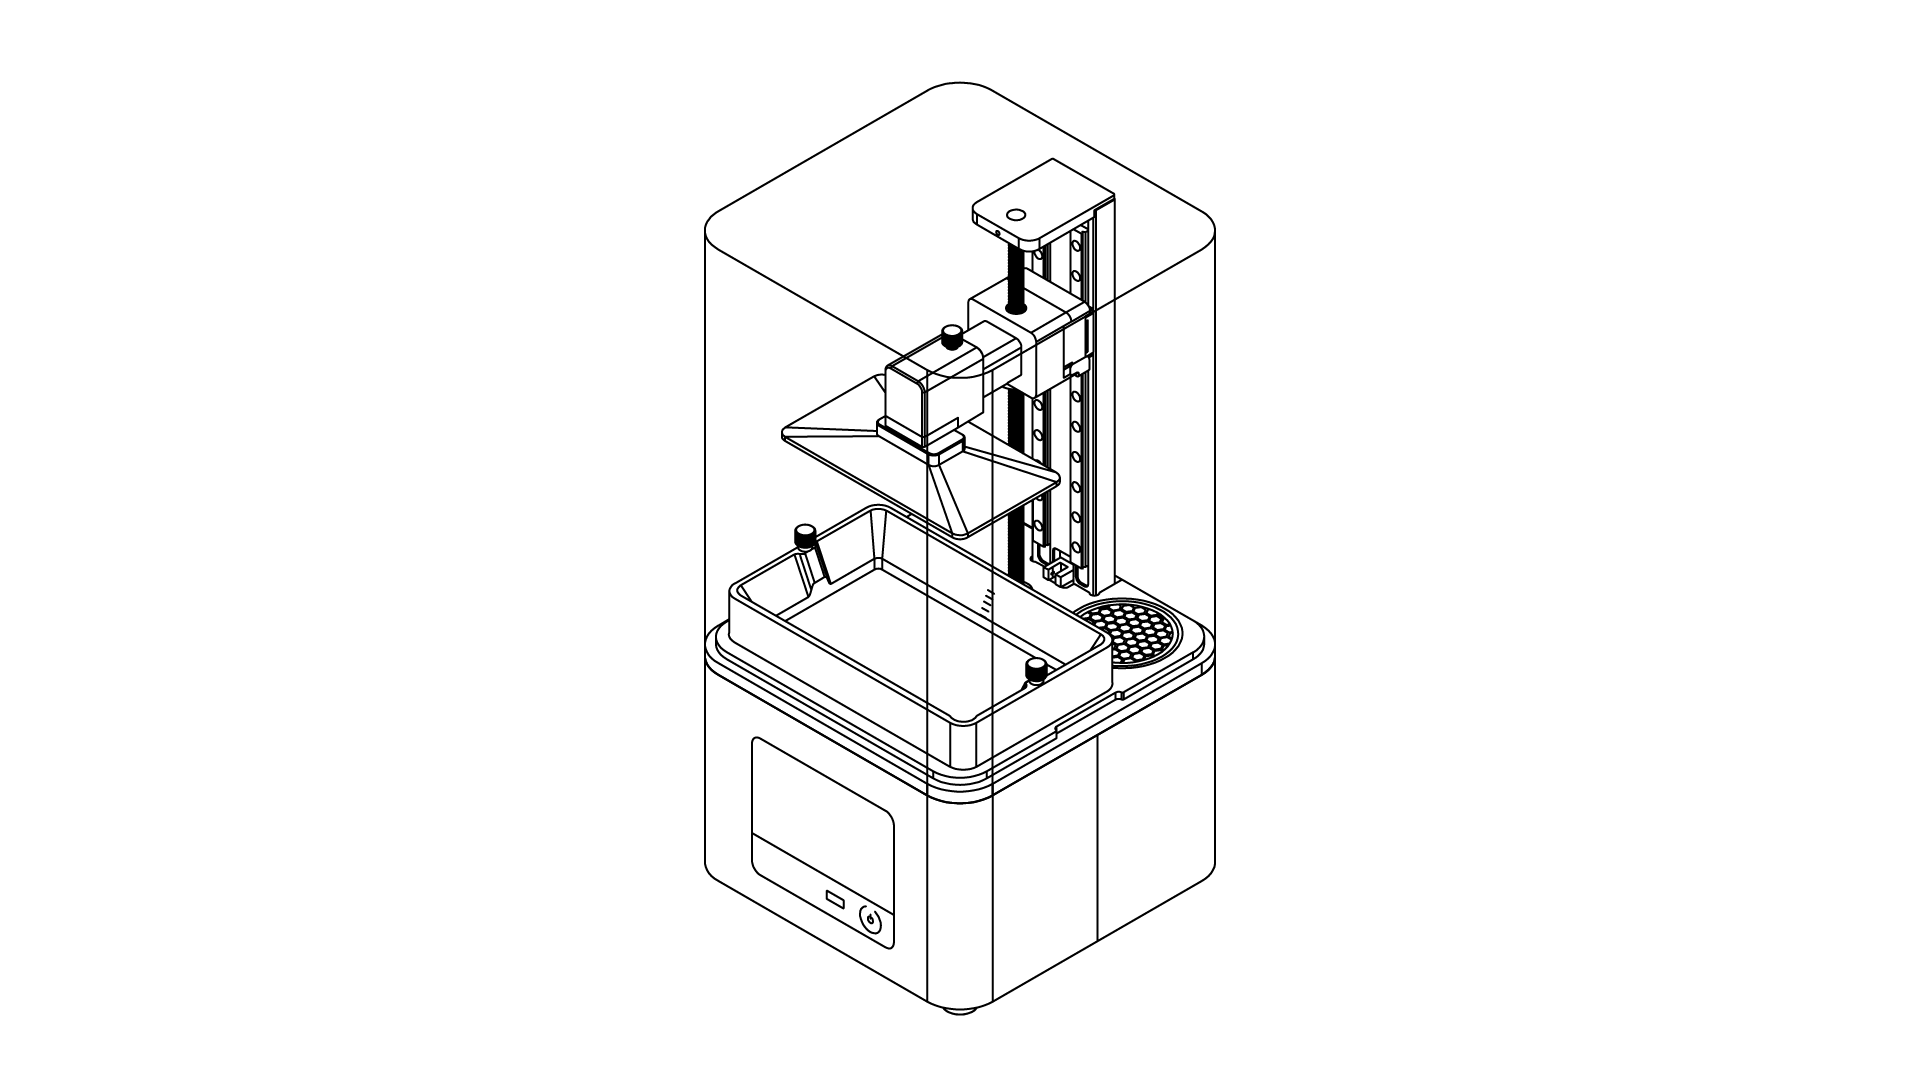
The following tables present maintenance and repair guidelines connected with each section of the Zortrax Inkspire, together with specific check points, necessary activities and their frequency.
| The type of resin, orientation and weight of printed items, and the number of support structures may influence the lifespan of the LCD screen. |
1
Main
| ACTIVITY | FREQUENCY | SOLUTIONS TO THE PROBLEMS | NECESSARY ACCESSORIES |
| Cleaning the machine, its interior and surroundings | Before each printing process | Remove dust and drops of resin from the machine with paper towels. If it’s necessary, use IPA | -paper towels, -IPA, -safety gloves |
| Checking the degree of wear of the carbon filter and if it’s necessary, cleaning it | Every 500 working hours | – | – |
| Replacing the filter | Every 3-4 months | The filter is installed in the back right corner of the printer’s housing | -a new filter |
| Cleaning the LCD screen | Every time the resin tank is removed | Soak a paper towel in IPA and clean the LCD screen | -paper towels, -IPA, -safety gloves |
| Cleaning the UV cover | Once a week | Clean the cover from dust using a soft cloth. NOTE! Do not use IPA or chemical detergents for that purpose | -a soft cloth |
| NOTE! The LCD screen has suggested replacement time of about 200 working hours. This period highly depends on the type of resin you use most often. To ensure the highest possible lifespan of the screen, perform regular maintenance, according to the tips indicated in this article. |
2
Resin Tank
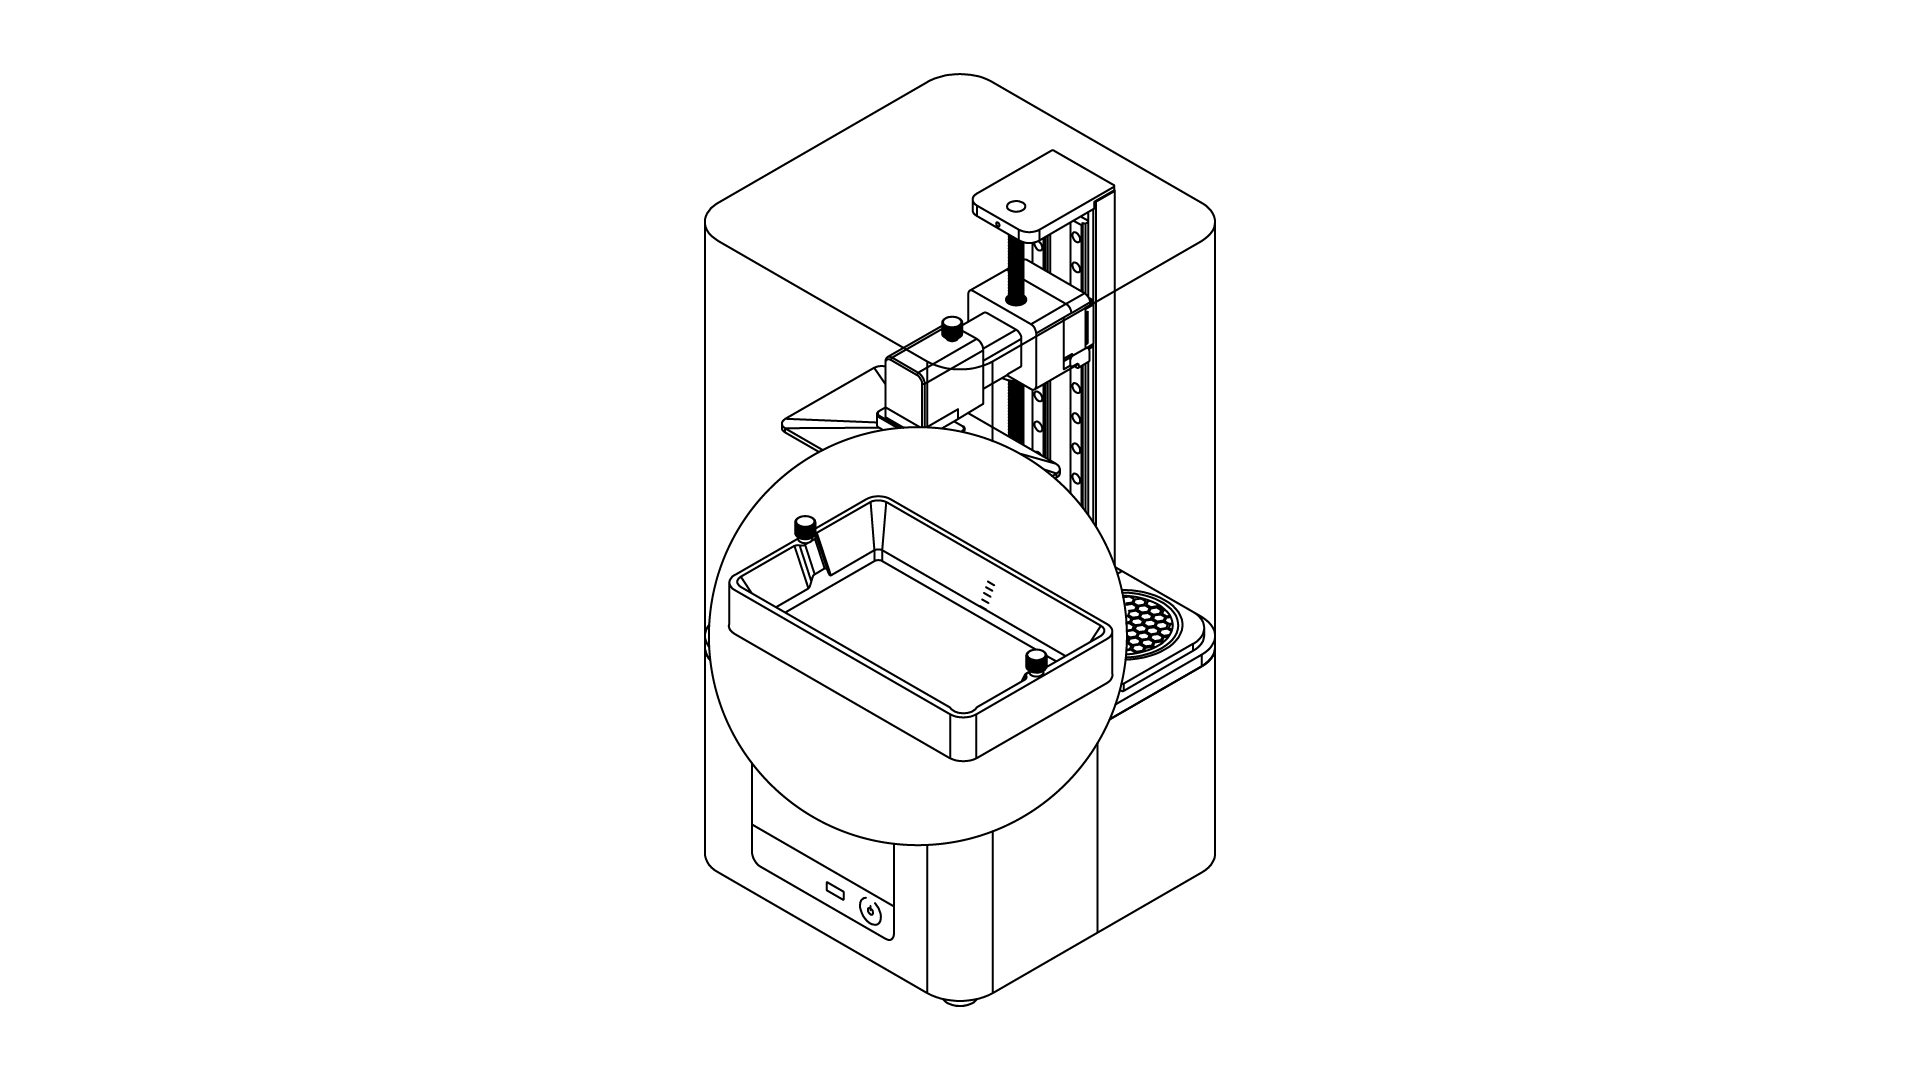
| ACTIVITY | FREQUENCY | SOLUTIONS TO THE PROBLEMS | NECESSARY ACCESSORIES |
| Cleaning the underside of the FEP film | Every time the resin tank is removed | Soak a paper towel in IPA and clean the underside of the FEP film | -paper towels, -IPA, -safety gloves |
| Checking if there are residues of cured resin in the tank | Before each printing process | Use a plastic spatula and slightly mix the resin to check if there are any residues in the liquid | -a plastic spatula, -safety gloves |
| Checking if there are residues of cured resin on the FEP film | Before each printing process | Empty the resin tank. If there are any resides of cured resin on the FEP film, remove them using a plastic spatula | -a plastic spatula, -safety gloves |
| Emptying the resin tank* | After each printing process | Insert the resin filter into the silicone funnel and pour the resin left in the tank into the bottle. | -resin filter, -silicone funnel, -bottle of resin, -paper towels, -a plastic spatula, |
| *It’s not necessary to empty the resin tank if you’re using the resin tank cover (downloadable model). However, remember to stir the resin which has been stored in the tank for some time once you decide to use it again. | |||
| Cleaning the resin tank | Every time the resin type or color is changed | Insert the resin filter into the silicone funnel and pour the resin left in the tank into the bottle. Follow the instructions from the manual: Resin Tank Cleaning | -resin filter, -silicone funnel, -bottle of resin, -paper towels, -a plastic spatula, -Ultrasonic Cleaner (optional) |
| Replacing the FEP film | Once the FEP film becomes bent, deformed, or perforated | Follow the instructions from the manual: FEP Film Replacement | -a new FEP film, -a screwdriver, -paper towels, -IPA, -safety gloves |
3
Platform
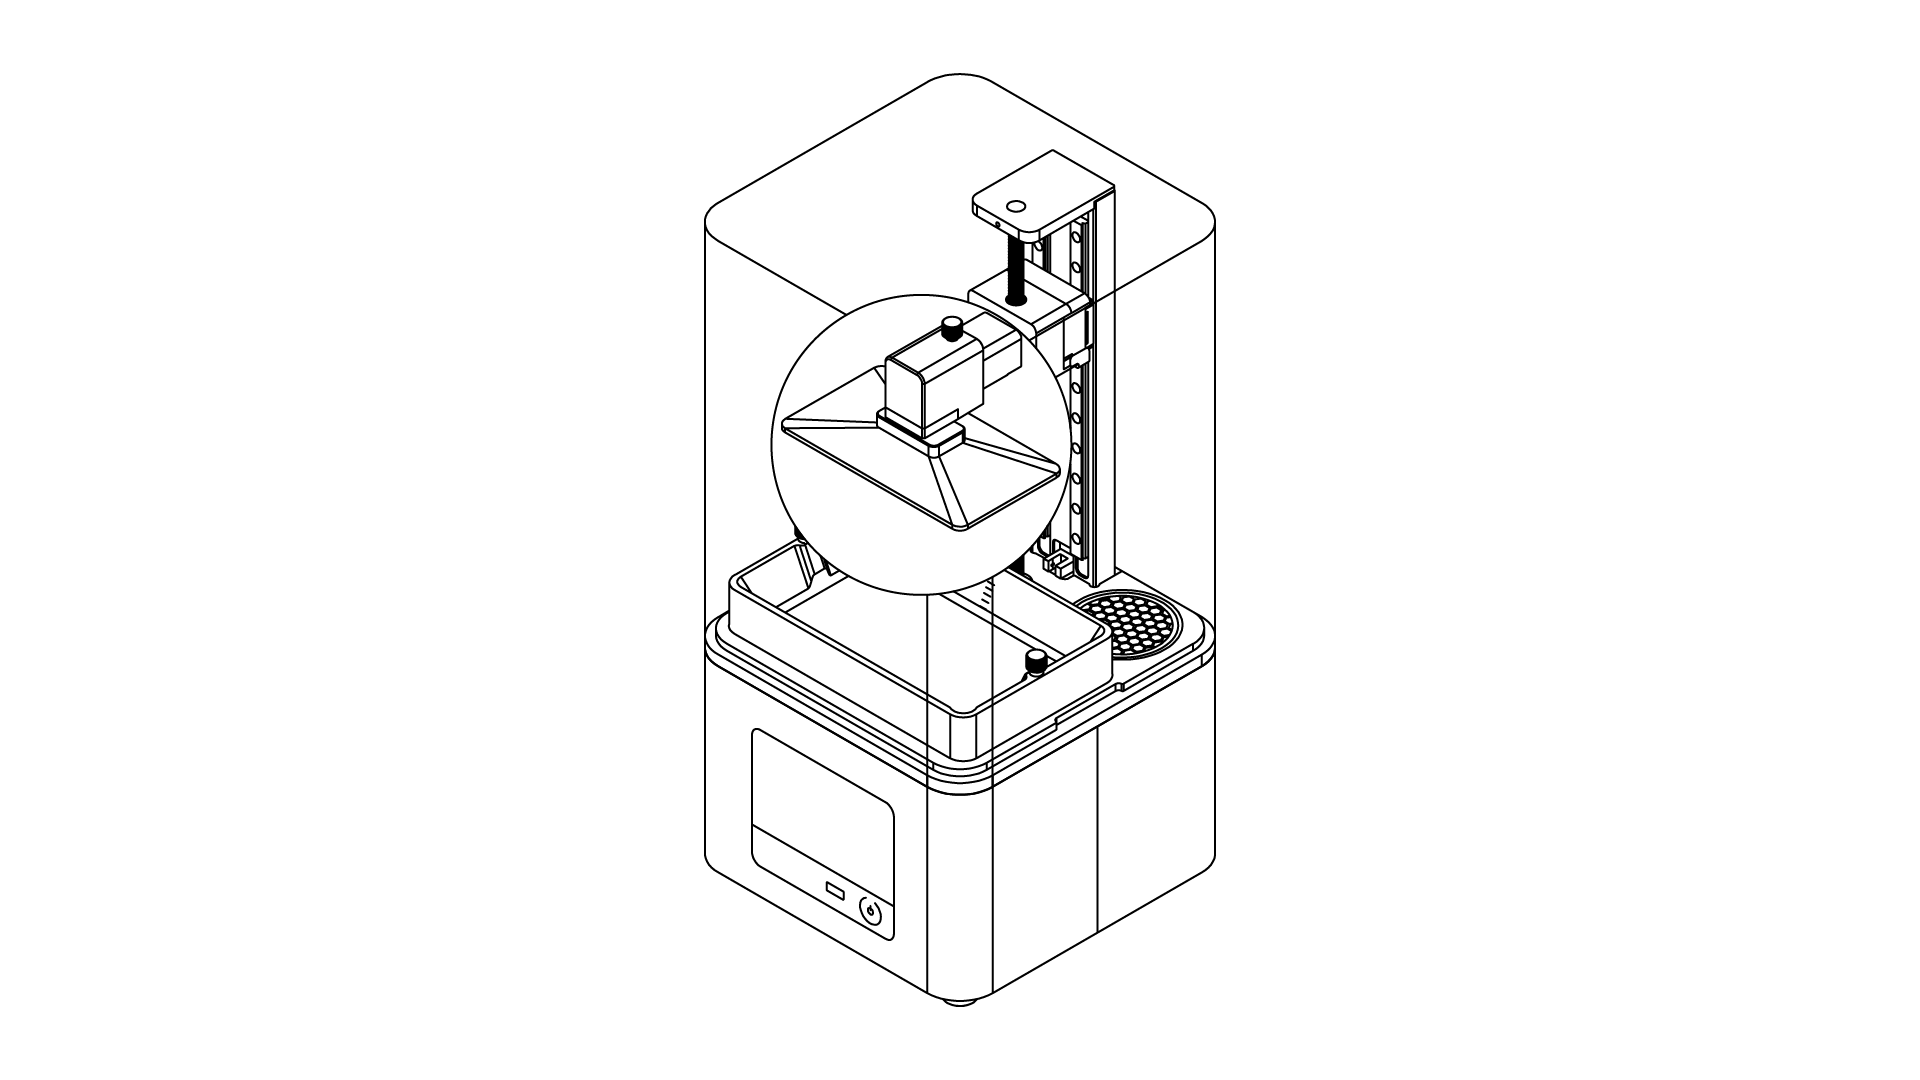
| ACTIVITY | FREQUENCY | SOLUTIONS TO THE PROBLEMS | NECESSARY ACCESSORIES |
| Cleaning the platform | Before each printing process | Cured resin should be removed using a spatula. Liquid resin should be removed using a paper tower | -spatula, -paper towels, -Ultrasonic Cleaner (optional) |
| Calibration | After each failed print or after three completed printing processes | Adjust the platform’s position and tighten the platform screw. The platform has to properly adhere to the LCD screen. Follow the instructions in the manual: Calibration | – |


