Maintenance work should be carried out regularly to keep the printer in good condition and achieve high quality prints every time. Some parts require maintenance before each print and some every few hundred working hours. Turn the printer off and let it cool down before you start most of the activities mentioned in this section. Remember to always wear safety gloves and glasses.
The printer is delivered with a full set of tools needed to carry out maintenance and service work.
The following tables show maintenance guidelines connected with each section of the Zortrax Endureal, along with specific check points, necessary activities and their frequency.
1
Main
| ACTIVITY | FREQUENCY | SOLUTIONS TO THE PROBLEMS | NECESSARY ACCESSORIES |
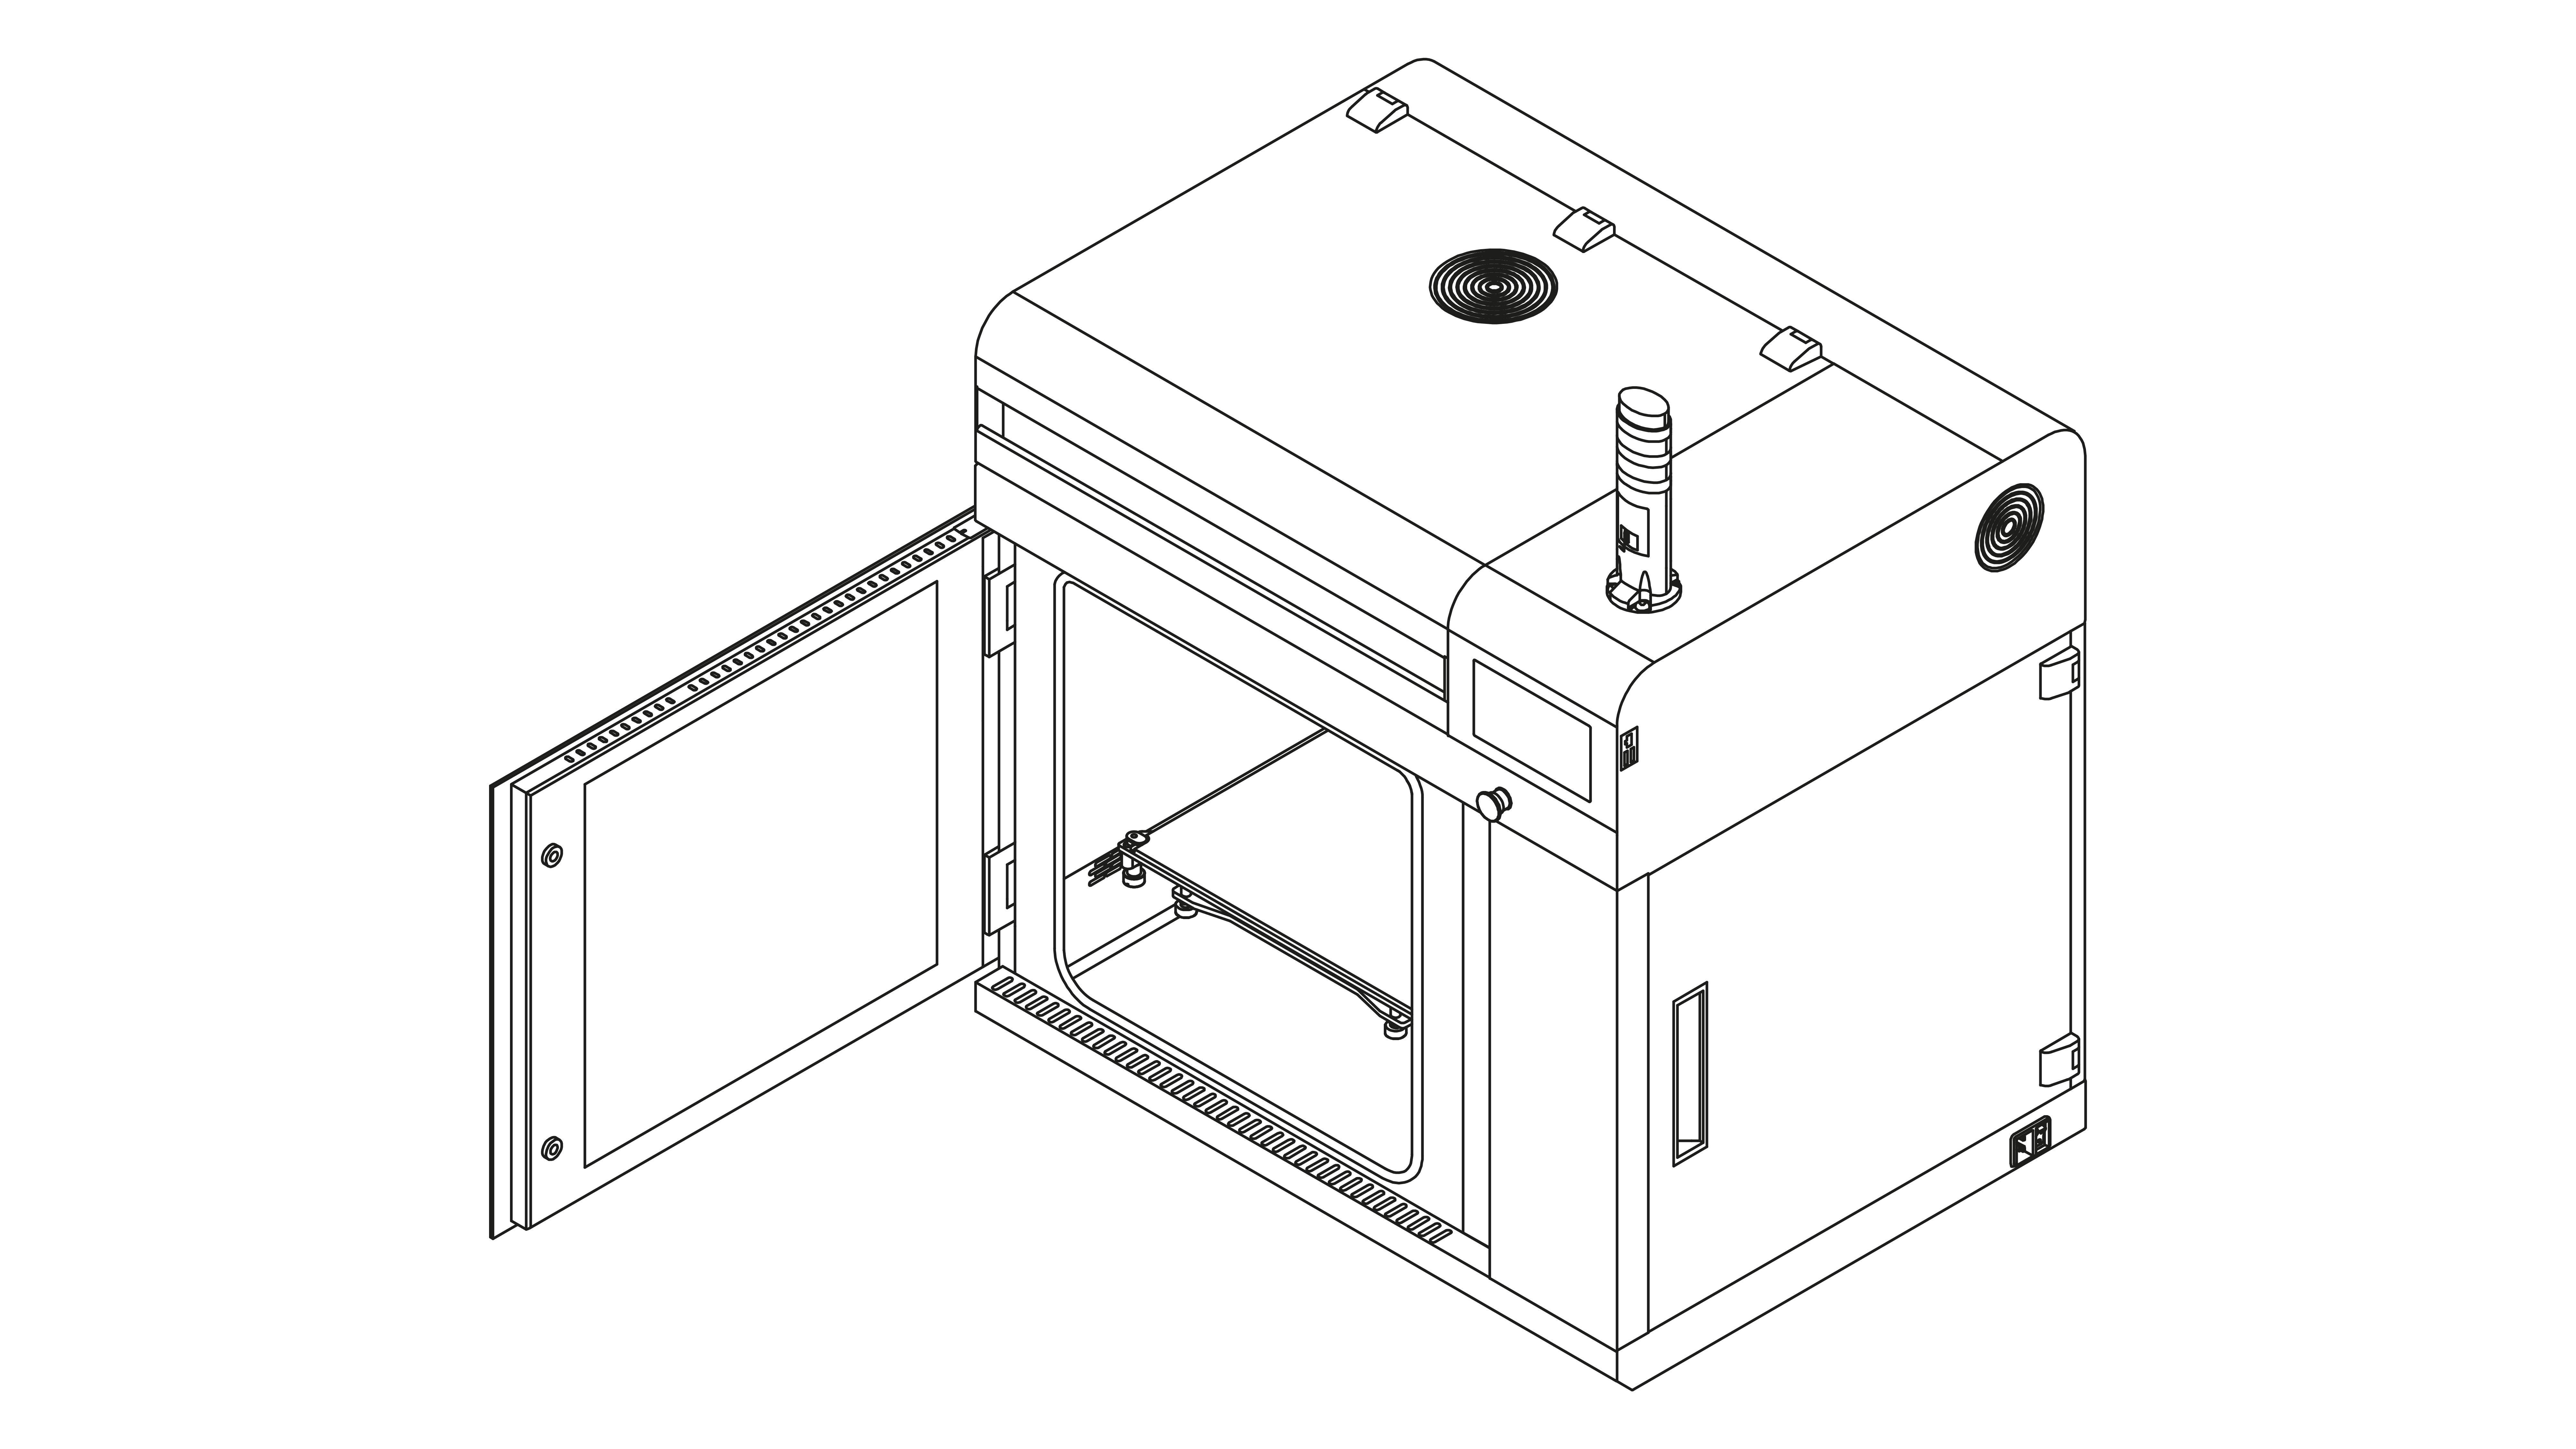
| Cleaning the machine, its interior and surroundings, especially the bottom plate under the platform | Before each printing process | To remove material remains from the interior of the unit, use a vacuum cleaner | – a vacuum cleaner, – cleaning products with a high evaporation rate |
| Emptying the waste container | Before each printing process | The waste container is placed at the back of the main chamber. Pull the container towards you and remove material remains. The container may be hot, wear safety gloves | – safety gloves |
| Replacing the main HEPA filter | Every three months | The main HEPA filter is installed in the box under the lid. Open the lid and remove the filter | – a new HEPA filter |
| Checking the HEPA filter fan | Every 500 working hours | The HEPA filter fan is installed in the lid. Check if the blades of the fan are spinning when the device is on | – |
2
Hotends
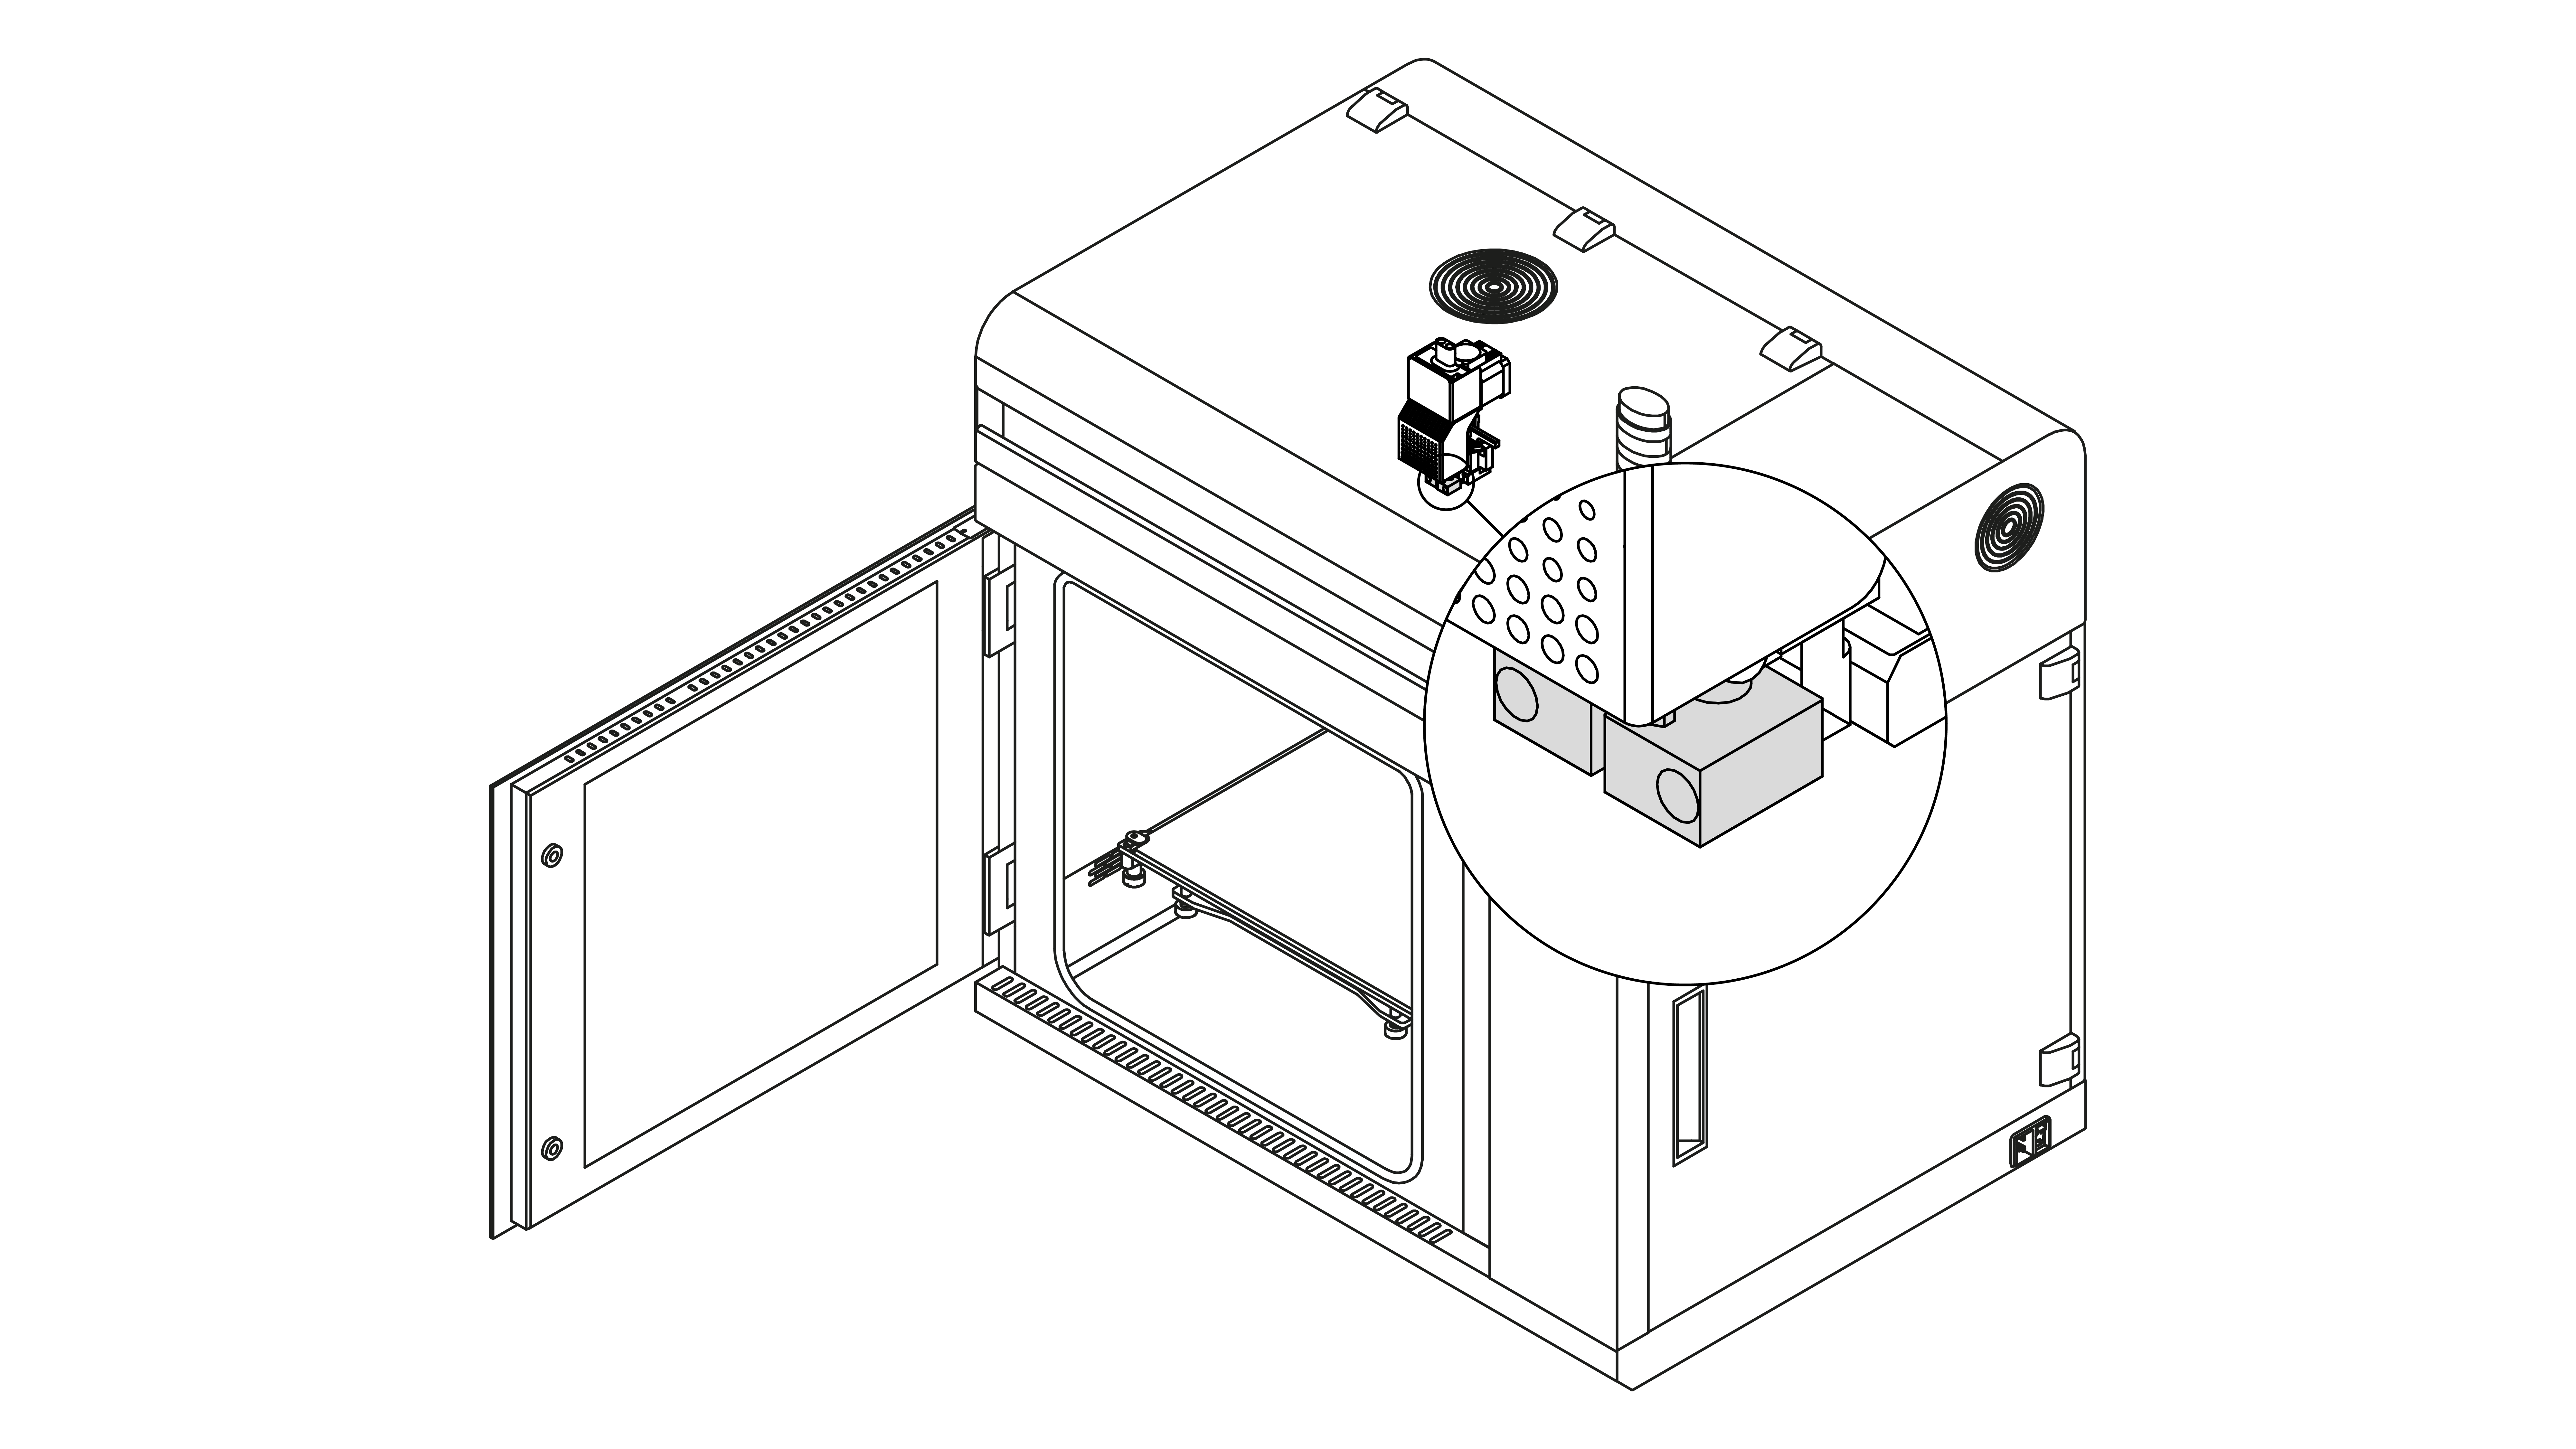
| ACTIVITY | FREQUENCY | SOLUTIONS TO THE PROBLEMS | NECESSARY ACCESSORIES |
| Checking if the hotends and nozzles are not clogged | Before each printing process | Make sure that each nozzle extrudes material during the material loading procedure | – |
| Cleaning the nozzles | After finishing one spool of material | Heat up the extruder and unclog each nozzle using a needle | – a needle |
| Checking if the screws that secure the heater and thermocouple are tightened (in both hotends) | Every 100 working hours | Use an Allen key to make sure the screws are tightened | – an Allen key |
| Checking if the hotend switcher works properly | Before each printing | Turn the printer off and wait until it cools down. Move the hotend switcher manually from left to right and check if both hotends switch easily | – |
3
Platform
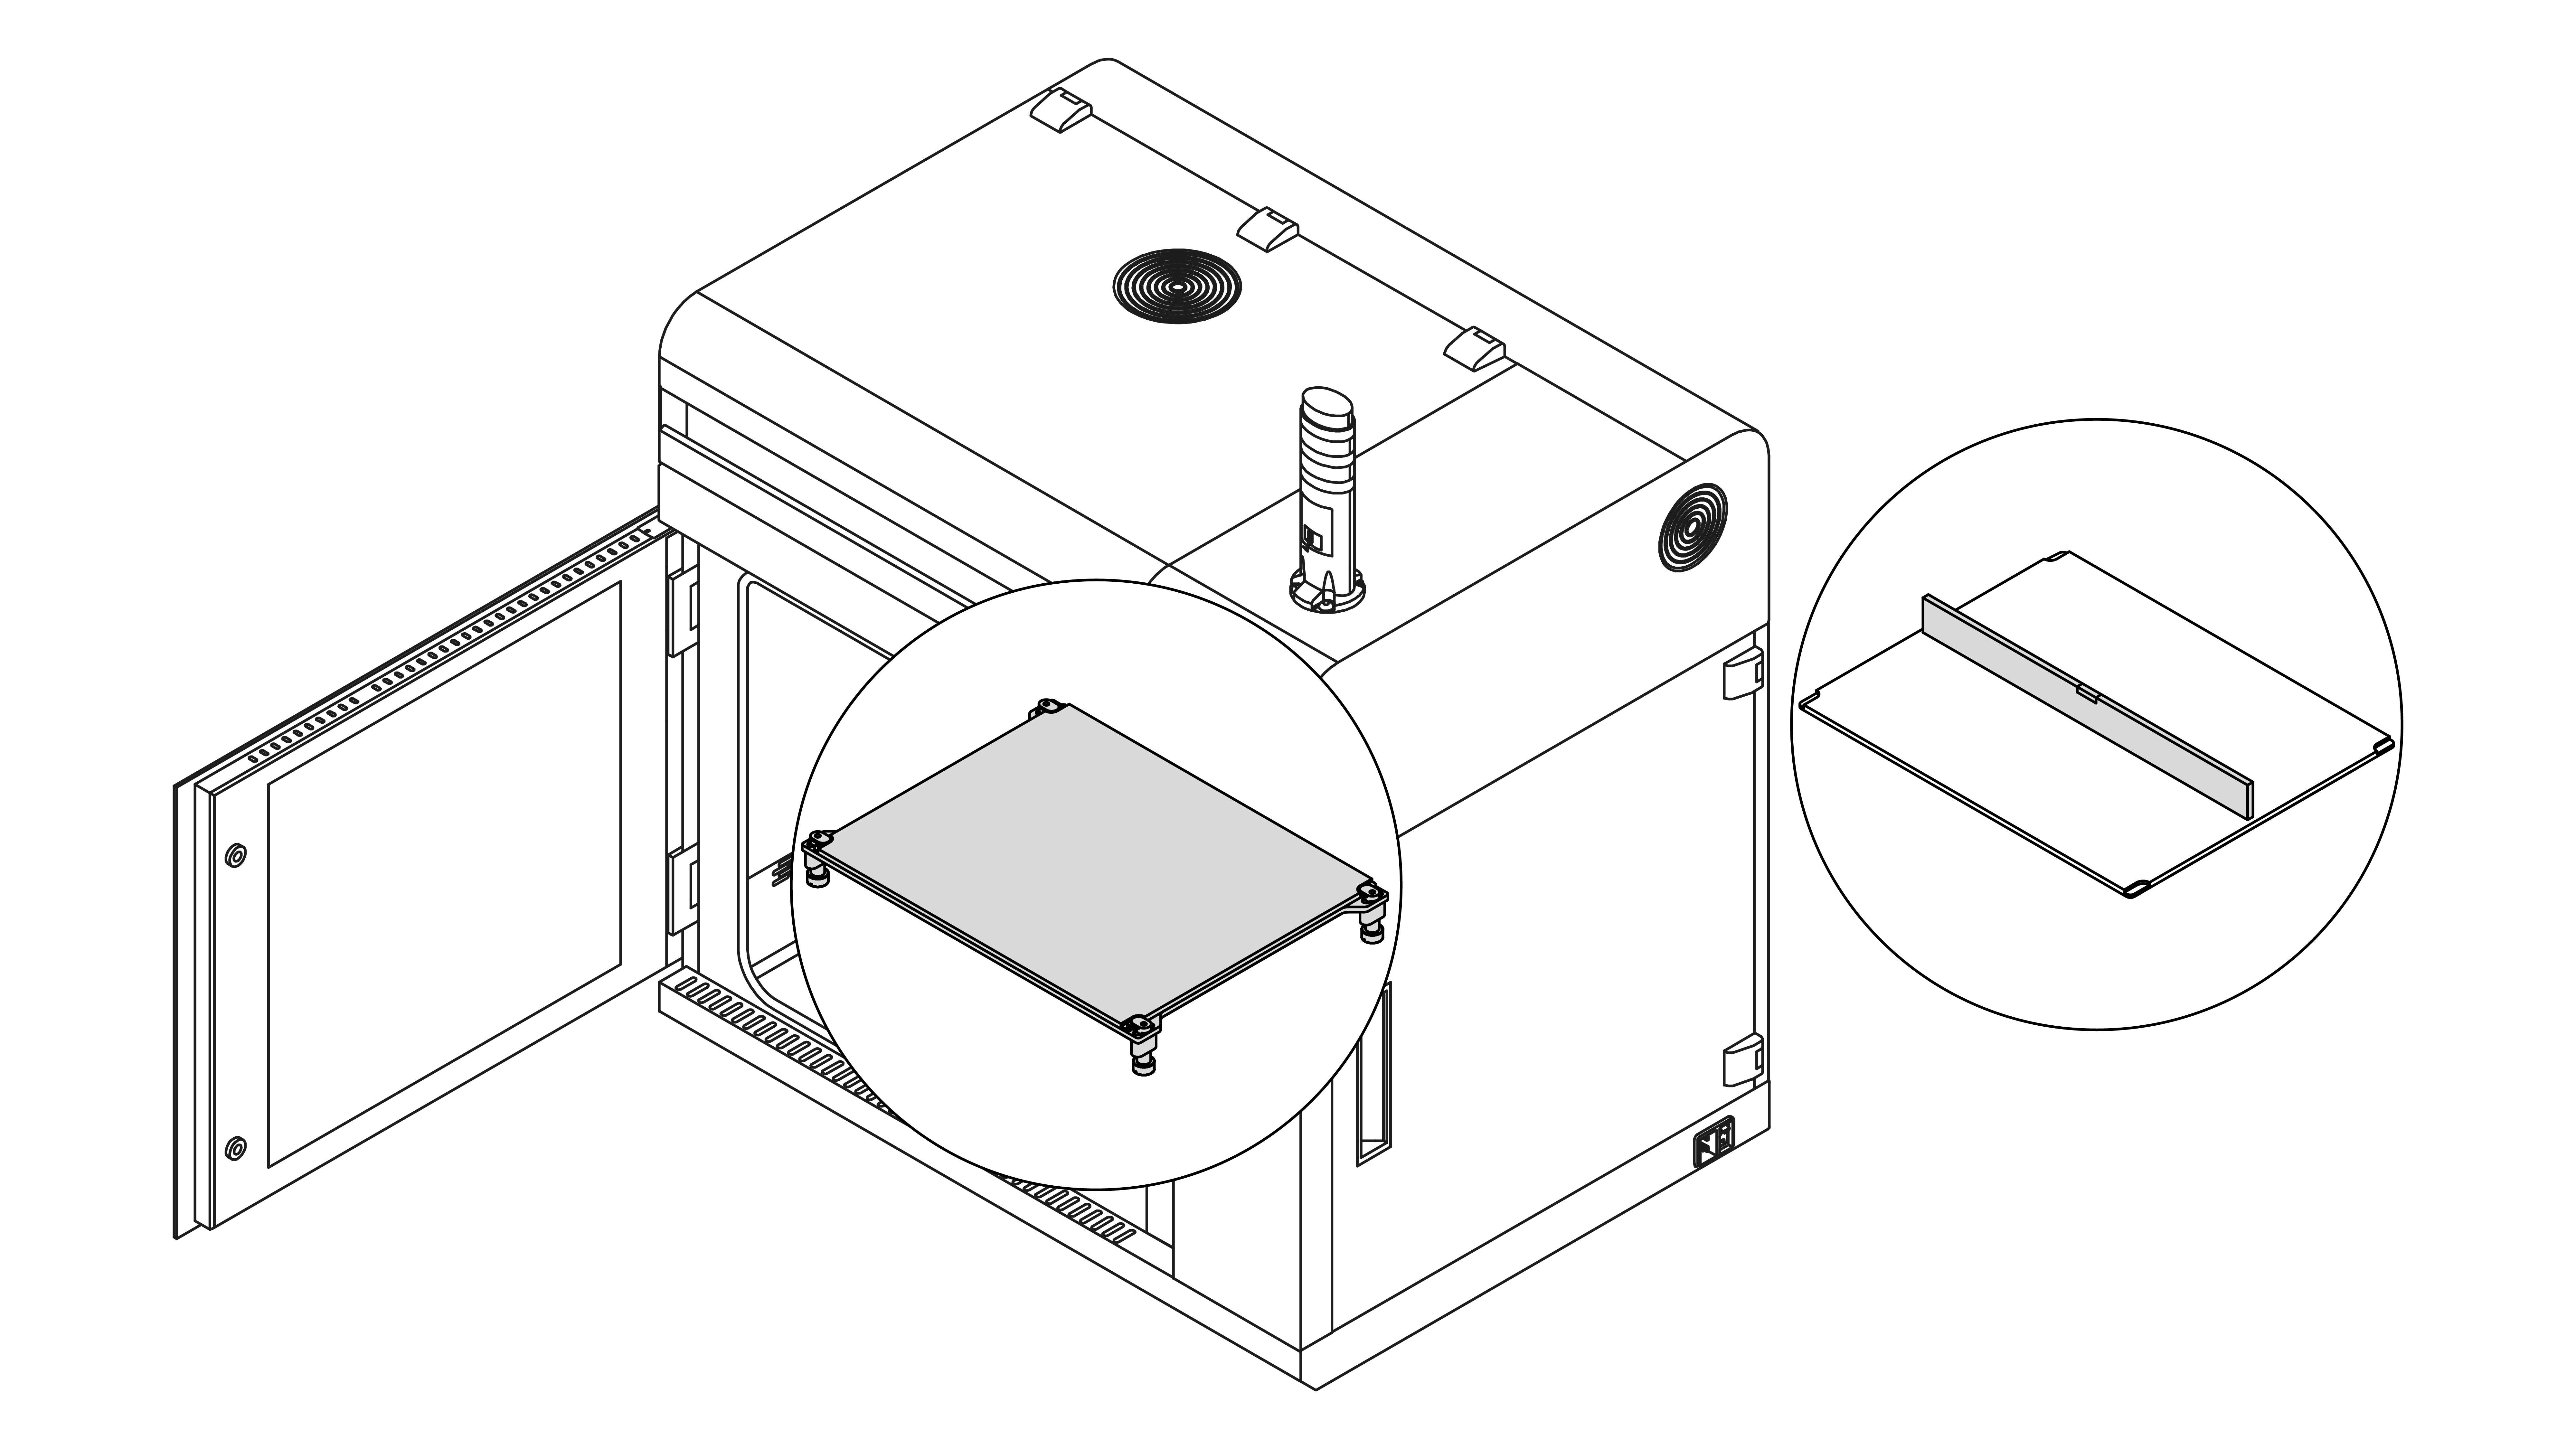
| ACTIVITY | FREQUENCY | SOLUTIONS TO THE PROBLEMS | NECESSARY ACCESSORIES |
| Cleaning the PEI plate | Before each printing process | Remove material remains from the PEI plate using a spatula | – a spatula |
| Checking the PEI plate for deformation | Before each printing process | Prepare a straight object (e.g. a ruler) and place it on the PEI plate to make sure the plate’s surface is even (see the graphic above) | – |
| Calibration | Every 200 working hours or every time you remove or change the PEI plate | Follow the instructions displayed on the screen. If the calibration fails, move on to the next step indicated in this table | – |
| Cleaning the heatbed and the underside of the PEI plate | Every 300 working hours | Loosen the four screws that secure the PEI plate, turn the corner locks, and remove the plate. Clean the heatbed and the underside of the of the plate using a spatula of a piece of cloth | – a spatula, – a piece of cloth |
| Checking if the PEI plate is properly installed on the heatbed and if the screws are tightened | Before each printing process | Make sure that the four platform screws are tightened. Be careful, wear safety gloves | – safety gloves |
4
X/Y axes

| ACTIVITY | FREQUENCY | SOLUTIONS TO THE PROBLEMS | NECESSARY ACCESSORIES |
| Checking if the axes are clean from material remains and dust | Before each printing process | It is possible to feel slight resistance while checking if the extruder moves freely. In such case, you should check if the X/Y axes are not covered with black grime. Clean the axes with a cloth damped in acetone and then lubricate these components with grease supplied in the Starter Kit | – teflon grease |
| Checking if the screws on the X/Y axes and the motor pulleys are tightened | Every 300 working hours | – | – |
| Checking if the extruder moves freely when the printer is off | Every 300 working hours | – | – |
| Lubricating the X/Y axes | Every 1000 working hours | – | – |
5
Extruder
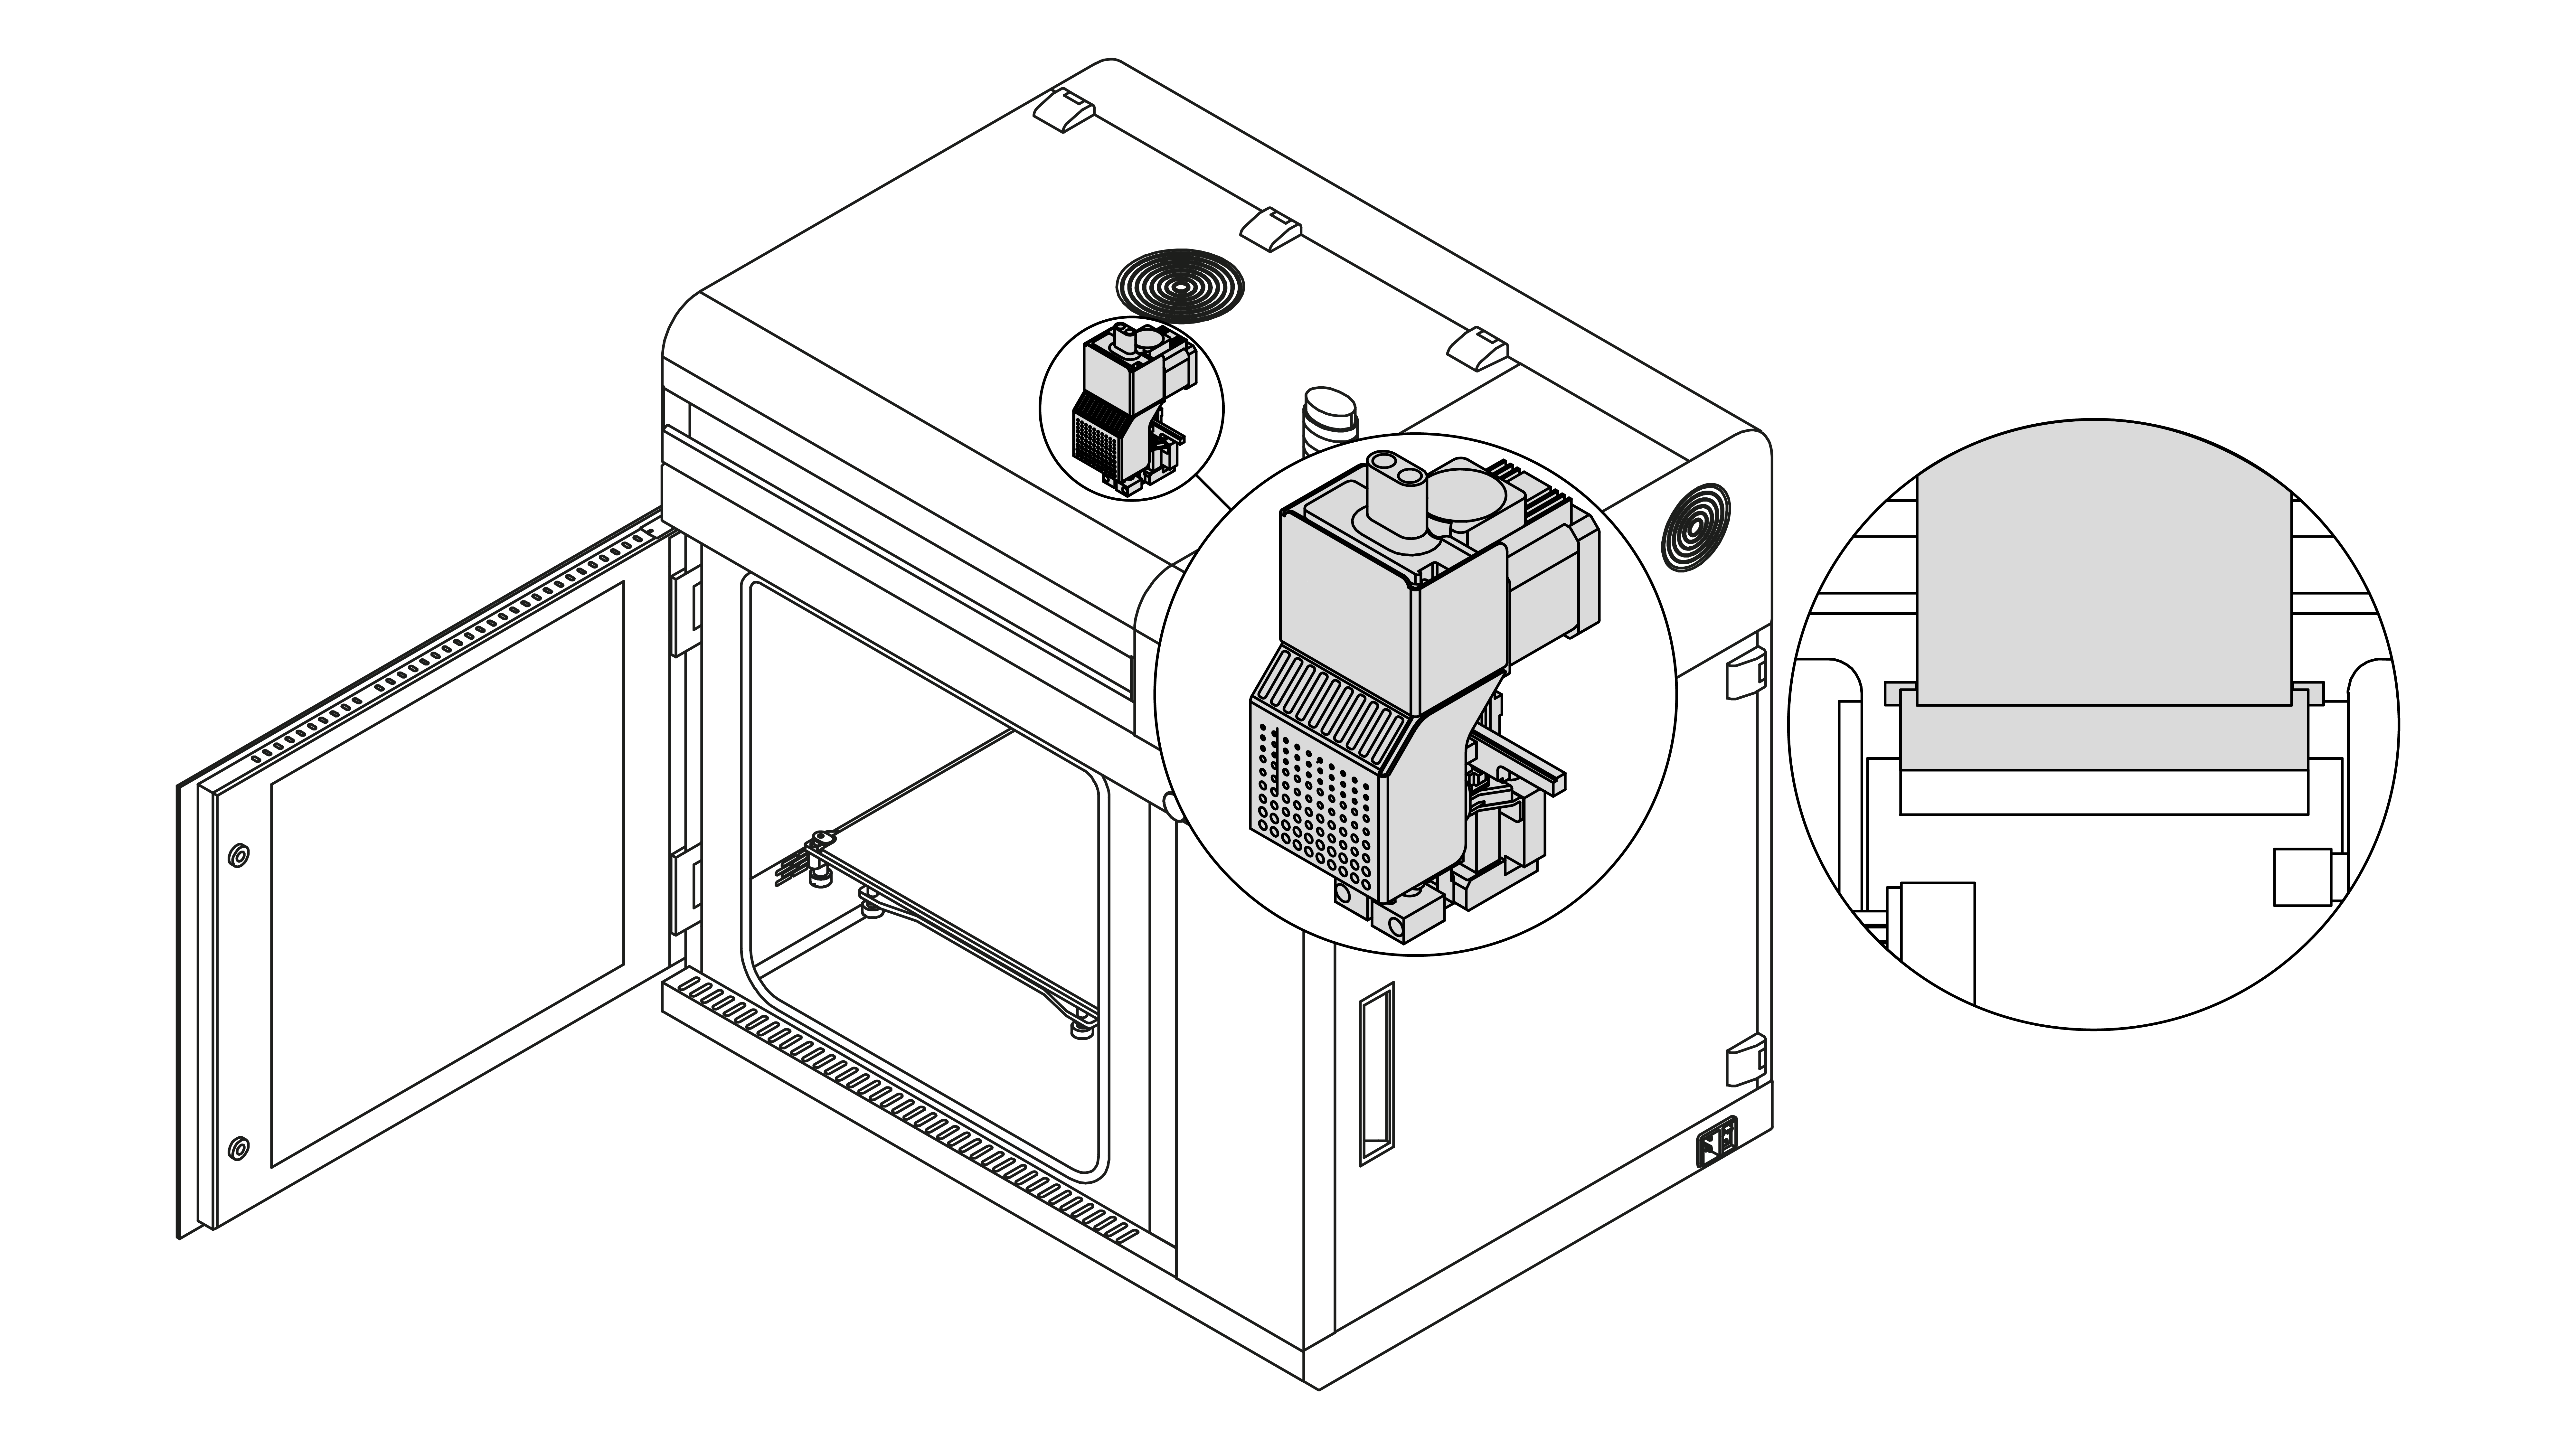
| ACTIVITY | FREQUENCY |
| Checking if the material guides are properly installed in the extruder | Before each start-up of the printer |
| Checking if both material guides and the extruder cable are properly secured in the main guide | Before each start-up of the printer |
| Checking if the extruder cable is properly plugged into the extruder PCB. The graphic above shows the correct way of connection – the cable must be firmly clipped into the PCB to reduce the risk of unplugging. | Every 300 working hours |
| Removing material remains and lumps from the extruder | Every 300 working hours |
| Checking if the extruder fans are working | Every 300 working hours |
| Inspecting the extruder motor gear condition. If it is necessary, replacing the gear | Every 50* working hours (*this period highly depends on the type of material you use most often) |


