Maintenance work should be regular in order to keep the printer in good condition and achieve high quality prints every time. Some parts require maintenance before each print and some every few hundred working hours. All maintenance activities do not take much time and are not complicated. Before commencing any repair, it is extremely important to turn off the printer and let it cool down. Remember to always wear safety gloves and glasses. The printer is delivered with a full set of tools needed to carry out maintenance and service work.
The following tables present maintenance and repair guidelines connected with each section of Zortrax 3D printer, together with specific check points, necessary activities and their frequency.
| The lifespan of particular components highly depends on the type of filaments you use most often. |
1
Main
| ACTIVITY | FREQUENCY | SOLUTIONS TO THE PROBLEMS | NECESSARY ACCESSORIES |
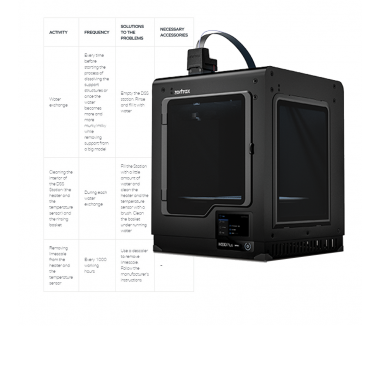
| Cleaning the interior of the device (the chamber) and its surroundings, especially the bottom plate under the platform | Before each print | The user is responsible for keeping the device clean. To remove material remains from the interior of the device, use a vacuum cleaner or compressed air | A vacuum cleaner, cleaning products with a high evaporation rate |
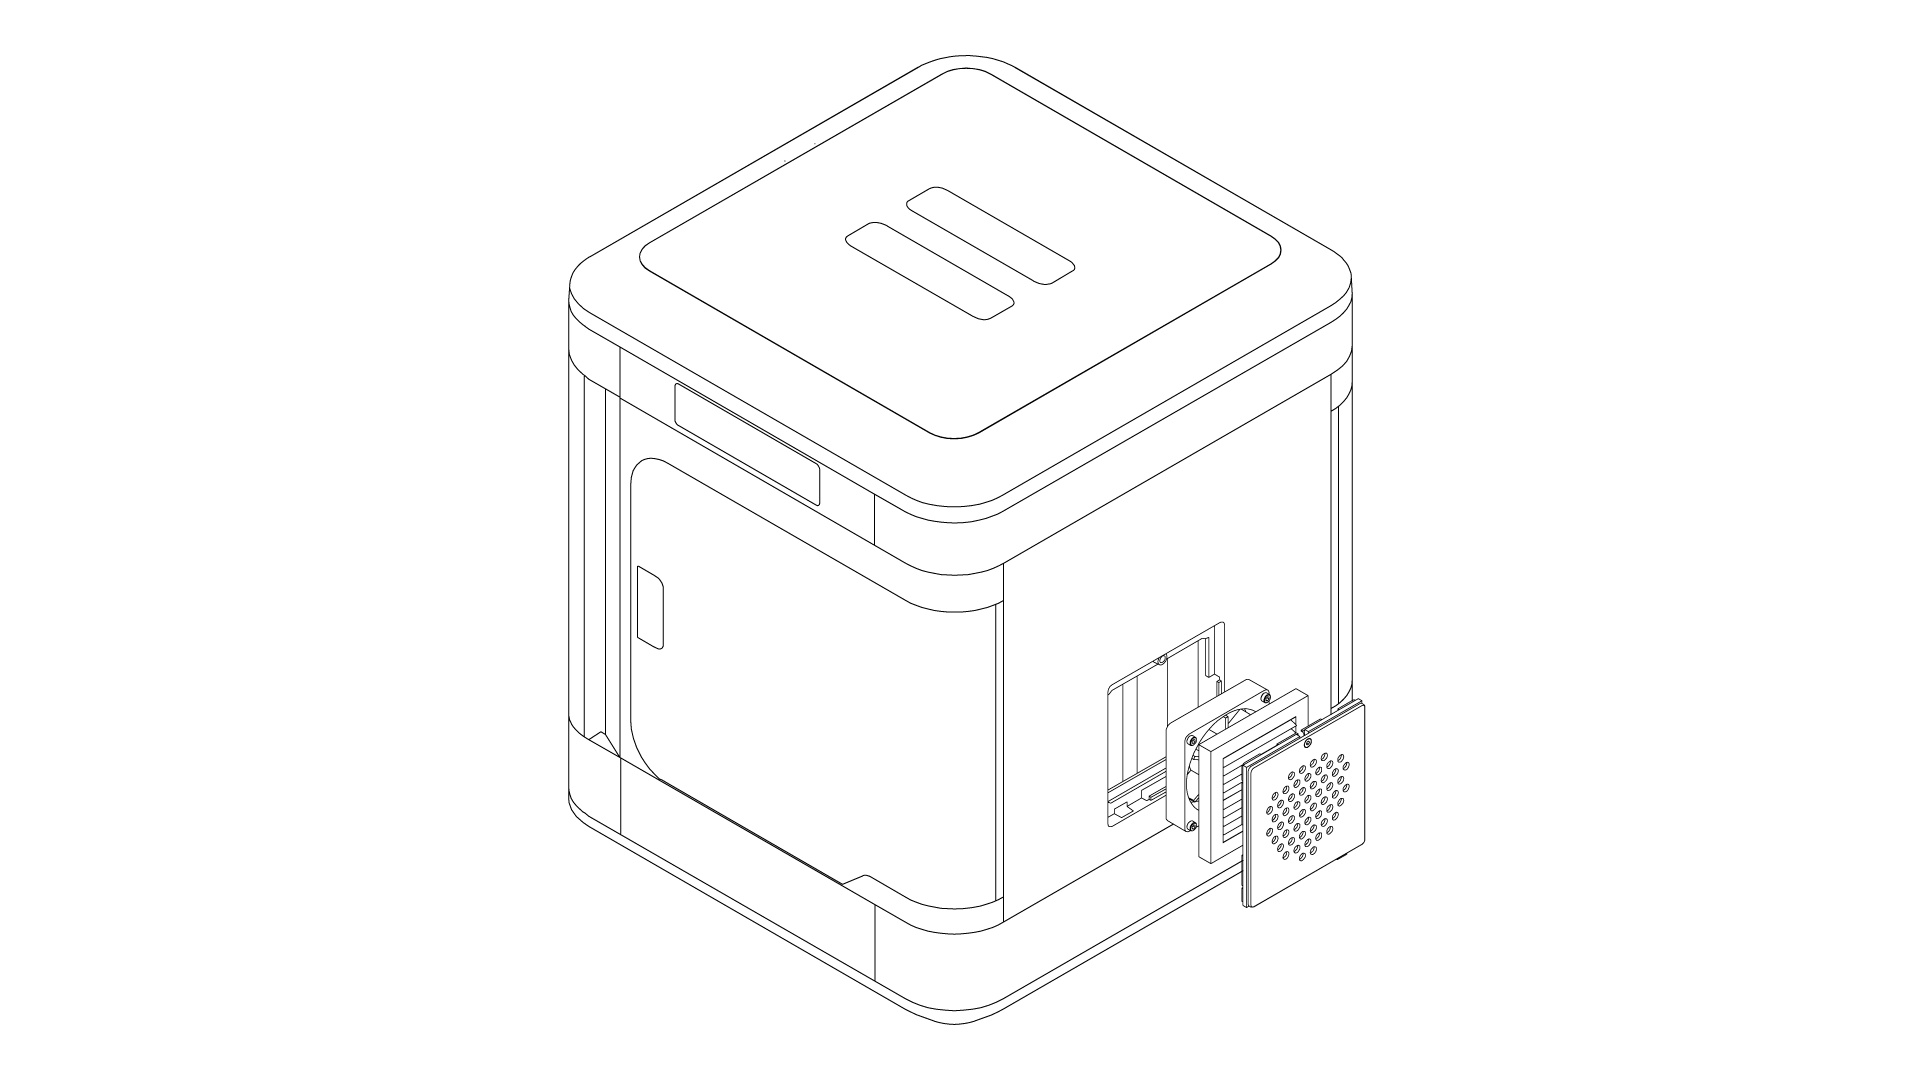
| Checking the degree of wear of the HEPA filter and cleaning the filter if it’s necessary | Every 500 working hours | Unscrew the HEPA filter cover placed at the back of the printer. If the filter is considerably dirty, clean it using a vacuum cleaner or compressed air | A vacuum cleaner, compressed air, a 2mm Allen key |
| Replacing the HEPA filter | Every 3000 working hours | Unscrew the HEPA filter cover placed at the back of the printer and remove the filter | A 2mm Allen key |
| Lubricating the Z axis | Every 500 working hours | Unscrew the HEPA filter cover placed at the back of the printer and remove the filter. The Z axis can be now easily accessed | A 2mm Allen key and service grease |
2
Hotends
| ACTIVITY | FREQUENCY | SOLUTIONS TO THE PROBLEMS | NECESSARY ACCESSORIES |
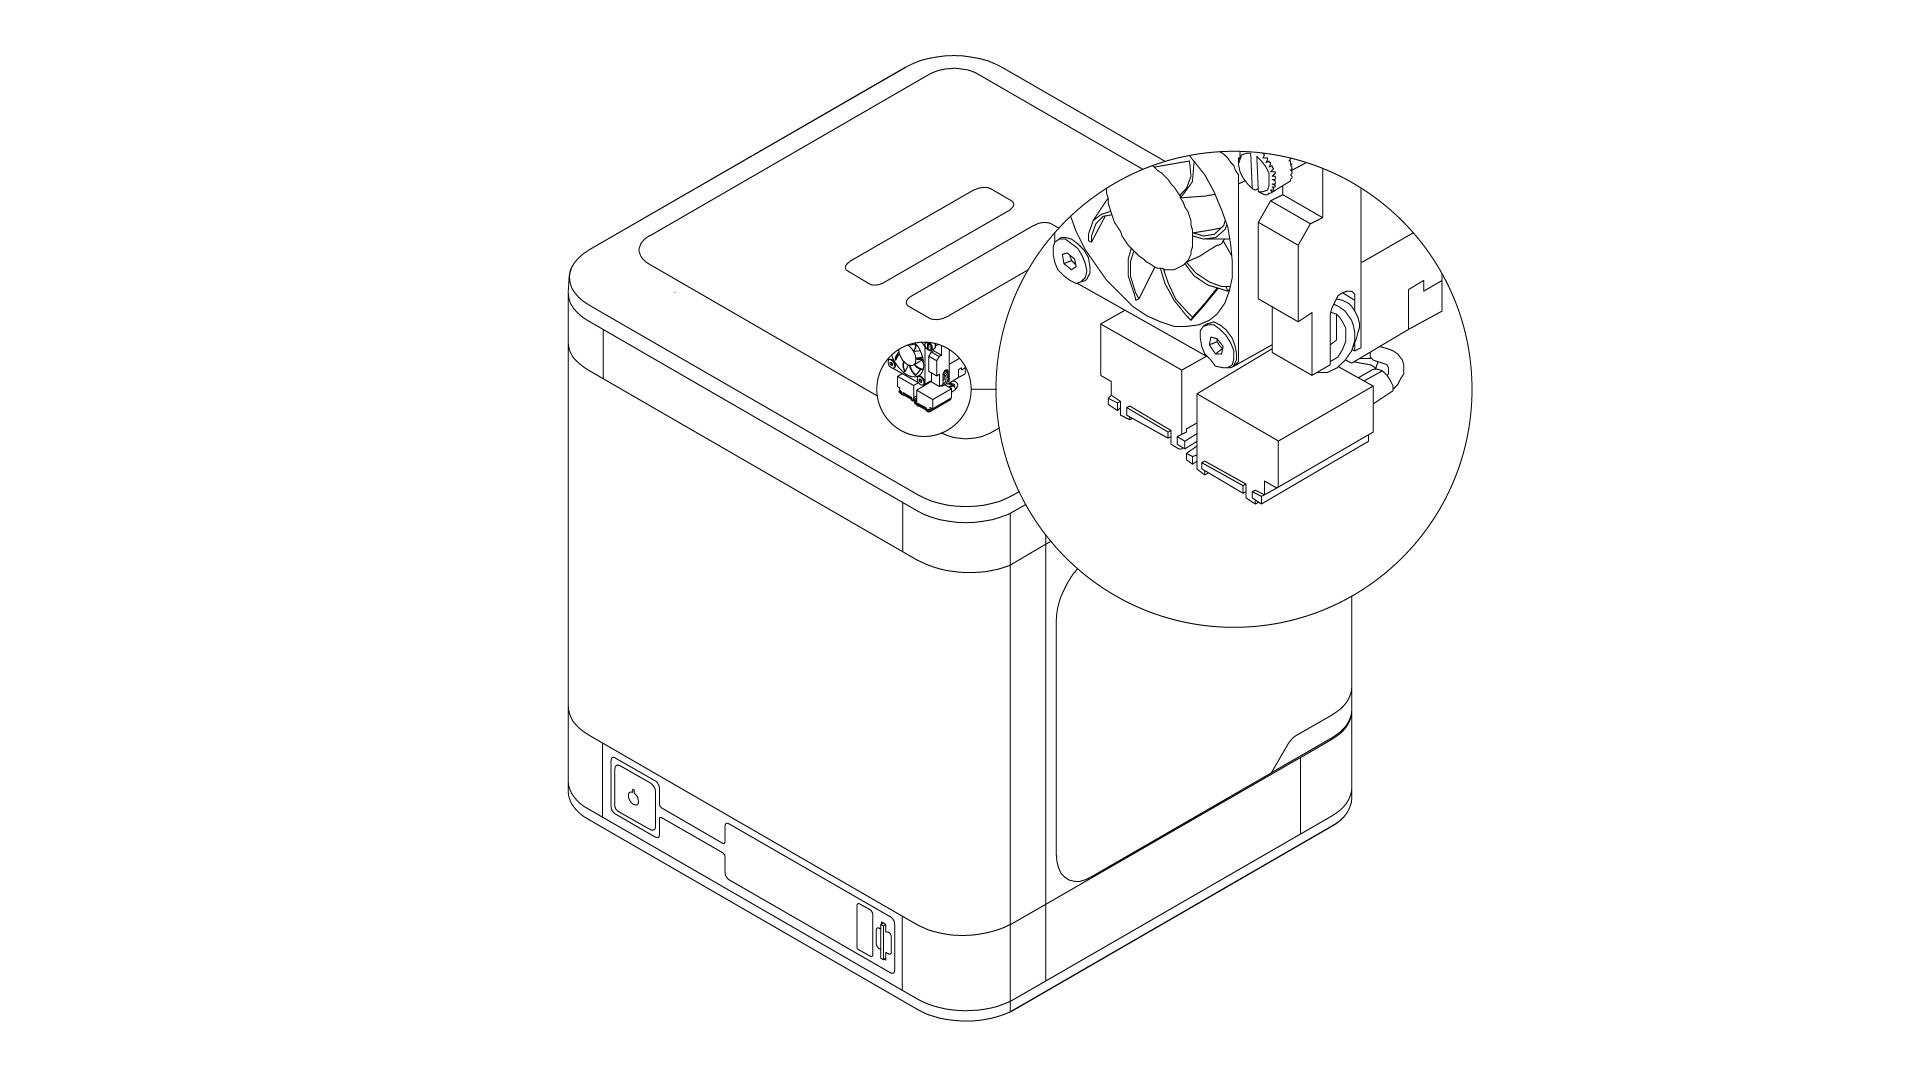
| Checking if the hotends are free from material residues | Before each print | To remove material residues accumulated on the hotends, between them, and on their covers, use a spatula | A spatula |
| Replacing the hotend and the nozzle covers | Every 500 working hours | Replace the hotend and the nozzle covers with a flathead screwdriver | A flathead screwdriver |
| Nozzle alignment calibration | After each cleaning/replacing the hotend and after replacing the build tray | See: Nozzle alignment calibration | A spatula |
3
Platform
| ACTIVITY | FREQUENCY | SOLUTIONS TO THE PROBLEMS | NECESSARY ACCESSORIES |
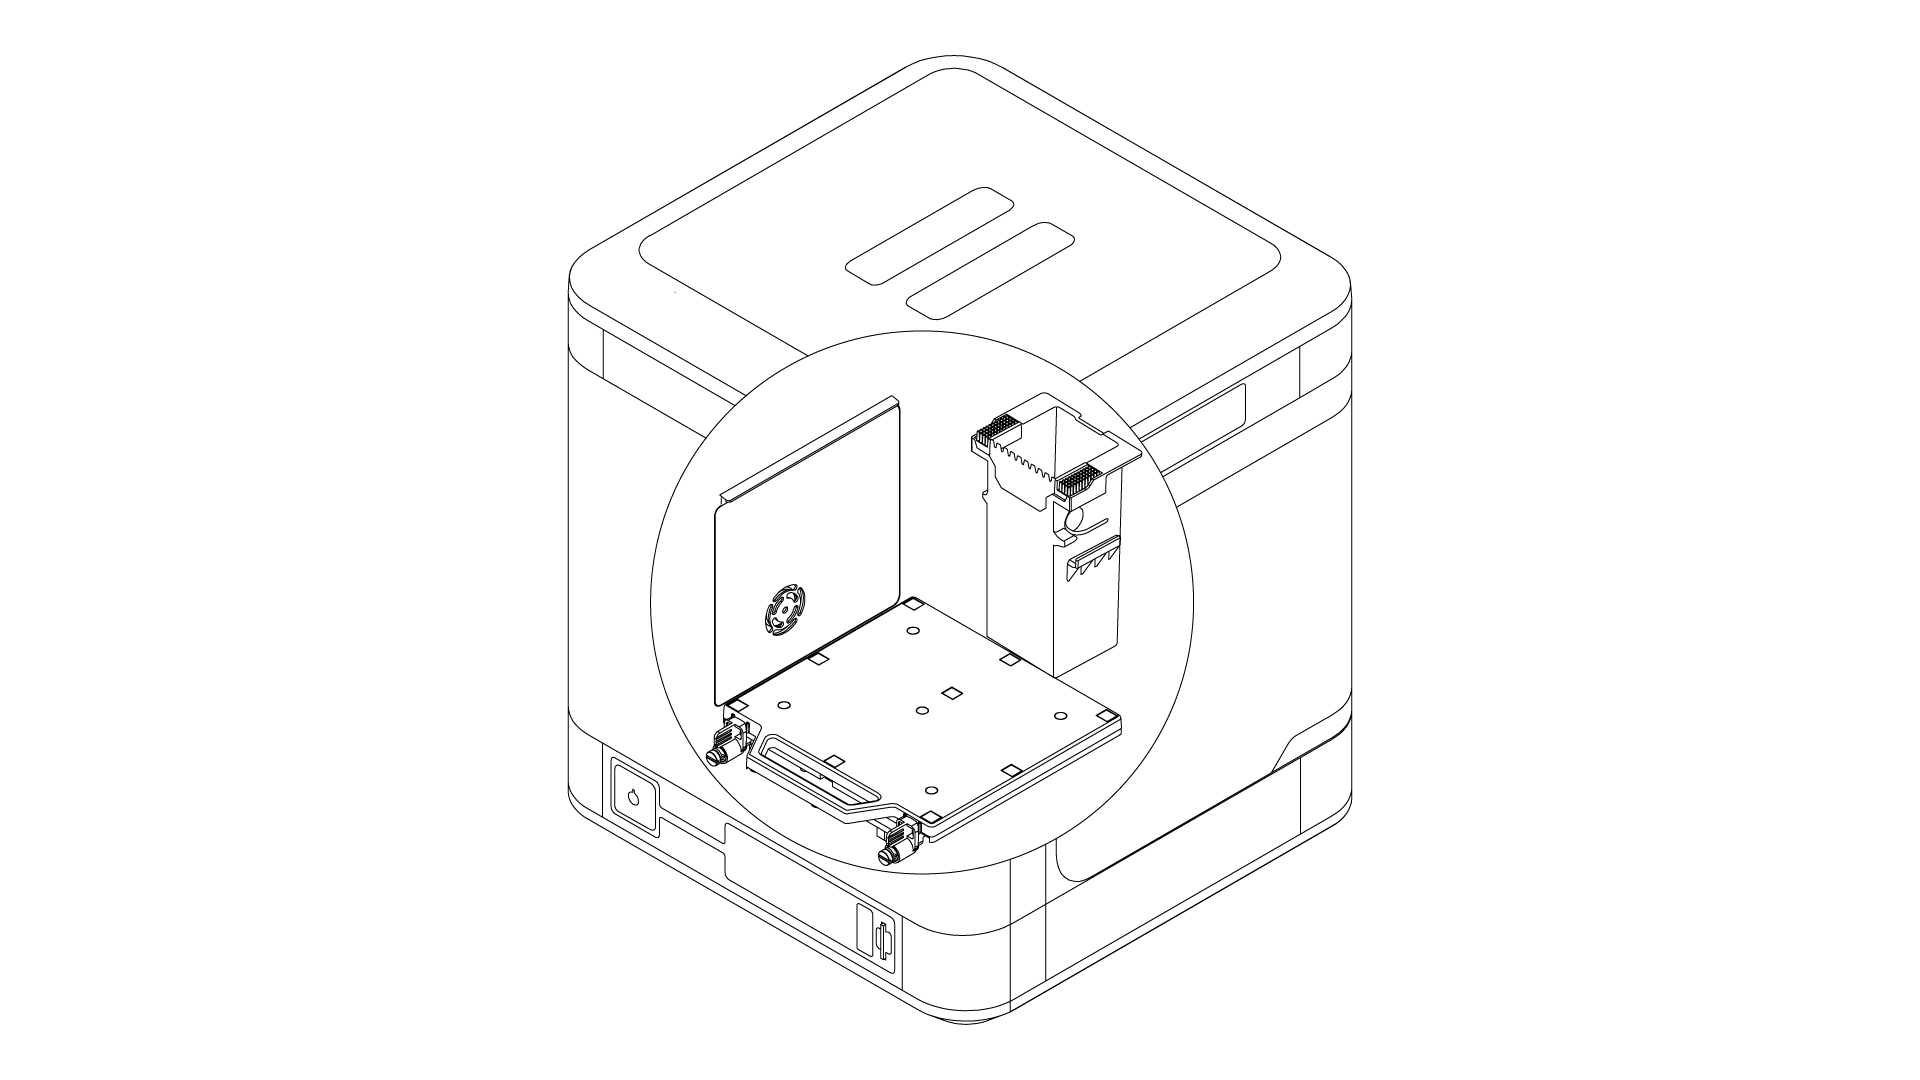
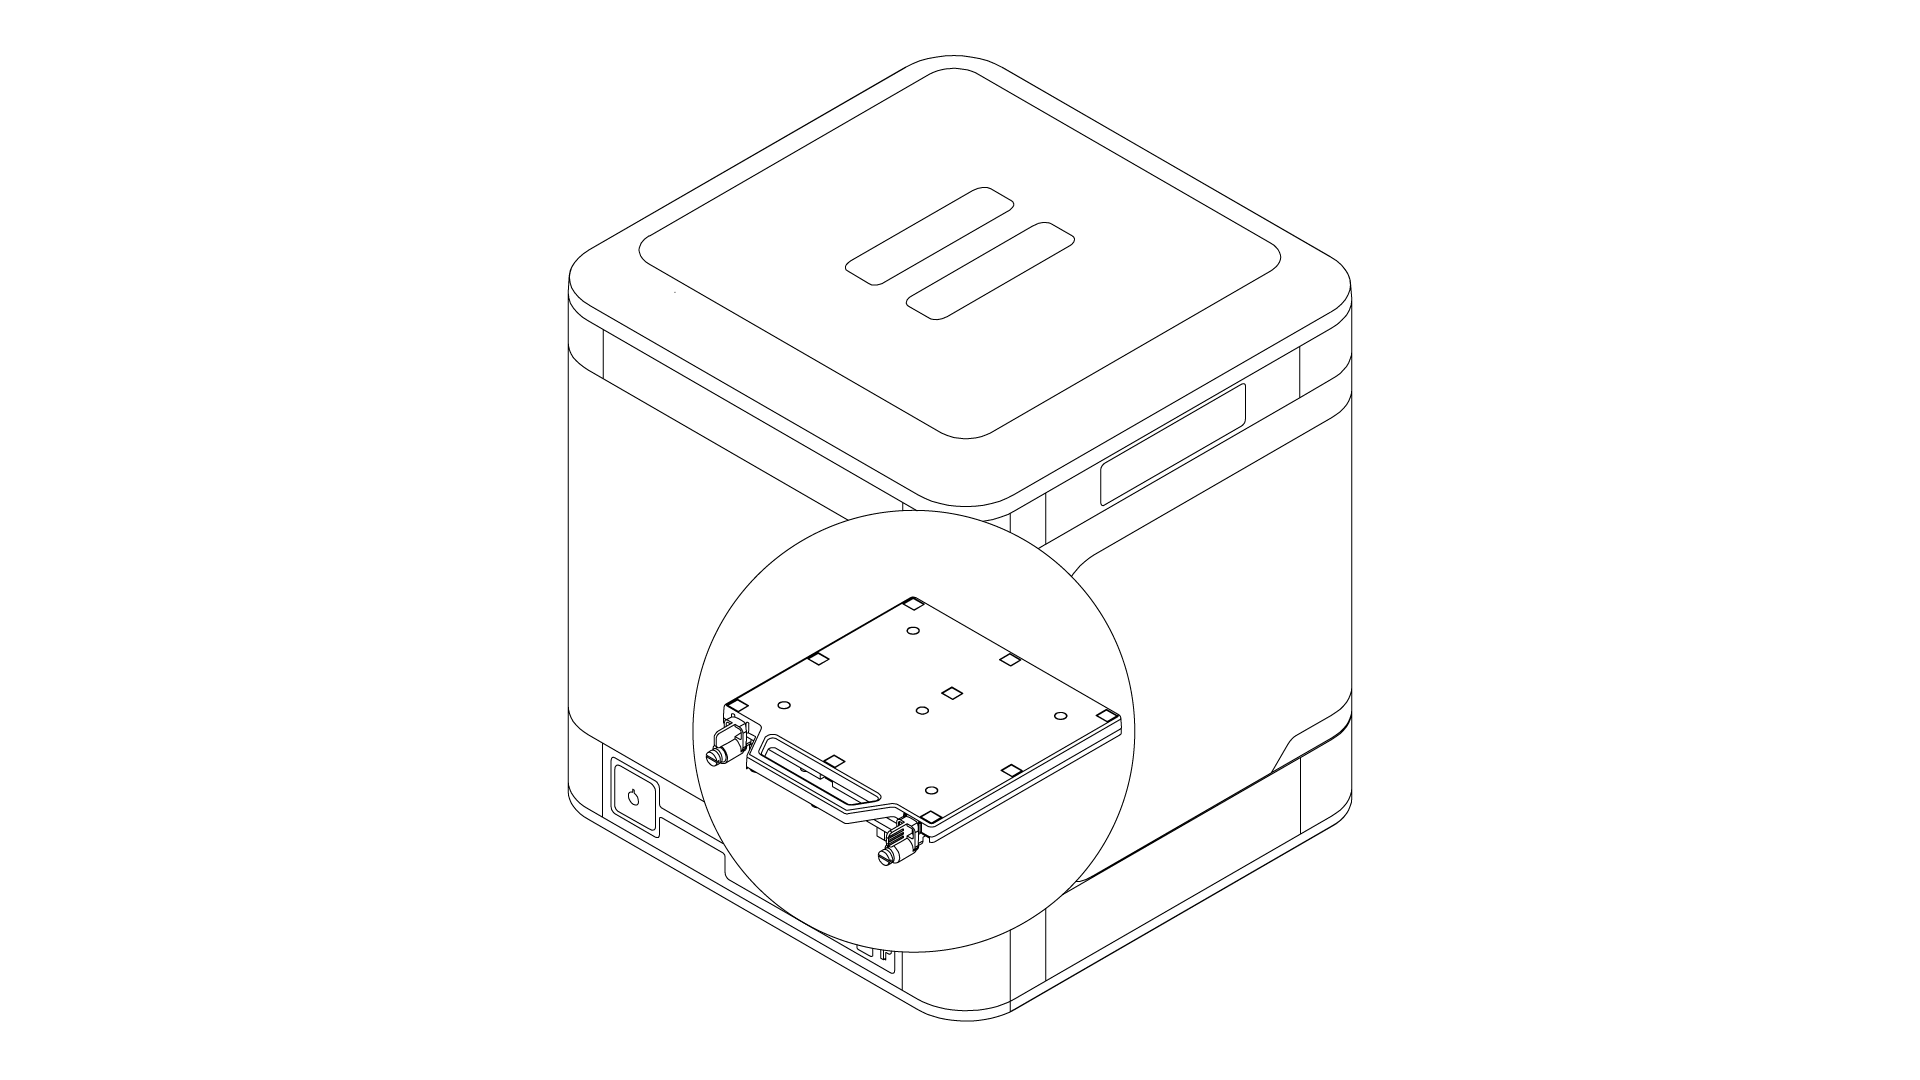
| Cleaning the build tray | Before each print | To remove material remains from the surface of the build tray, use a spatula | A spatula |
| Platform leveling | Every 200 working hours and after each build tray replacement | From the menu choose “Maintenance” and then “Platform Leveling.” Follow the instructions provided on the display. | – |