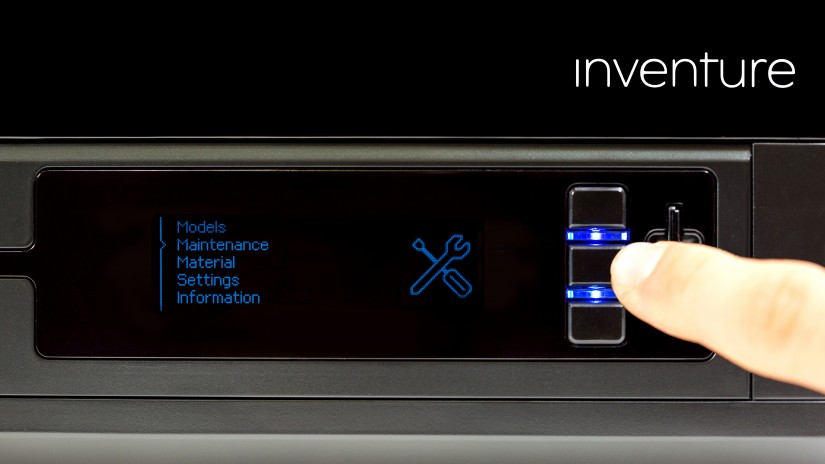
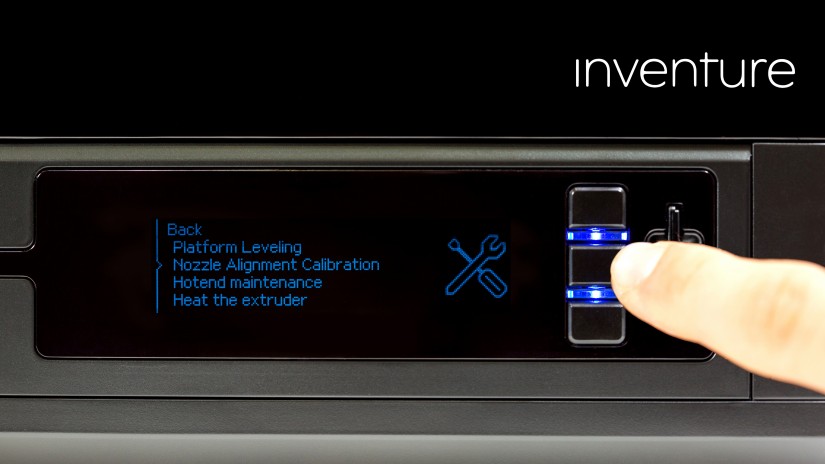
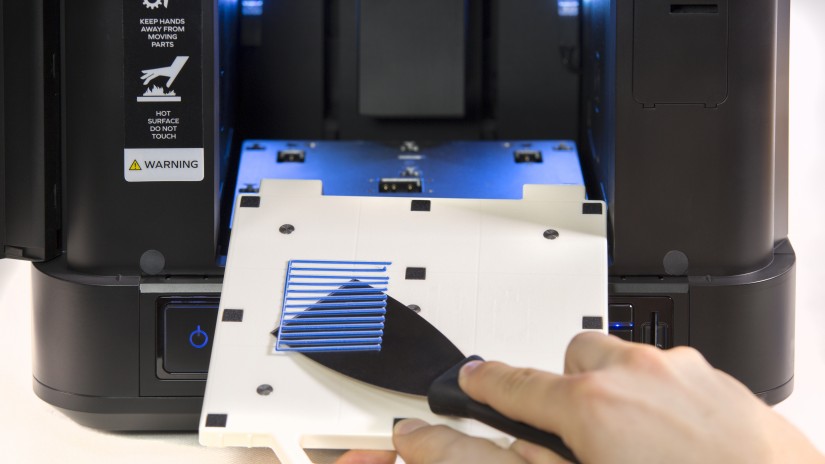
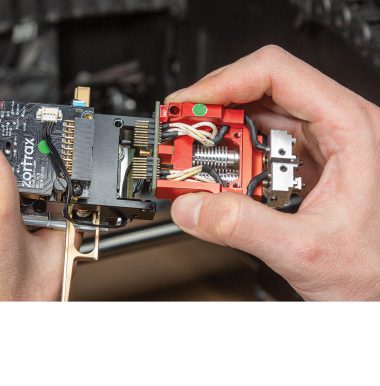
Nozzle alignment calibration is one of the maintenance procedures that needs to be carried out before using the printer for the first time, in case of imperfections showing up on the models and after each nozzle or hotend module replacement. The procedure involves printing two trial models, each with thirteen lines printed with the support material on top of thirteen lines prined with the model material. The user has to check both models visually and choose the pair of lines where the support material covers the model material most precisely. Nozzle alignment regulates the position of the hotends in order to achieve the best accuracy during the printing process.
| You need to carry out the platform leveling before commencing the nozzle alignment calibration. |
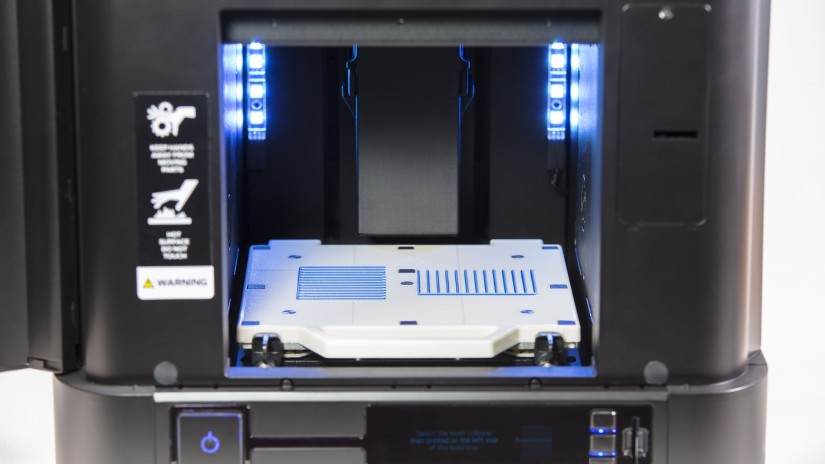
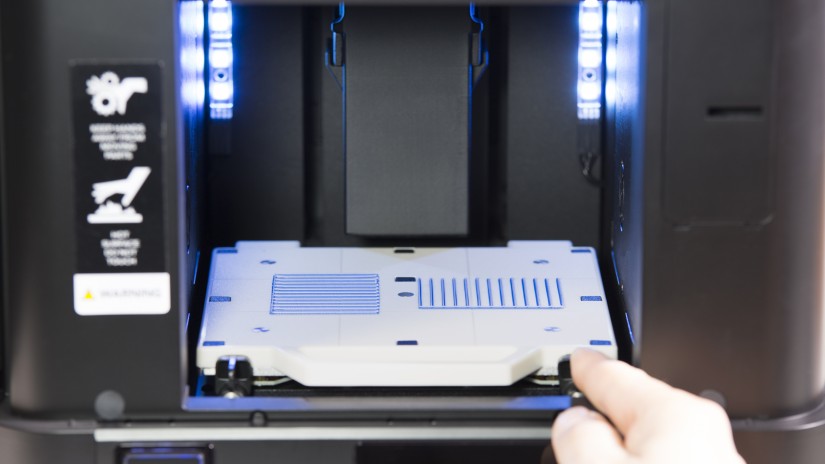
Calibration Models Analysis
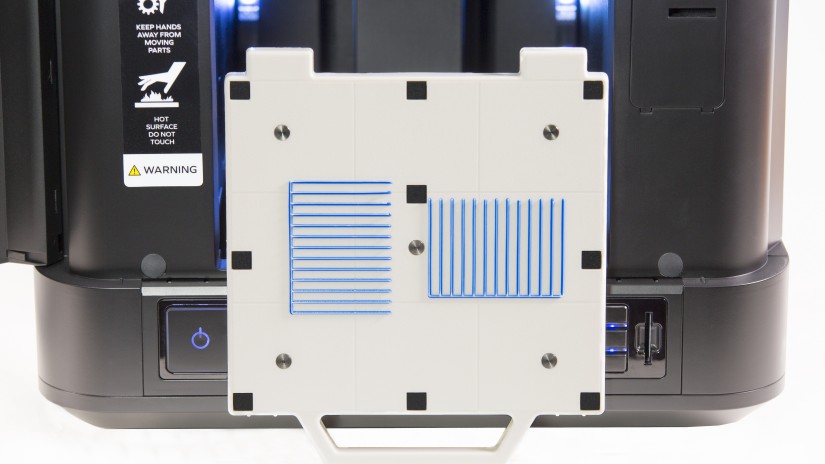
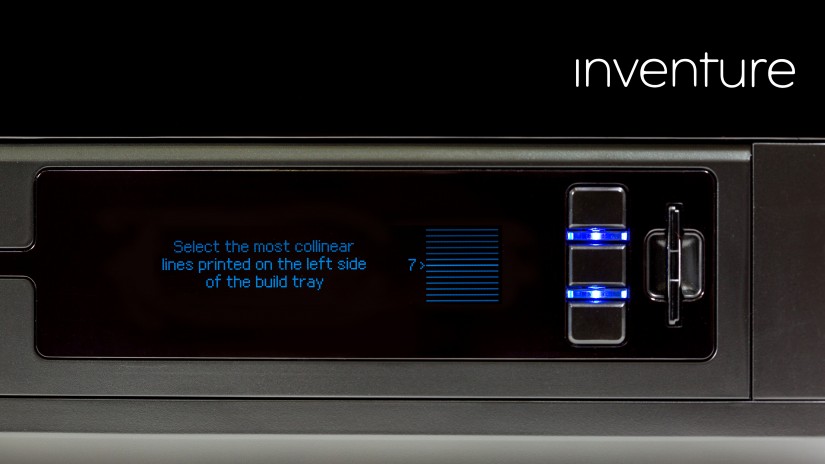
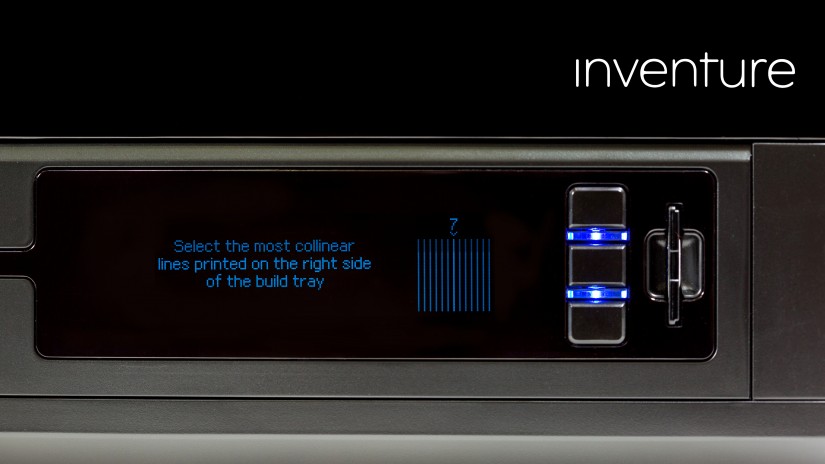
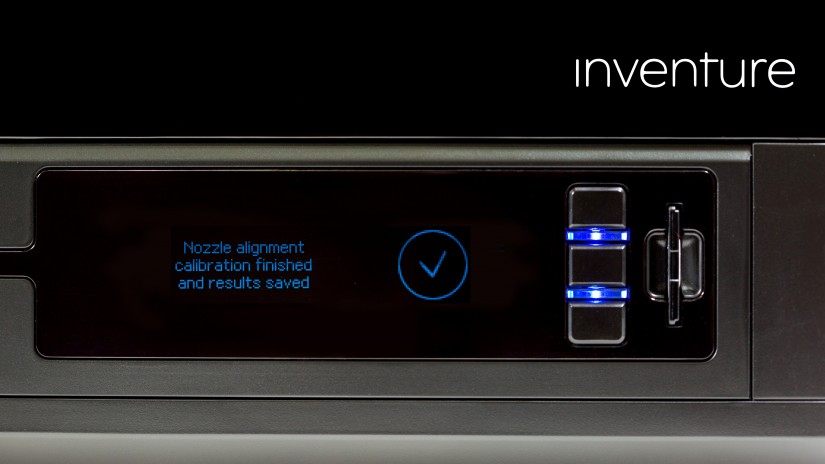
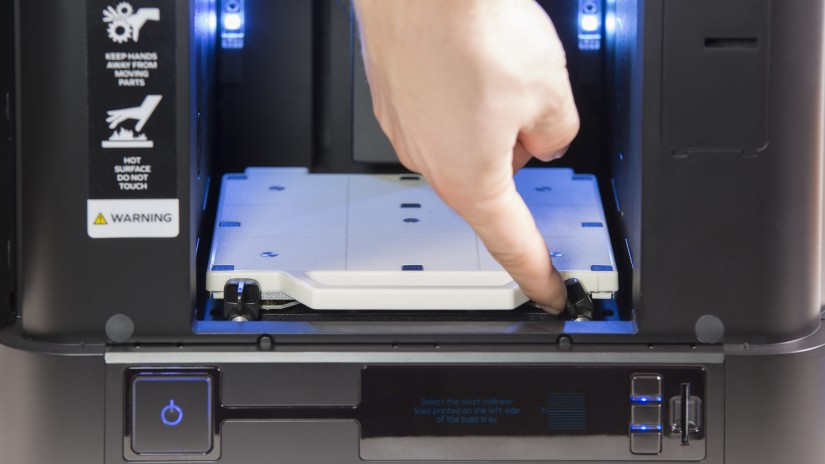
Follow the instructions displayed on the screen. Inspect both trial prints visually and from each print select the pair of lines in which the support material covers the model material most precisely. Finish the calibration.

