Platform calibration is one of the maintenance procedures that has to be performed before running the printer for the first time and after approximately three prints. The process of calibrating the platform involves adjusting the platform’s position and tightening the platform screw. The platform has to properly adhere to the LCD screen. Otherwise, the bottom layers of the model will not stick to platform’s surface and the print will fail. This manual shows how to carry out the platform calibration procedure.
UV Cover Removal
Remove the UV cover.
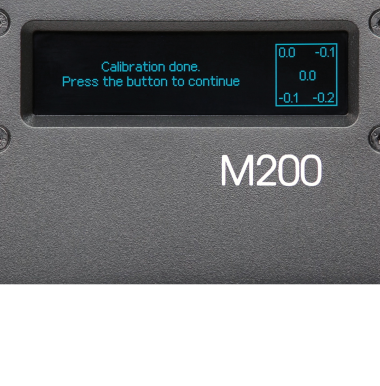
Starting the Calibration
Start the calibration with the options from the menu. Select Tools and then Calibration. At this point the printer will start to lift up the platform.
Filling the Tank
Pour a small amount of resin into the tank so that there is a thin layer of resin on the FEP film. Tap Next to confirm.
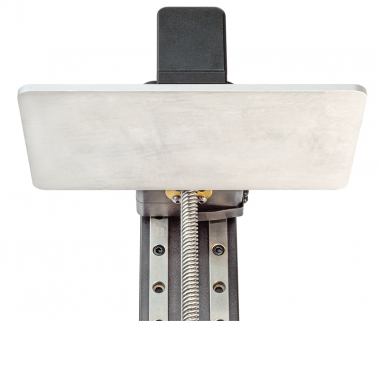
Loosening the Platform Screw
Loosen the platform screw with an Allen key. Tap Next to continue.
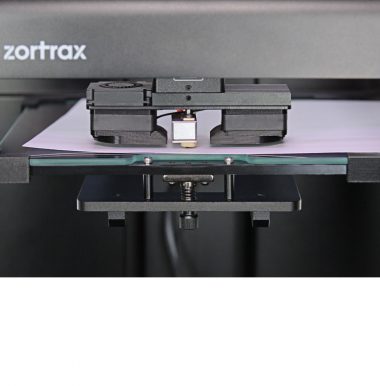
Platform Calibration
Hold the platform block in the places shown in the video and press the platform against the screen. Next, tighten the platform screw. Install the UV cover back on the printer.