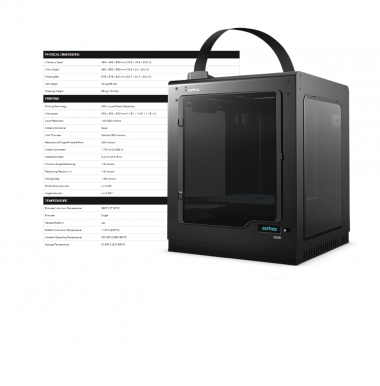
The motherboard is the main printed circuit board which allows communication between all other components of the printer. It is placed under the bottom plate, along with the cooling fan and power supply unit. Any motherboard failure may create problems with other components and the printer may not properly perform. If, for example, your printer is overheating, or it starts to run but there is nothing displayed on the front panel, or it suddenly turns off during the printing process and cannot be restarted, it may indicate the motherboard failure. At first, you have to determine whether the problem is not caused by a specific component. If you’ve eliminated other possible causes, for example, the display panel, power supply unit or fuse failure, you should replace the motherboard. Follow the steps from this manual to see how to properly carry out the whole procedure.
Unplugging the Power Cable
Turn off the printer and unplug the power cable.
Changing the Printer's Position
Grab the printer’s housing and change the printer’s position so that you can easily access the bottom plate.
Unscrewing the Bottom Plate, part 1
Unscrew the screws that secure the bottom plate on one side of the housing. Use a 2.5mm Allen key.
Turning the Printer
Turn the printer over.
Unscrewing the Bottom Plate, part 2
Unscrew the screws that secure the bottom plate on the other side of the housing. Use the same key.
Separating the Bottom Plate
Separate the bottom plate from the printer and unplug the bottom fan cable from the motherboard.
Unplugging all Cables from the Motherboard
Unplug all the cables from the motherboard.
Motherboard Removal
Unscrew the five screws that secure the motherboard using a 2.5mm Allen key and remove the motherboard from the printer.
Motherboard Assembly
Install the new motherboard in its place and secure it with the five screws.
Plugging all the Cables into the Motherboard
Plug all the cables into the motherboard.
Bottom Plate Installation
Plug the bottom fan cable into the motherboard and install the bottom plate.
Securing the Bottom Plate, part 1
Screw the bottom plate on one side of the housing. Use a 2.5mm Allen key.
Turning the Printer
Turn the printer over.
Securing the Bottom Plate, part 2
Screw the bottom plate on the other side of the housing. Use the same key.
Changing the Printer's Position
Grab the printer’s housing and set the printer upright.
Plugging the Power Cable
Plug the power cable in.