The extruder cable allows the motherboard to transfer power and data to the extruder and regulate the printing and calibration process. If you encounter any problems connected with the extruder, for example, it doesn’t heat up sufficiently (only up to 50%), or you can hear a clicking sound coming from the extruder motor (the sprocket wheel moves back and forth), or your models are incomplete (they have irregular layers/walls and there is a lack of material in their top and bottom parts), the extruder cable may be faulty. To be extra sure, run the ribbon cable test for your printer model and inspect the results: M200 or M300. If the prints are of poor quality, replace the cable. Follow the steps from this manual to see the correct replacement procedure.
| The following manual shows the M200 repair work. For the M300, M200 Plus and M300 Plus, these procedures are the same. |
Unplugging the Power Cable
Turn off the printer and unplug the power cable.
Material Guide Removal
Detach the material guide from the extruder cover. Next, separate the guide from the extruder cable.
Unplugging the Extruder Cable
Detach the extruder upper printed cover and unplug the extruder cable.
Changing the Printer's Position
Grab the printer’s housing and change the printer’s position so that you can easily access the bottom plate.
Unscrewing the Bottom Plate, part 1
Unscrew the screws that secure the bottom plate on one side of the housing. Use a 2.5mm Allen key.
Turning the Printer
Turn the printer over.
Unscrewing the Bottom Plate, part 2
Unscrew the screws that secure the bottom plate on the other side of the housing. Use the same key.
Separating the Bottom Plate
Separate the bottom plate from the printer and unplug the bottom fan cable from the motherboard.
New Version of the Motherboard
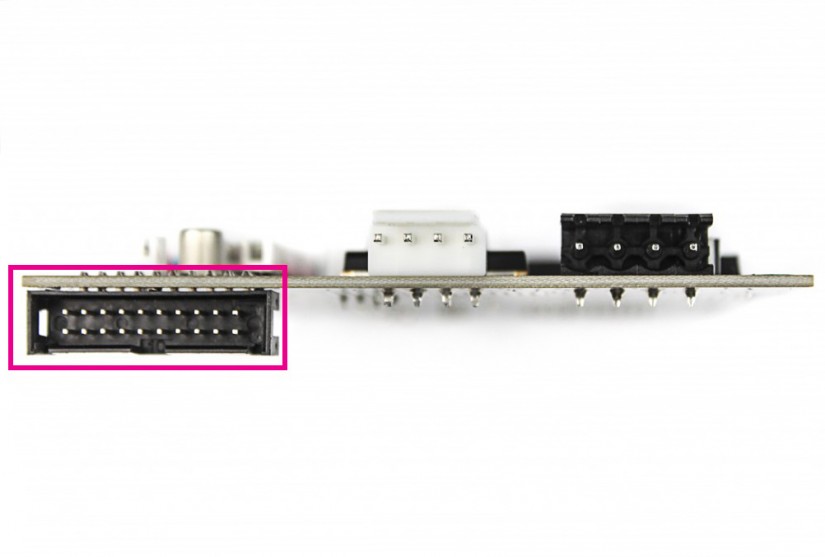
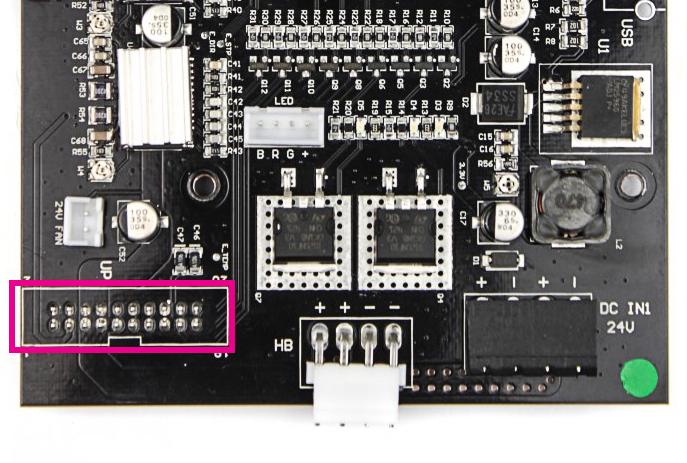
The photos show the new version of the motherboard in the M200. The extruder cable connection is placed underneath the motherboard so you can use the extruder cable without an adapter.
Adapter Removal
If the extruder cable you’re using has an adapter, separate the adapter from the cable so you can plug it into the new version of the motherboard.
Extruder Cable Removal
Unfasten the two extruder cable straps and unplug the cable from the motherboard. Next, unfasten the third strap and pass the cable through the hole. Finally, open the three cable clamps and remove the extruder cable.
Extruder Cable Assembly
Place the cable in the cable clamps and secure it by closing the clamps. Next, pass the cable through the hole and secure it with the first strap. Plug the extruder cable into the motherboard and fasten the two remaining straps.
Old Version of the Motherboard
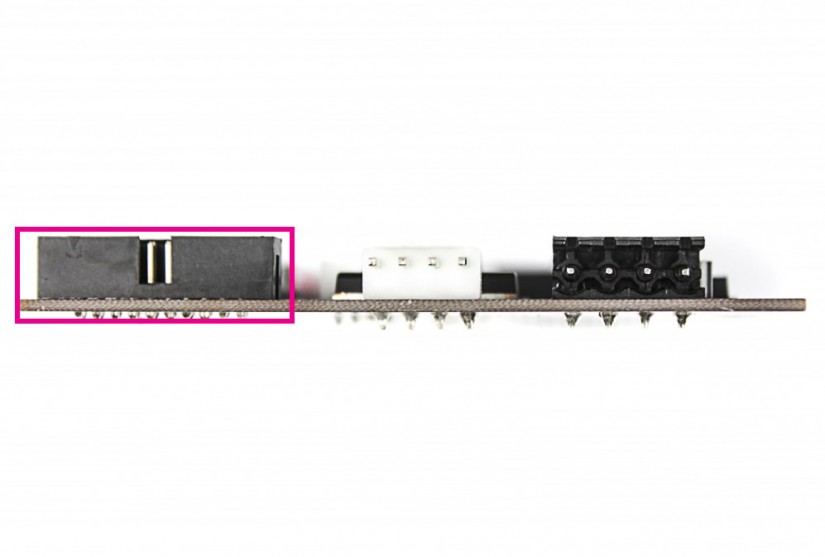
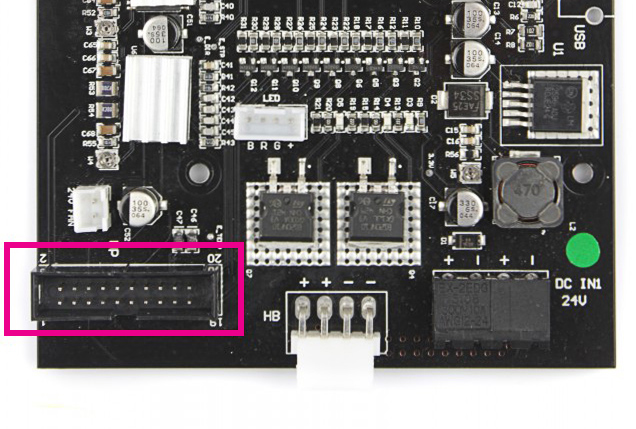
The photos show the old version of the motherboard. The extruder cable connection is placed on top of the motherboard. For this reason, you have to use the extruder cable with an adapter.
Extruder Cable Removal
Unfasten the two extruder cable straps and unplug the cable from the motherboard. Next, unfasten the third strap. Open the three cable clamps and remove the extruder cable from the clamps, then pass the cable through the hole.
Extruder Cable Assembly
Pass the extruder cable through the hole and place in the clamps. Close the clamps. Fasten the first stap and plug the extruder cable into the motherboard. Fasten the two remaining straps.
Bottom Plate Installation
Plug the bottom fan cable into the motherboard and install the bottom plate.
Securing the Bottom Plate, part 1
Secure the bottom plate on one side of the housing. Use a 2.5mm Allen key.
Turning the Printer
Turn the printer over.
Securing the Bottom Plate, part 2
Secure the bottom plate on the other side of the housing. Use the same key.
Changing the Printer's Position
Grab the printer’s housing and set the printer upright.
Plugging in the Extruder Cable
Plug the extruder cable in, and then attach the extruder upper cover to the lower cover.
Material Guide Installation
Attach the material guide to the extruder cover. Next, secure the guide to the extruder cable with the material guide clamps.
Plugging in the Power Cable
Plug the power cable in.
