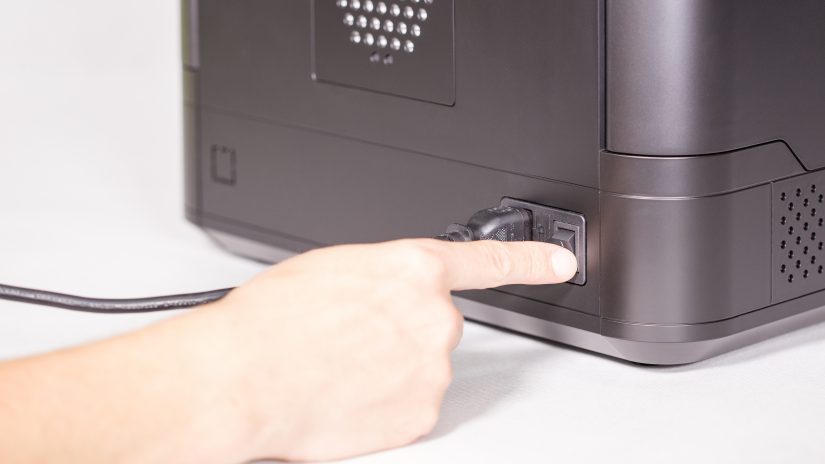
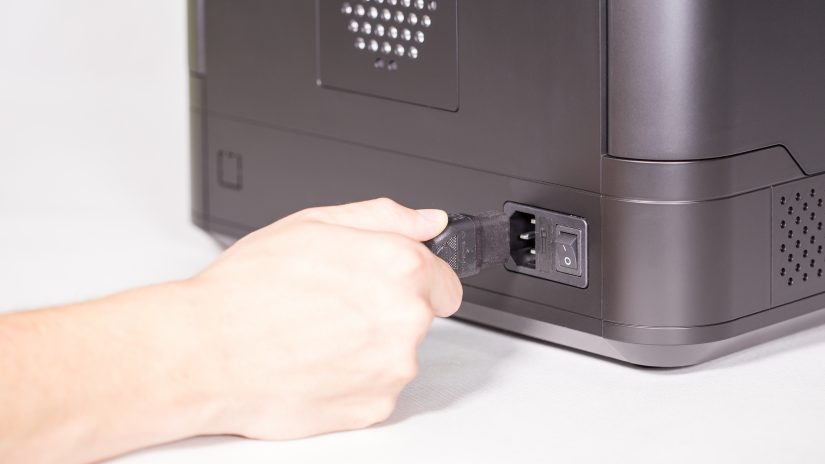
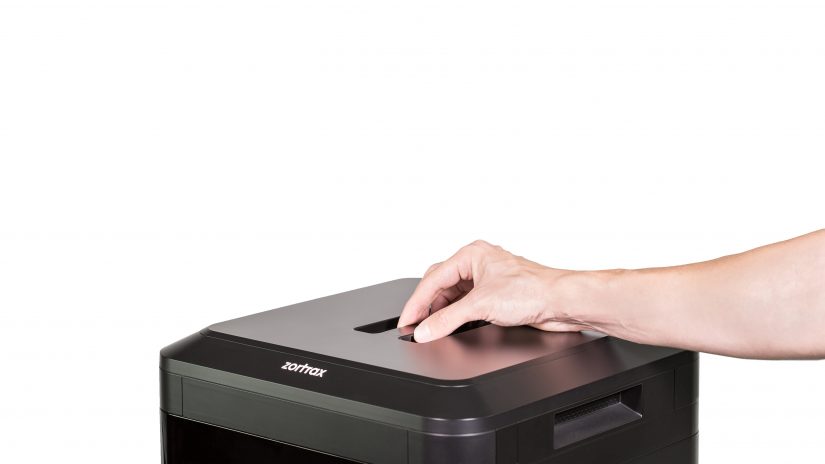
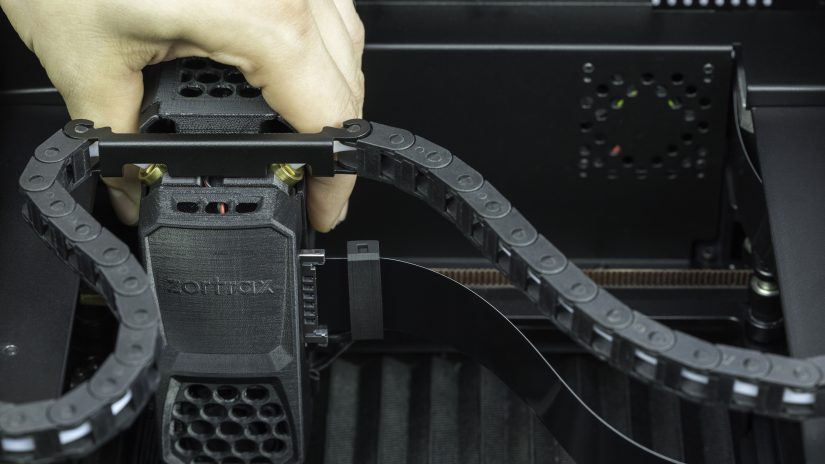
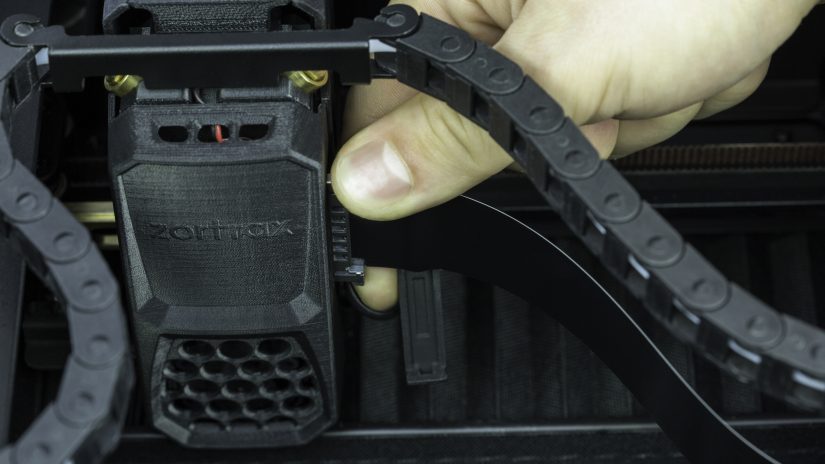
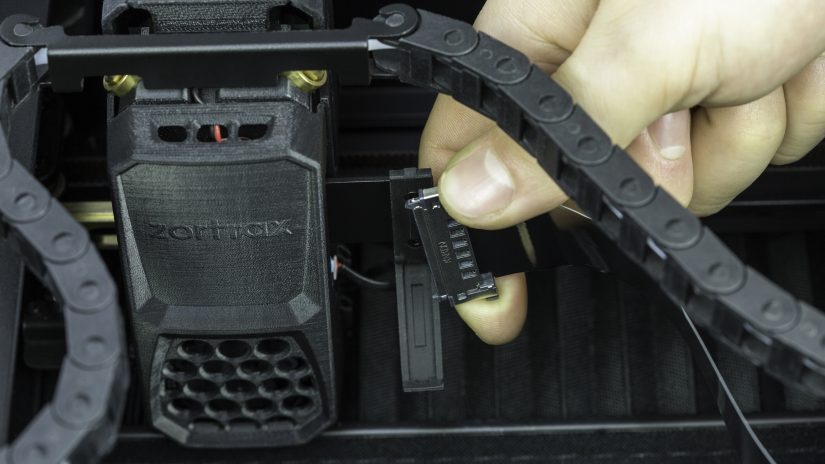
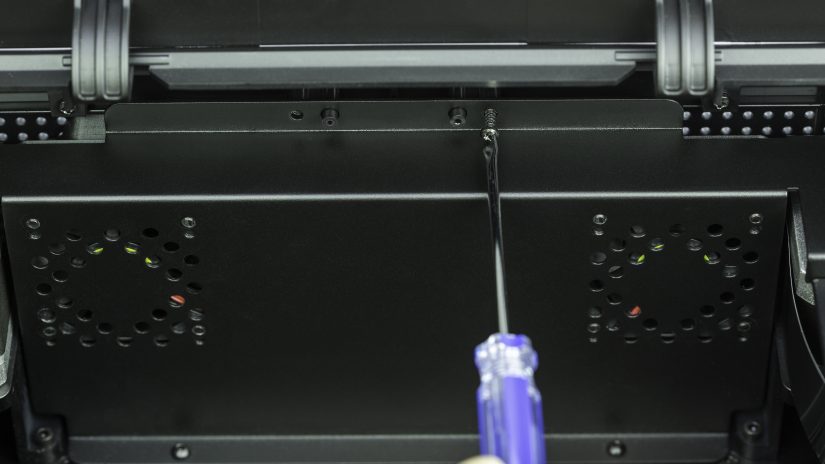
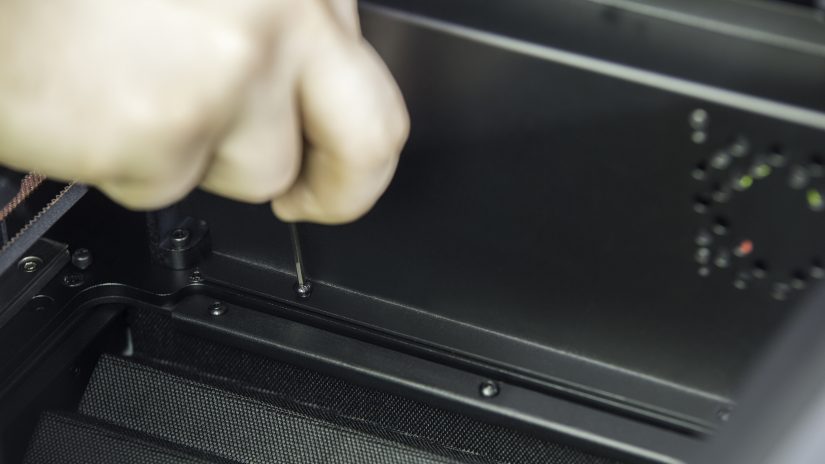
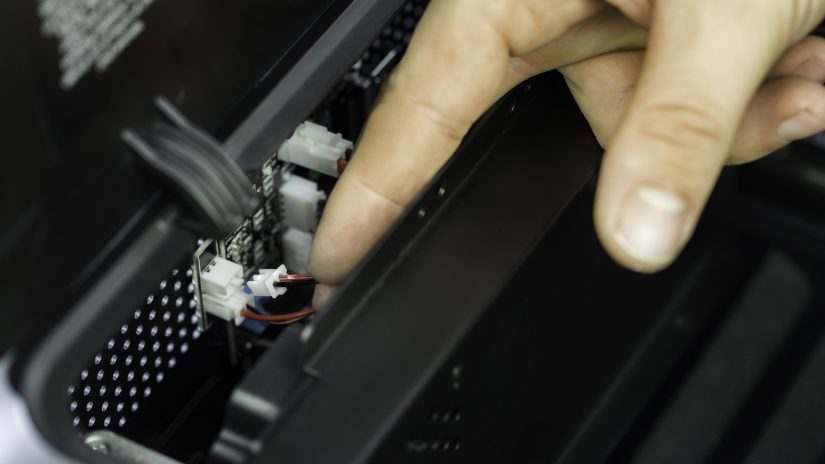
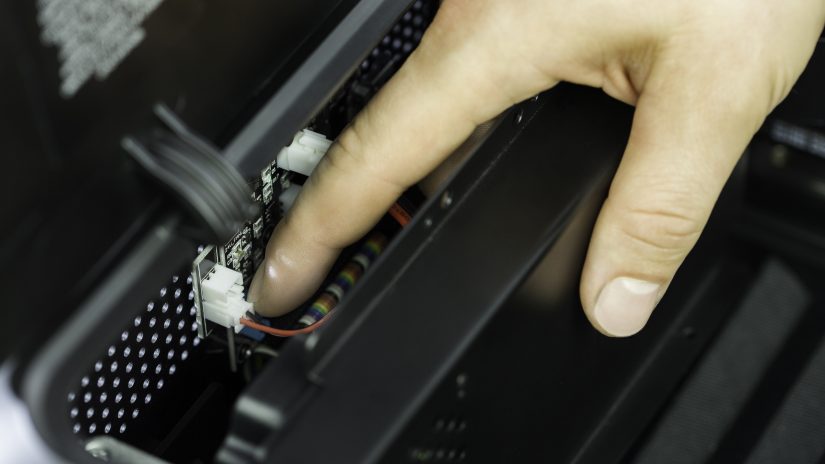
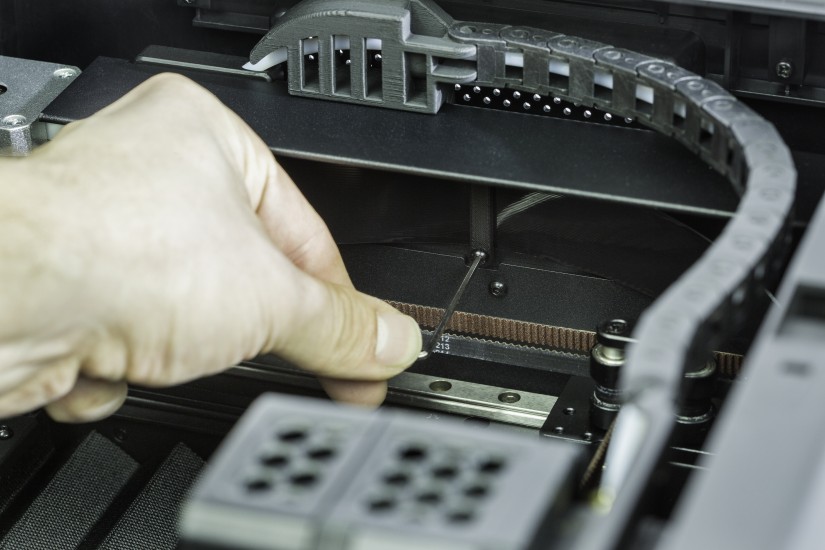
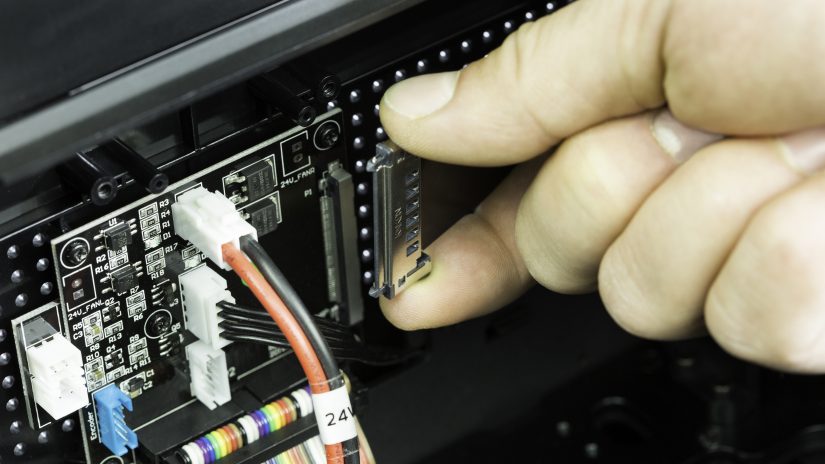
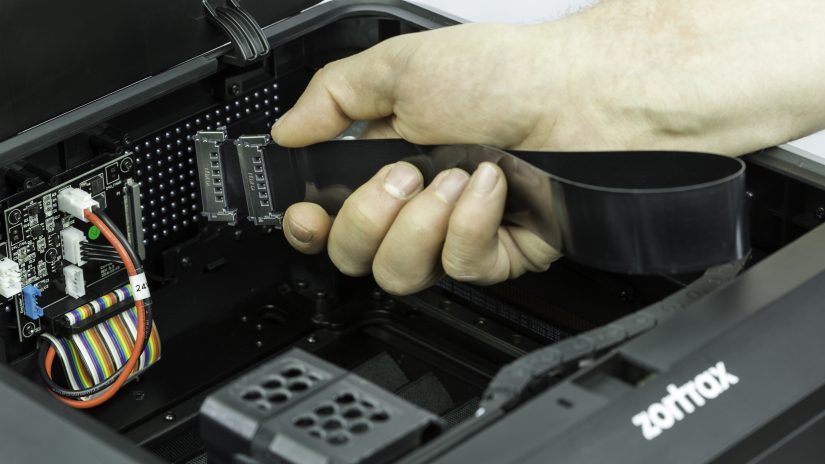
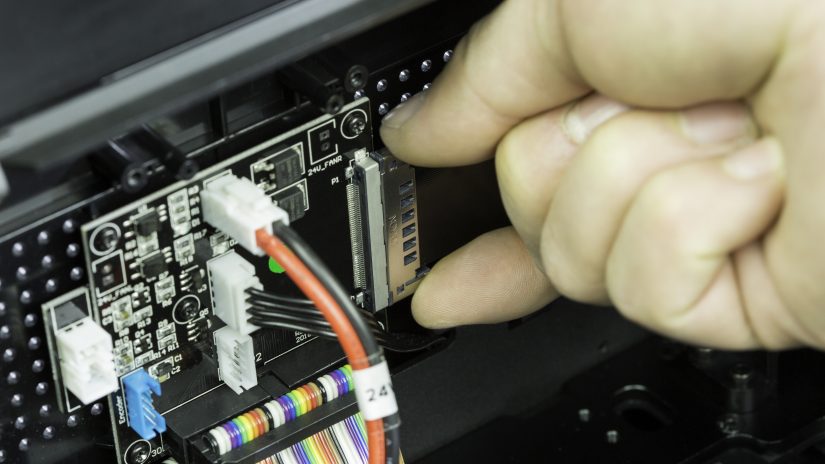
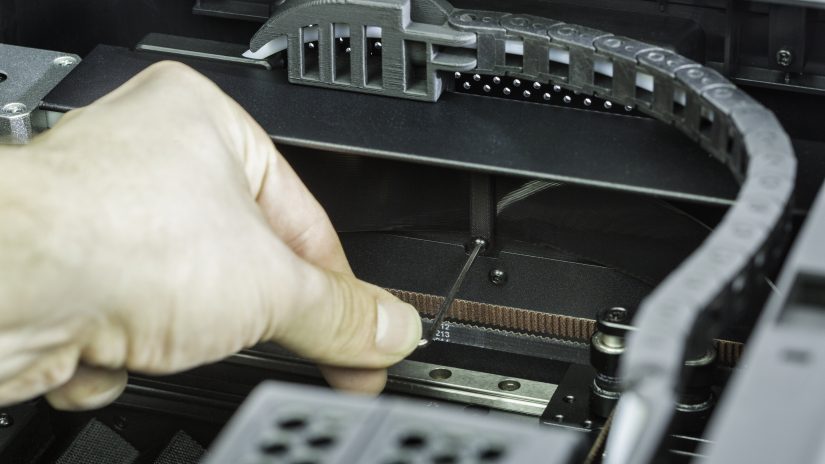
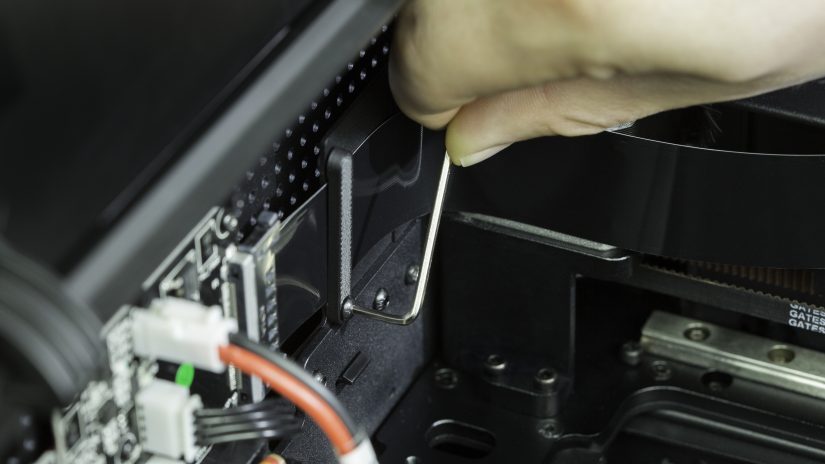
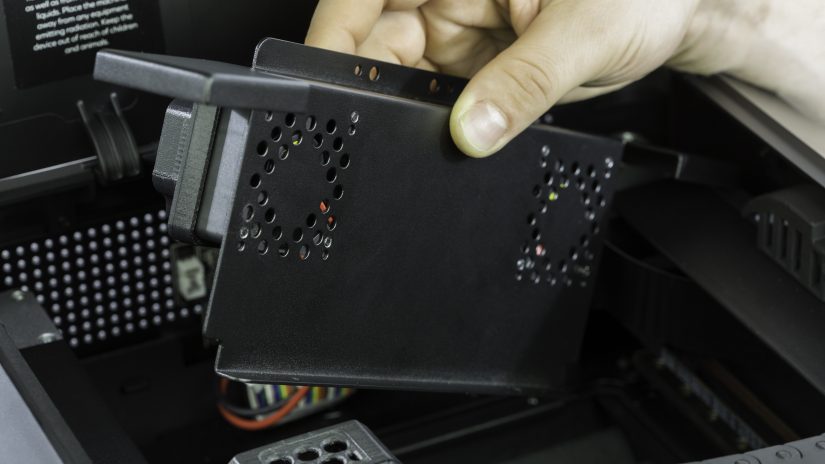
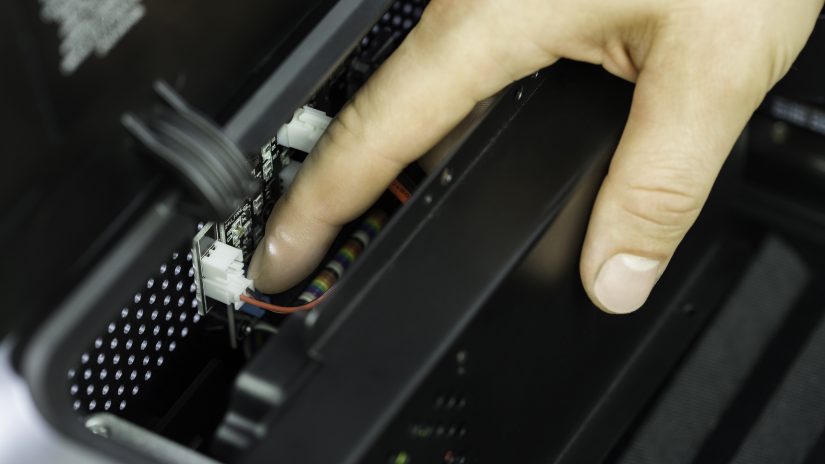
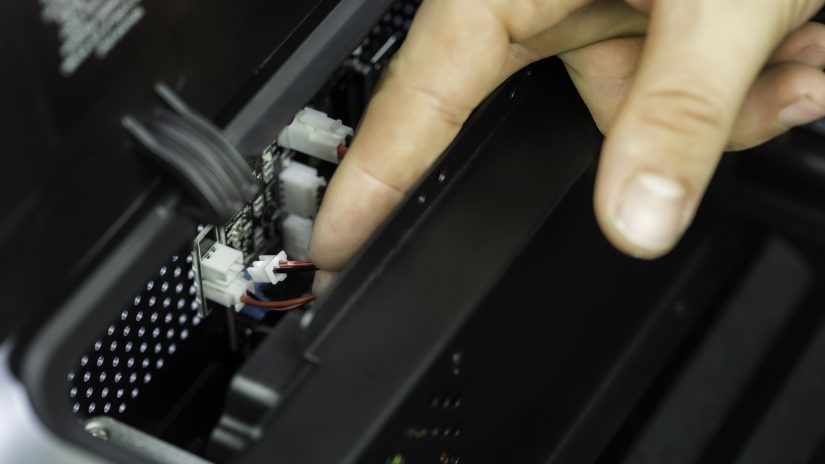
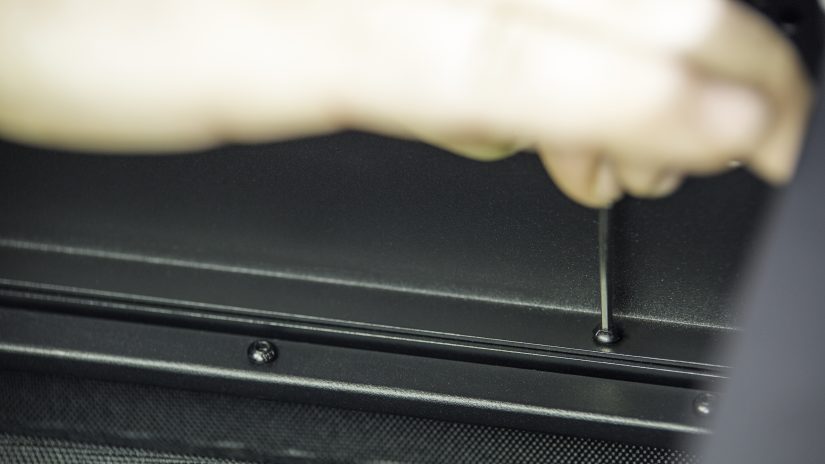
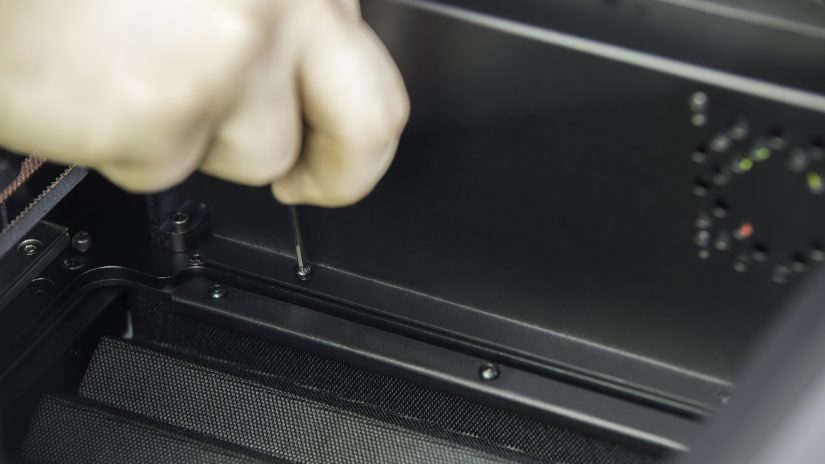
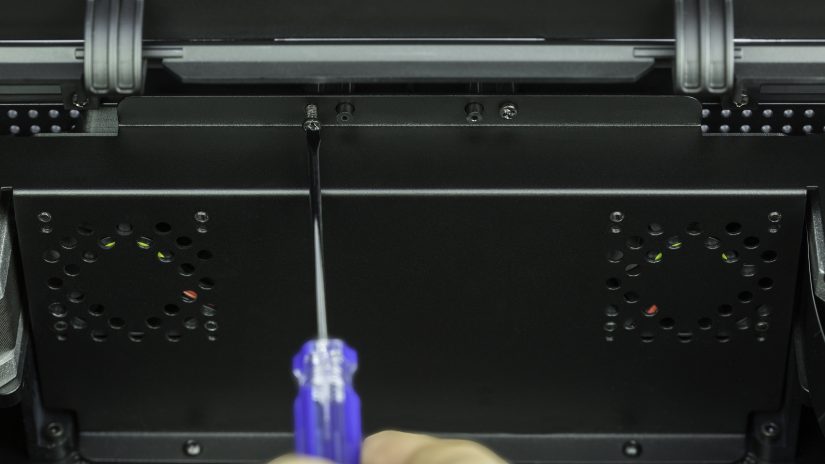
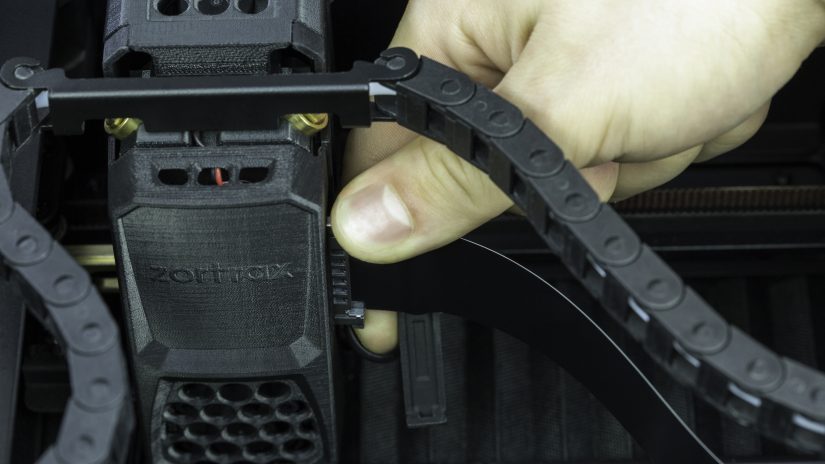
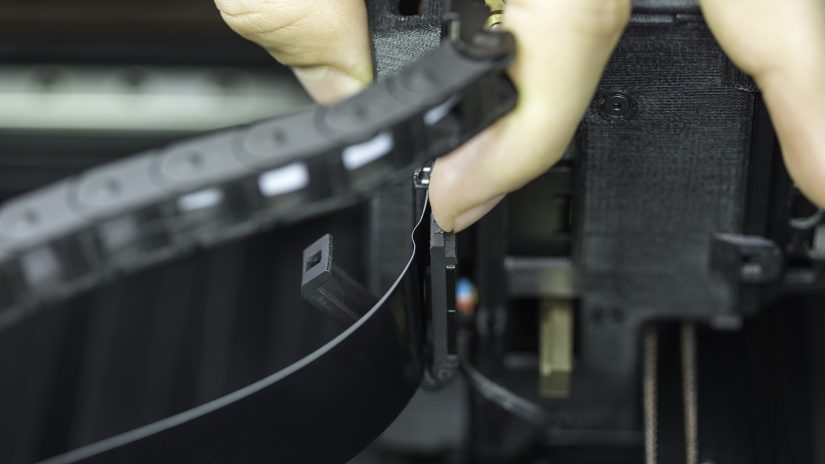
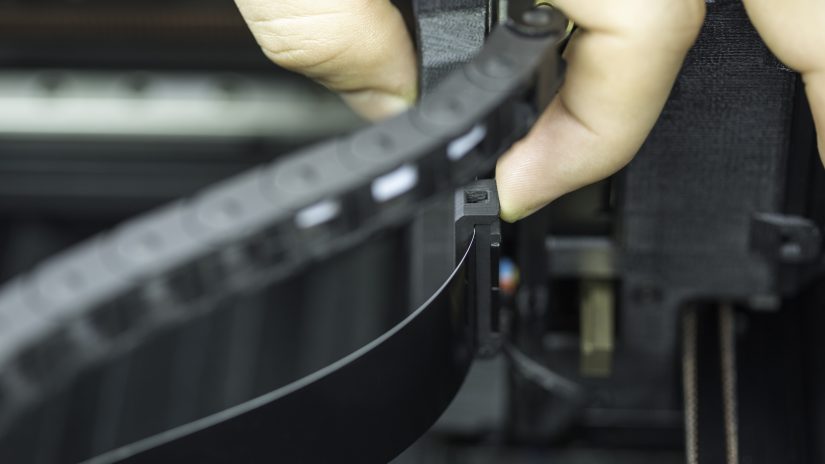
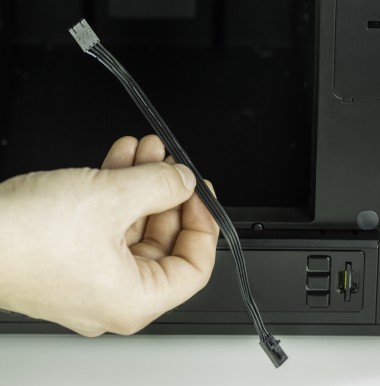
The extruder cable is the ribbon cable that supplies the extruder with power and allows the motherboard to regulate the printing process. If you experience problems with extruder heating, and your models have incomplete layers or irregular walls, or there are material deficiencies in their structure, the extruder cable needs to be replaced. Follow the steps from this manual see how to properly replace the cable.

1

Unplugging the Power Cable

Turn off the printer and unplug the power cable.

2

Opening the Top Door

Open the top door.

3

Unplugging the Extruder Cable

Open the extruder cable clamp placed on the right side of the extruder, and unplug the extruder cable.

4

Unscrewing the Back Cover (inside the Printer)

Unscrew the four screws that secure the back cover inside the printer.

5

Back Cover Removal (from the Printer)

Unplug the back cover fan cables and remove the cover from the printer.

6

Unscrewing the Extruder Cable Holders

Unscrew the two extruder cable holders.

7

Extruder Cable Removal

Unplug the extruder cable from the PCB and remove the cable from the printer.

8

Extruder Cable Installation

Extruder-Cable-replacement_8a.jpg

Place the new extruder cable it in the printer and plug it into the PCB.

9

Securing the Extruder Cable

Secure the extruder cable in its place inside the printer with the two cable holders.

10

Back Cover Installation

Place the back cover inside the printer and plug in the back cover fan cables.

11

Securing the Back Cover

Secure the back cover with the four screws.

12

Plugging the Extruder Cable

Plug in the extruder cable and close the cable clamp.

13

Closing the Top Door

Close the top door.

Was this article helpful?

Yes No

Thank you for your feedback.

Arrow back Arrow up