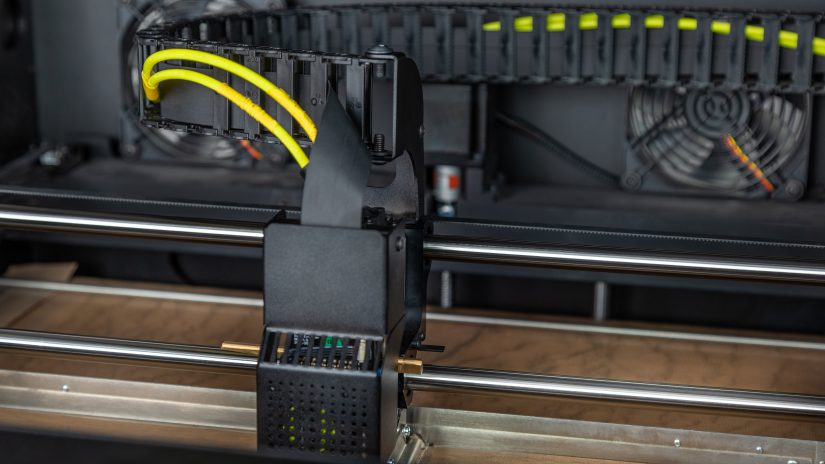
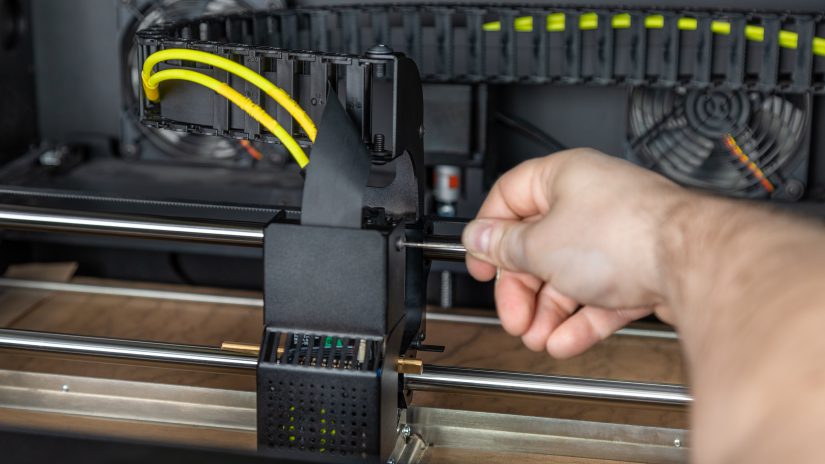
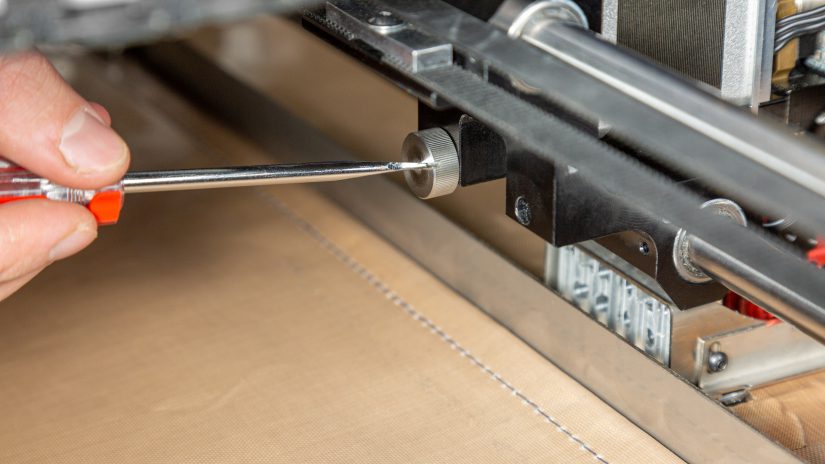
1 Extruder Top Cover Removal 1 2 3 Unscrew the two screws that secure the extruder top cover (one screw on the left and one screw on the right). Remove the cover.
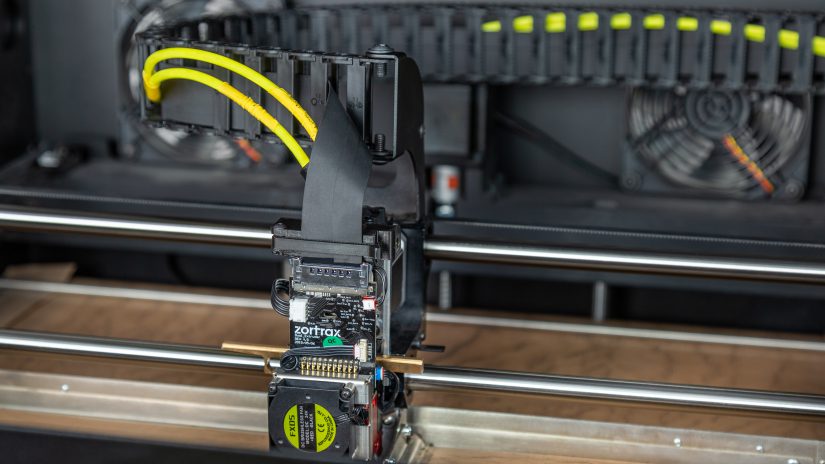
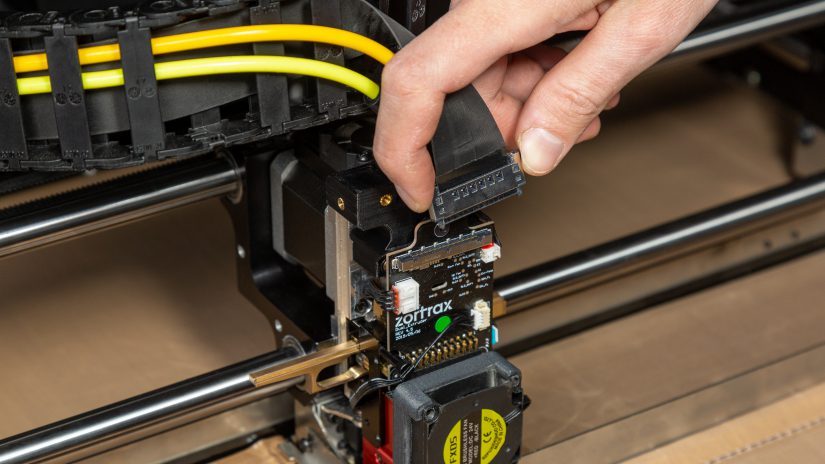
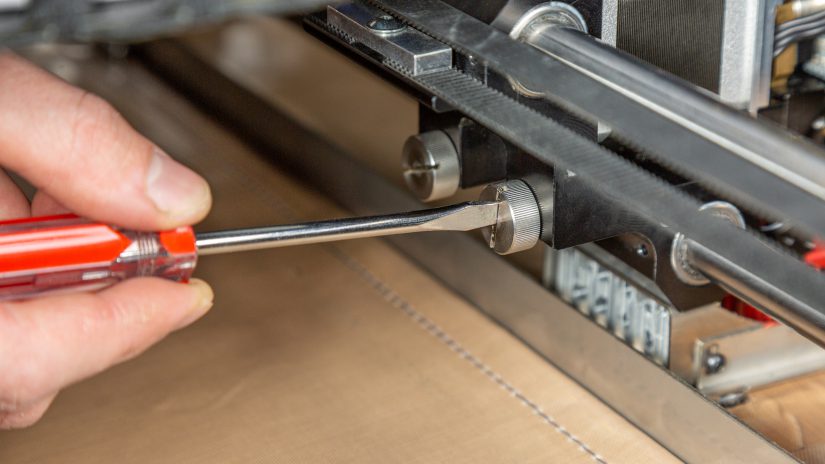
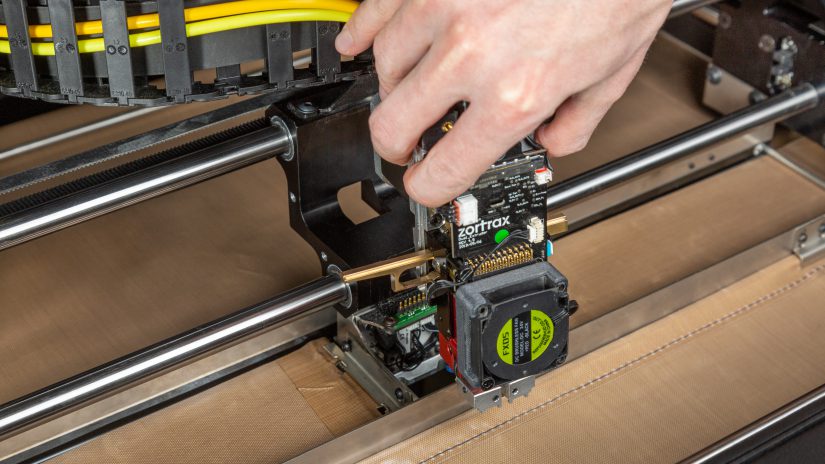
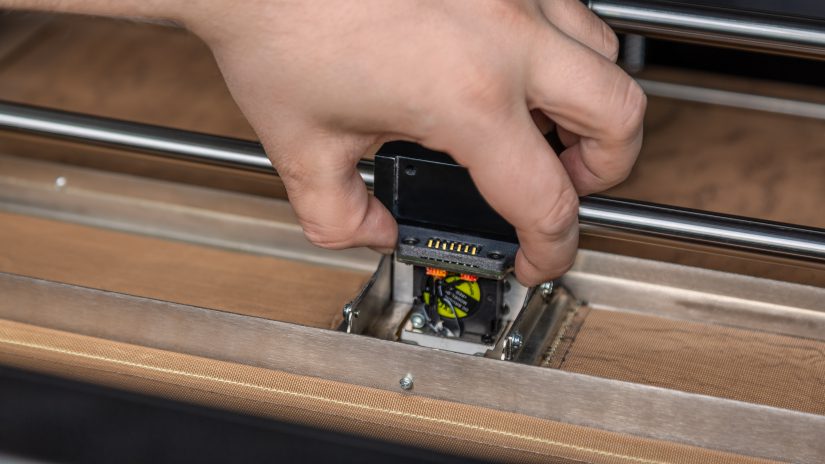
3 Extruder Removal 1 2 3 4 Unscrew the two screws behind the extruder. Next, remove the extruder from the printer.
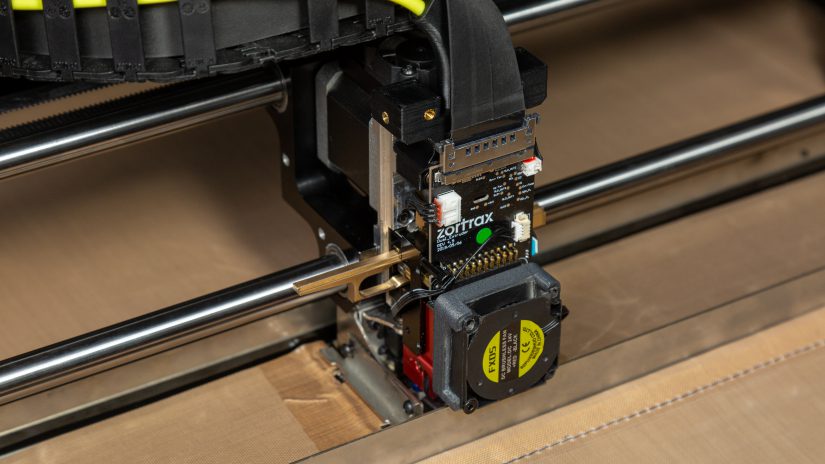
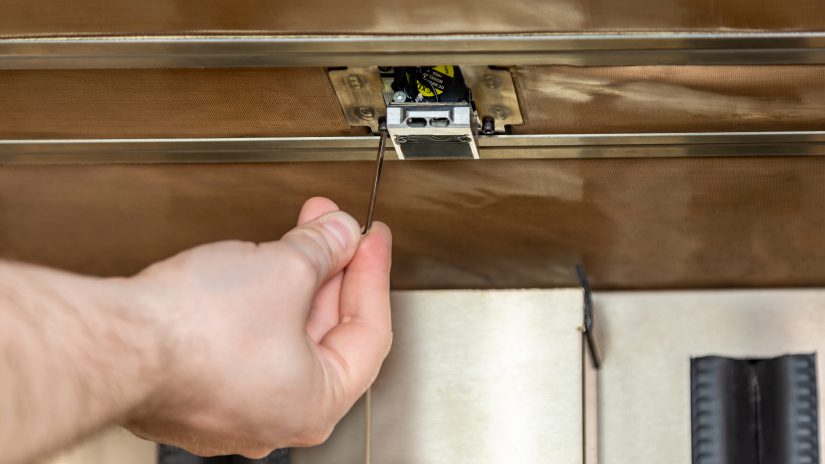
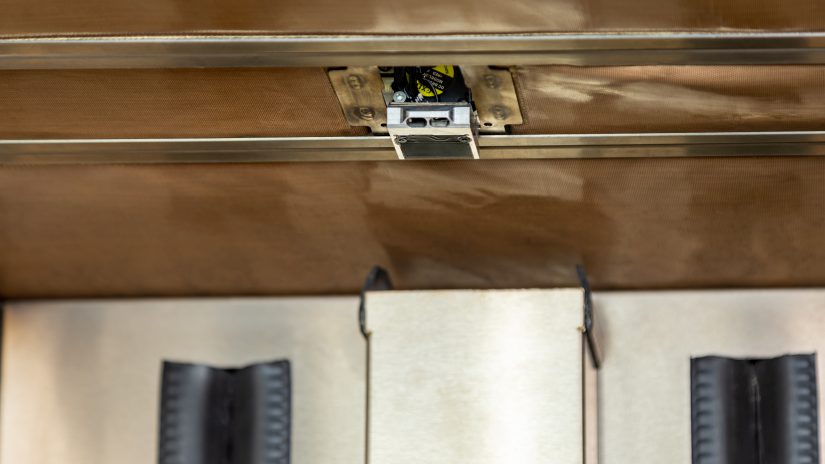
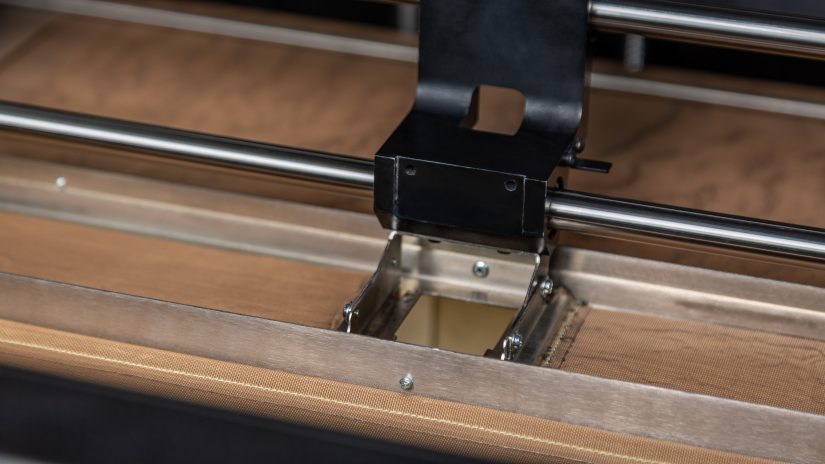
4 Detaching the Capsensor Module 1 2 3 Unscrew the two screws holding the cap sensor module underneath the extruder cart.
6 Cap Sensor Installation 1 2 3 4 5 Install the new cap sensor module in its place and secure it with the two screws.
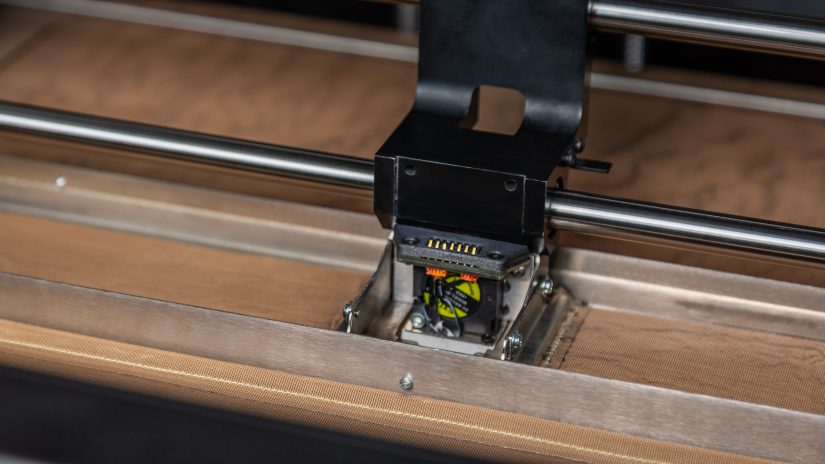
7 Extruder Installation 1 2 3 4 Install the new extruder in its place and secure it with the two screws. Make sure the extruder is well aligned on the cap sensor module pogo pins.
9 Extruder Top Cover Installation 1 2 3 Reattach the extruder top cover and secure it with the four screws.


