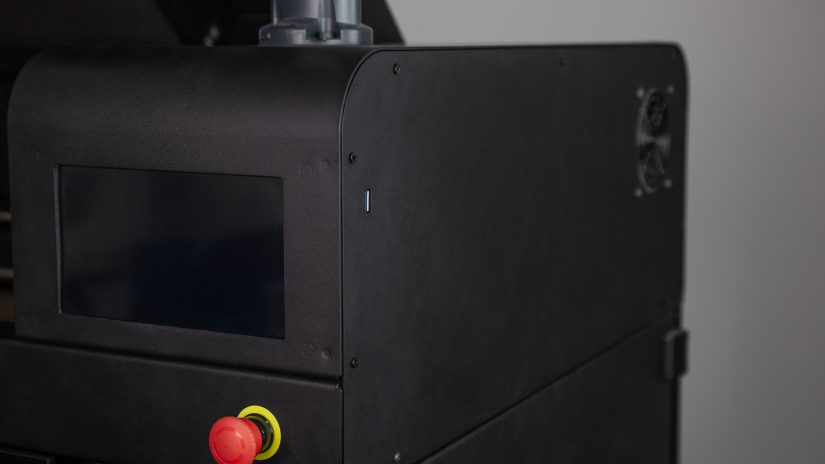
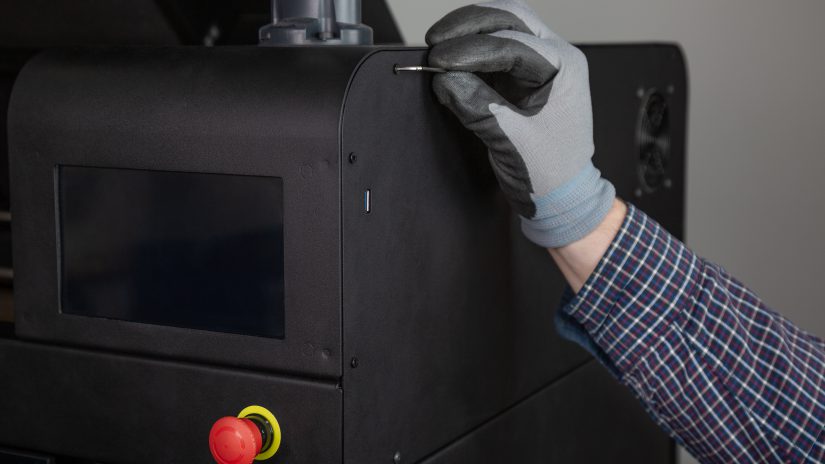
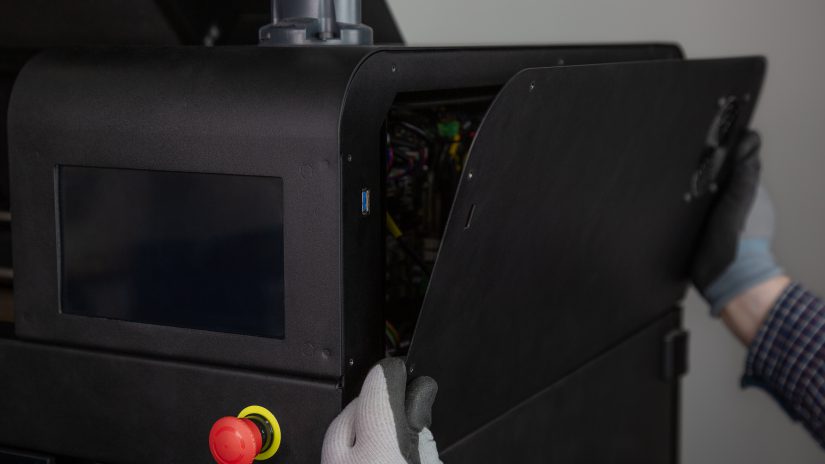
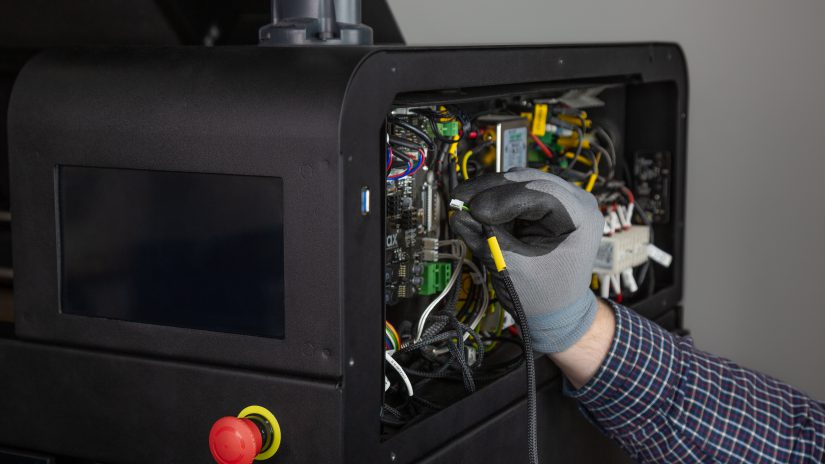
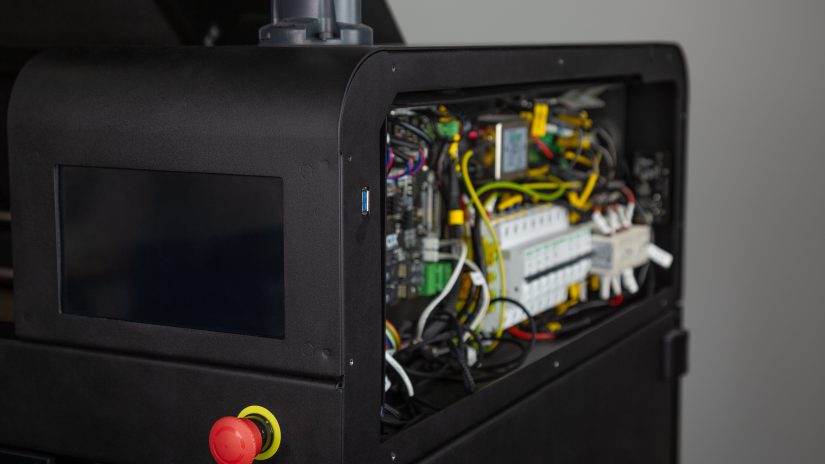
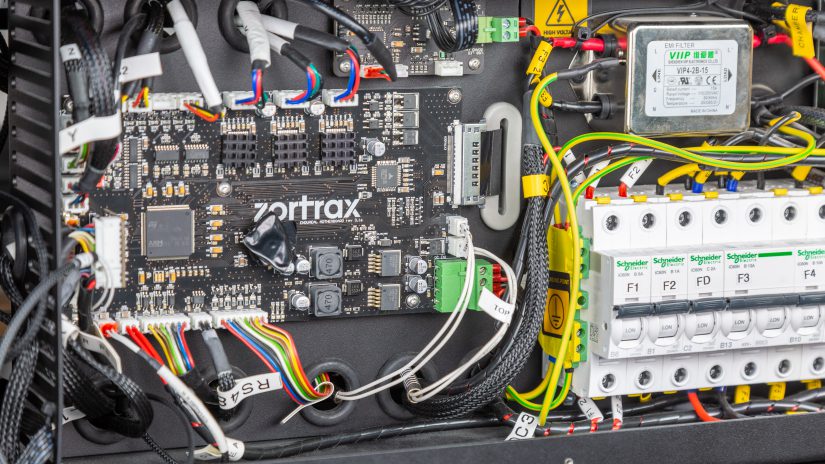
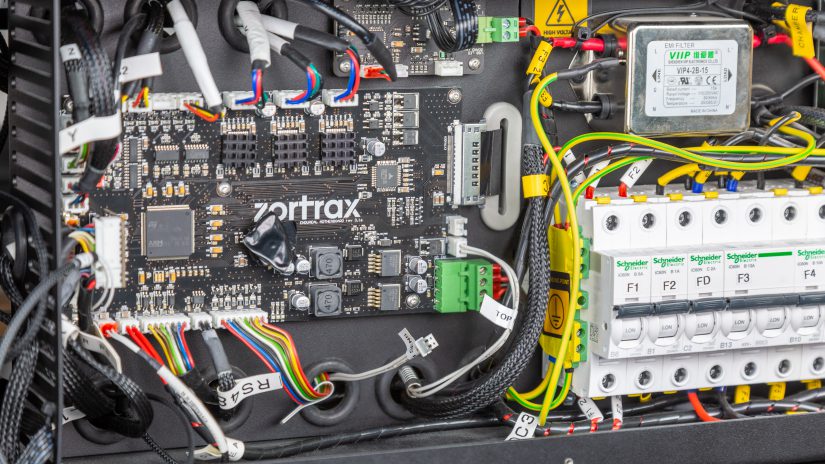
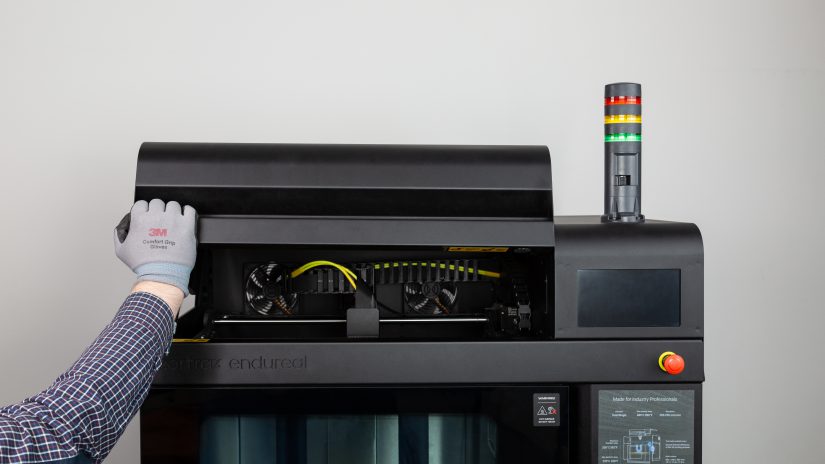
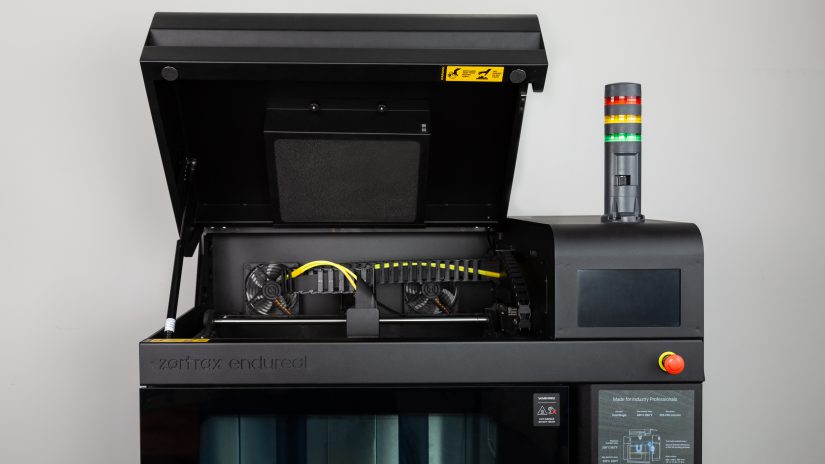
1 Removing the motherboard cover 1 2 3 4 5 Turn the printer off and unplug the power cable. Unscrew the screws securing the outer steel plate on the right side of the printer. Next, unplug the fan cable from the motherboard. Remove the plate.
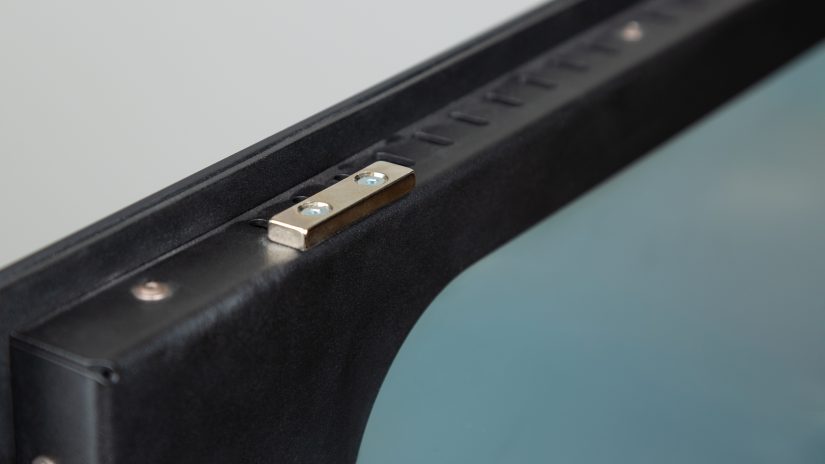
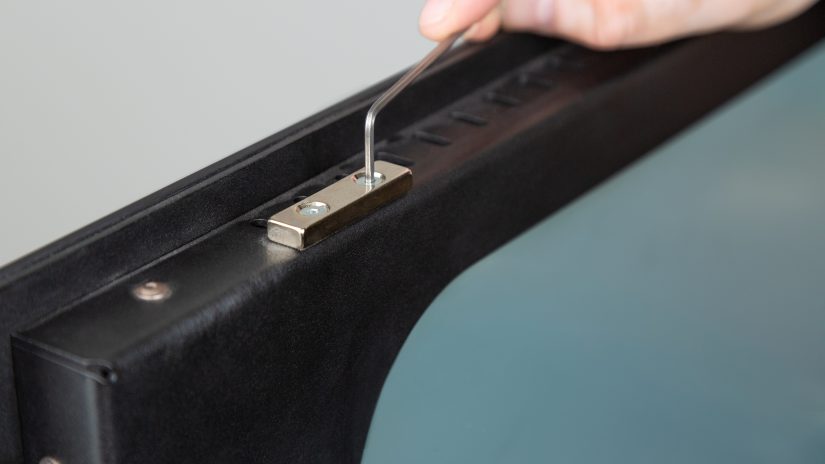
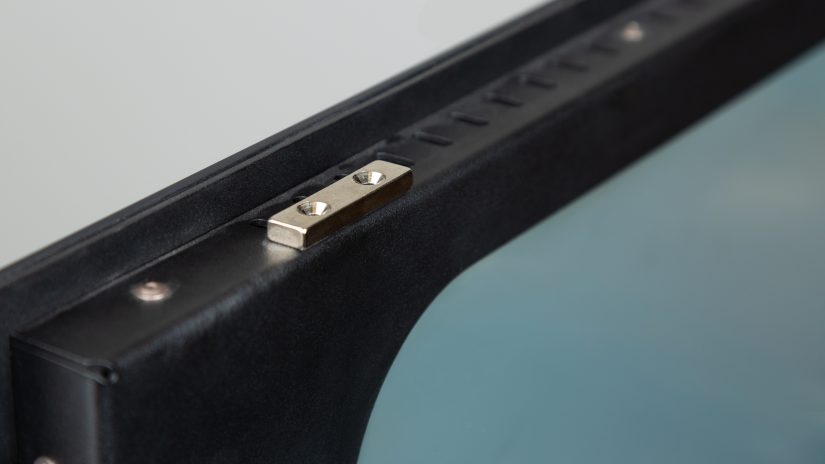
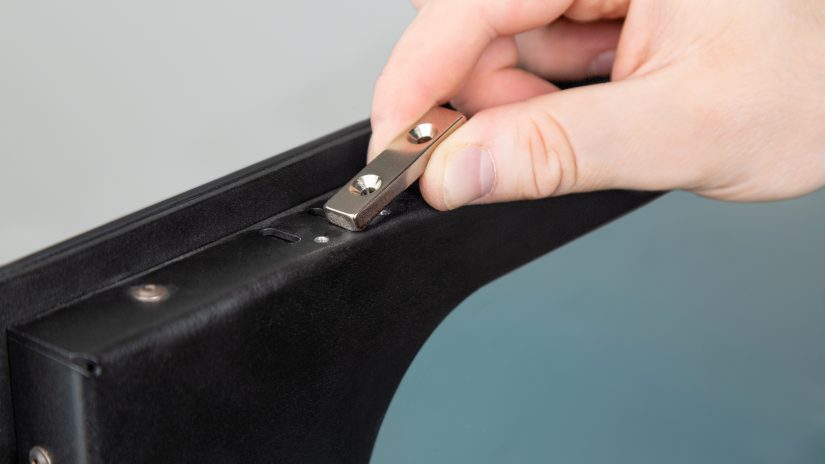
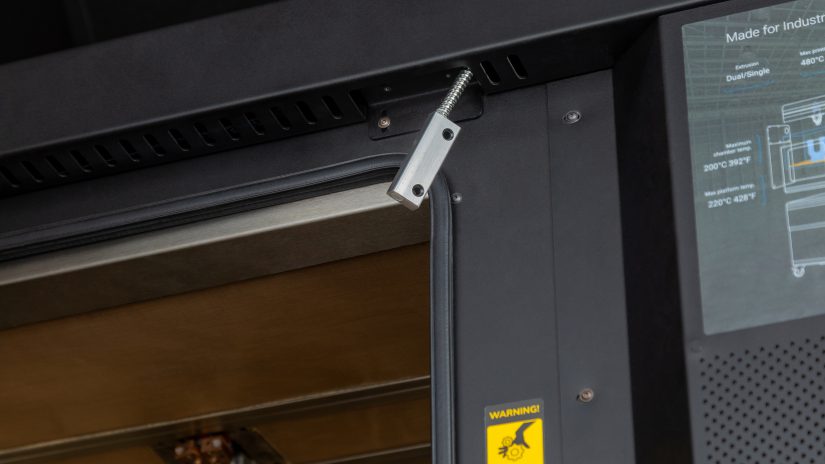
3 Detaching the door magnet 1 2 3 4 Open the front door. Unscrew the two screws securing the magnet in the door frame. Remove the magnet.
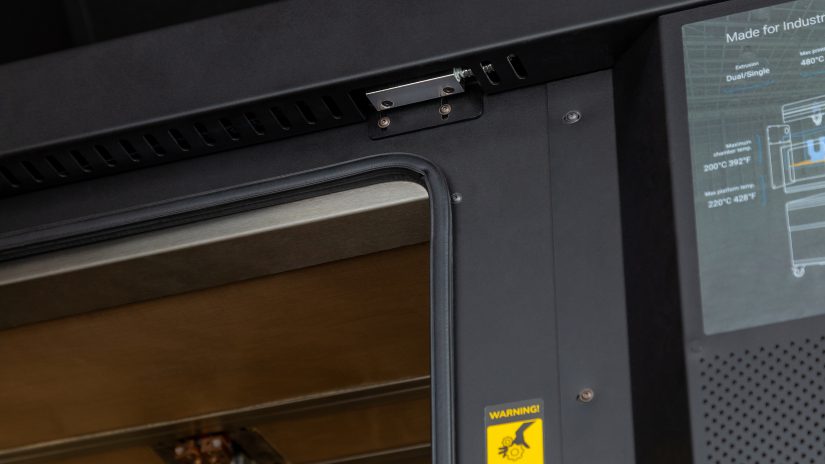
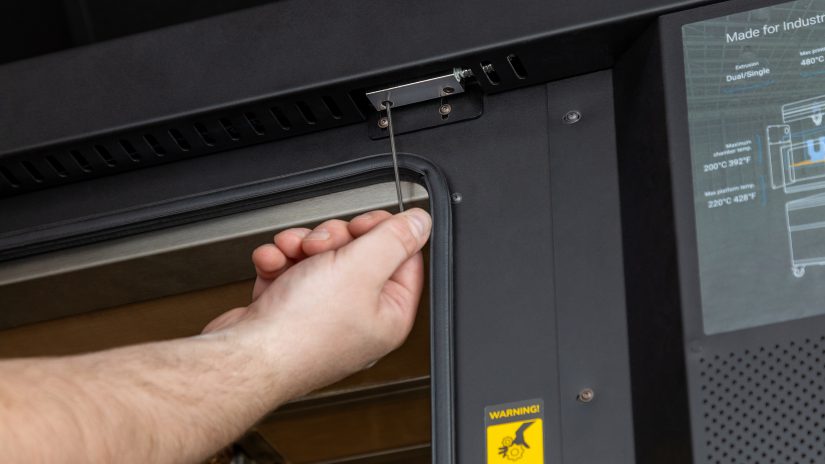
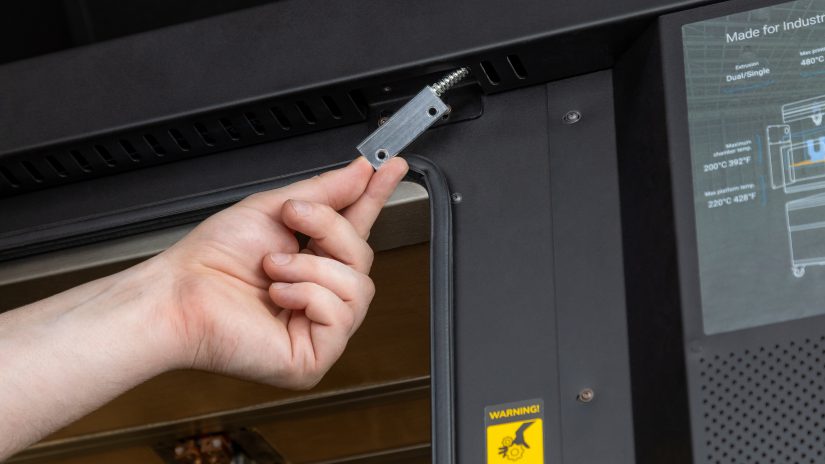
4 Detaching the reed switch 1 2 3 4 Unscrew the two screws securing the reed switch in the housing. Remove the screws.
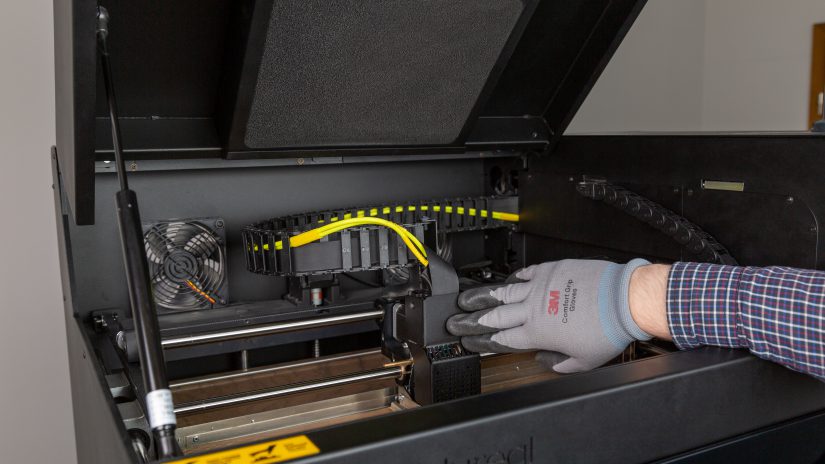
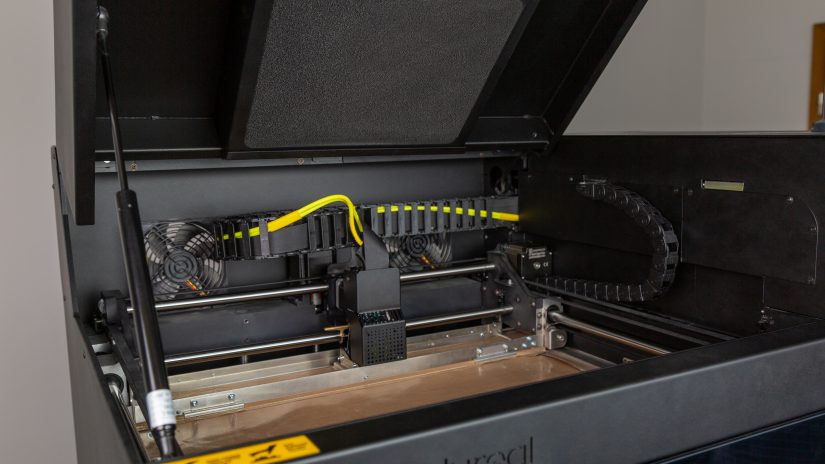
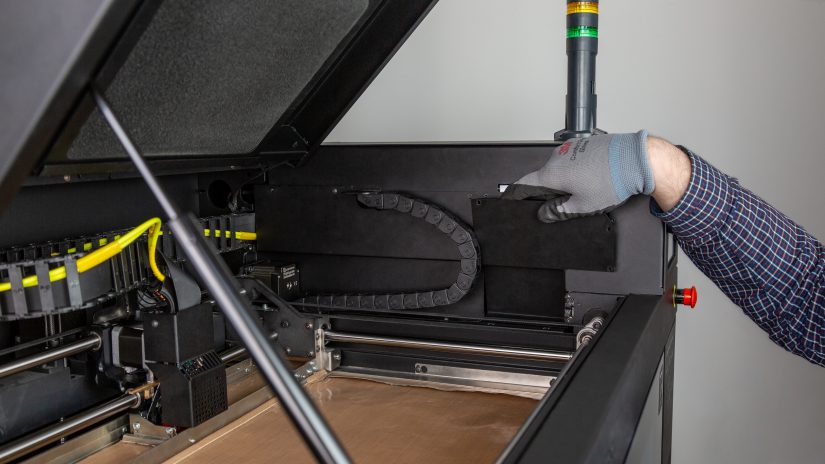
6 Moving the extruder 1 2 Move the extruder to the back of the housing in order to have easy access to the front right wiring cover in the extruder chamber
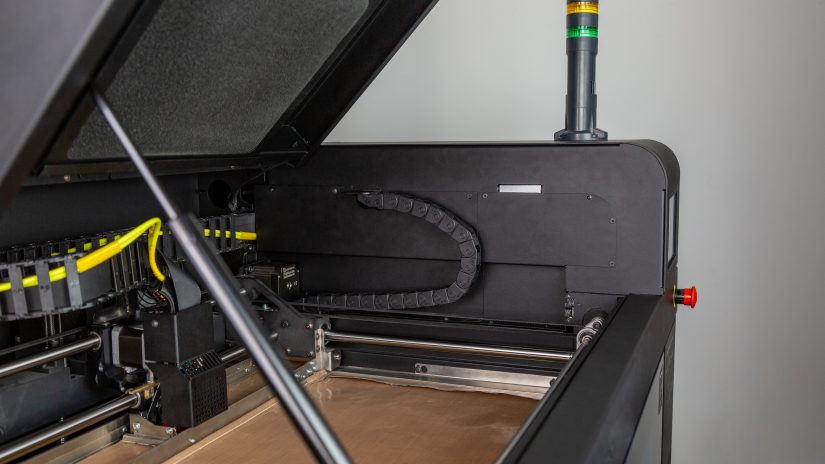
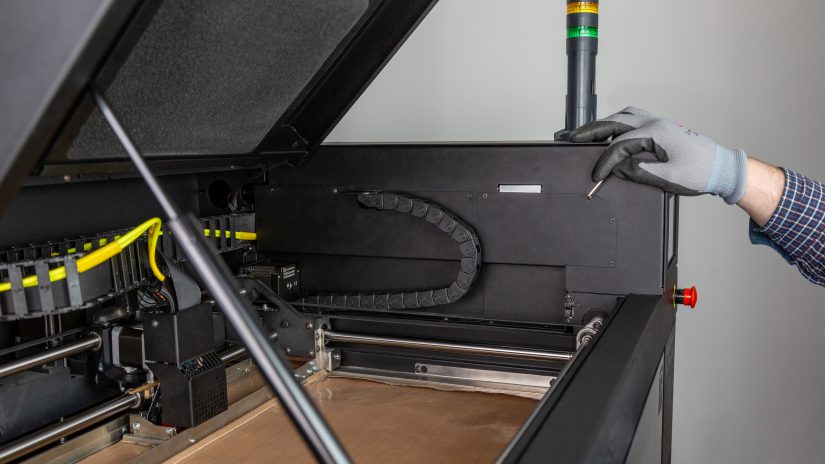
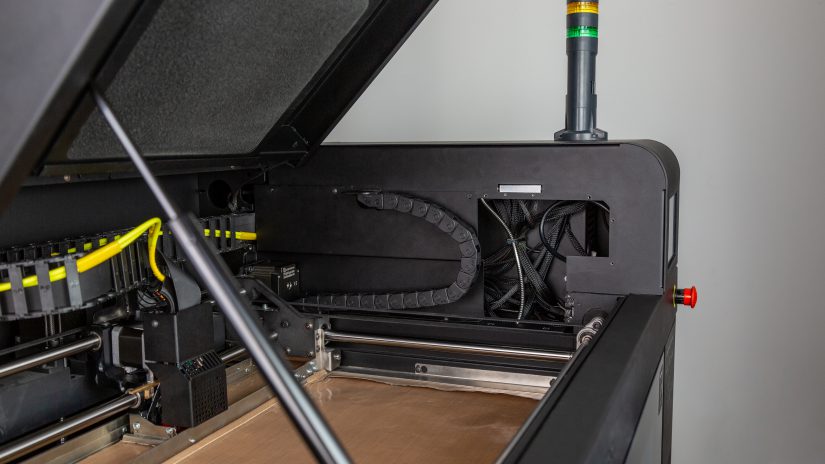
7 Removing the inner steel plate 1 2 3 4 Unscrew the screws securing the inner steel plate and remove it.
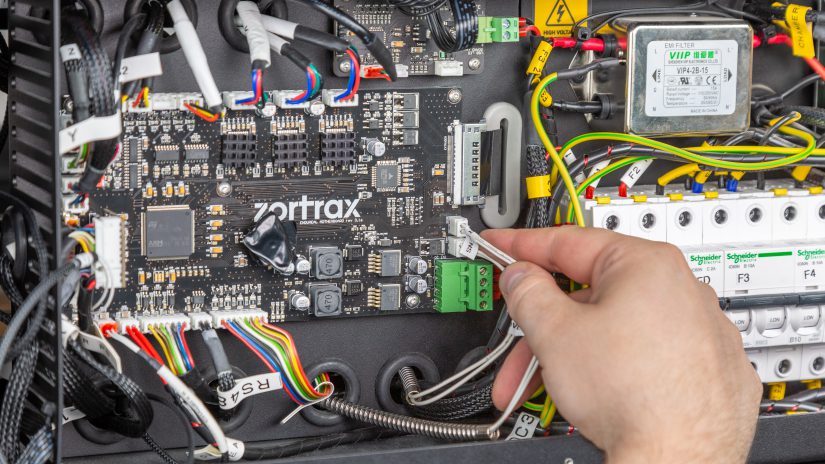
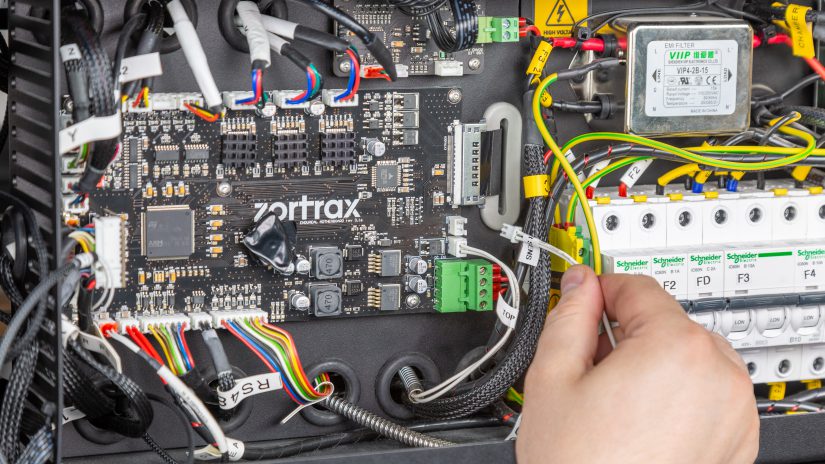
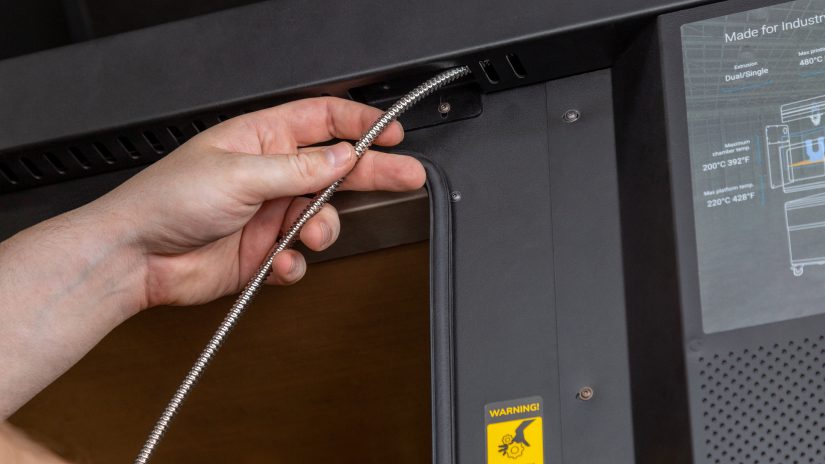
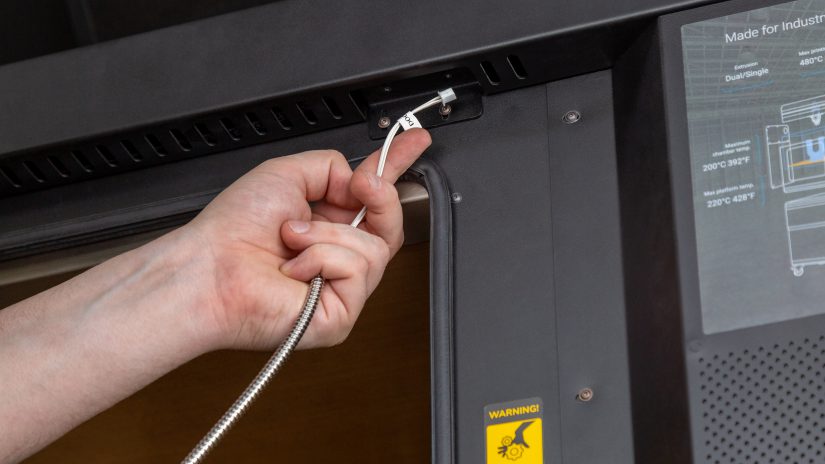
9 Inserting the new reed switch cable 1 2 3 Insert the new reed switch into its place. Guide the cable towards the motherboard.
11 Securing the reed switch 1 2 3 4 Install the new reed switch into its place and secure the switch with the two screws.
12 Installing the inner steel plate 1 2 3 4 Attach the inner steel plate in its place and secure the plate with the screws.
13 Installing the new magnet 1 2 3 4 Secure the magnet to the door frame with the two screws. Close the door.
15 Installing the motherboard cover 1 2 3 4 5 Plug the fan cable into the motherboard. Secure the outer steel plate on the right side of the printer with the screws.


