This manual shows how to remove the lid magnet as well as the lid sensor, and how to install new ones.
1
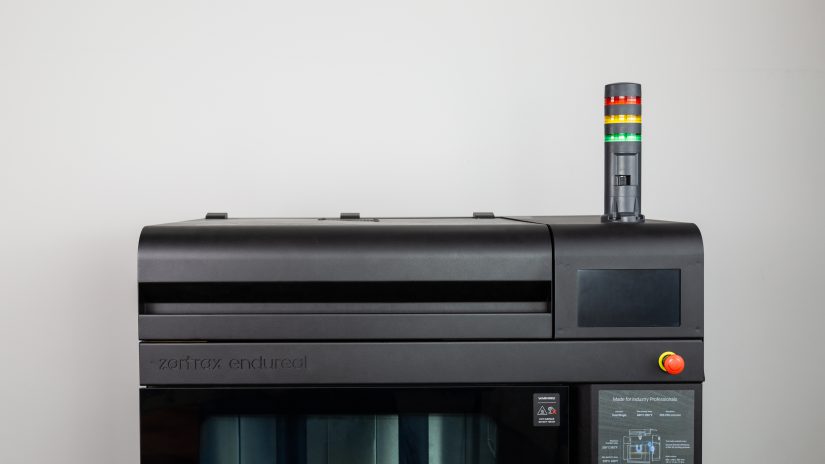
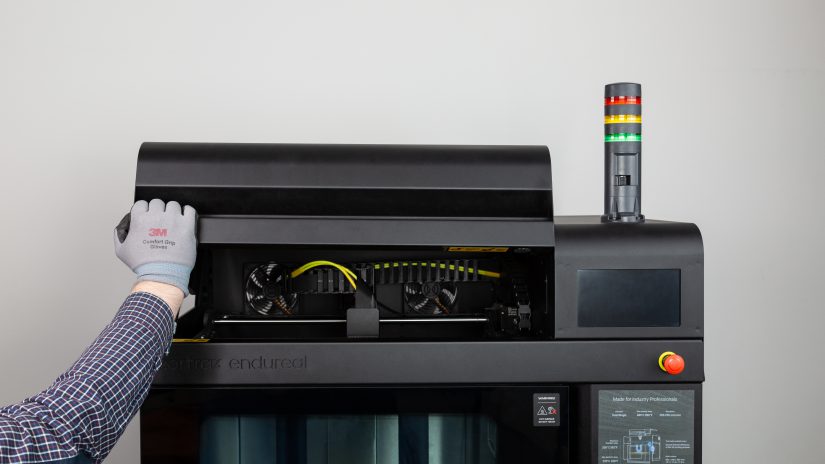
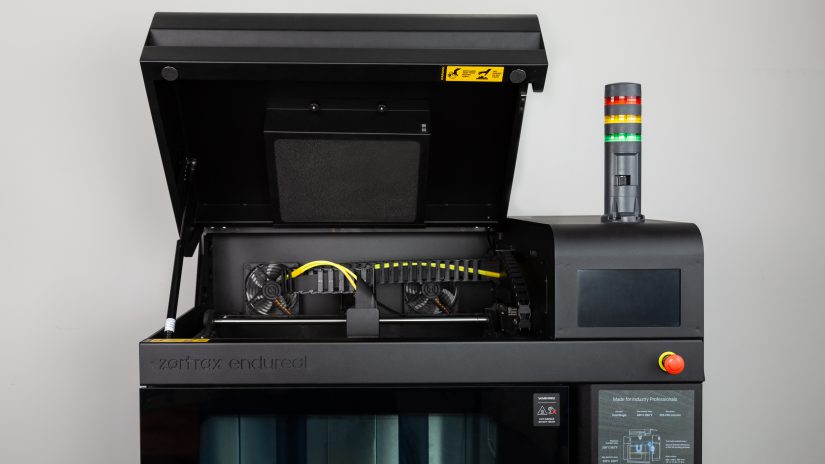
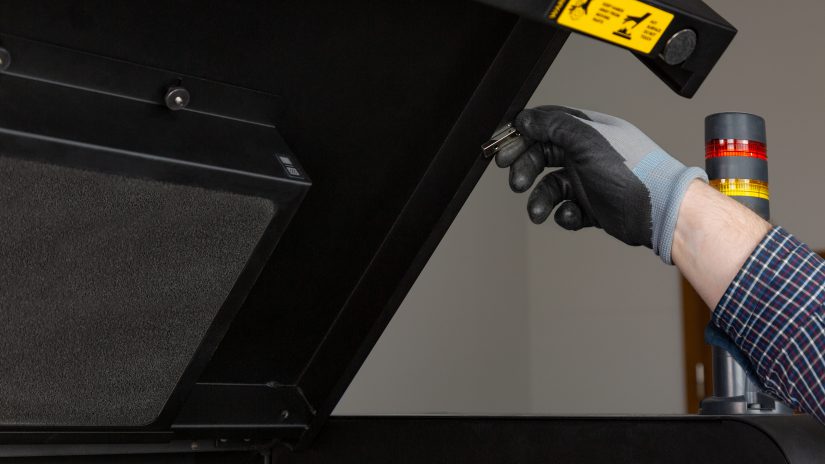
Opening the extruder chamber
1
2
3
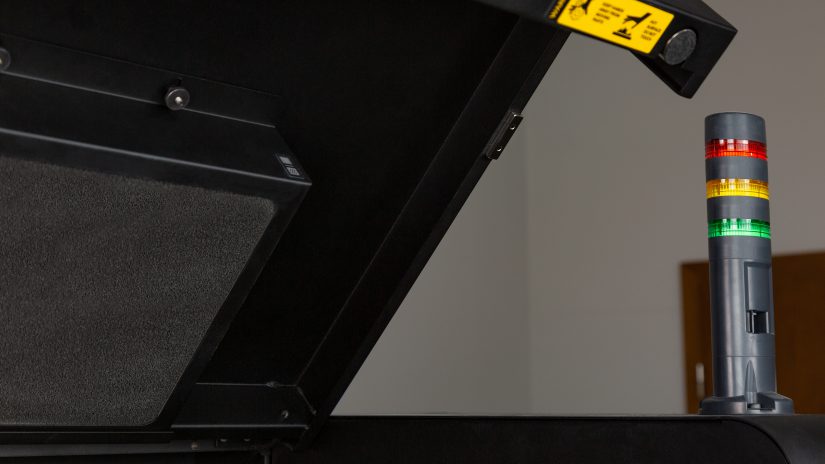
Turn the printer off and unplug the power cable. Open the lid.
2
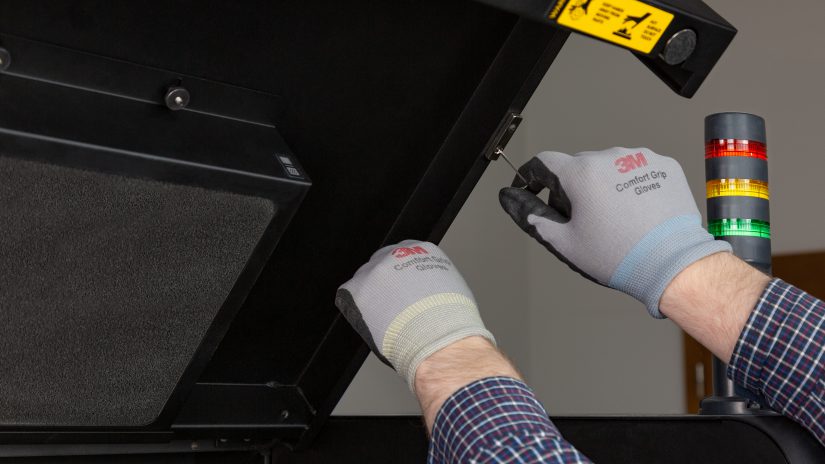
Detaching the lid magnet
1
2
3
4
Unscrew the two screws securing the magnet in the lid frame. Remove the magnet.
3
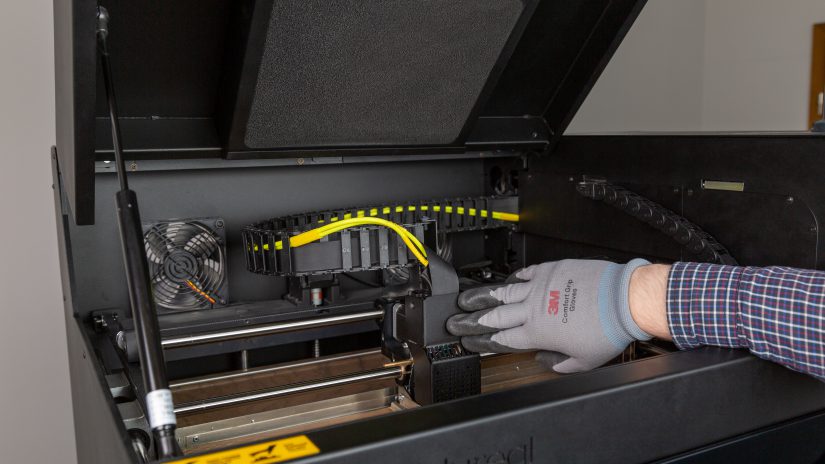
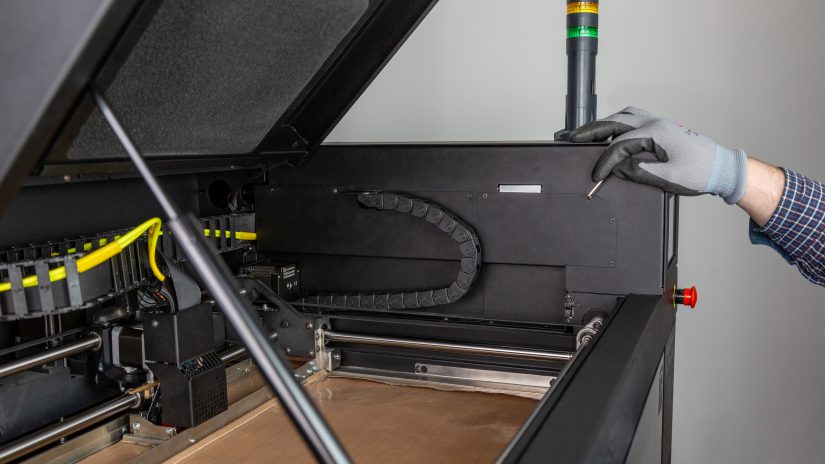
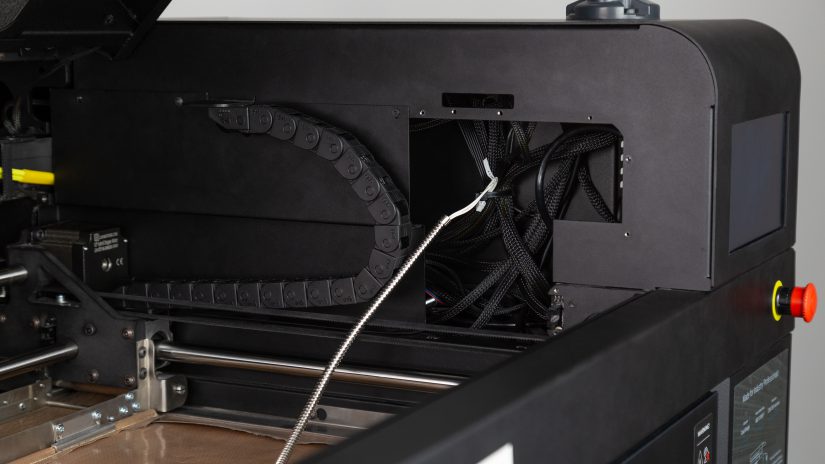
Moving the extruder
1
2
3
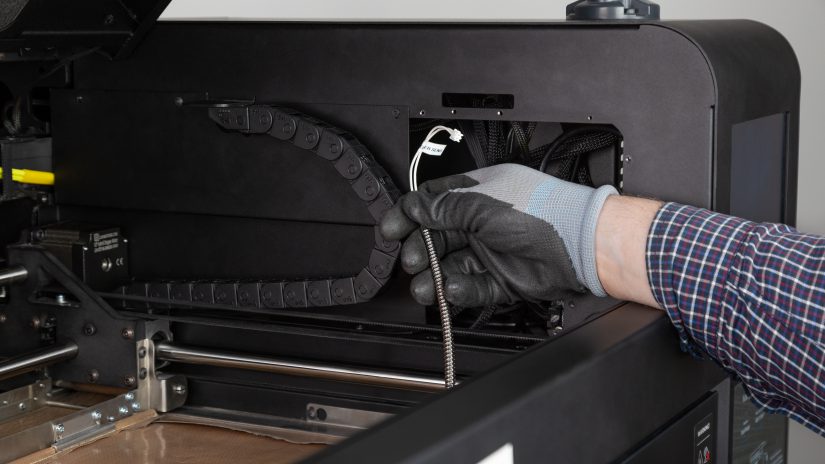
Move the extruder to the back of the housing in order to have easy access to the front right wiring cover in the extruder chamber.
4
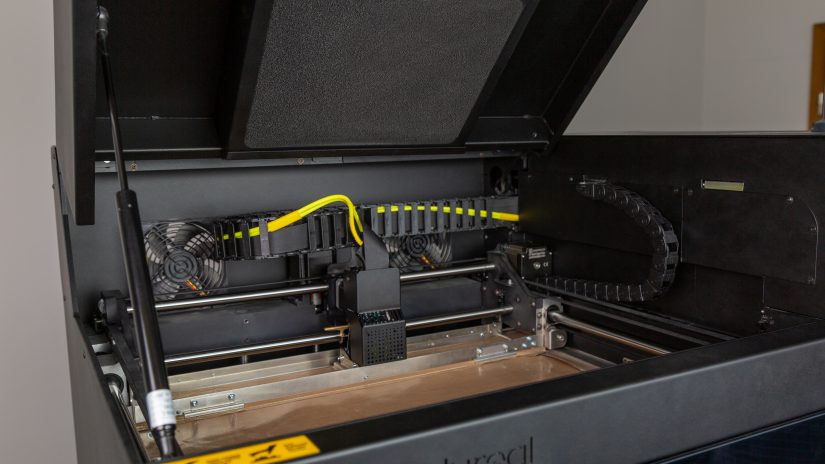
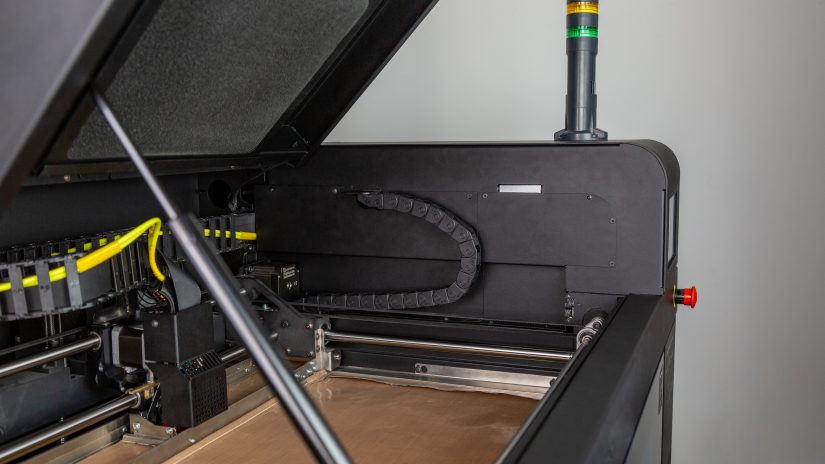
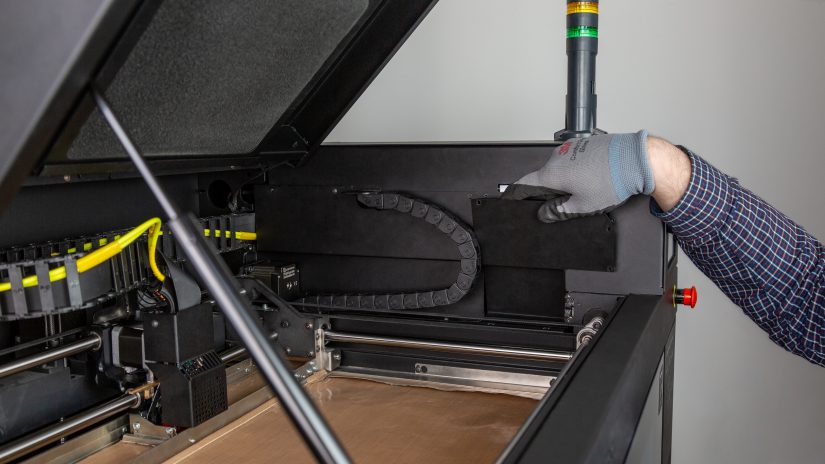
Removing the inner steel plate
1
2
3
4
Unscrew the screws securing the inner steel plate and remove the plate.
5
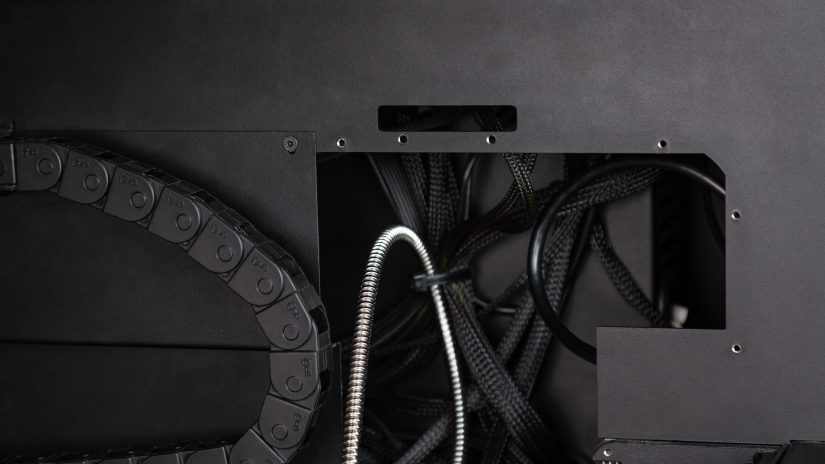
Detaching the lid sensor
1
2
3
4
Unscrew the two screws securing the lid sensor in the housing. Remove the screws and detach the sensor.
6
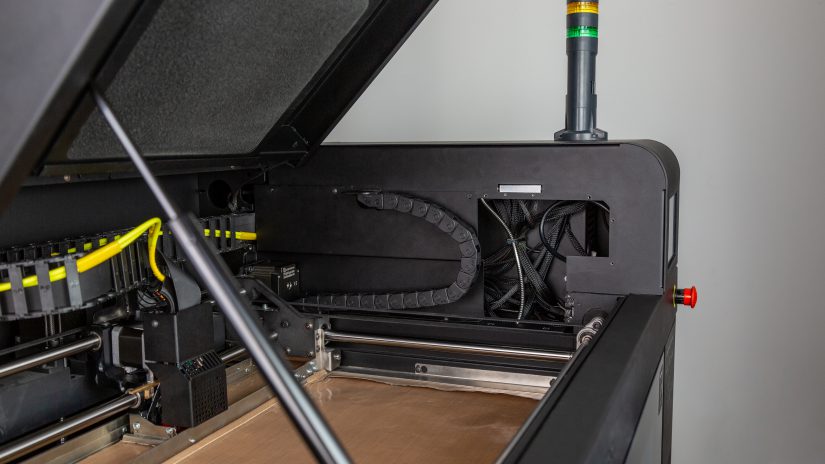
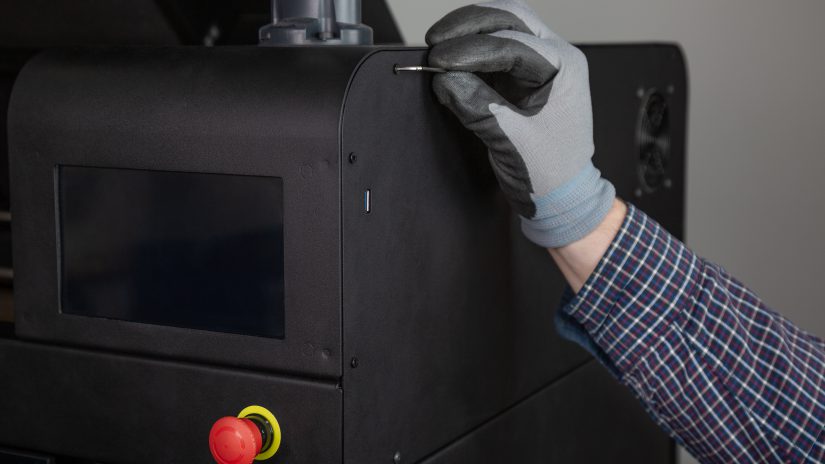
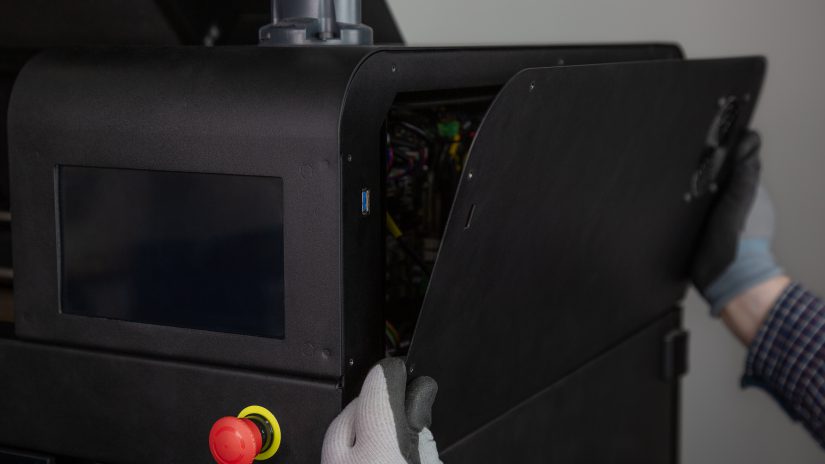
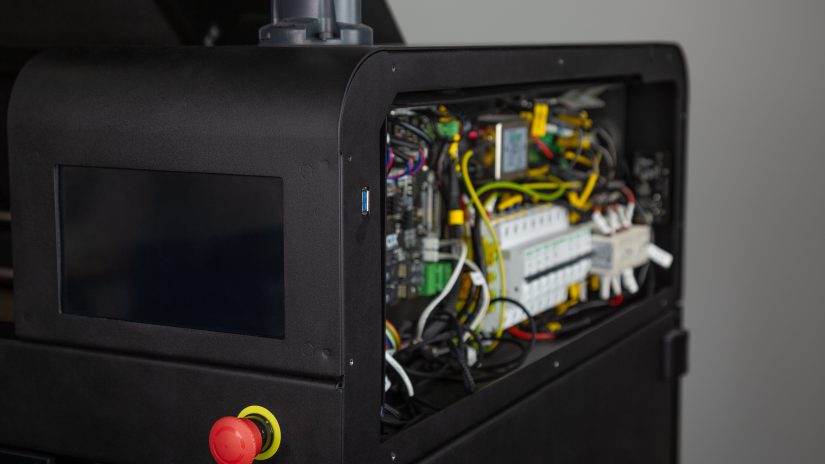
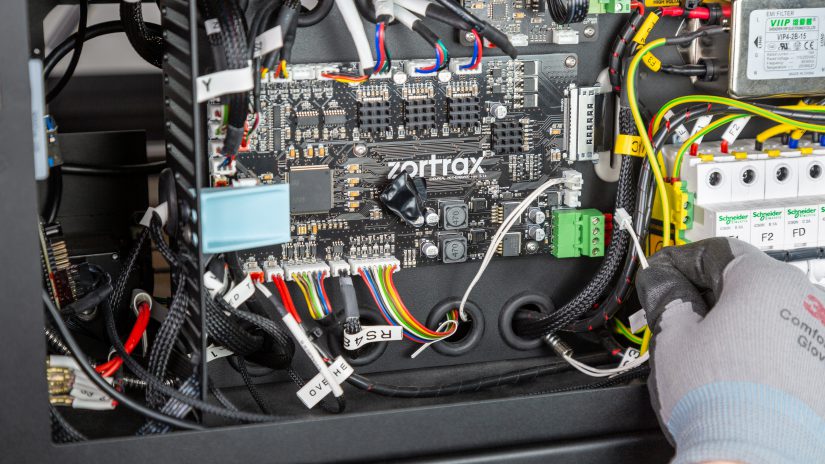
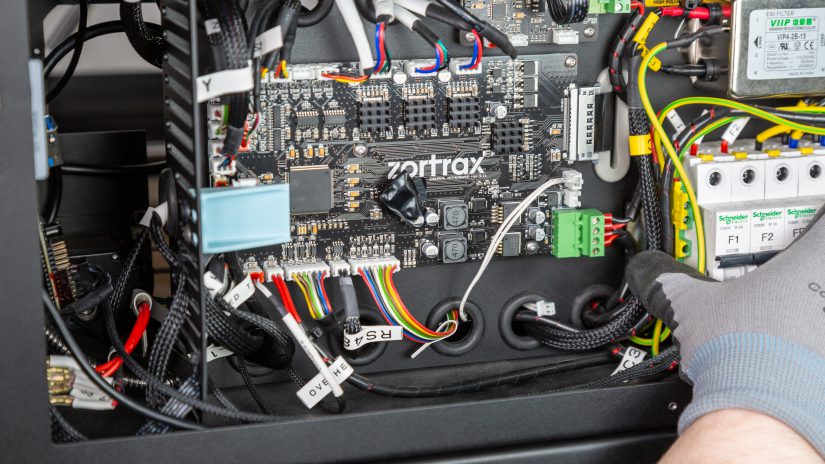
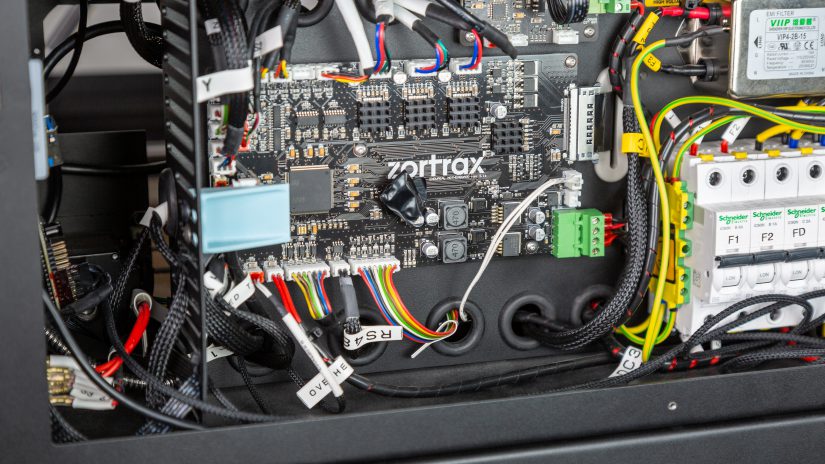
Removing the motherboard cover
1
2
3
4
5
6
7
Unscrew the ten screws securing the outer steel plate on the right side of the printer. Next, unplug the fan cable from the motherboard. Remove the plate.
7
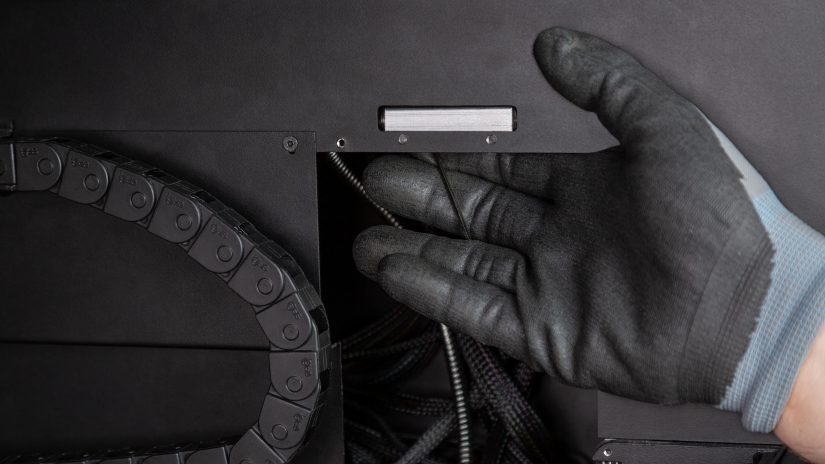
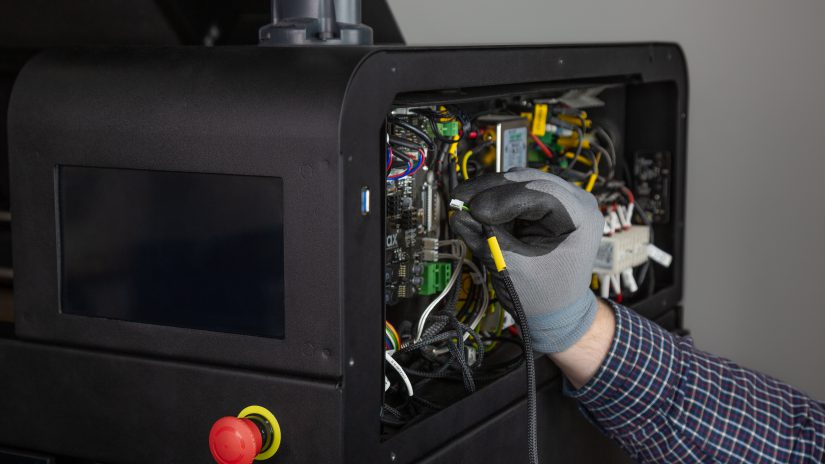
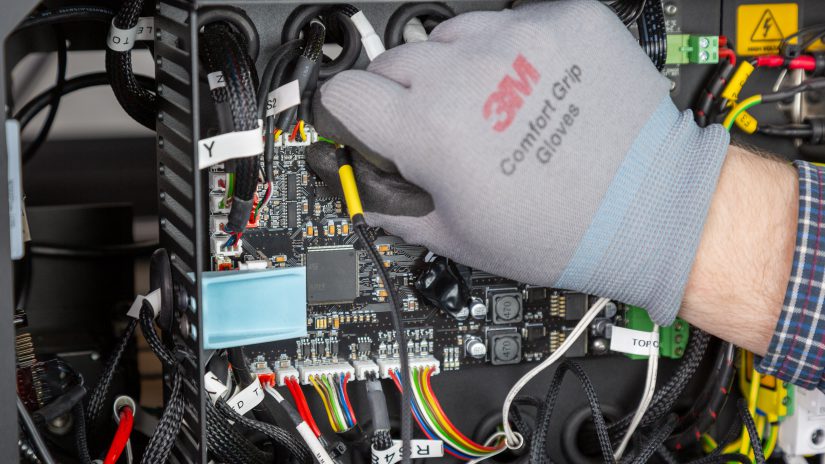
Disconnecting the lid sensor cable
1
2
3
4
5
Unplug the lid sensor cable from the motherboard.
8
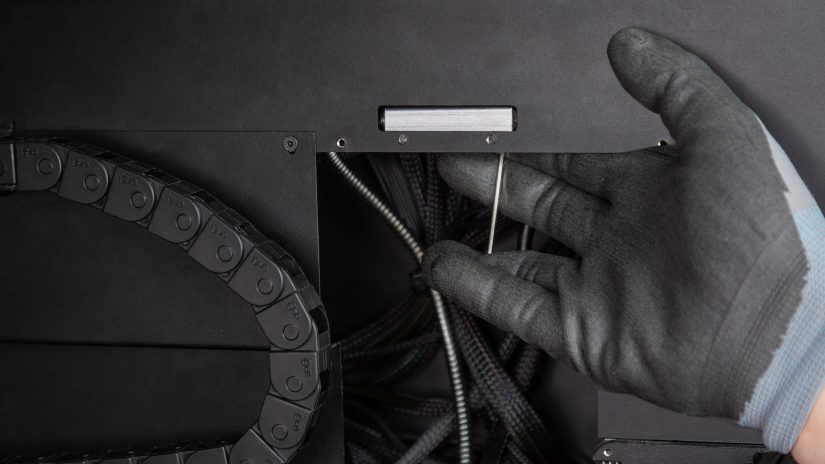
Removing the lid sensor
1
2
Remove the lid sensor by pulling it out carefully.
9
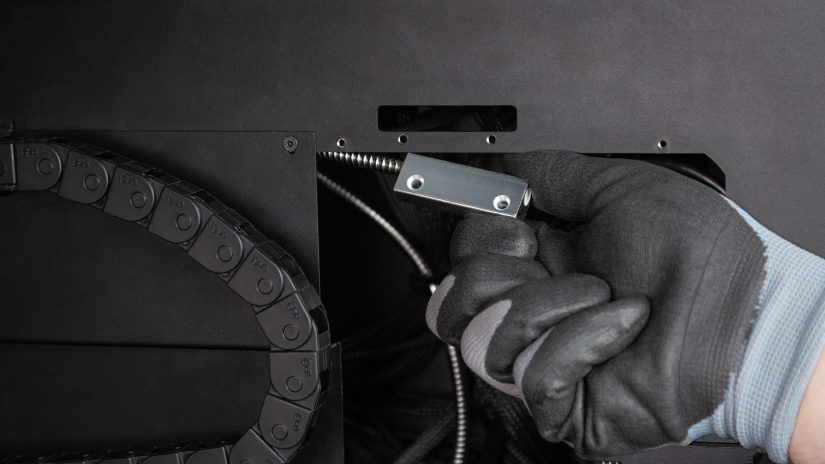
Installing the new lid sensor
1
2
3
4
Insert the new lid sensor into its place. Guide the cable towards the motherboard.
10
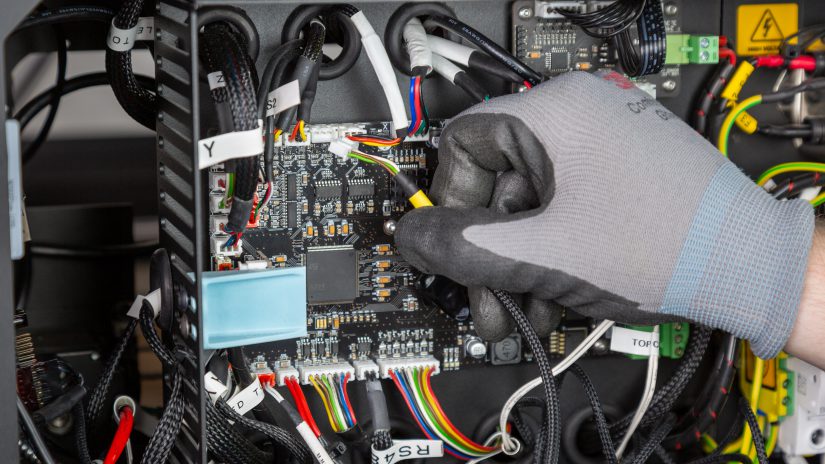
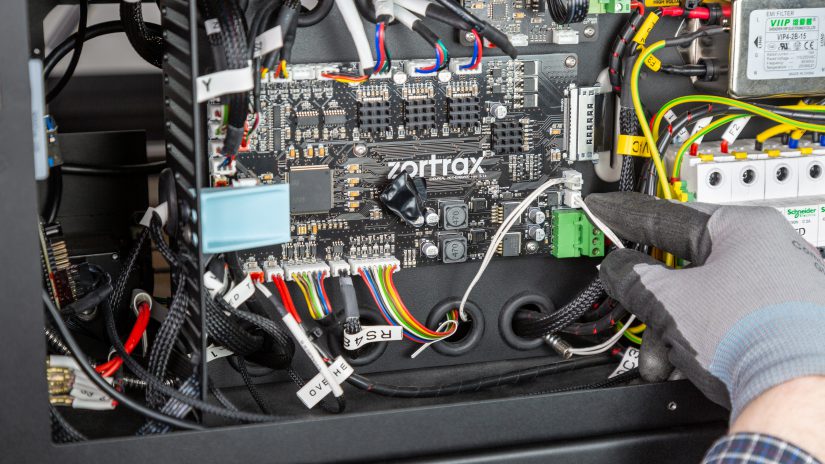
Connecting the lid sensor cable
1
2
3
Plug the lid sensor cable into the motherboard.
11
Securing the lid sensor
1
2
3
4
Install the new lid sensor into its place and secure the sensor with the two screws.
12
Installing the motherboard cover
1
2
3
4
5
Plug the fan cable into the motherboard. Secure the outer steel plate on the right side of the printer with the ten screws.
13
Installing the inner steel plate
1
2
3
4
Attach the inner steel plate in its place and secure the plate with the screws.
14
Installing the new lid magnet
1
2
3
4
Secure the new magnet to the door frame with the two screws.
15
Closing the extruder chamber
1
2
3
4
5
Move the extruder to the center and close the lid.


