Problems with extrusion are the most frequent issues you can come across when using an FDM 3D printer. They usually happen when material gets blocked somewhere in the extruder: in the material’s duct, the hotend or the nozzle. That blockage can make it impossible or more difficult for the printer to extrude filament out of the nozzle, and result in some noticeable hardware issues. Sometimes, extrusion problems can occur because of a faulty extruder cable, which simply does not transmit signal from the motherboard to the extruder motor.
Your printer can show extrusion problems in a variety of ways: you can see that the extruder motor shaft is vibrating, skipping steps or you can hear a clicking sound during material loading or printing, and you can also notice a lower quality of prints. Follow the steps below to see which components need inspection, cleaning or replacement.
Extrusion Problems
Skipping Extruder Motor
The video shows a skipping extruder motor shaft. At this moment, you can also hear unusual sounds coming from the extruder (e.g. clicking).
Vibrating Extruder Motor
This video shows a vibrating extruder motor shaft. At this moment, you can also hear unusual sounds coming from the extruder (e.g. clicking).
Extruder Cable Connection

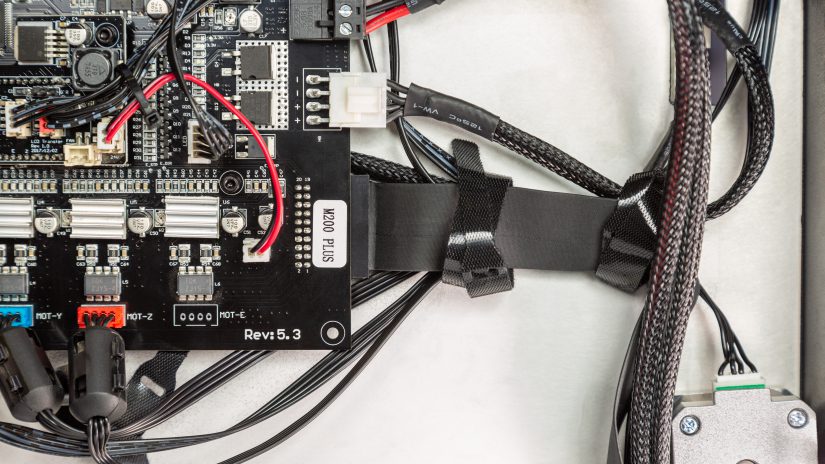
Sometimes the extruder motor can start to skip or vibrate because of incorrect connection. At first, check if the extruder motor cable is properly connected to the PCB.
Check the extruder cable for proper connection as well.
In order to do that, remove the extruder top cover and check if the cables are plugged in. The photo shows the correct arrangement of cables.
If everything is properly connected, move on to the step.
Checking the Material Duct
The next step is to check the material duct in the extruder.
First, unload the material with the options from the menu: Tools -> Materials -> Unload material.
Next, use the options from the menu: Tools -> Materials -> Load material again, but this time do not feed the material into the material duct in the extruder. If the extruder motor is no longer skipping/vibrating, move on to the next step.
If the extruder motor is still skipping/vibrating, move on to the step 4 in this manual.
Use the options from the menu: Tools -> Materials -> Load material and feed the material into the extruder. Move on to the next two steps.
If the extruder motor starts to skip immediately after you load the material, carry out extruder maintenance. Instructions are available in this manual.
If the extruder motor starts to skip some time after you load the material and the material barely comes out of the nozzle/there is no extrusion at all, move on to the next step in this manual.
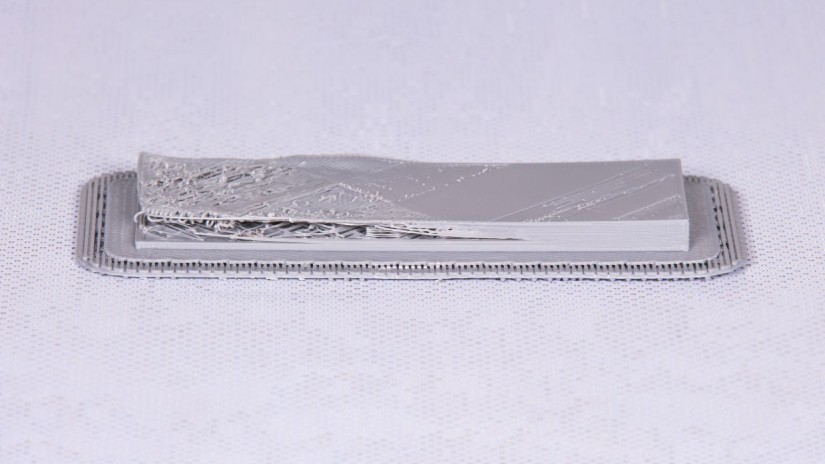
Use a flathead screwdriver to remove the nozzle cover. Next, unscrew the nozzle counterclockwise using the nozzle key (when viewed from below).
NOTE! Unscrew the nozzle while the extruder is hot.
Detailed instructions are available in this manual.
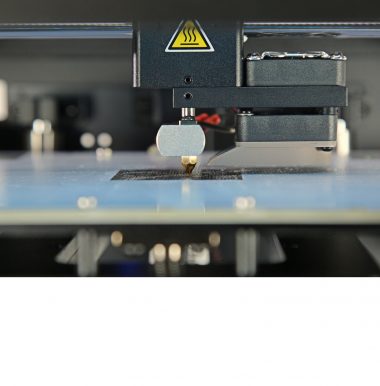
Load the material again using the options from the menu. If the extruder motor is working properly and the material is being extruded from the hotend, the nozzle you have removed needs to be cleaned or replaced with a new one.
If the material is not being extruded, the hotend needs to be cleaned or replaced with a new one. Instructions are available in manuals: M Series and M Series Plus.
If cleaning or replacing the hotend does not help, move on to the next step.
Checking the Extruder Cable
At this point, you have to check if you are experiencing an extruder cable malfunction.
Use the options from the menu: Tools -> Materials -> Load material and do not feed the material into the duct in the extruder again.
Move the extruder cable in different directions and inspect the extruder motor. If at some point the motor shaft is not skipping, the extruder cable has to be replaced. Instructions for this procedure are available in this manual.
If the motor shaft is skipping the whole time you are moving the extruder cable, move on to the next step.
Checking the Extruder PCB
Now you have to check if extrusion problems are not caused by a faulty extruder PCB.
For this procedure, you have to remove either the X or Y axis motor. Instructions on how to remove an axis motor are available in this manual.
Next, unplug the extruder motor cable from the PCB and plug that cable into the axis motor you have just removed.
Use the options from the menu to start the procedure of material loading. Next, move the extruder towards each endstop twice. See the video for details.
Wait until the display shows a message indicating that the material should be inserted into the duct in the extruder and inspect the axis motor you have plugged into the PCB.
If the shaft in the axis motor is not skipping, move on to the next step.
Checking the Extruder Motor
The last component you have to check for proper operation is the extruder motor.
Remove the extruder motor according to instructions available here. Next, connect it to the axis motor cable which you have removed earlier.
Use the options from the menu to start the platform calibration procedure and check if the extruder motor shaft is skipping. If its movement is difficult or it does not turn at all, replace the extruder motor.
If you are still having problems with the extruder motor after following the above procedures, contact the Support Center through the support form.
