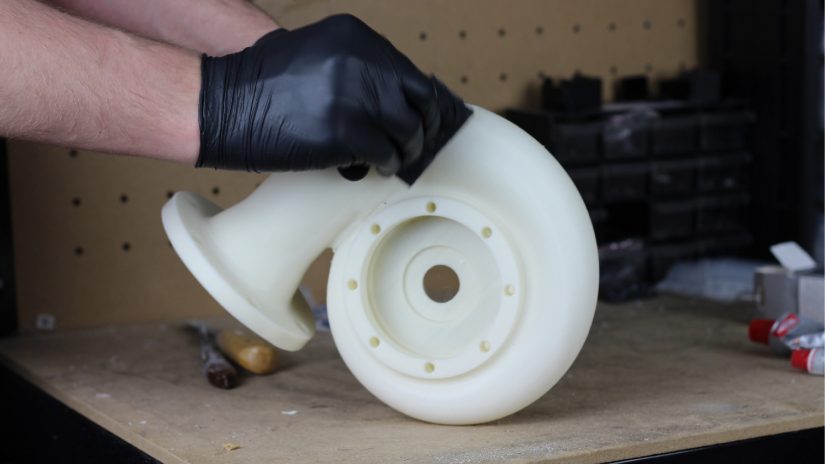
If your model is too big to be printed during one printing process, and you’ve decided to divide it into smaller pieces and print them separately, you can easily glue them together using adhesive. Make sure that you choose the kind of glue which is suitable for particular materials to ensure full bond strength and durability.
2
Gluing the Print
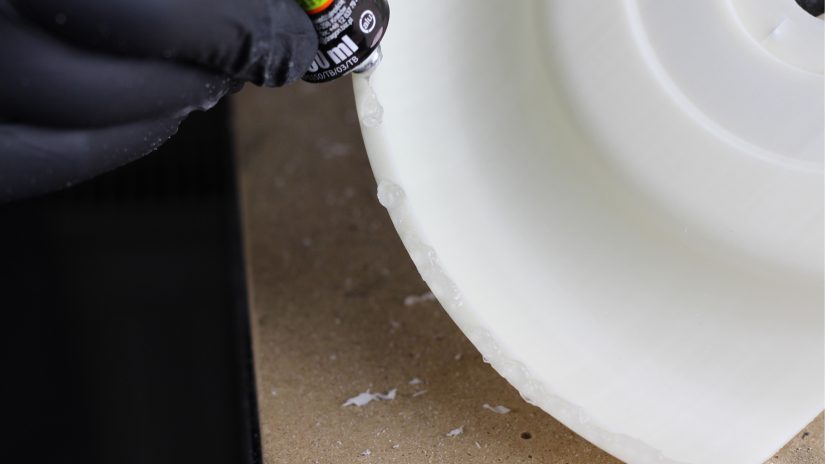

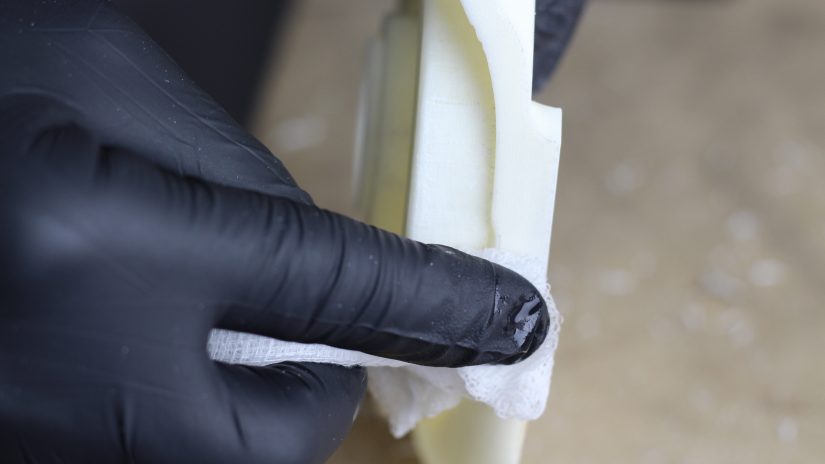
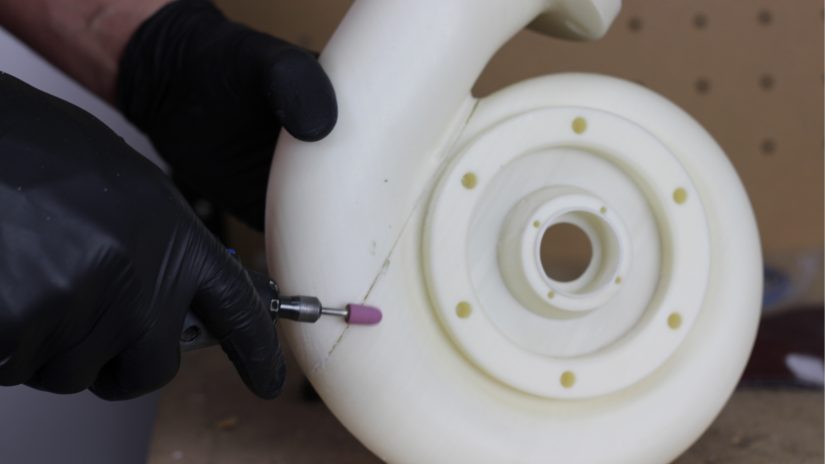
1. Cover the surface with glue. We recommend using cyanoacrylate glue for plastics.
2. Spread the glue across the surface.
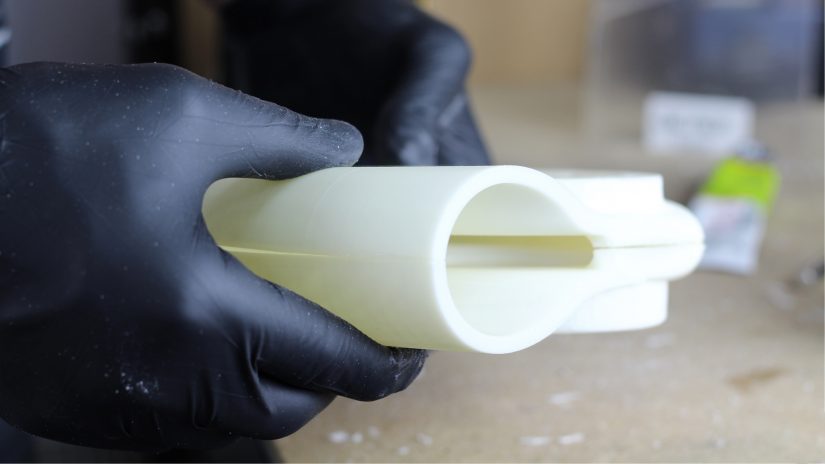
3. Put the two parts together.
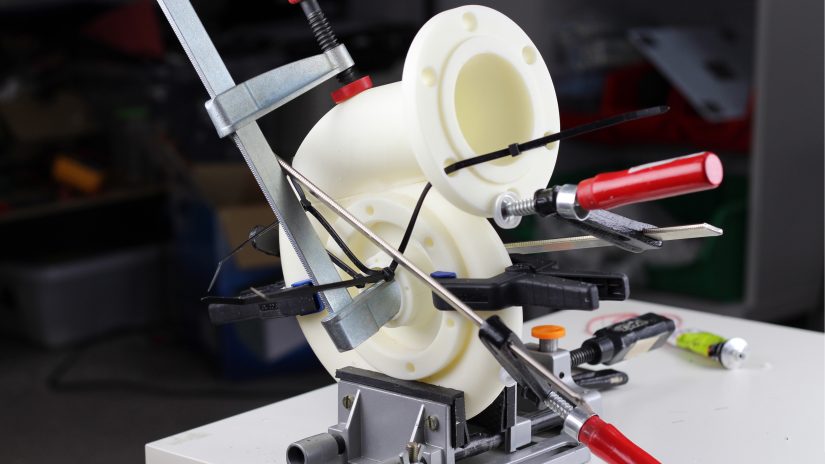
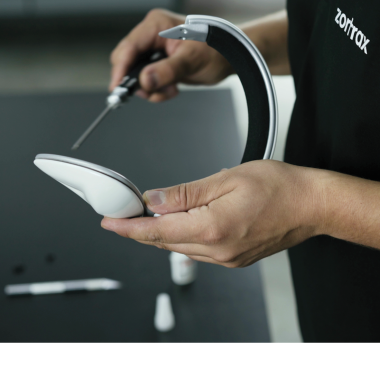
4. Leave the print for the time required by the producer of the glue. To ensure proper bonding, use clamps which will keep the two parts as close to each other as possible.
3

