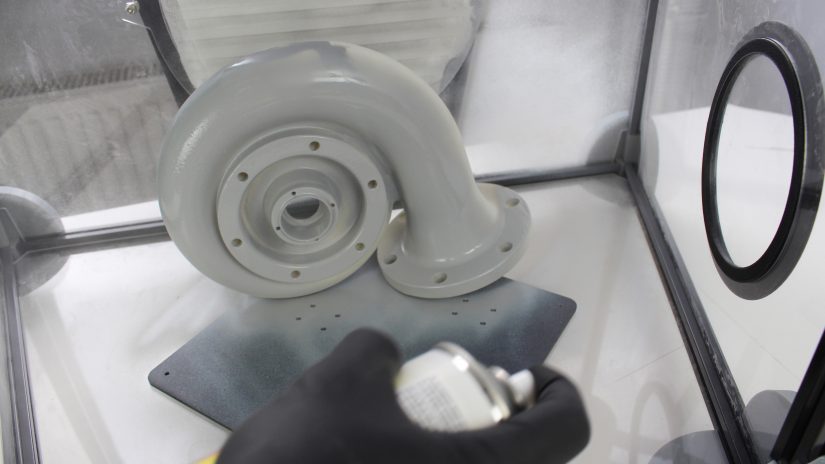
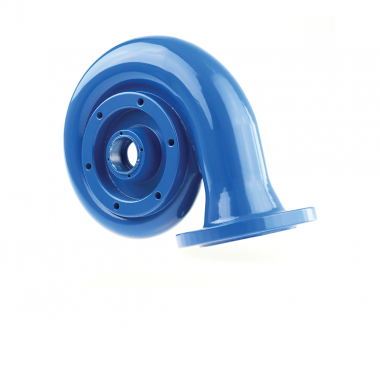
Spackling is an important step if you want to smooth down the surface of your print and prepare it for further painting. Spackling paste fills the small gaps, holes and other minor imperfections on the surface and make the model even and better–looking.
Cleaning the Surface of the Print
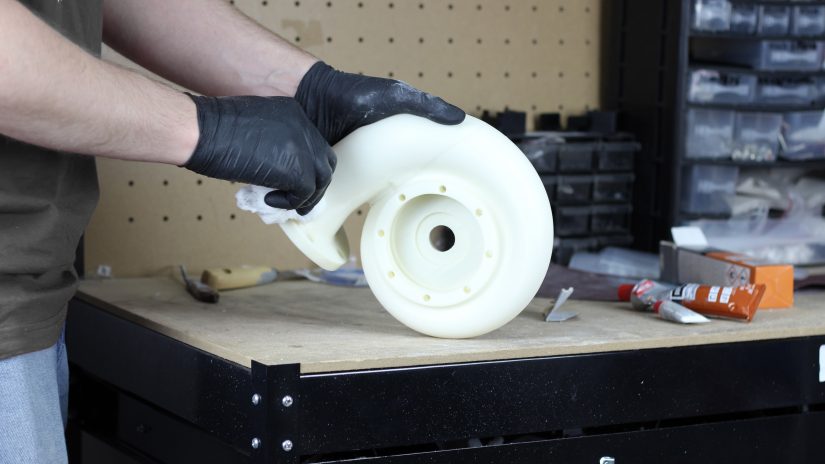
Clean the surface of the print with petroleum ether to prepare it for spackling. Make sure that the surface is free from oil and dust. It is an important step because the residues of dust, oil and other dirt may damage the final effect. Petroleum ether dissolves the residues without damaging the material that the print is made of.
Spackling the Print
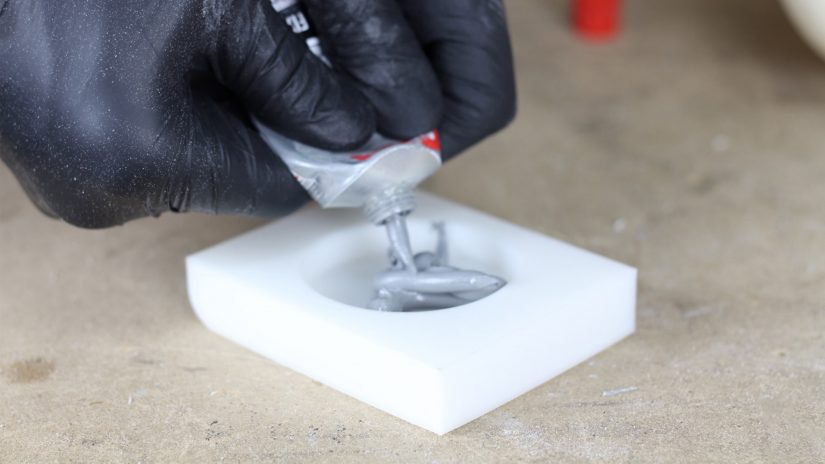
1. Use spackling paste for plastics to fill the gaps in your print. Mix the paste in a container until you get a smooth and lump-free texture.
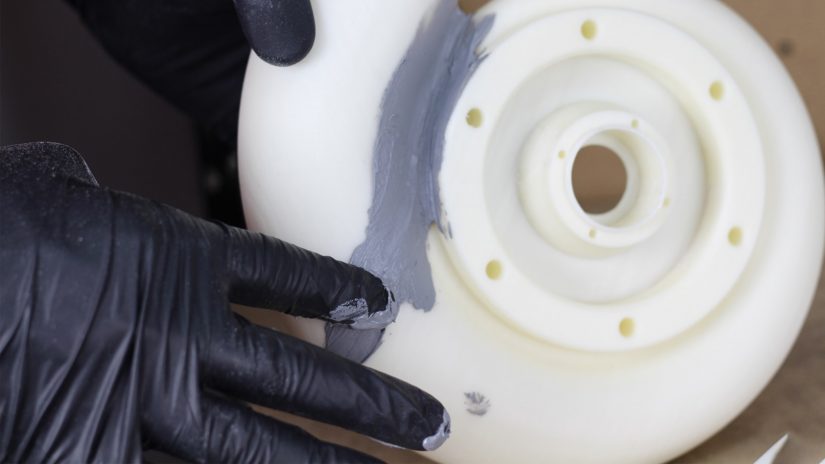
2. Put the spackling paste in places you want to smooth down.
3. Use sandpaper with 200 grin to make the surface of the model even.
Finishing off the 3D print
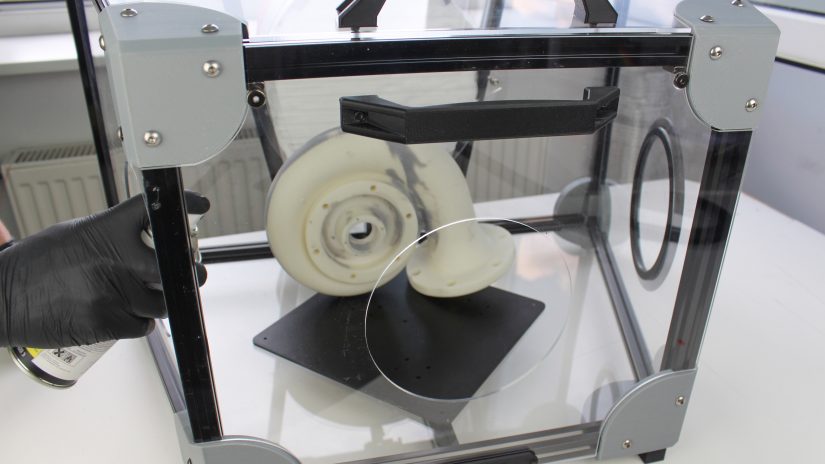
Use petroleum ether to clean the print from oil and dust once again. Next, cover it with a few layers of spray filler.
Let the filler air dry and then smooth down the surface between each layer with wet paper with 500 grit. Try to obtain the most smooth and defect-free model.

