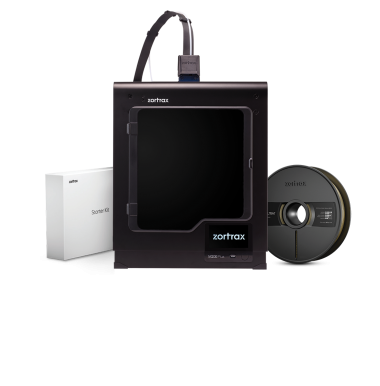
Preparing your printer for the first use ensures its proper functioning and makes the whole printing process easier. The following steps show how to properly unpack and set up the machine. This article also shows how to install the firmware as well as how to carry out the platform calibration procedure.
Unpacking
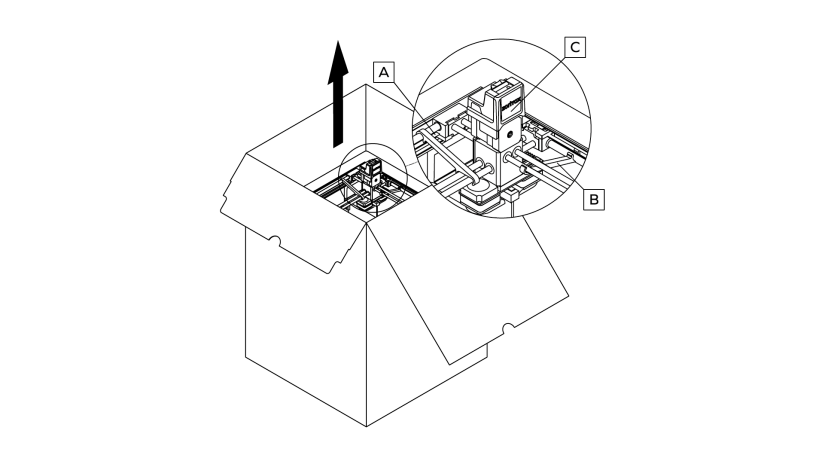
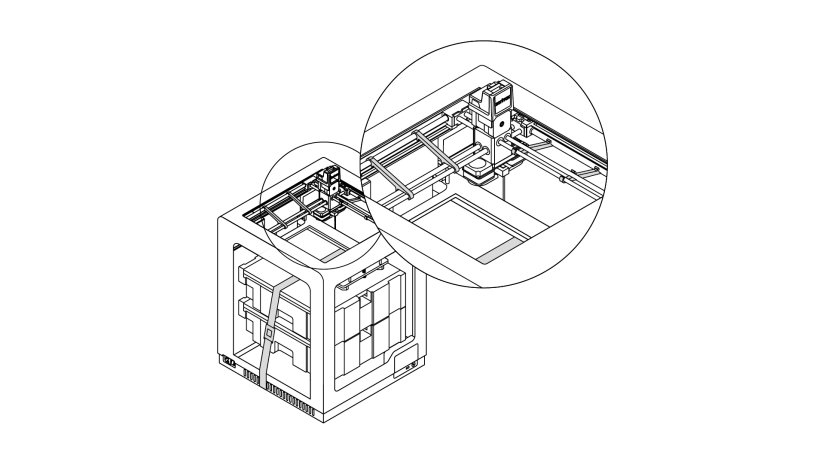
2. Take the printer out of the box*. When lifting or moving the printer, do not grab:
A.belts
B.shipping clips
C.extruder
*Due to the printer's weight, the Zortrax M300 Plus should be taken out of the box or moved by two people.
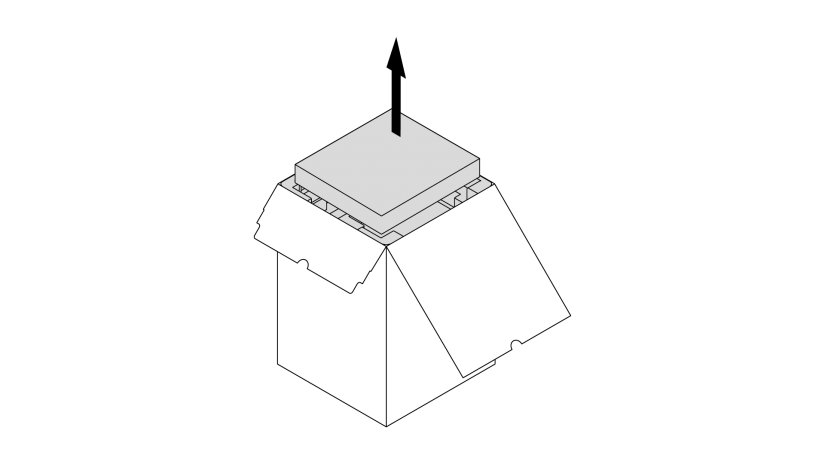
1. Open the box and remove the upper cushioning.
2. Take the printer out of the box*. When lifting or moving the printer, do not grab:
A.belts
B.shipping clips
C.extruder
*Due to the printer's weight, the Zortrax M300 Plus should be taken out of the box or moved by two people.
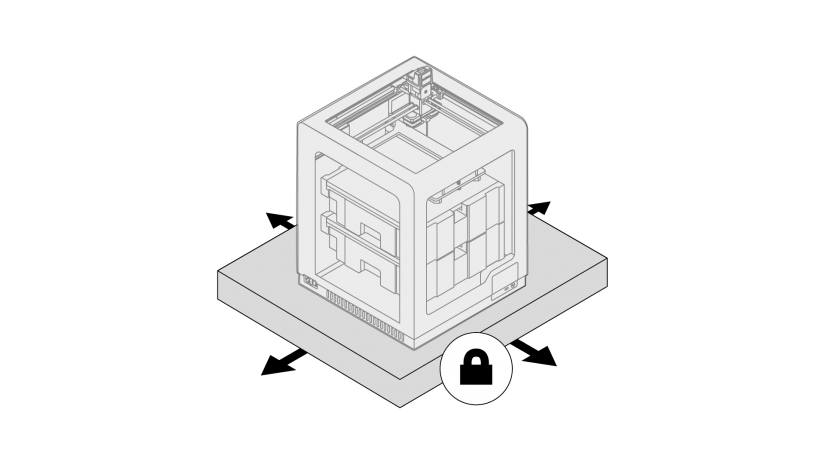
3. Place the 3D printer on a flat and stable surface.
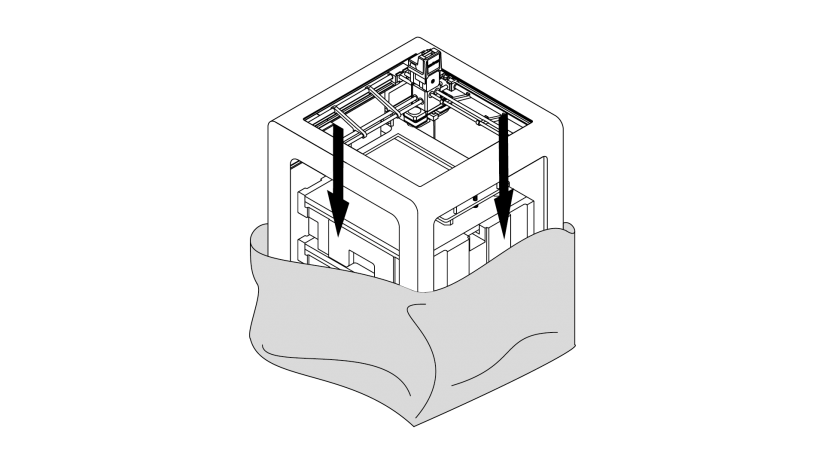
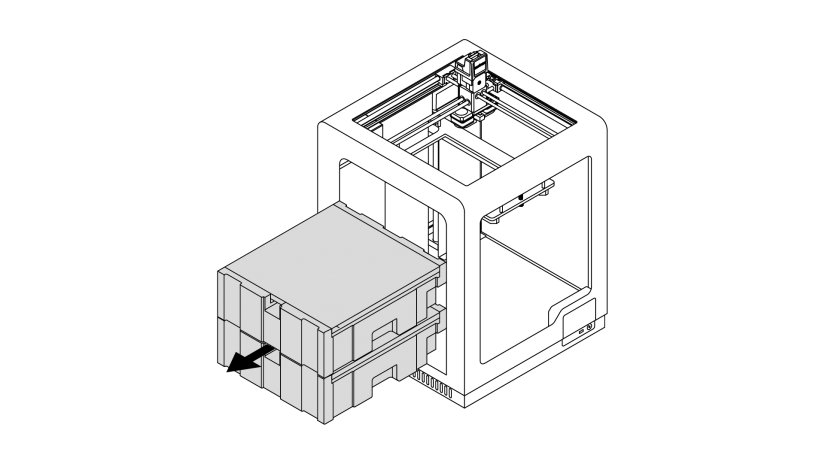
4. Remove the foil and fillers.
1. Remove the protection elements (shipping clips and safety belt).
2. Remove the foam with accessories.
3. Lower the heatbed mount by pressing the places marked in the graphic.
Setting Up
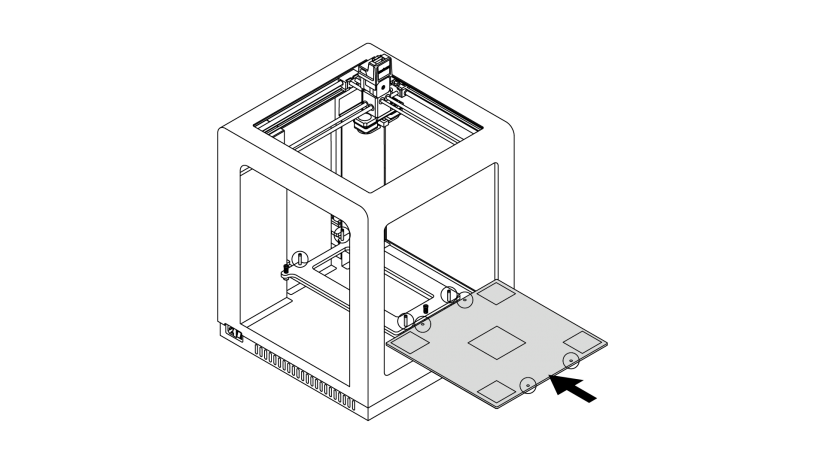
1. Install the build platform onto the bolts marked in the graphic. Remember to install the platform with the perforated plate with its silver calibration squares directed up.
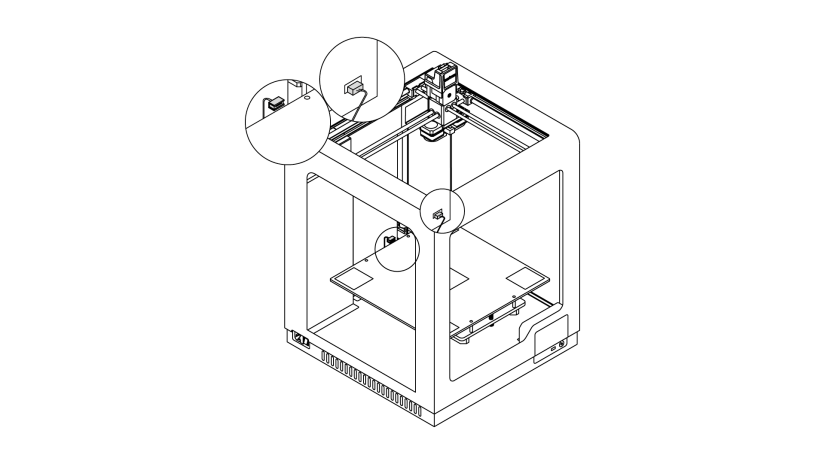
2. Plug the heatbed cable into the platform and into the adapter placed in the Z-axis cover. Plug in the perforated plate small cable as well.
1. Install the build platform onto the bolts marked in the graphic. Remember to install the platform with the perforated plate with its silver calibration squares directed up.
2. Plug the heatbed cable into the platform and into the adapter placed in the Z-axis cover. Plug in the perforated plate small cable as well.
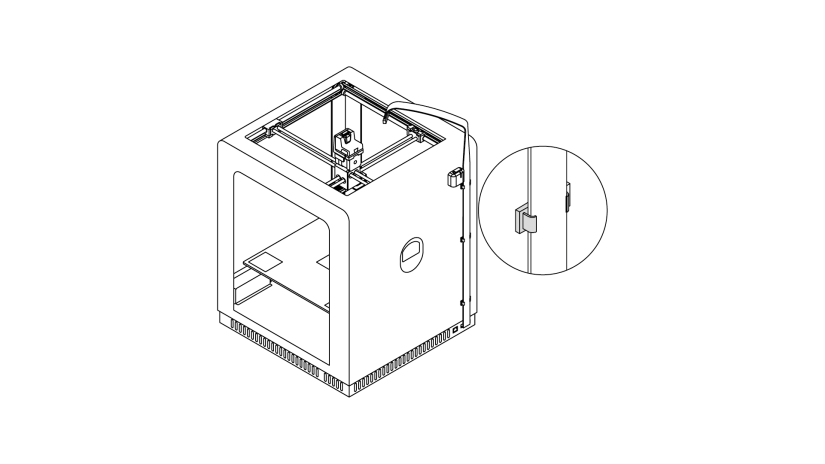
3. Install the extruder cable clamps in the holes at the back of the printer. Place the extruder cable in the clamps.

1. Detach the extruder upper printed cover and plug in the extruder cable. Next, reattach the upper printed cover.

2. Attach the material guide to the extruder and to the material endstop. Next, attach the guide to the extruder cable using material guide clamps.
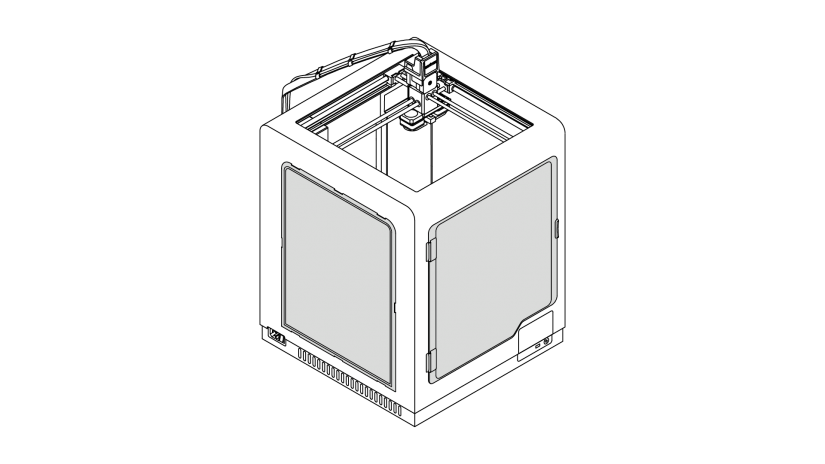
3. Remove the protective cap from the camera inside the printer. Next, install all side covers. For more details, see the manual: side covers installation
1. Detach the extruder upper printed cover and plug in the extruder cable. Next, reattach the upper printed cover.
2. Attach the material guide to the extruder and to the material endstop. Next, attach the guide to the extruder cable using material guide clamps.
3. Remove the protective cap from the camera inside the printer. Next, install all side covers. For more details, see the manual: side covers installation
1. Plug in the power cable.
2. Attach the spool holder to the back of the printer. Next, place the spool onto the holder. The spool should rotate anti-clockwise. Feed the material into the extruder through the material endstop and the material guide.
To install the firmware in your printer, download the latest firmware version from support.zortrax.com/downloads/. Transfer the Update.zar file to a USB flash drive and plug it into the port at the front of the device. To start the installation, select Refresh.
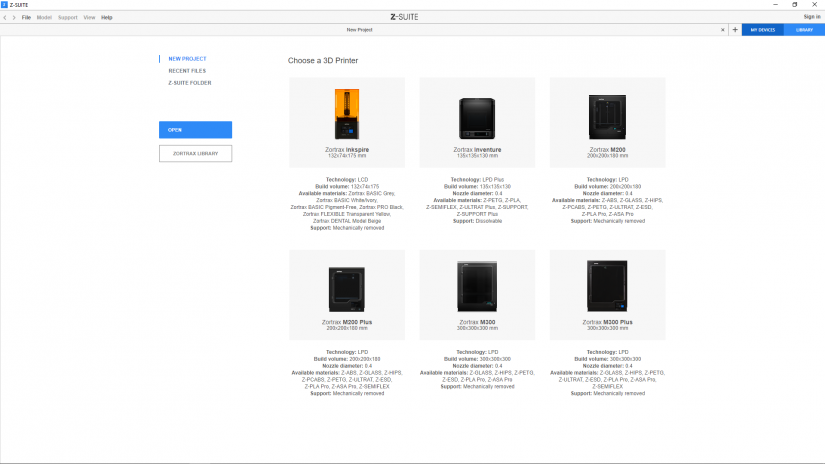
Z-SUITE Installation
The latest Z-SUITE update can be found at the Zortrax Support Center in the Downloads section.
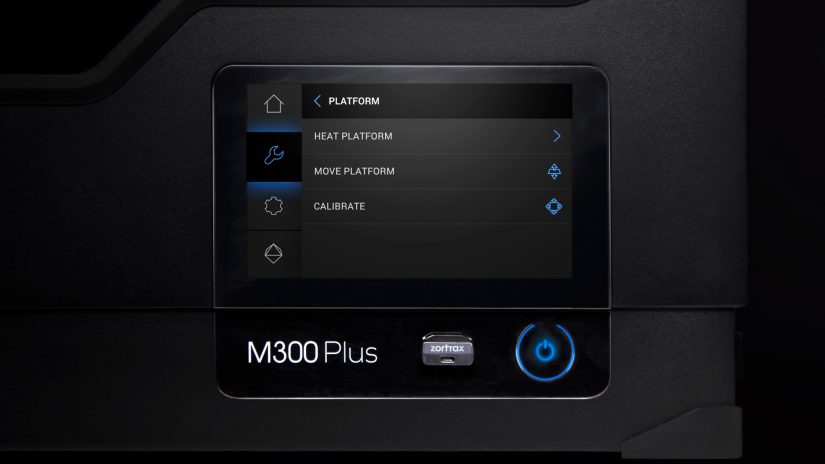
To download and install Z-SUITE, enter the serial number of your printer. The serial number can be found in the printer’s menu: Settings -> About Printer, and on the nameplate at the back of the printer.
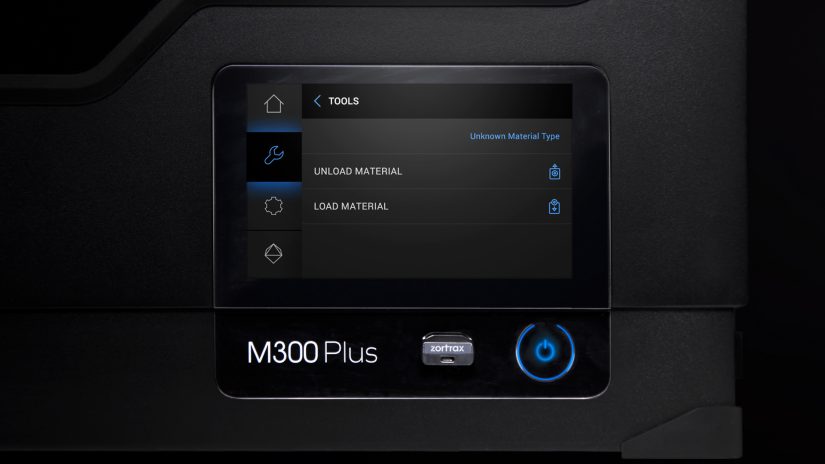
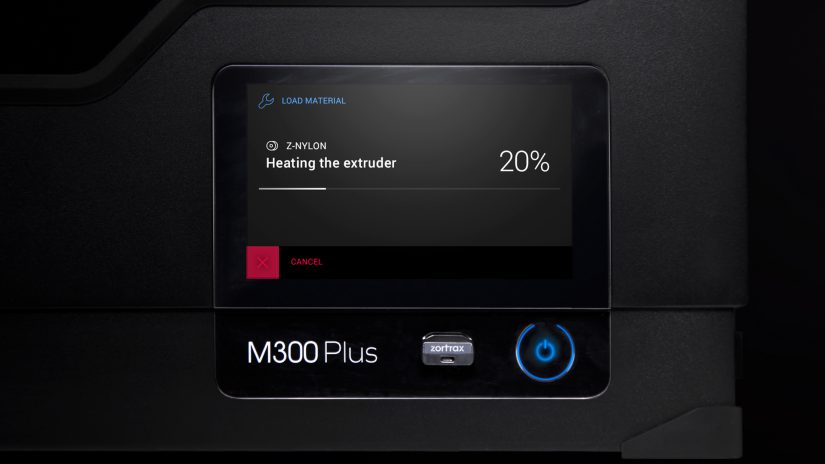
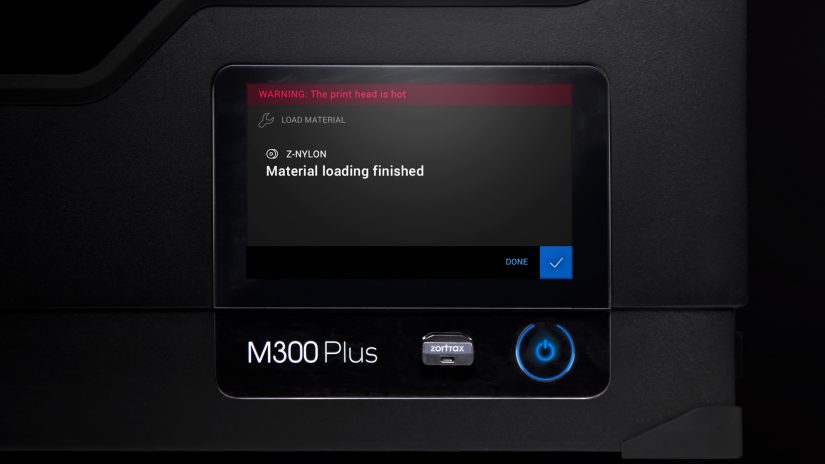
Material Loading
First Print
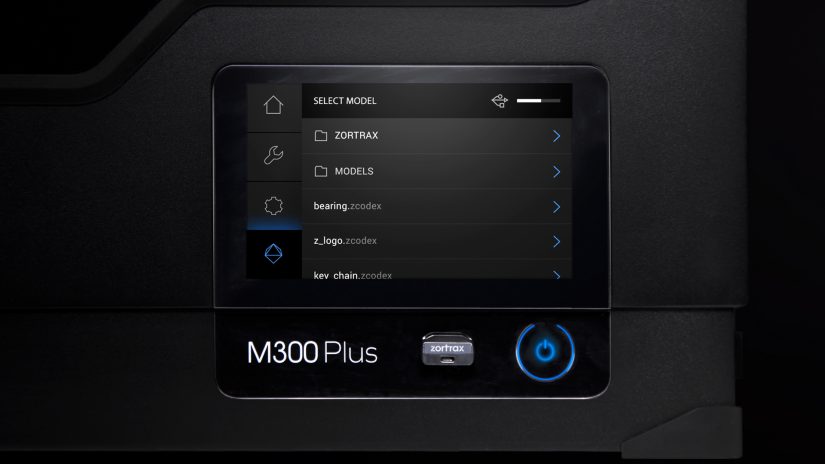
To choose the model for printing, open the Models menu.
Select the model in the .zcodex format and select the Print button.
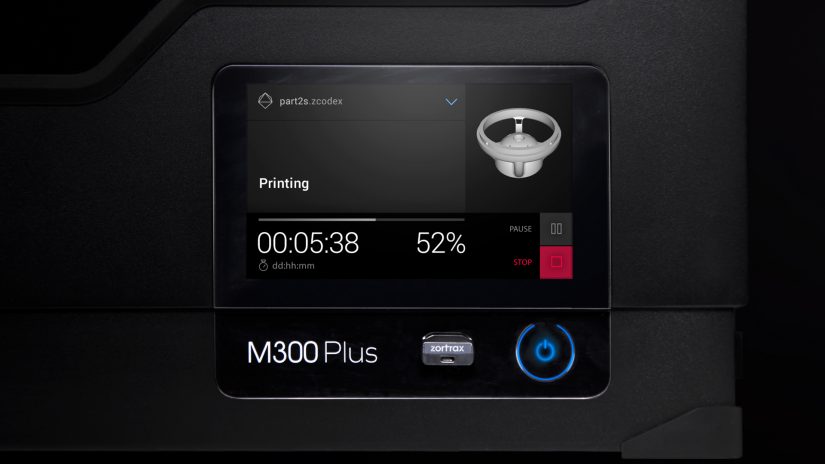
Next, the printer will start to heat up. Once the heating is completed, the printing process starts automatically. The screen will show the progress of the print.

