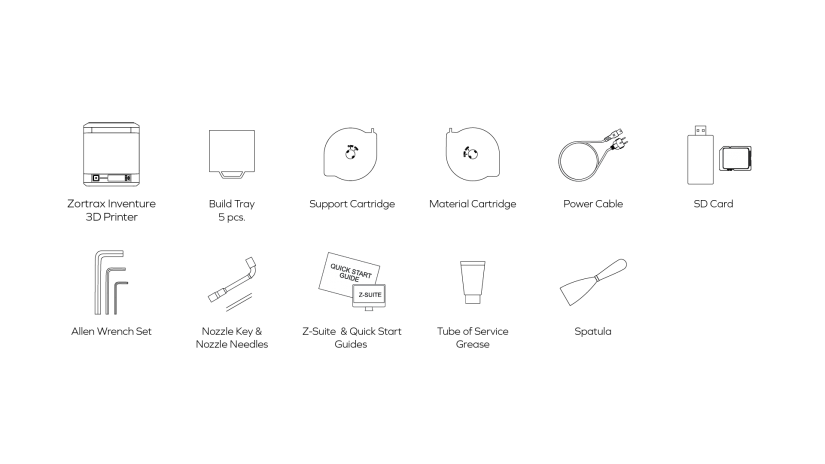
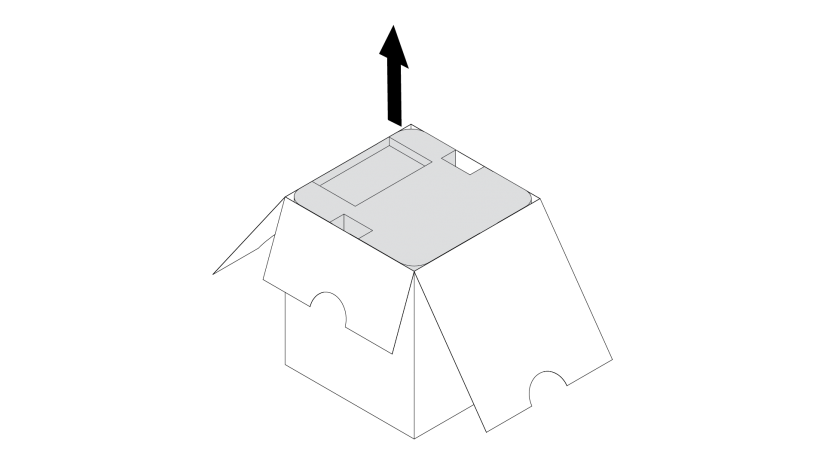
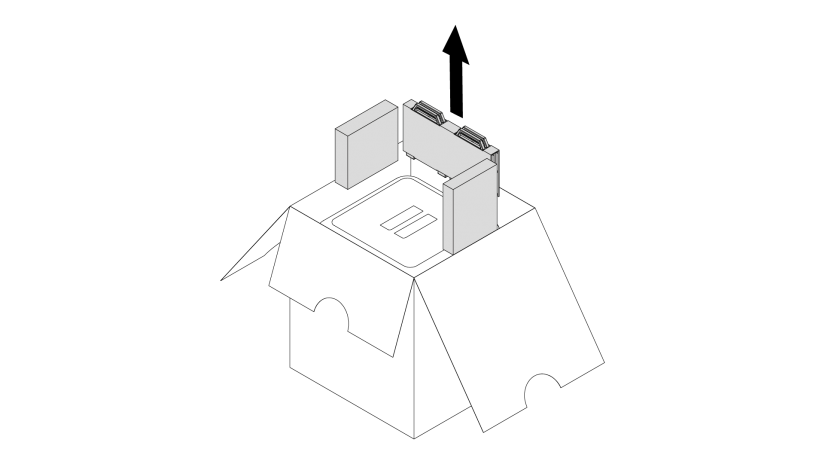
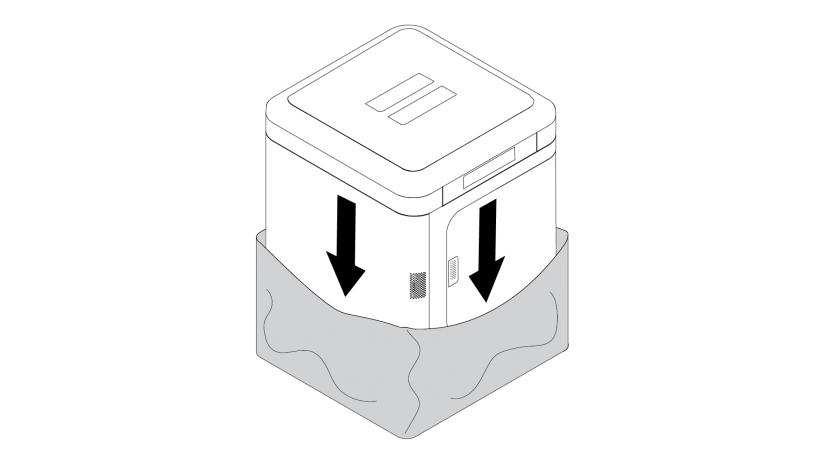
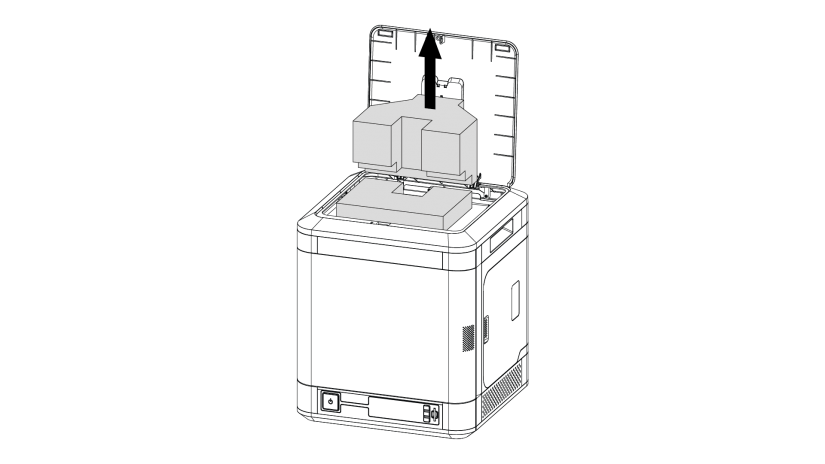
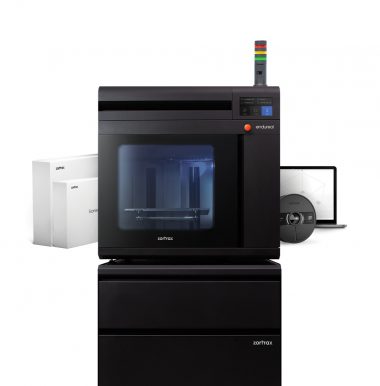
Preparing your printer for the first use is important to ensure proper functioning of the device and making the whole printing process easier. The following steps show how to properly unpack and set up the machine. This article also shows how to install the firmware and software as well as how to carry out the platform and nozzle calibration procedures.
Preparing the Printer for Work
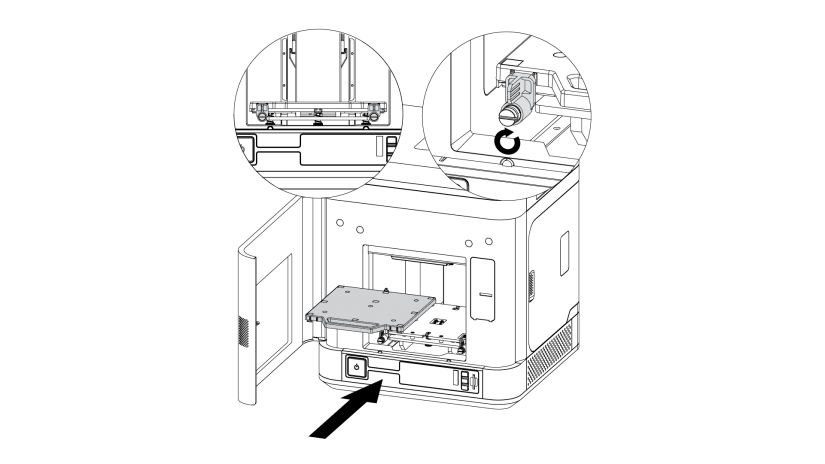
Insert the build tray into the printer and set the safety locks to the vertical position. Close the front door.
From the menu choose “Material,” then “Model” and “Load the model material.” Follow the instructions provided on the display.
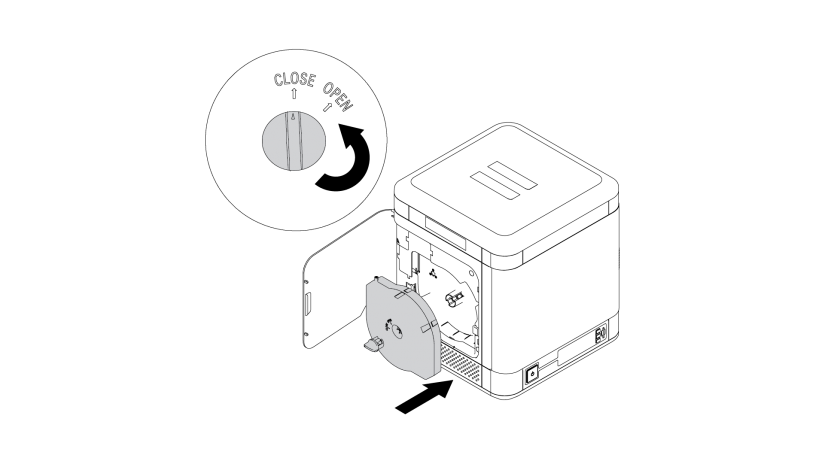
Insert the model material cartridge on the left side of the printer and turn the lock to CLOSE. Close the side door.
From the menu choose “Material,” then “Support” and “Load the support material.” Follow the instructions provided on the display.
Insert the support material cartridge on the right side of the printer and turn the lock to CLOSE. Close the side door.
From the menu choose “Maintenance” and then “Platform Leveling.” Follow the instructions provided on the display.
Firmware Installation
Download the latest update of firmware at Zortrax Support in the Downloads section.
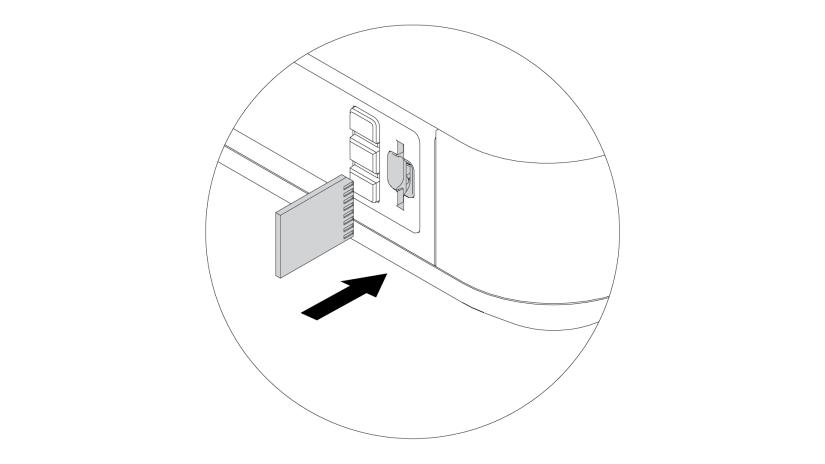
To install the firmware, copy the InventureUpdate.bin file to an SD card, insert the card into the printer and turn on the machine.
The firmware updates automatically.
Z-SUITE Installation
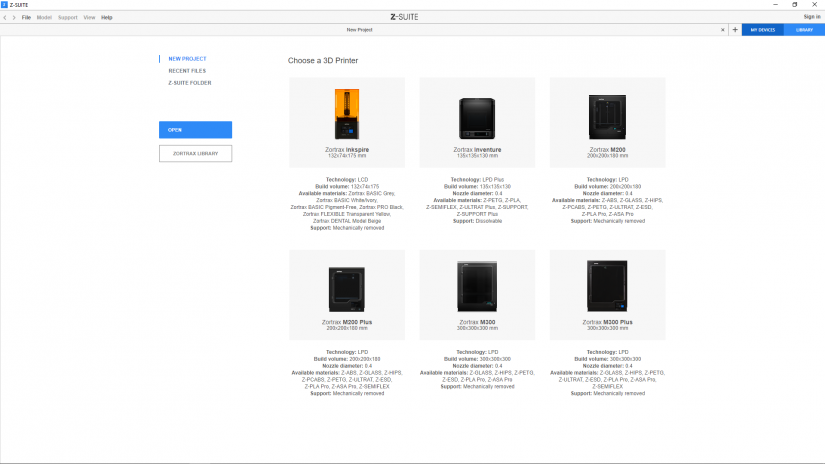
The latest Z-SUITE version can be found at Zortrax Support in the Downloads section.
To download and install Z-SUITE, you can enter the serial number of your printer or your e-mail address. To find the serial number, go to “Information” tab in the menu and choose “Serial Number.”
Cartridge Installation
First Print
To choose the model for printing, select “Models” option from the main menu.
Select the model and confirm by pushing the button.
The printing procedure will begin automatically.
The display will show information about the extruder heating level. Once the heating is completed, the Inventure will start the printing process. The bar on the display will show the progress of the printing.

