Whether you’re a beginner or you want to fill some knowledge gaps, this article gives insight into the UV LCD 3D printing technology. Zortrax Knowledge base summarizes all the information and best practices useful while printing with the Zortrax Inkspire. It is also a compilation of guidelines and basic terms connected to the hardware and software.
How Does Zortrax Inkspire Work?
Technology
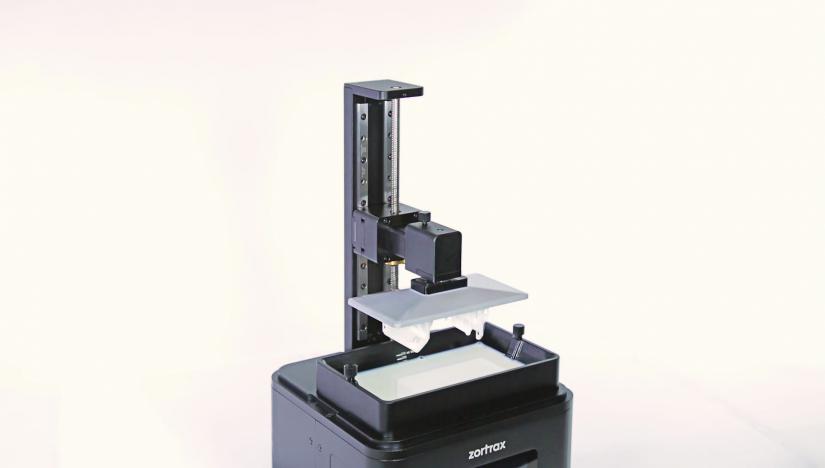
The Zortrax Inkspire works in the UV LCD technology which uses liquid photopolymer and a light source to build parts. Models are printed layer after layer in the upside down position. The UV LCD technology involves projecting an image of a layer on the transparent underside of the tank (FEP film) with liquid resin and curing the layer using backlight from a UV lamp. After each layer is cured, the lamp pauses to operate. During the pause, the layer solidifies and the platform rises and lowers itself so the resin is equally distributed in the tank for the next layer. The printer is equipped with an LCD screen which is responsible for projecting successive layers and masking the UV light. Thanks to that, the resin that is outside the image of a layer is not cured and can be used to print the rest of the model. The printer allows users to print multiple parts at the same time without affecting the accuracy and printing speed.
Printing Process
Everything begins with preparing a model. The work on the project can start in any program which creates 3D models and generates .stl, .obj, .3mf, or .dxf files. These are the standard file formats supported by most types of modeling software – the model is saved as a set of three-dimensional triangles (triangle mesh).
The next step is to open the .stl file (or other) in Z-SUITE – the program created specifically for Zortrax devices. Z-SUITE prepares the model by slicing it into individual layers and saving it as a .zcodex file. Z-SUITE also allows you to choose the material type to be used for the model and to adjust the necessary print settings, such as Layer thickness, Layer exposure time, Exposure off time or how many support structures should be generated.
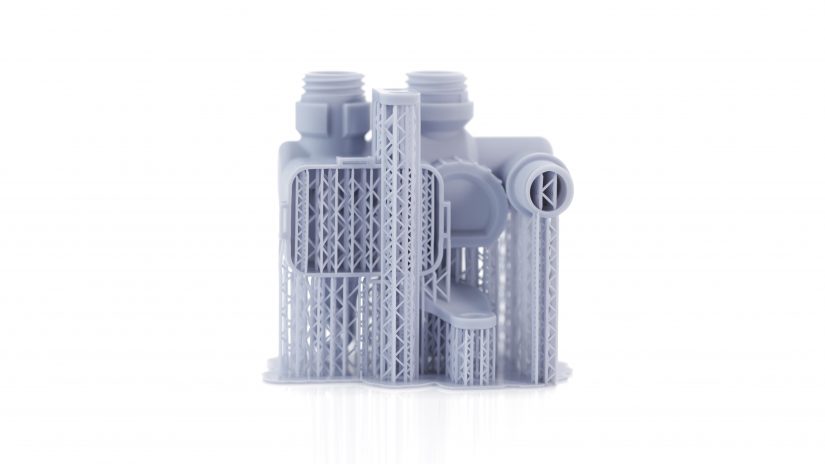
Projects for the Zortrax Inkspire require special preparation in terms of orientation and supports. In the UV LCD 3D printing each layer that will be parallel to the platform during the printing process has to be as small as possible to be printed successfully. That’s why, once you upload a file to Z-SUITE, you have to find the best position for your model and arrange it at an angle. Printing speed and accuracy remain the same regardless of the number of models placed in the workspace. You can place multiple models on the platform and start short-series manufacturing. Detailed instructions are available in the manual Model Orientation & Supports.
To start the printing process, turn on the printer, prepare the material which corresponds with the one you have chosen in Z-SUITE and carefully fill up the tank with an appropriate amount of liquid resin. While working with the Zortrax Inkspire, you can start, stop and pause the printing process in Z-SUITE. Once your file is prepared, you can transfer it from Z-SUITE to the printer’s storage in two ways. You can either save the file on a USB flash drive and plug it into the port at the front of the device or transfer the file from Z-SUITE over Wi-Fi/Ethernet cable. Each printer can still be operated using the touchscreen at the front. It is also possible to change all settings related to exposure time of particular elements of the model directly during the printing process.
Printing & Post-Processing manual gives step-by-step guides to preparing and carrying out the printing process with the Zortrax Inkspire.
Post-Processing
Models 3D printed with liquid resin require post-processing right after the printing is finished. The first step involves cleaning the print from residues of uncured resin in a liquid detergent, whereas the second step involves additional UV curing so that the object acquires its intended properties.
For cleaning you can use either the Ultrasonic Cleaner or the cleaning box delivered with the printer. Remember to protect the model from UV light and start to clean it immediately after the printing process is completed.
Once the printing process is finished, put the platform with the model in the Ultrasonic Cleaner and turn on the device. Cleaning time depends on the size of the model but it shouldn’t exceed three minutes. Longer cleaning time causes the liquid to heat up. Next, turn off the Ultrasonic Cleaner and remove the platform with the model. Use compressed air to remove liquid remains from the model as they can have a negative influence on its final look.
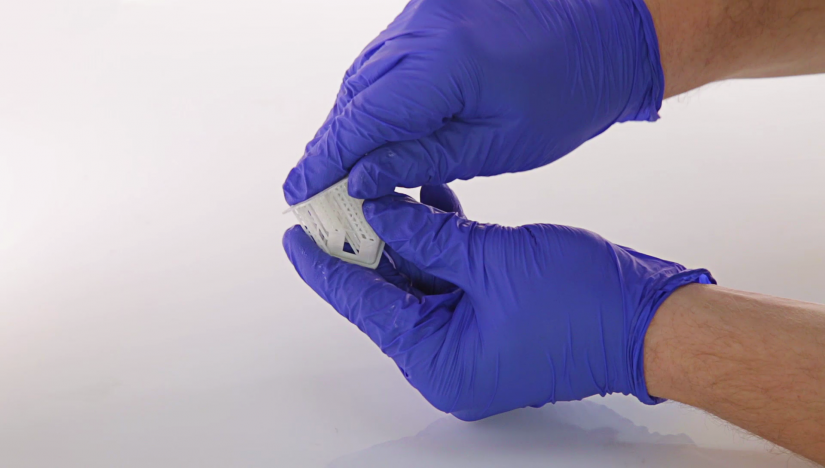
Make sure that the model isn’t exposed to the UV light until it’s completely dry. Remove the model from the platform by hand or use a spatula. If you have problems with removing the print, use a cutting knife. After that, remove the raft and support structures from the model and put it in the UV Station or in any source of UV light (e.g. direct sunlight).
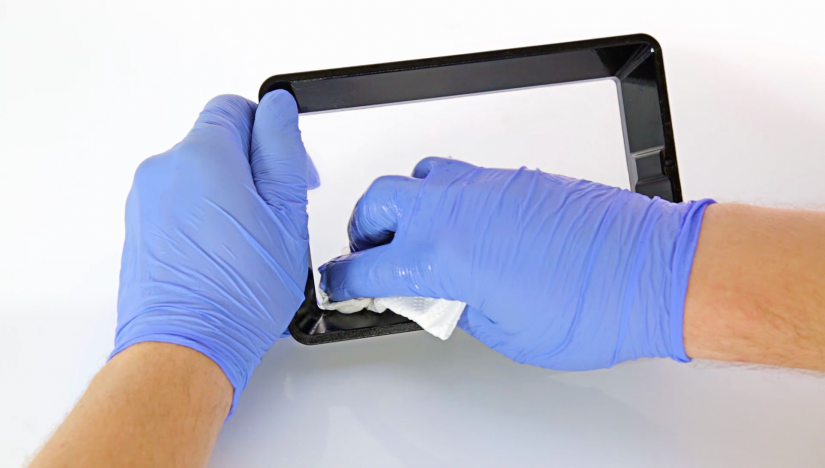
Remember to clean the resin tank regularly in order to ensure the best results and high quality of prints. This particularly applies to the FEP film which cannot have any residues of cured resin and defects on its surface for the UV light to pass through it and properly cure the resin during the printing. You should inspect and clean the resin tank after each print. Residues of cured resin should be removed before you restart the printing process and every time you change the color or type of resin. The FEP film is very thin and fragile, therefore, be careful when cleaning, installing and disassembling the tank. It requires replacement once it becomes bent, deformed, or perforated during printing or operation of the printer. Remember that the new FEP film does not require unfolding after taking it out of the packaging.
Handling Resins
Synthetic resins in liquid form may cause allergic reactions, therefore, you have to protect your skin and eyes when handling resin and operating the printer. Wear safety gloves and glasses. We strongly recommend setting up a special room dedicated only to 3D printing. The room should be as free of daylight as possible and properly ventilated.
Shake the bottle of resin before filling the tank and starting the printing process. Make sure that there are no air bubbles in the resin once you pour it into the tank. If it’s necessary, wait 5+ minutes before you start to print. This especially applies to Resin PRO and DENTAL MODEL.
It is important to avoid spilling the resin on the printer and its surroundings while filling the tank and removing prints from the platform. Prepare paper towels and keep them in your workspace for wiping up liquids. Make sure that the printer is leveled and placed on a stable surface. Do not remove the UV cover during the printing process and do not expose liquid resin to daylight. Containers with resin should be kept tightly closed.
Turn off the printer and empty the resin tank once the printing process is finished. It is advisable to filter the already used resin after each print. Mix it with the fresh resin to make sure that there are no cured remains in the liquid, as they could have a negative influence on the quality of the next print. Mixing used and fresh resin also helps to extend the resin lifespan.
Printing and post-processing waste, including empty bottles, failed prints, supports, rafts as well as paper towels with resin residues should be put in the UV Station or in any source of UV light before disposal.
The complete offer of resins is available at: zortrax.com/resins. Material Technical Data Sheets and Safety Data Sheets can be found at the same website.
Useful Terms
Here’s a short overview of technical terms commonly used in the UV LCD technology. The list below organizes and helps you understand all the terms useful while printing with the Zortrax Inkspire.
 CARBON FILTER
the filter which absorbs unpleasant smells from the air that passes through the printing chamber. It is installed in the back right corner of the printer’s housing. In order to ensure proper filtration during the printing process, the filter should be replaced every 3-4 months, or once it becomes considerably dirty, e.g. with liquid resin.
 FIRMWARE
the software programmed into Zortrax printers, which controls and monitors all the data in the device. It also gives the possibility to enable/disable the printer’s functions.
 FEP FILM
the double-layered, transparent foil which is installed in the rack attached to the resin tank. It creates a clean way for the UV light to quickly and precisely cure liquid resin during the whole printing process. The FEP film requires replacement once it becomes stretched or deformed. The printer is delivered with a set of four FEP films.
*The new FEP film does not require unfolding after taking it out of the packaging.
 LCD SCREEN
the flat-panel display essential for 3D printing in the UV LCD technology. It is responsible for projecting images of layers on the underside of the resin tank during the whole printing process. It also masks the UV light so that the resin that is outside the image of a layer is not cured and can be used to print the rest of the model.
 PLATFORM
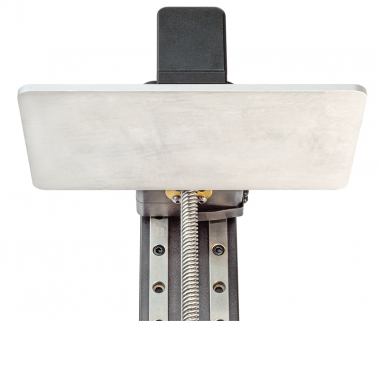
an integral part of the printer, to which models adhere during the polymerization of resin. Also, it rises and lowers itself during the printing process so that each layer can solidify and the resin can be equally distributed in the tank. The platform is made of anodized aluminum which facilitates high adhesion of models. It can easily be removed or installed back in place.
 RAFT
RAFT
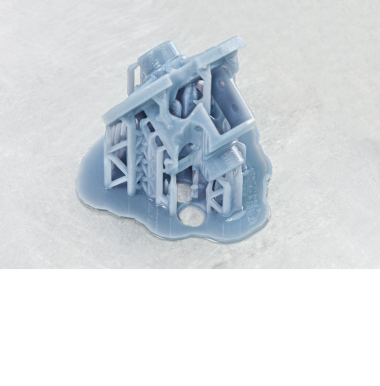
the first few layers of resin which begin the whole printing process. The raft increases adhesion of the print and support structures to the platform. Once the printing is done, the raft needs to be removed from the platform together with the rest of the model.
 RESIN TANK
the container in which liquid resin is kept throughout the entire printing process. It consists of a metal frame and a rack with a double-layered FEP film. The resin tank is secured to the printer’s housing directly on the LCD screen with two screws.
 STARTER KIT
several pieces of equipment that are put together in one set and delivered with the printer. The set contains tools and protective equipment including, for example, FEP films, funnels and spatulas. The tools from the starter kit are required for operating the printer as well as for performing maintenance work.
 SUPPORT STRUCTURES
special 3D printed structures in the form of pillars which ensure that the whole model adheres to the platform and doesn’t fall into the resin tank during the printing process. Supports are printed with the same material as the model. Once the printing is done, supports have to be removed from the model by hand or using pliers.
 TOUCHSCREEN
the display screen placed at the front of the printer, which enables fast and intuitive navigation through the device’s menu. The screen also displays information about the current printing process and other information concerning the printer.
 UV COVER
the orange cover placed on top of the printer responsible for protecting liquid resin from ambient UV light. It also helps to keep unpleasant smells of resin inside the printing chamber.
 UV LCD TECHNOLOGY
a technology in which photopolymer is cured layer after layer. The UV LCD technology involves projecting images of successive layers on the underside of the tank with liquid resin and curing them using backlight from a UV lamp.
 ZCODEX
a file format which contains a model prepared for 3D printing with previously selected print settings, such as layer exposure time, exposure off time, additional support exposure time, etc. All print settings can be managed in Z-SUITE before generating the .zcodex, but it is still possible to change some of the settings during the printing process using options from the menu. Each .zcodex file can be transferred to the printer directly from Z-SUITE over Wi-Fi/Ethernet cable or using a USB flash drive.
 Z-SUITE
the application created specially for Zortrax devices. Z-SUITE prepares a model for 3D printing by generating the file in the .zcodex format. Z-SUITE allows the users to change and adjust the print settings, such as the size of the model, layer thickness, or how many support structures will be generated. The last step is to transfer the file to the printer’s storage over Wi-Fi/Ethernet cable or by using a USB flash drive.
Models
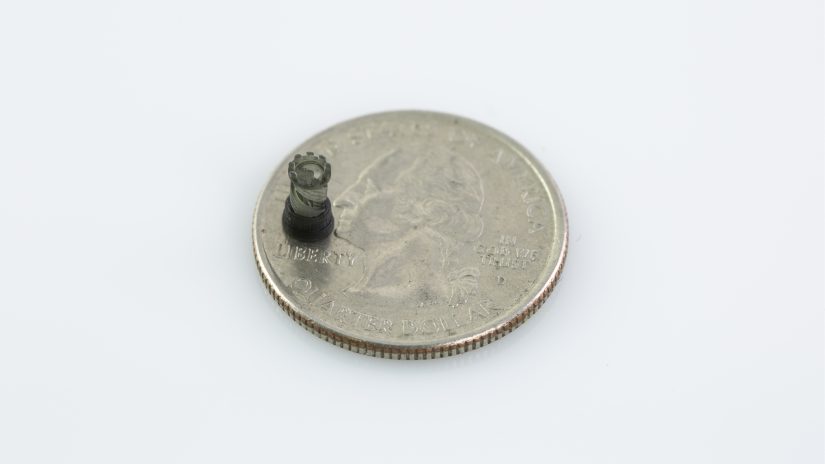
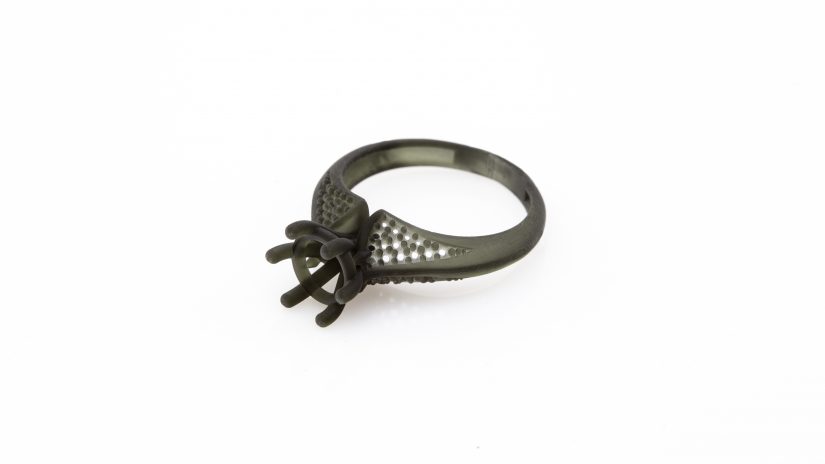
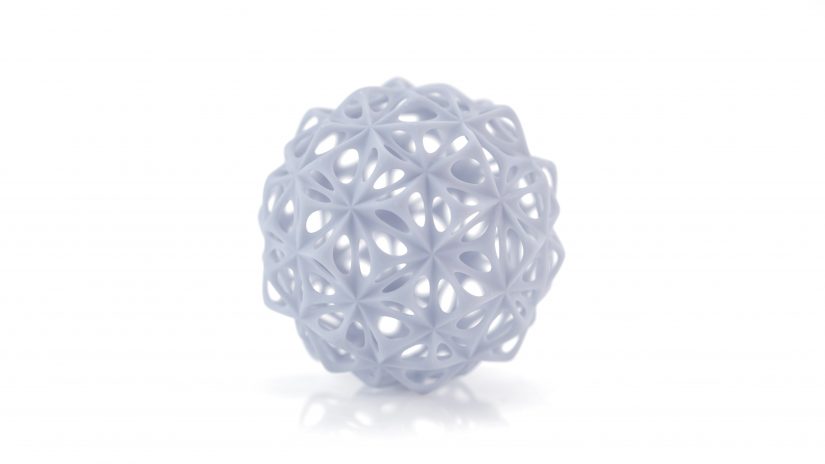
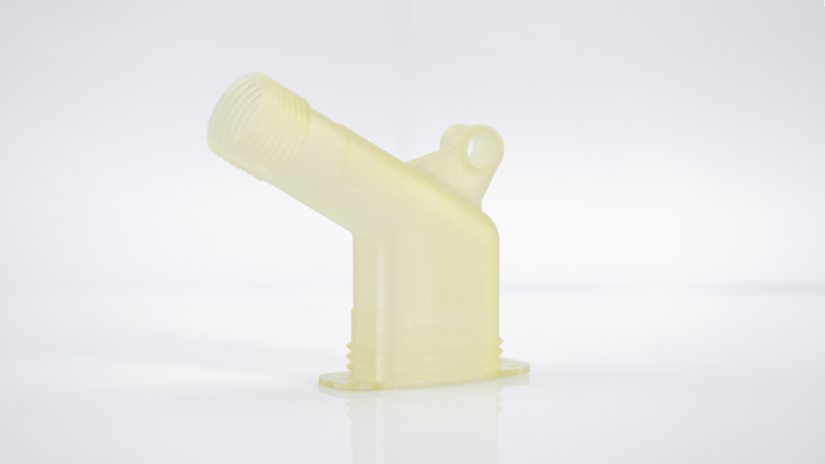
The Zortrax Inkspire is best suited to the needs of users whose job involves creating intricate and highly detailed models. The printer gives a possibility to print parts of high quality and provides precision unmatched by traditional 3D printing technologies. Thanks to that, the Inkspire becomes the best choice for creating prototypes and concepts models in engineering, dentistry and jewellery industries, as well as for creative applications, such as figurines and gadgets.
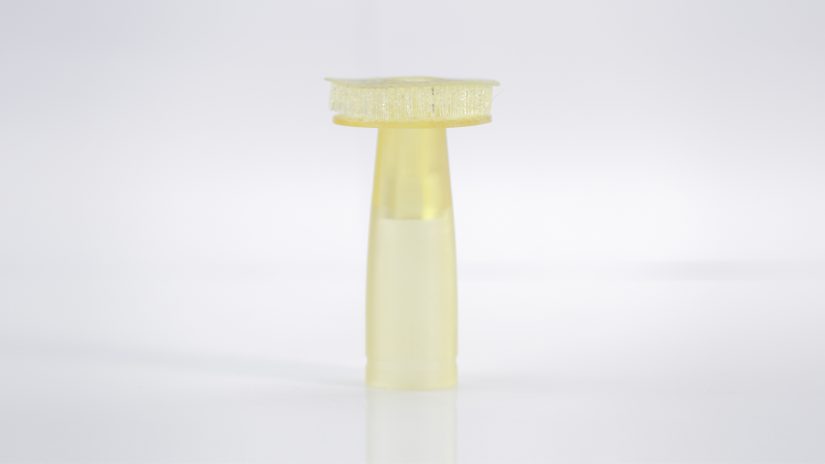
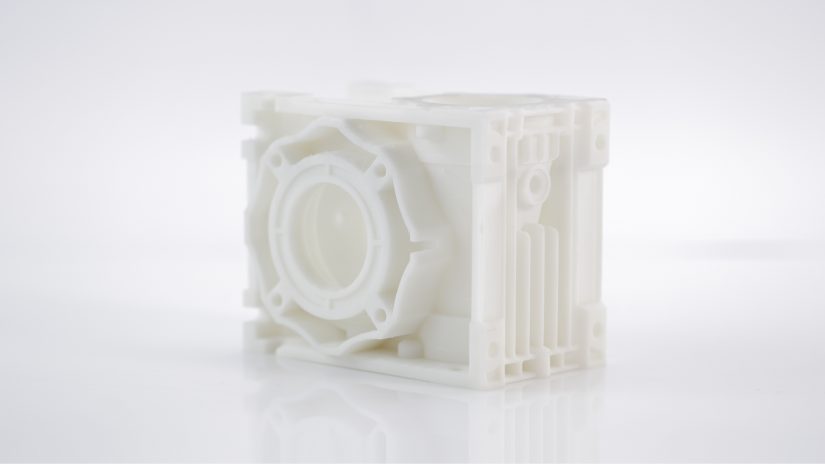
This gallery shows what types of models are achievable with the Inkspire.


