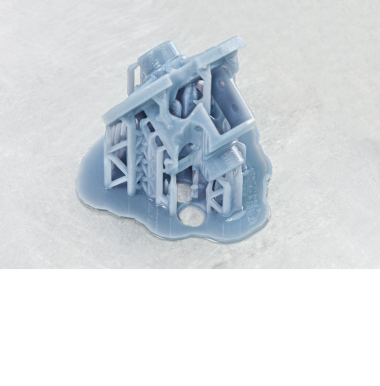
The FEP film is the double-layered and transparent foil installed in the rack attached to the resin tank. It creates a clean way for the UV light to cure liquid resin during the whole printing process. The FEP film requires replacement once it becomes bent, deformed, or perforated during printing or operation of the printer. Otherwise, the printer will not produce successful prints. Little scratches and smudges that can appear on the FEP film surface do not influence the printing quality. Therefore, when your printer starts to produce low quality objects and you notice irremovable signs of wear on the FEP film surface, replace the film according to this manual.
To extend the FEP film lifespan, inspect and clean the resin tank regularly according the manual.
| The new FEP film does not require unfolding after taking it out of the packaging. |
UV Cover Removal
Remove the UV cover.
Lifting up the Platform
From the menu, select “Tools,” “Platform” and “Move the platform.” Keep the UP arrow pressed to lift the platform.
Unplugging the Power Cable
Turn off the printer and unplug the power cable.
Resin Tank Removal
Loosen the two screws that secure the resin tank. Next, remove the tank.
FEP Film Rack Removal
Unscrew the black screws that secure the FEP film rack to the resin tank. Next, separate the FEP film rack from the resin tank.
Unscrewing the FEP Film Rack
Unscrew the silver screws that secure the two parts of the FEP film rack.
FEP Film Removal
Separate both parts of the rack and remove the FEP film.
FEP Film Rack Cleaning
Clean both parts of the FEP film rack with a paper towel soaked in isopropyl alcohol.
FEP Film Installation
Place the new FEP film between the two parts of the FEP film rack.
| The new FEP film does not require unfolding after taking it out of the packaging. |
Securing the FEP Film Rack, part 1
In order for the FEP film to be properly tight, you have to create a bulge while securing both parts of the FEP film rack. To do that, place the FEP replacement jig from the Starter Kit or an item that is 8 mm [0.3 in] thick underneath the film. Next, slightly tighten the silver screws in a diagonal order. Once the assembly of the FEP film rack is finished, fully tighten all the screws.
FEP Film Rack Installation
Put the FEP film rack and the resin tank together.
Securing the FEP Film Rack, part 2
Secure the FEP film rack with the black screws in a diagonal order. Once you finish, fully tighten all screws.
Excess FEP Film Removal
Cut and remove the excess FEP film from the rack.
FEP Film Cleaning
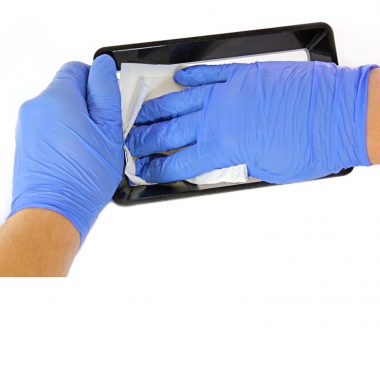
Clean the outside of the FEP film and the LCD screen with a paper towel soaked in isopropyl alcohol before installing the resin tank in the printer.
Resin Tank Installation
Install the resin tank in its place and tighten the two screws.
UV Cover Installation
Install the UV cover on the printer.


