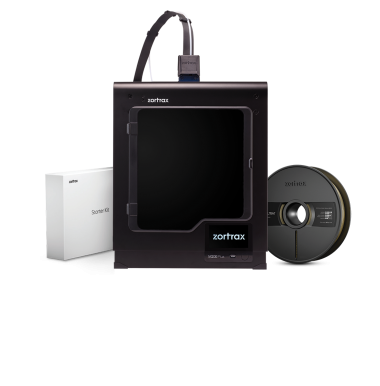
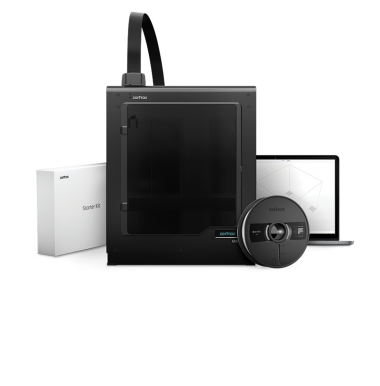
In order to avoid damages during shipment, the Zortrax HEPA Cover is packed in a box with foams. Use extra care while unpacking the device as the fragile elements of the device may get damaged during the process. Before the first use, it is important to properly prepare the device in order to ensure its effective functioning. Carefully follow the steps provided in this manual to unpack and set up the HEPA Cover.

1

Unpacking

HEPA_Cover_Unpacking__Setting_Up_01.png

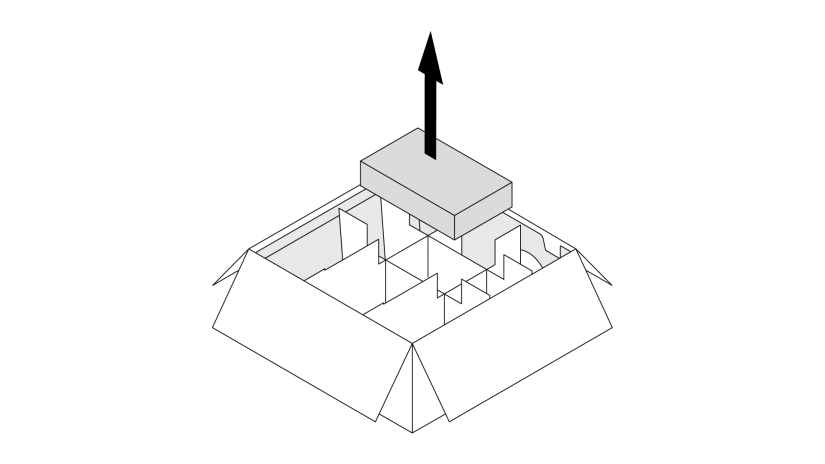
Open the box and remove the protective materials.

HEPA_Cover_Unpacking__Setting_Up_02.png

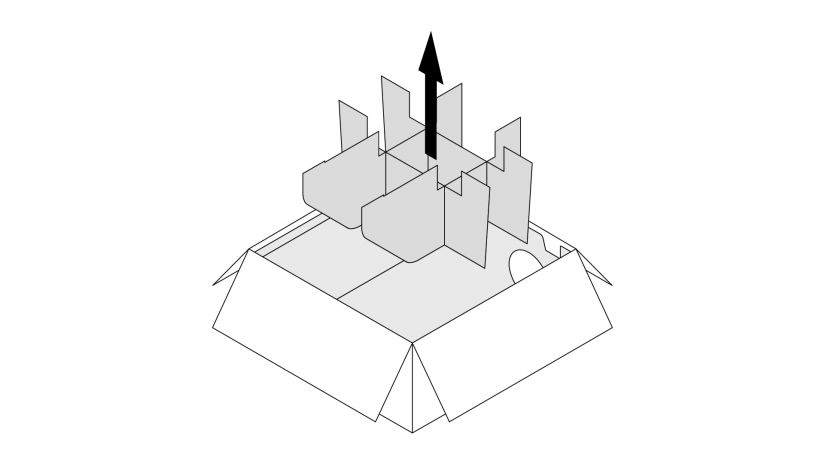
Remove the box with accessories. The box contains a filter module and a power supply unit.

HEPA_Cover_Unpacking__Setting_Up_03.png

Remove the fillers.

HEPA_Cover_Unpacking__Setting_Up_04.png

Take out the Zortrax HEPA Cover and remove the bubble wrap.

2

Setting Up

HEPA_Cover_Unpacking__Setting_Up_05.png

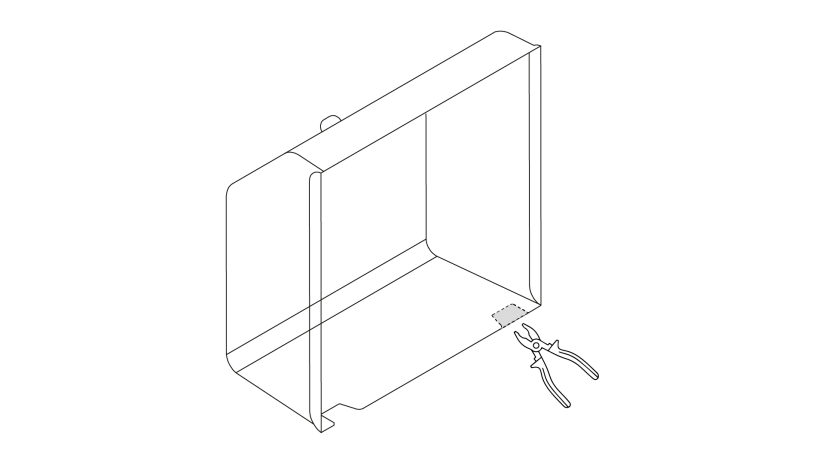
Use pliers to break off the plastic in the place marked in the graphic. This way, you will make a hole for the right material guide (only when using the M300 Dual).

HEPA_Cover_Unpacking__Setting_Up_06.png

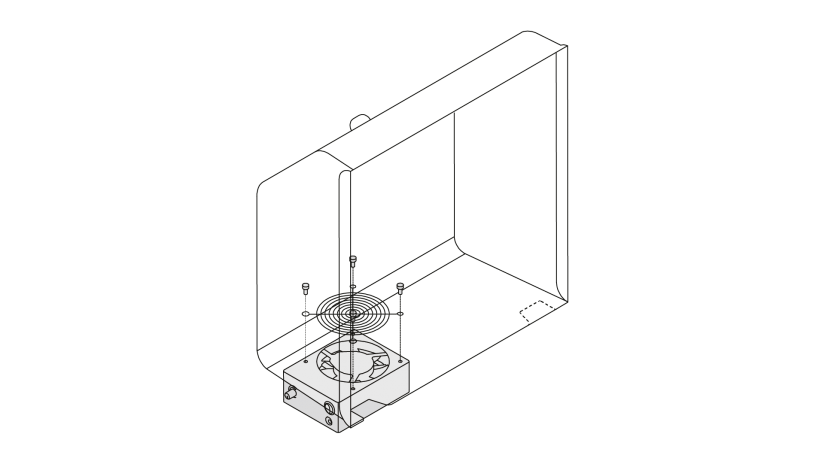
Attach the filter module to the back of the cover and secure it with the four screws.

HEPA_Cover_Unpacking__Setting_Up_07.png

Put the Zortrax HEPA Cover on the printer and make sure the extruder cable fits in the hole at the back of the cover.

3

Operating

HEPA_Cover_Unpacking__Setting_Up_08.png

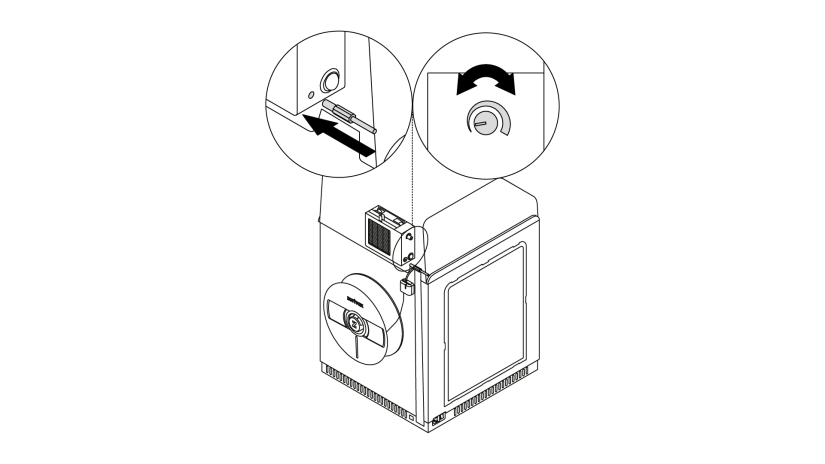
Plug in the power cable to the filter module.

hepa_cover_firstuse-08.png

Adjust the knob to set the fan speed. Lower speed gives better warping protection, whereas higher speed provides better air filtration.

Cleaning tip: wipe the HEPA Cover with a soft, wet cloth. Do not use detergents.

Was this article helpful?

Yes No

Thank you for your feedback.

Arrow back Arrow up