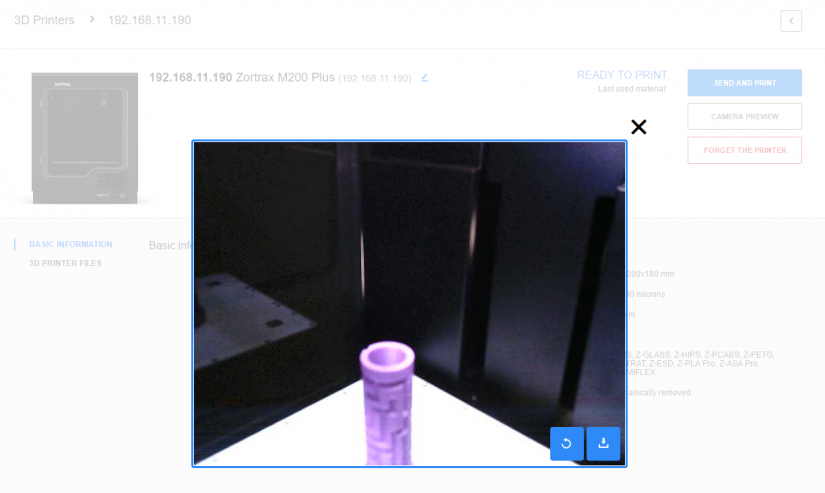
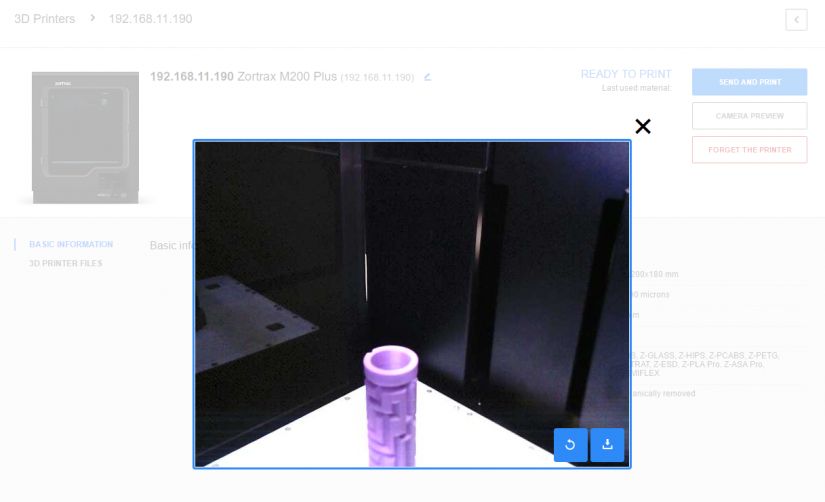
The M200 Plus is equipped with a camera which allows you to monitor the printing process in the My Devices panel in Z-SUITE. The camera is installed in the corner of the printer’s frame, and in the preview the focus should be set on the central point of the platform. If the camera view of your printer is blurred, and the focus is set to either side of the platform, you should recalibrate the camera’s focus manually. This manual gives instructions on disassembling the camera and adjusting its focus.
Blurry Camera View
Unscrewing the Camera
Unscrew one screw that secures the camera in the printer’s frame. Use a 2mm Allen key.
Removing the Camera (from the Frame)
Remove the camera together with its cable from the printer’s frame.
Unscrewing the Camera's Cover
Unscrew the two screws that secure the camera’s back cover. Use a Phillips screwdriver.
Removing the Camera's Case
Separate the camera from its printed case.
Recalibrating the Camera's Focus
Use tweezers and twist the camera’s lens.
To control focus in the camera, twist the lens either clockwise (if focus is set too far from the camera) or counterclockwise (if focus is set too close to the camera).
Camera Installation, part 1
Put the camera back in its printed case.
Securing the Camera's Cover
Secure the camera’s back cover with the two screws.
Camera's Installation, part 2
Install the camera with its cable in the printer’s frame.
Securing the Camera
Secure the camera to the printer’s frame with the screw.