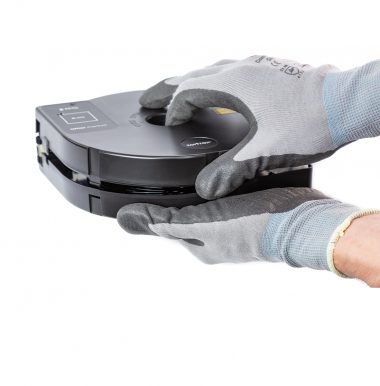
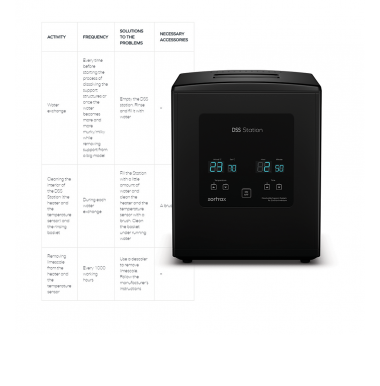
Since the 1.4.0 firmware version for the Inventure, it is possible to use materials either from cartridges or spools. However, to make material loading easier when using a spool, you have to print a special spool holder and install it on the side of the printer. It consists of three parts and requires to be assembled before the installation. The holder can be adapted to spools of both model and support materials. The .stl files for the left and right spool holders are available for download here. Follow the steps from this manual to properly assemble and install the holder in the printer.
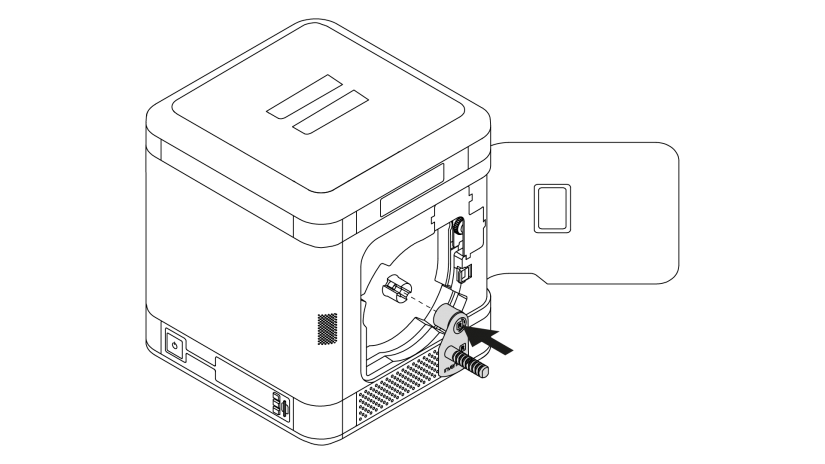
| This manual shows how to install the right spool holder. The left one is installed in the same way. |
Preparing the Model
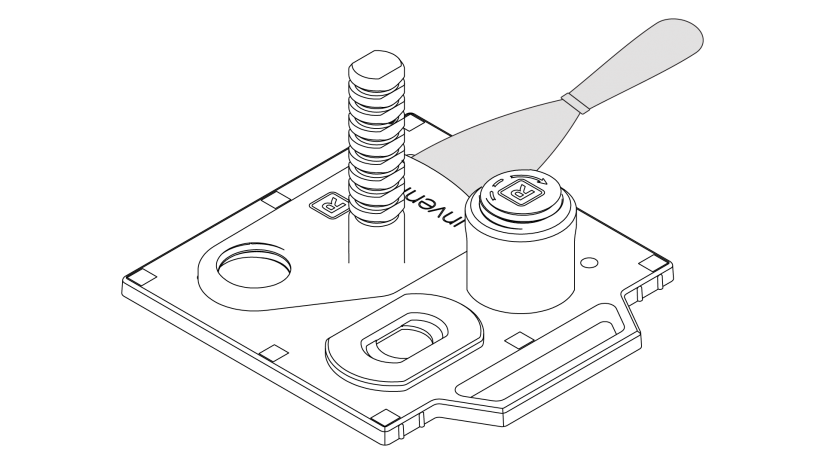
1. Download and print the three pieces of the holder. The .stl files are available in the Zortrax Library.
1. Download and print the three pieces of the holder. The .stl files are available in the Zortrax Library.
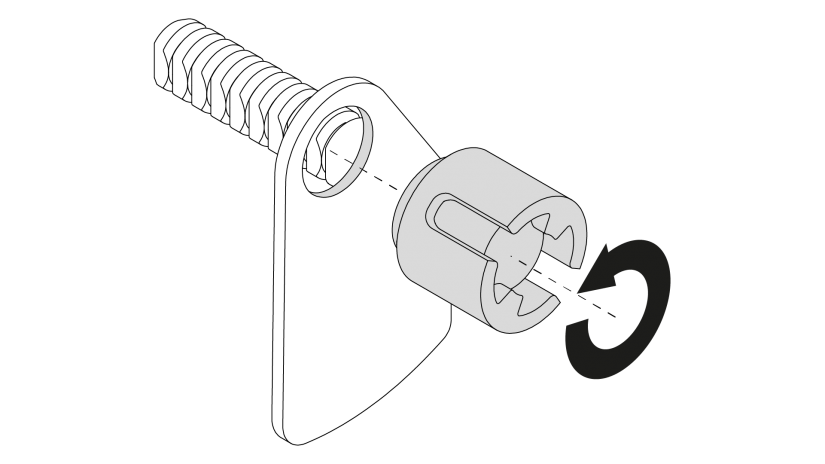
2. Screw the mount piece into the holder (see the arrow on the mount piece for directions).
Spool Installation & Material Loading
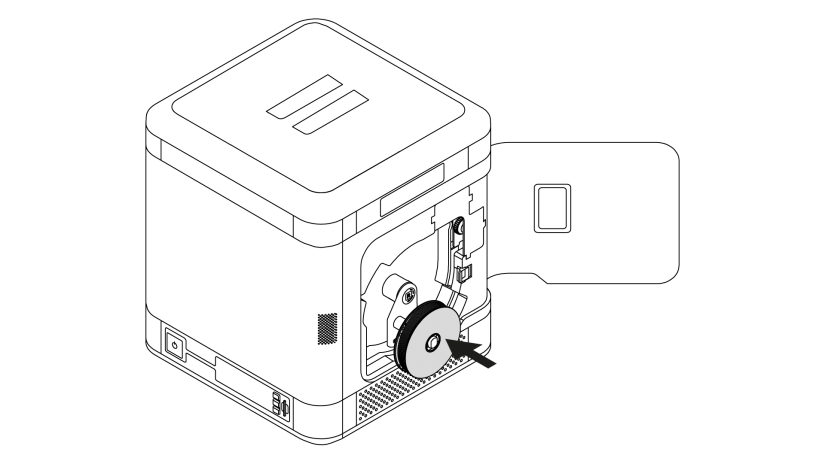
1. Place the spool on the holder. The spool should rotate anti-clockwise.
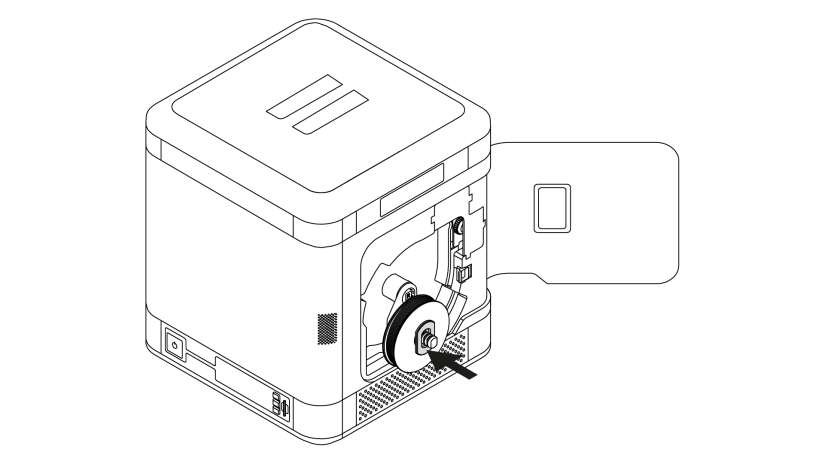
2. Insert the stopper onto the holder.
3. Turn the stopper to the right to secure the spool.
Next, insert the material into the feeder and start the loading process using options from the menu.

