If you want to make your model more attractive and print it in several colors, you have plan a pause in Z-SUITE while preparing the model for the print. The pause will give you the time and opportunity to change the material. This manual shows how to set a pause during the print.


4
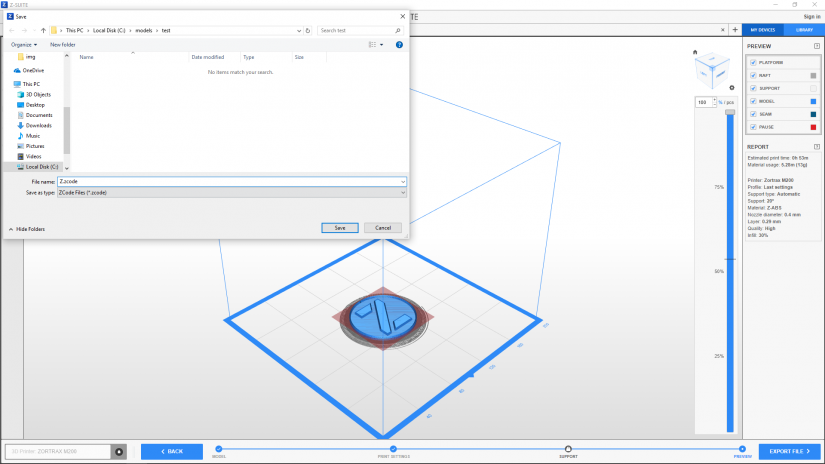
Setting a Pause
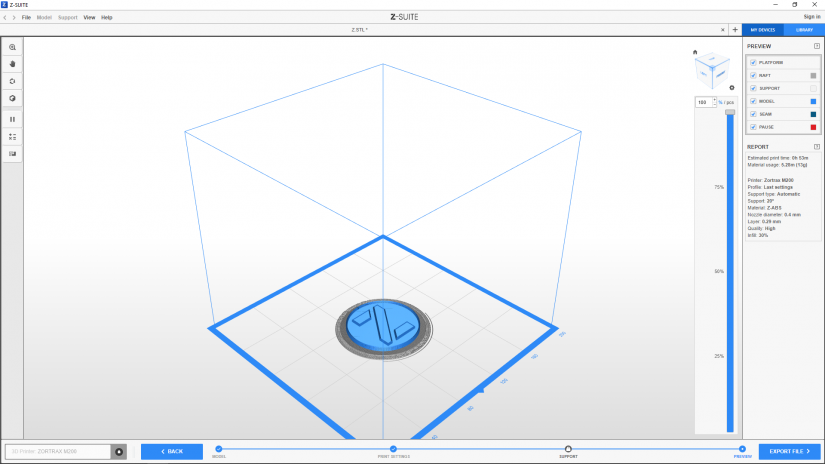
The PAUSE option divides the print into stages and allows you to hold the printing process in order to change the material.
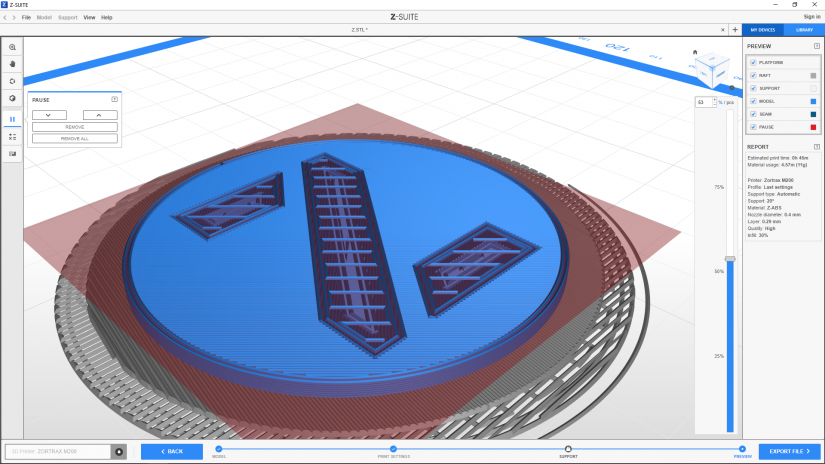
To plan a pause, move the slider onto a desired layer.
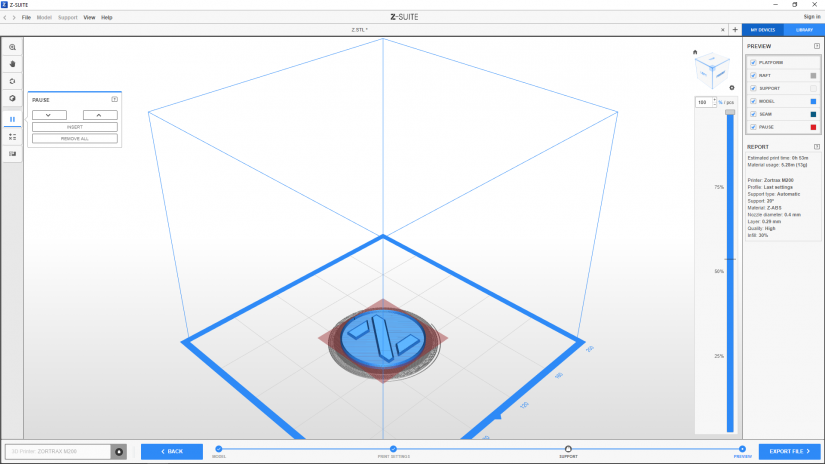
-the INSERT option allows to set the pause in a chosen place. You can use this option several times in order to plan multiple pauses during one print,
-the REMOVE option allows to remove a pause,
-the REMOVE ALL -option allows to remove all pauses.


