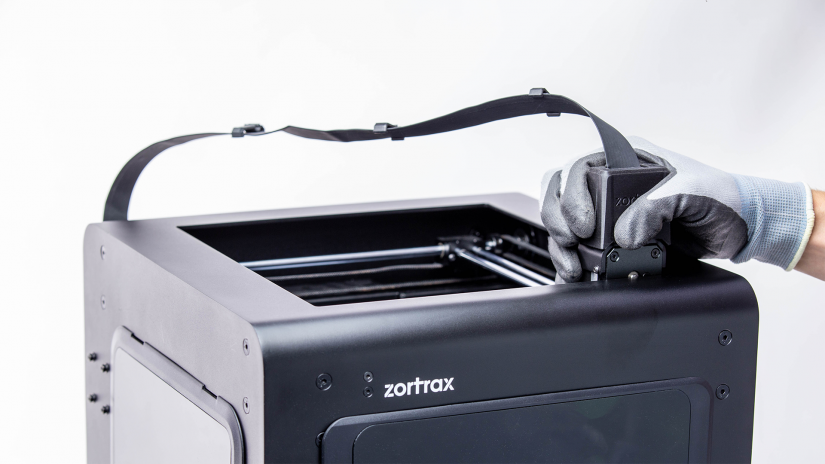
Axes maintenance is a procedure that can help you resolve problems connected with the extruder’s movement and the quality of your printed parts. If the extruder does not move properly along the guide rails and it makes unusual noises, or the layers in your models become shifted (manual for shifted layers), the axes in your printer need maintenance work. Follow the steps from this manual to see the correct maintenance procedure.

1

Checking the Axes Using Jigs

axes_maintenance_plus_1.png

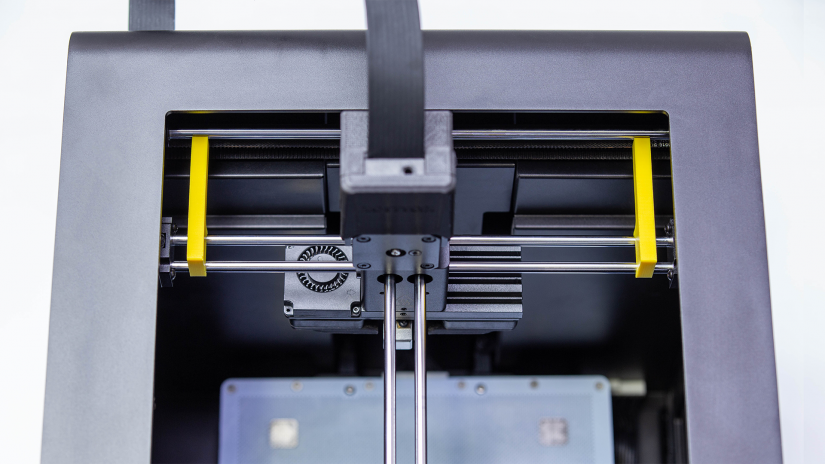
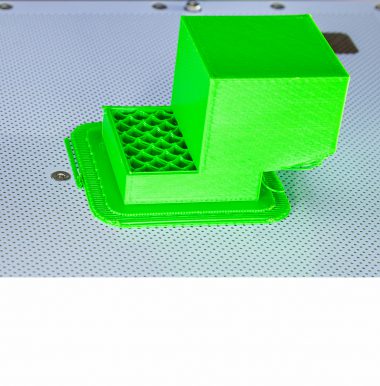
Prepare the axes maintenance jigs (printable models are available at: M200 Plus and M300 Plus).

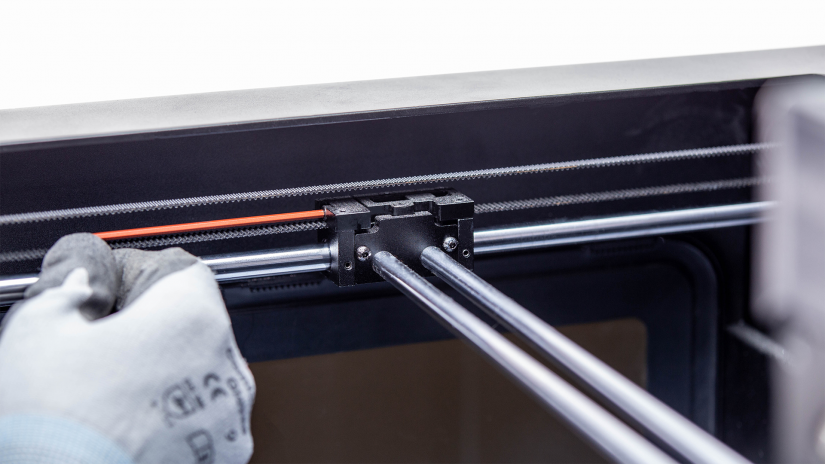
Put the jigs on the extruder guide rails, and move the extruder manually so that the jigs are touching the X axis. This way, you will check if the extruder guide rails are parallel to the X axis.

2

Lubricating the Axes

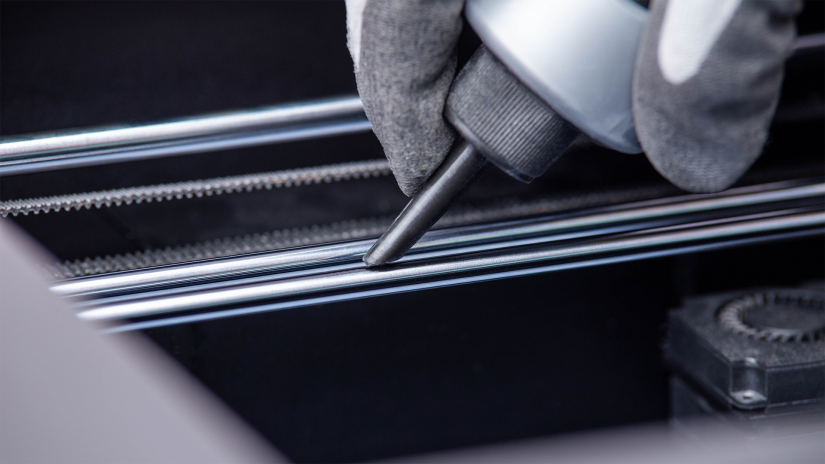
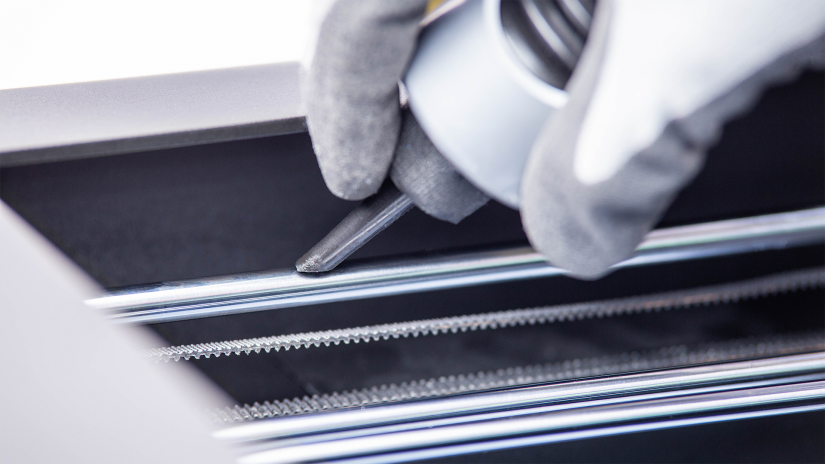
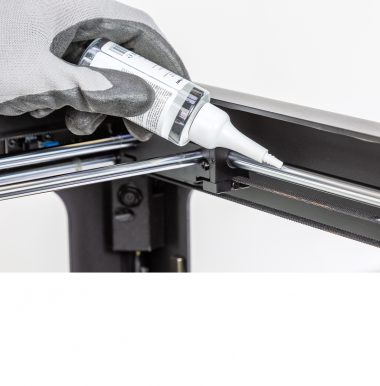
Use silicone oil to lubricate the guide rails, and the X/Y axes. Apply a thin layer of oil on each rail and axis. Lubrication is important to reduce friction on the bearings and extend the bearings’ life span.

3

Loosening the Self-Aligning Bearings

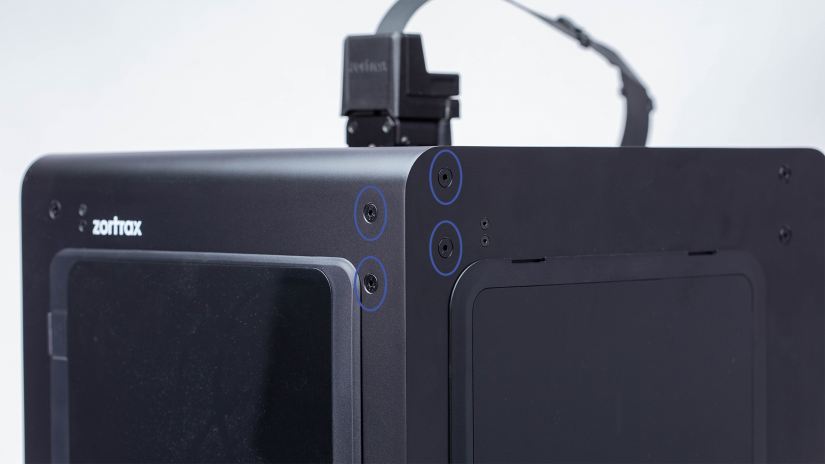
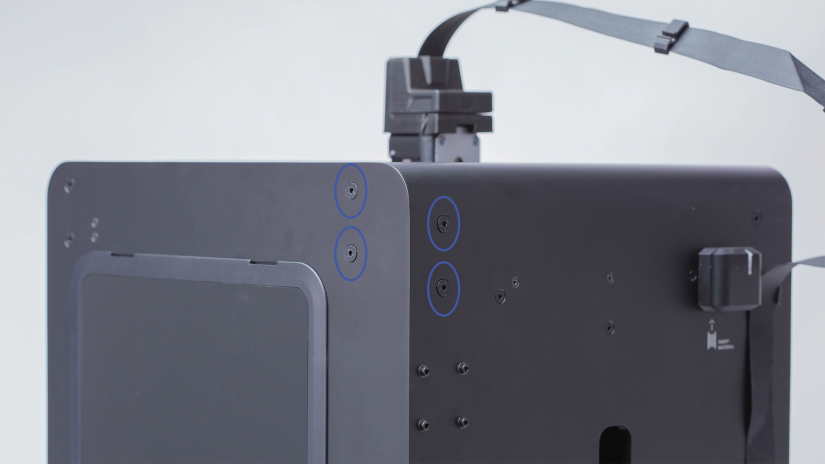
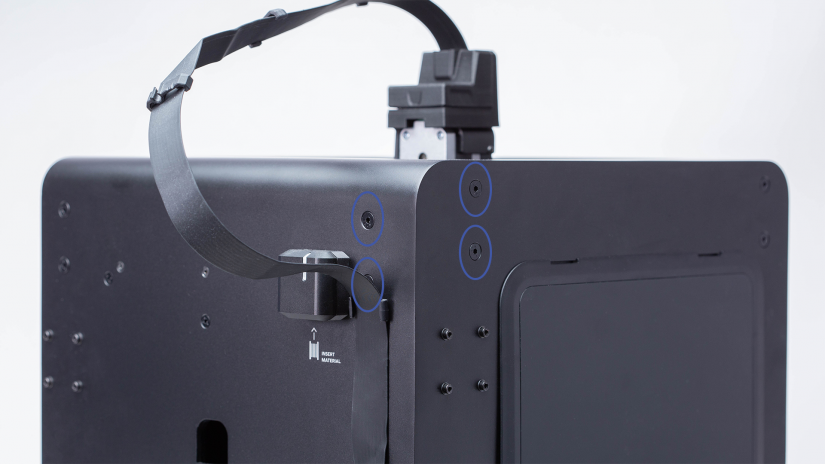
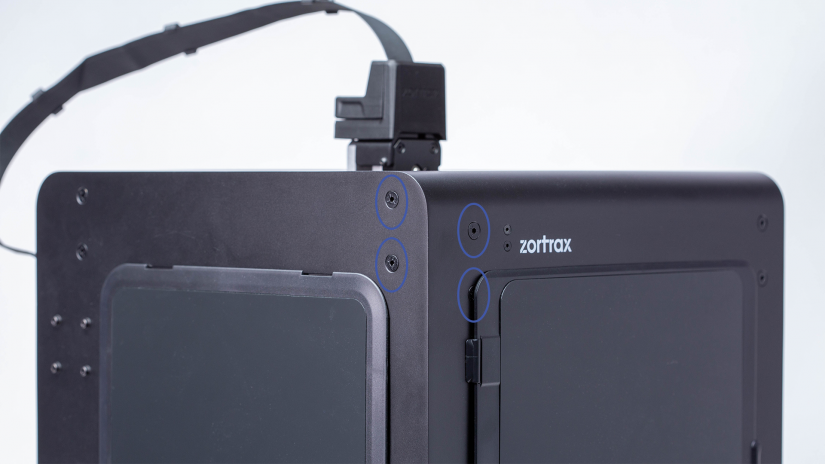
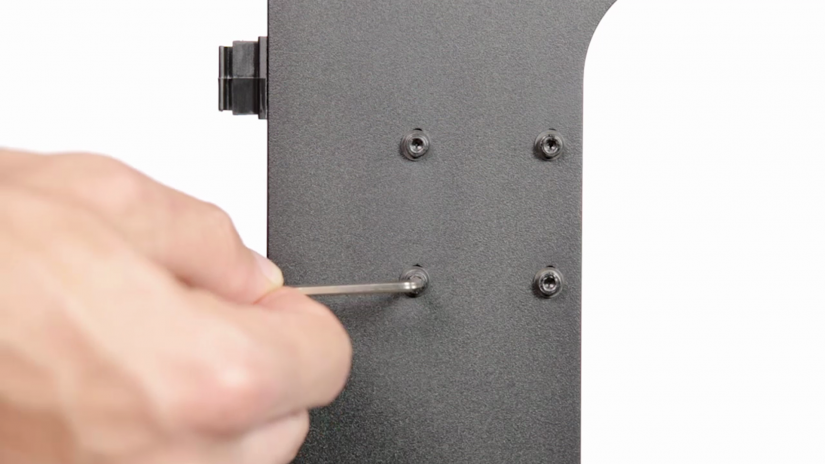
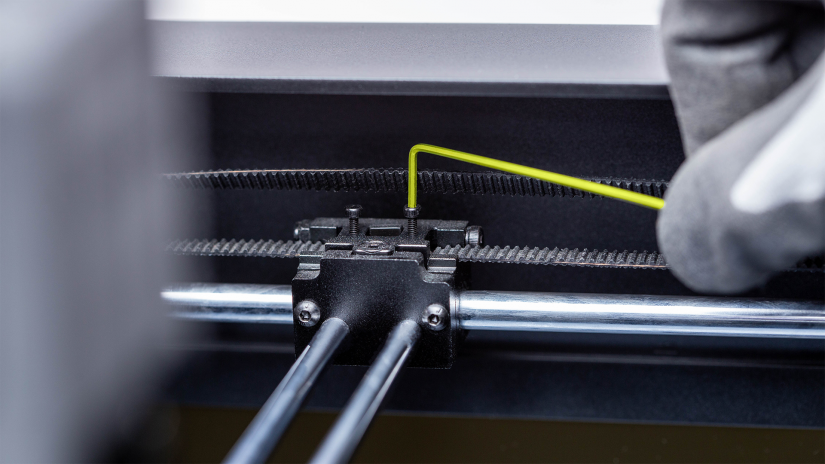
Loosen the sixteen screws that secure the self-aligning bearings in the printer’s housing (four screws in each corner of the printer).

4

Moving the Extruder

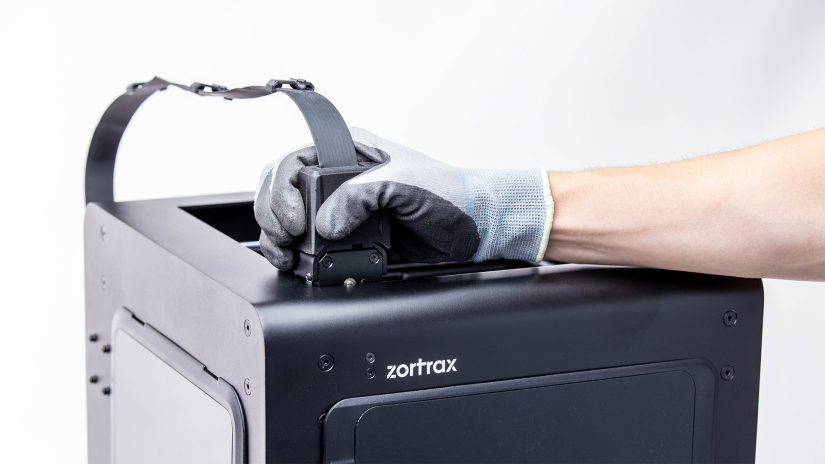
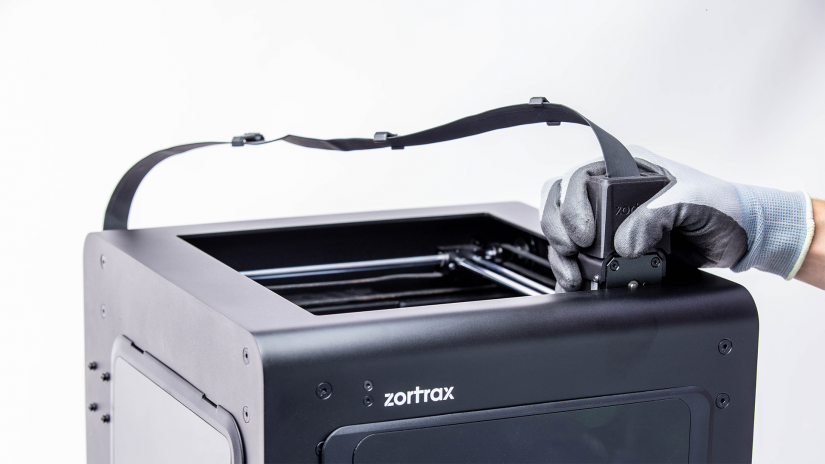
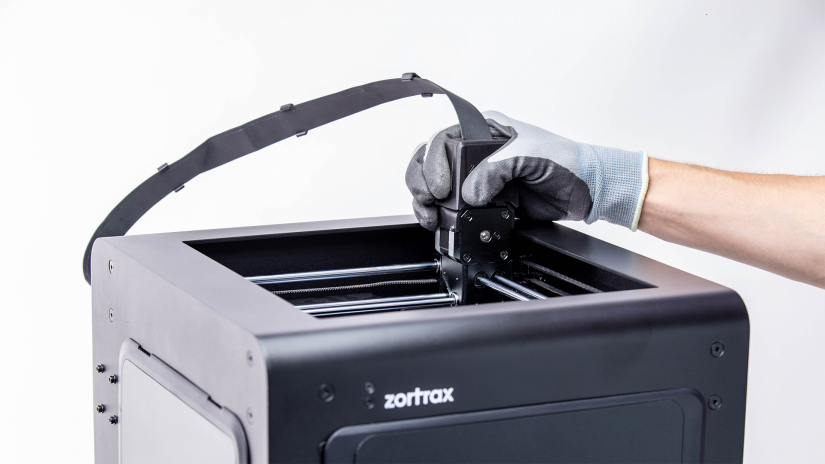
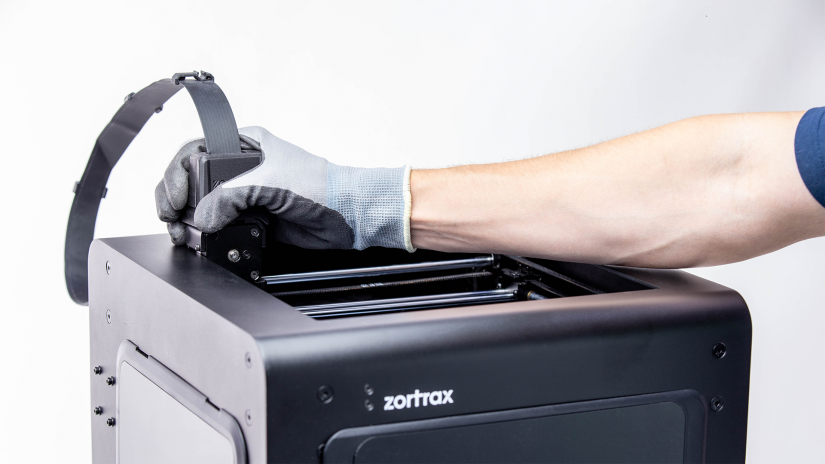
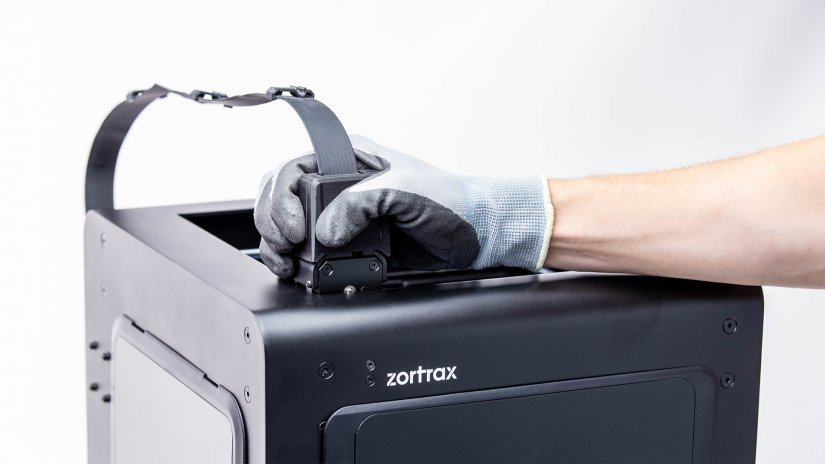
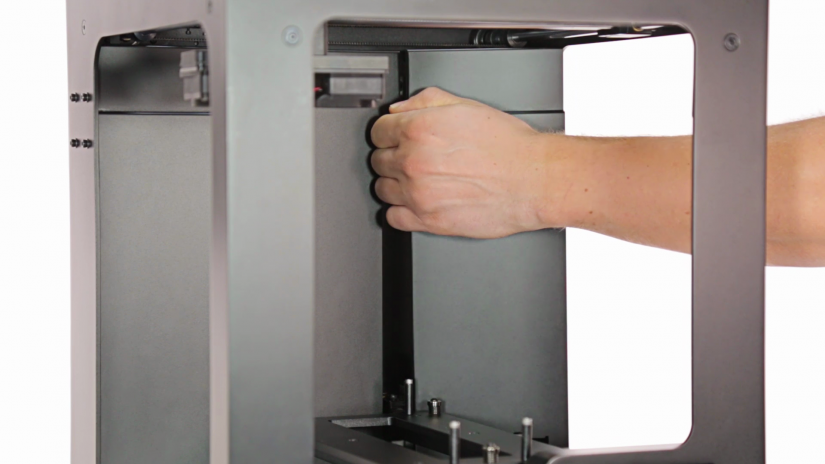
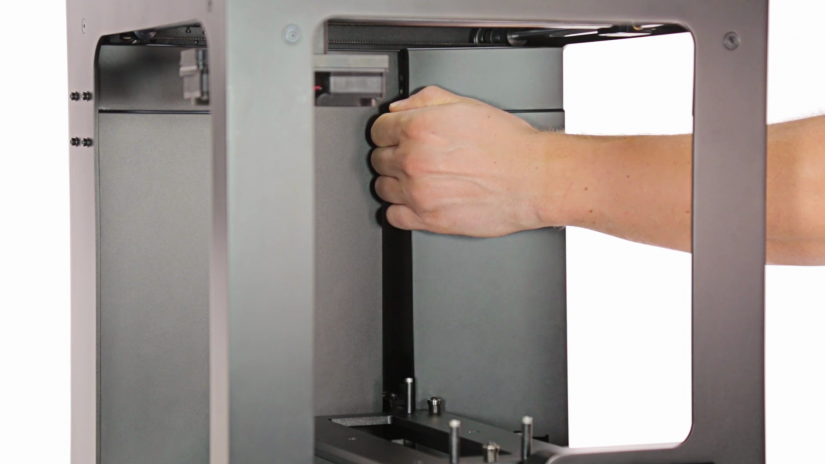
Grab the extruder and move it around the housing several times.

5

Tightening the Self-Aligning Bearings

Move the extruder manually to the front left corner of the printer and tighten the four self-aligning bearing screws. Then, follow the same steps with the rest of the corners.

6

Unscrewing the Z-Axis Cover

axes_maintenance_plus_9.png

Unscrew the four screws that secure the left and right parts of the Z-axis cover. Next, remove the two parts of the cover from the printer. Detailed instructions are available at: Z-axis cover replacement.

7

X/Y Axis Motor Maintenance

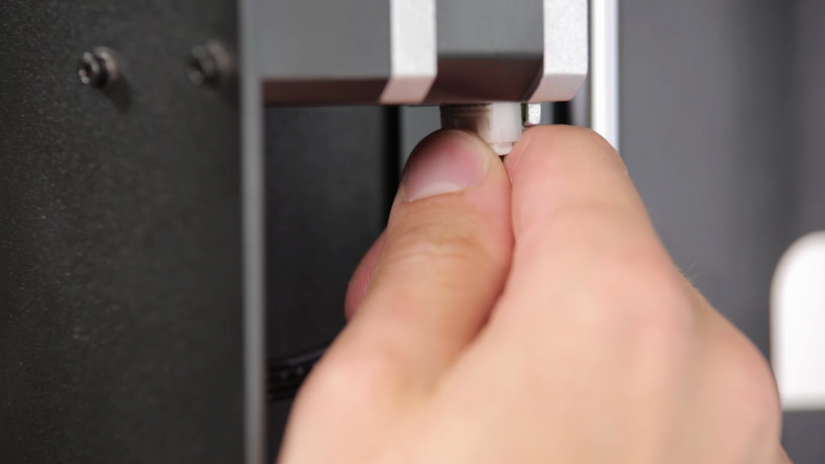
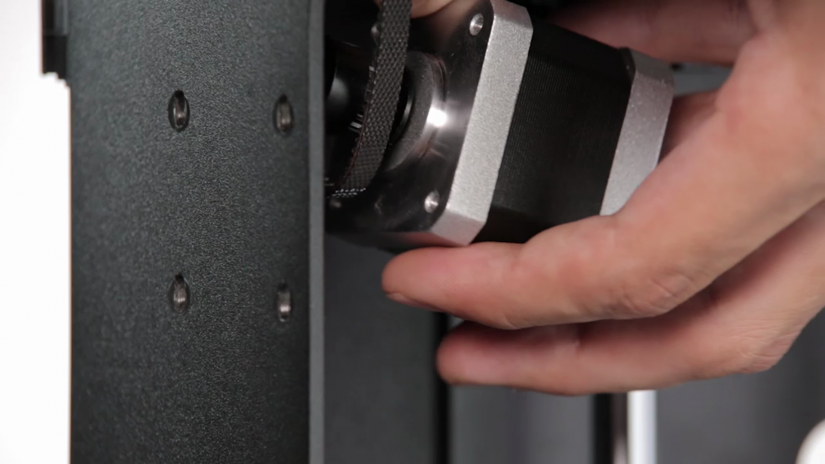
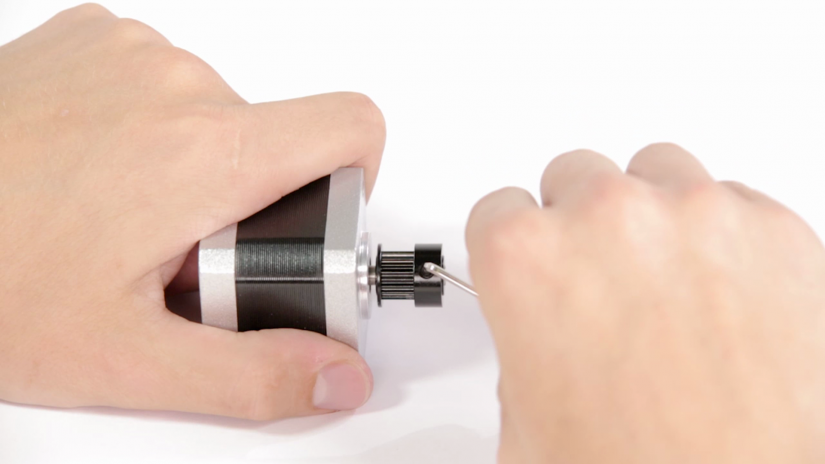
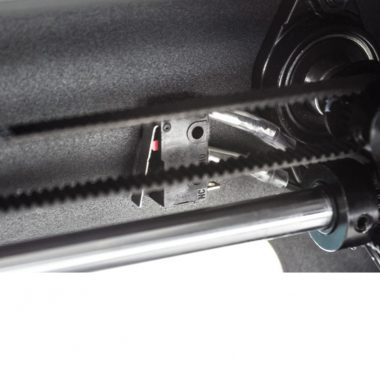
Unplug the X/Y axis motor cable. Next, unscrew the four screws that secure it in the printer’s housing and remove the motor. Tighten the two screws on the motor’s pulley. Then, install the motor back in the housing and plug the cable in.

8

Z-Axis Cover Installation

axes_maintenance_plus_11.png

Install the left and right parts of the Z-axis cover in the printer and secure them with the four screws.

9

Tensing up the Long Belts

Was this article helpful?

Yes No

Thank you for your feedback.

Arrow back Arrow up