Axes maintenance is a procedure that can help you resolve problems connected with the extruder’s movement and the quality of your printed parts. If the extruder does not move properly along the guide rails and it makes unusual noises, or the layers in your models become shifted (manual for shifted layers), the axes in your printer need maintenance work. Follow the steps from this manual to see the correct maintenance procedure.
Checking the Axes Using Jigs

Prepare the axes maintenance jigs (printable models are available to download: Jigs [1] and Jigs [2])
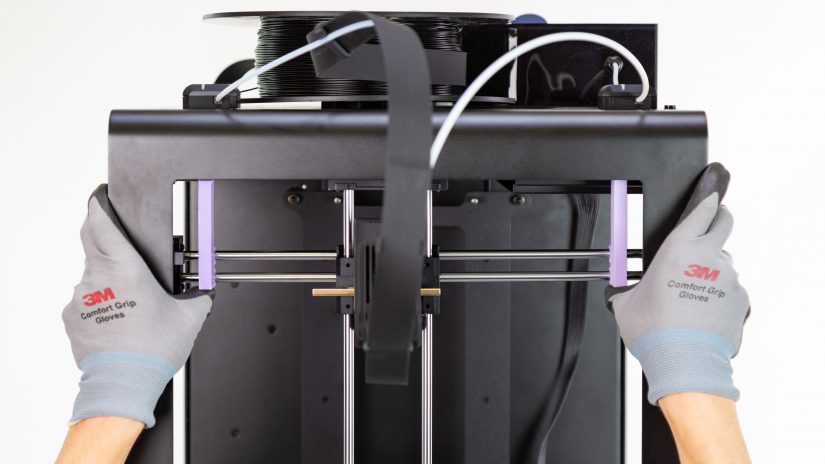
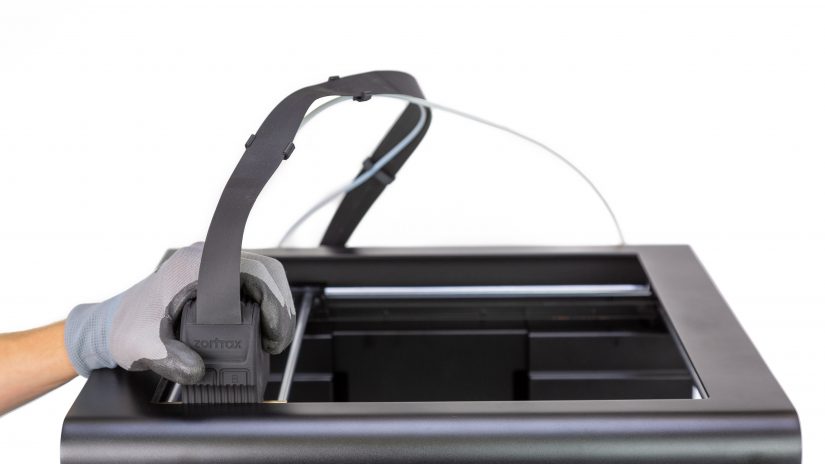
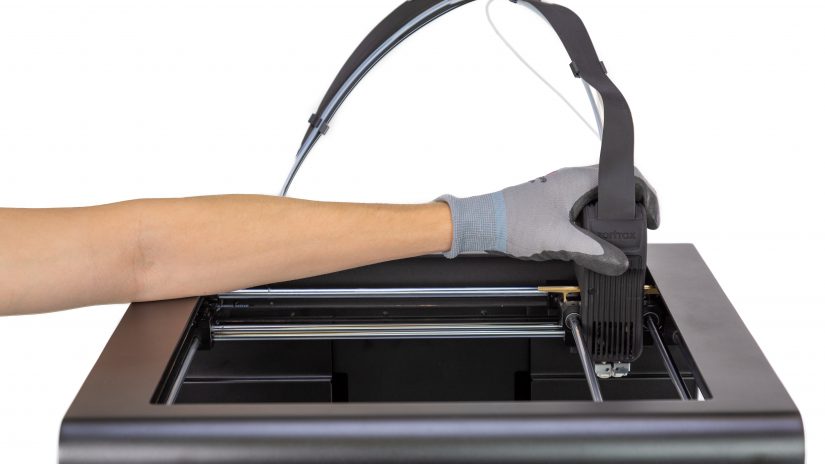
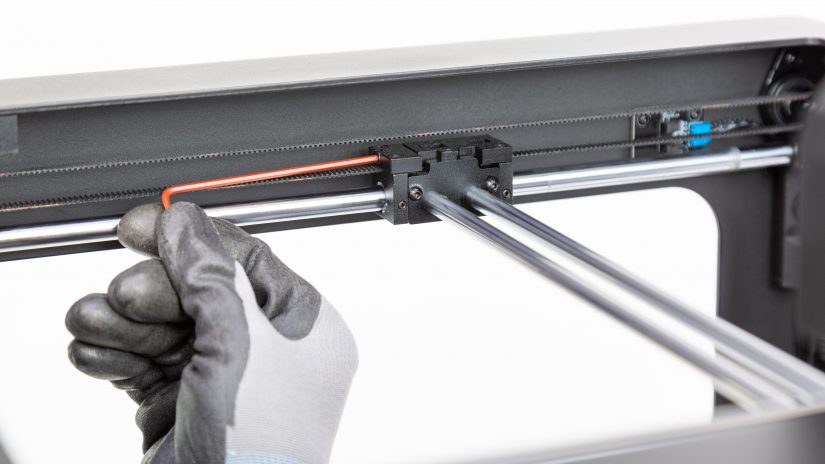
Put the jigs [1] on the extruder guide rails (see picture 1), and move the extruder manually so that the jigs are touching the X axis. This way, you will check if the extruder guide rails are parallel to the X axis.
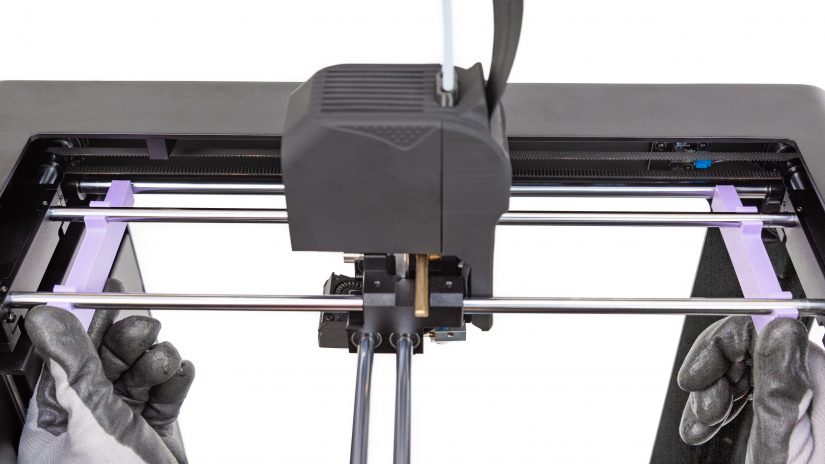
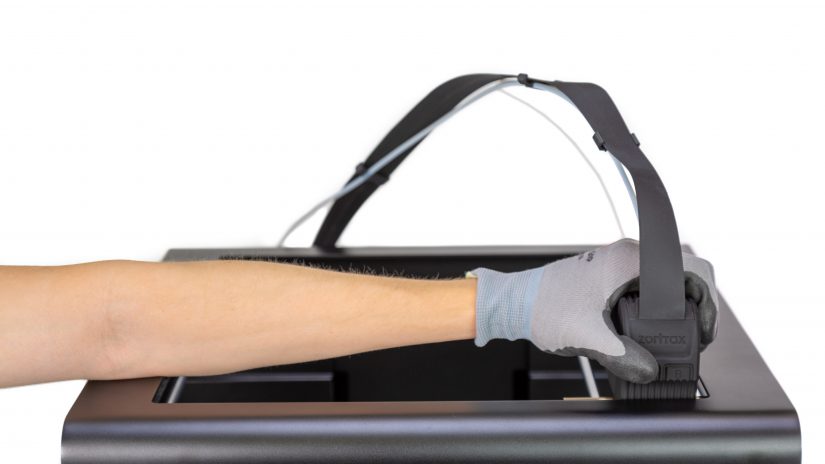
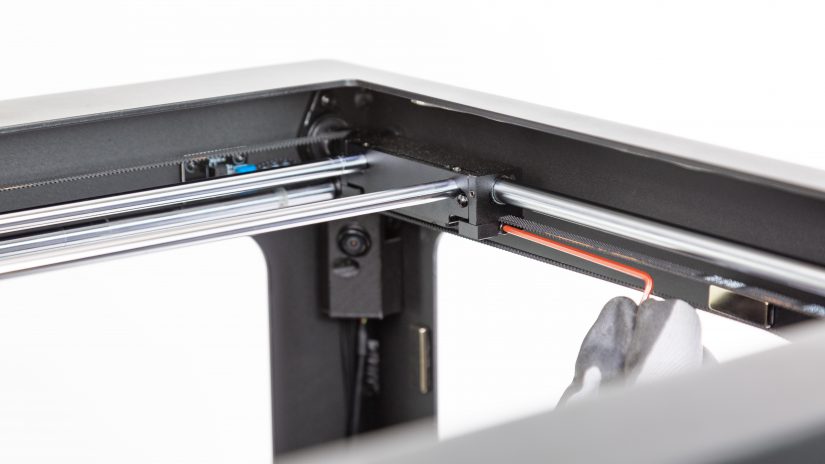
Next, put jigs [2] on the extruder guide rails (see picture 2), and move the extruder manually so that the jigs are touching the Y axis. This way, you will check if the extruder guide rails are parallel to the Y axis.
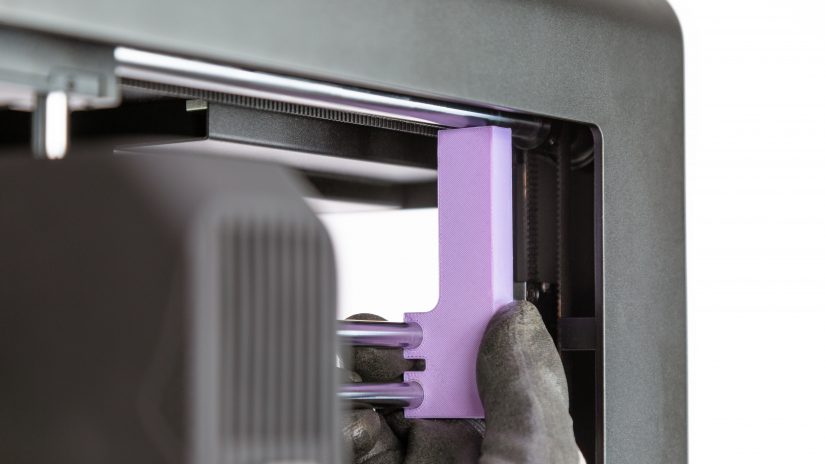
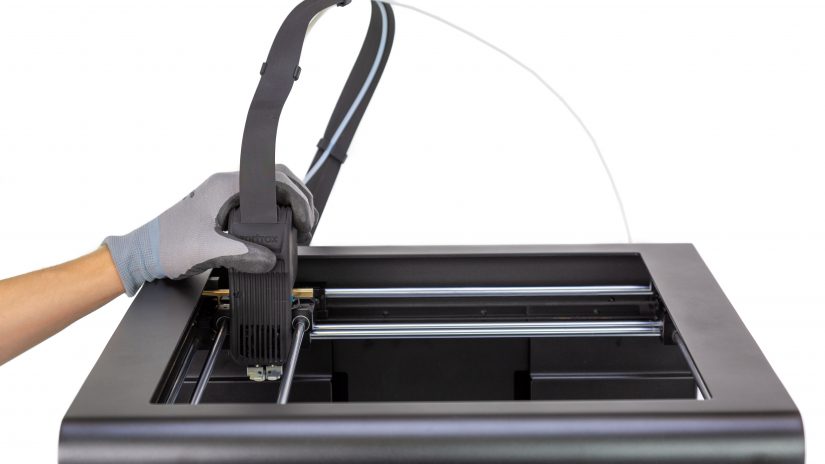
Both jigs have to touch the X/Y axis. If one jig doesn’t touch the axis (see picture 3), carry out the next steps from this manual.


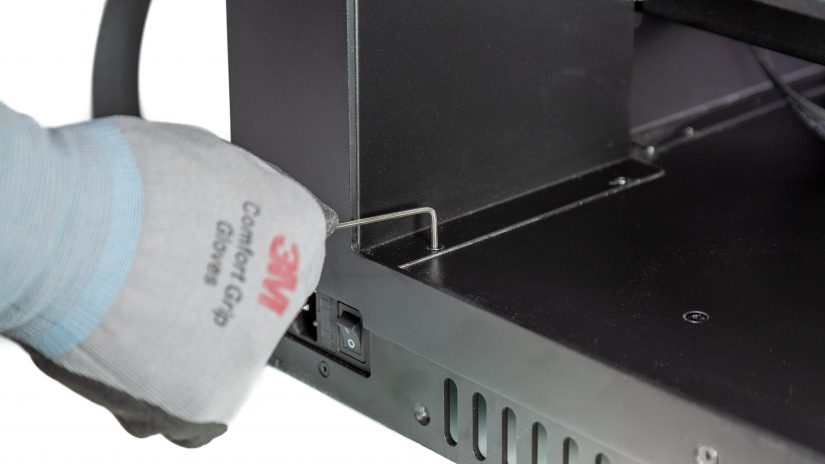
Unscrewing the Z-Axis Cover


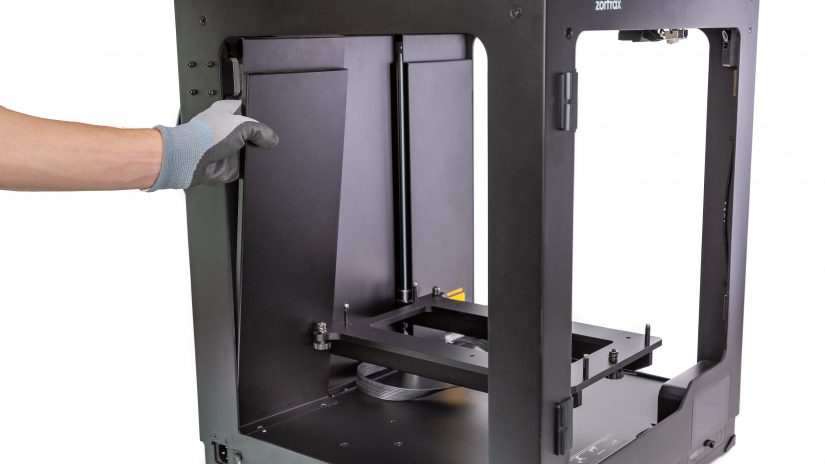
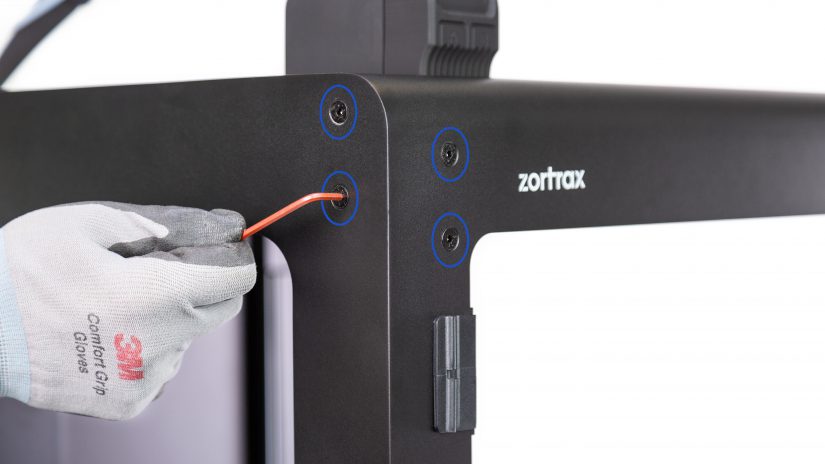
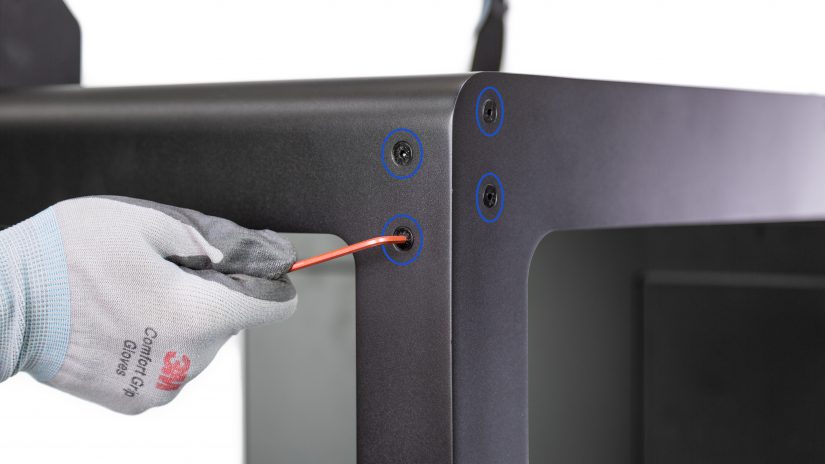
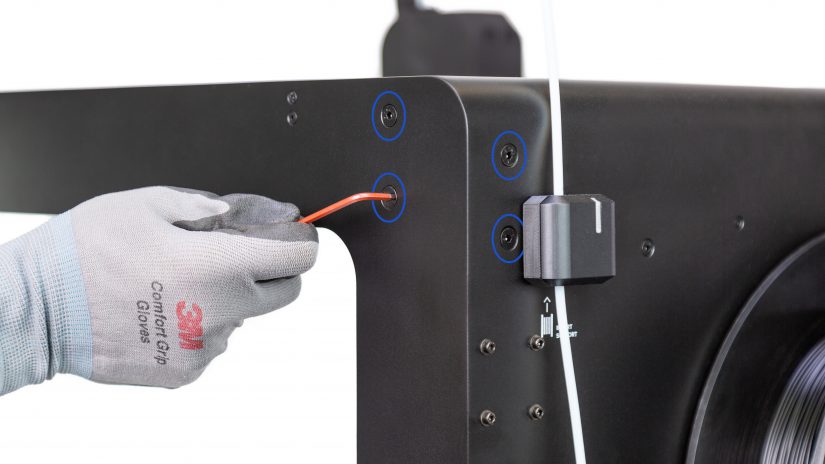
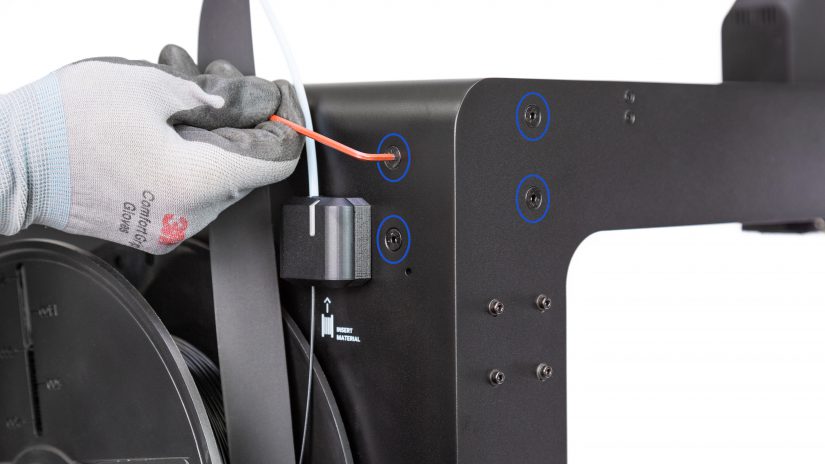
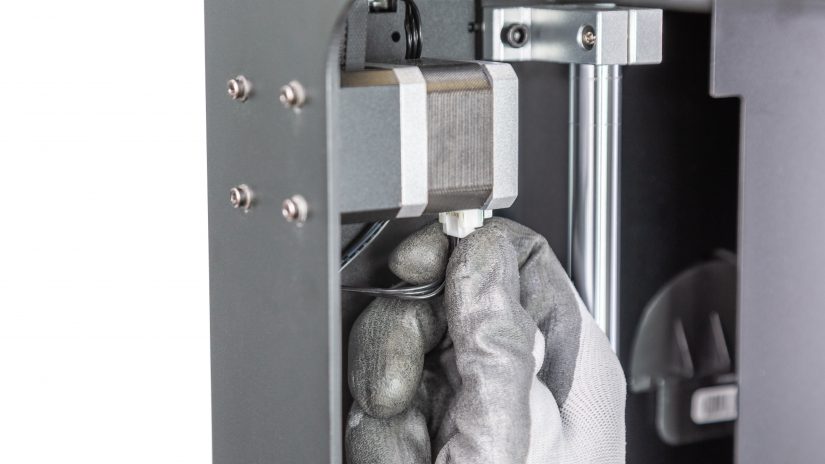
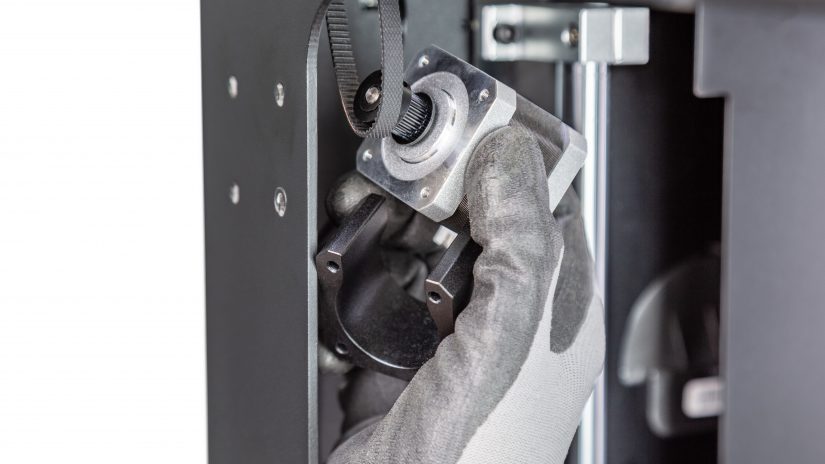
Unscrew the four screws that secure the left and right parts of the Z-axis cover. Next, remove the two parts of the cover from the printer. Detailed instructions are available at: Z-axis cover replacement.


