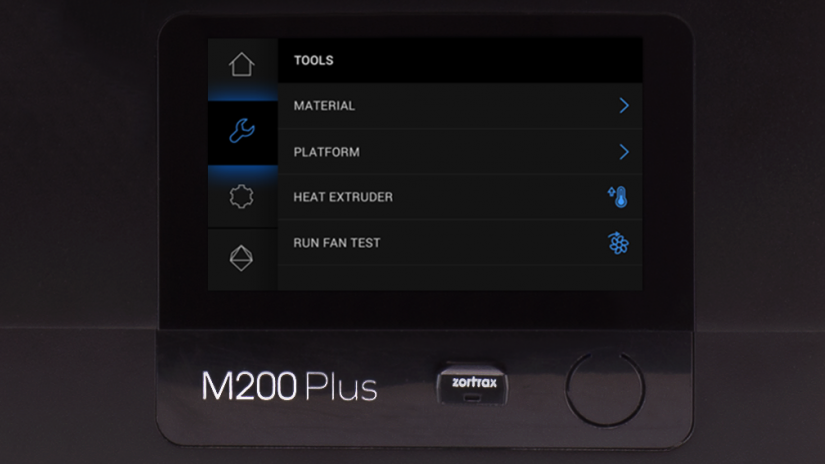
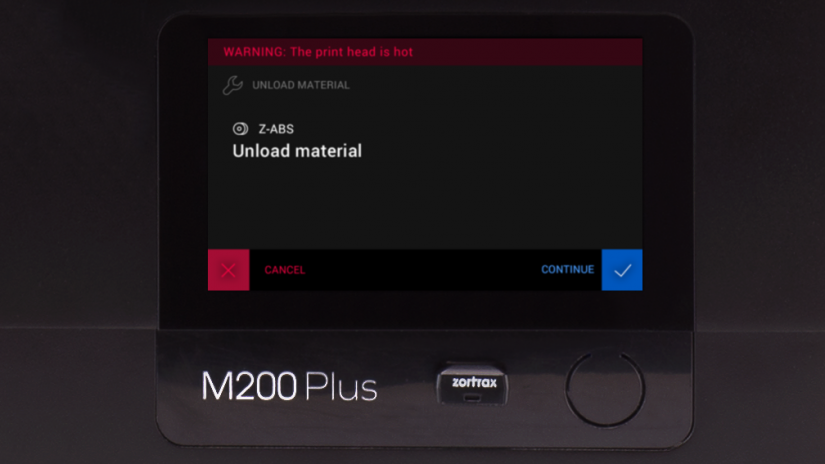
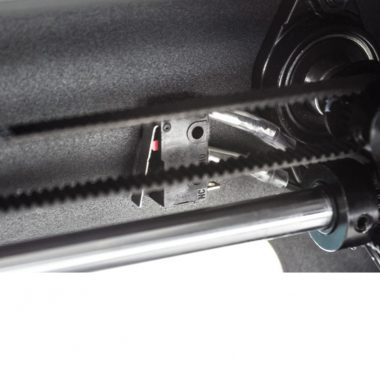
The material endstop is the device placed at the back of the printer, which detects the presence of material and reacts when it runs out. If during the printing process a spool of material is finished, the material endstop will automatically make the printer pause the printing and allow the user to load new material. If the material endstop in your device is not working properly, you should replace it. Follow the steps from this manual to carry out the replacement procedure.
| The following manual shows the M200 Plus repair work. For the M300 Plus, these procedures are the same. |
Unplugging the Power Cable
Turn off the printer and unplug the power cable.
Material Guide Removal
Remove the material guide from the material endstop.
Unscrewing the Material Endstop
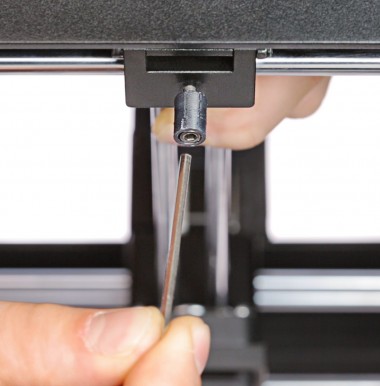
Unscrew one screw that secures the material endstop in the printer’s frame.
Material Endstop Removal
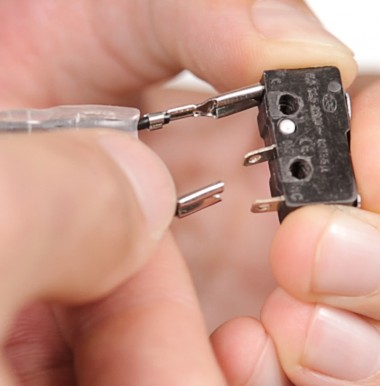
Remove the material endstop from the printer’s frame. Unplug the endstop cable.
Material Endstop Installation
Prepare the new material endstop and plug in the cable. Attach the endstop to the printer’s frame.
Securing the Material Endstop
Secure the material endstop with the screw.
Material Guide Installation
Attach the material guide to the endstop.
Plugging the Power Cable
Plug the power cable in.

