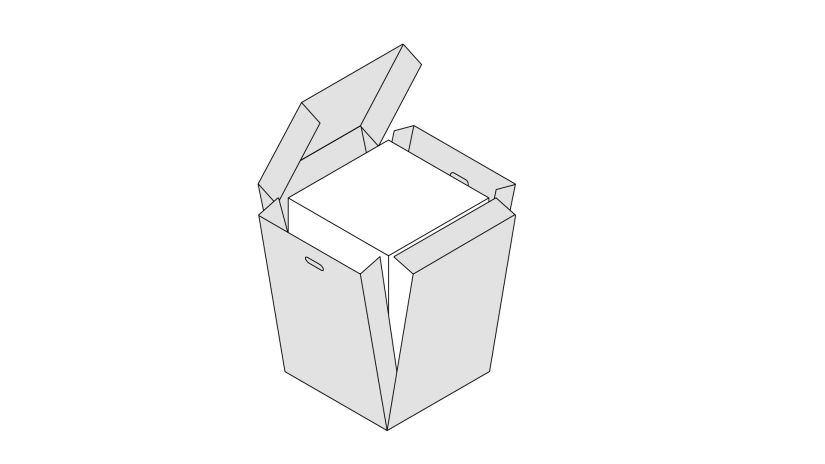
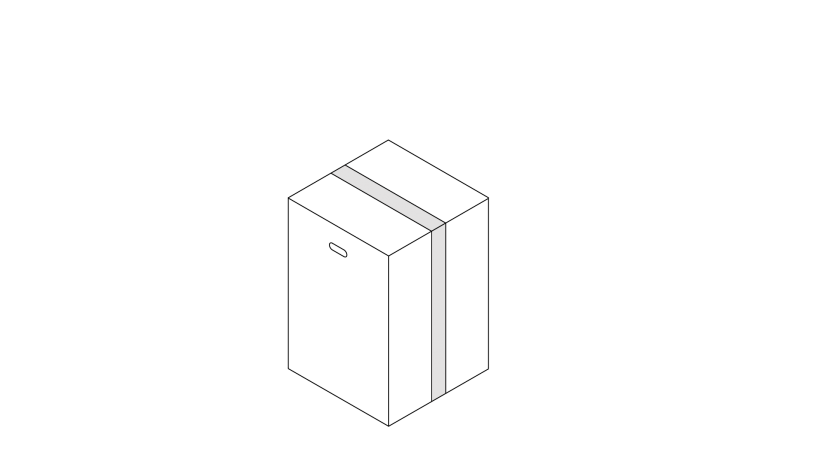
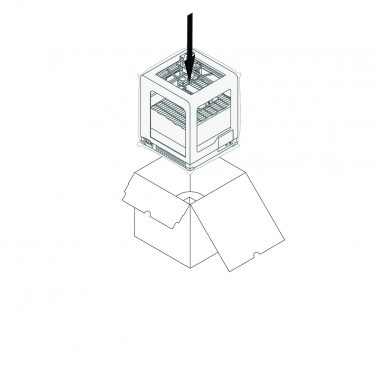
Before sending the M300 Dual to technical service, you have to unload the two materials and pack the device in the original packaging. The whole process requires care and attention as the fragile elements of the printer may get damaged during transport. The original shipping box has been designed to protect your equipment from risks connected to transport and storage. While preparing the package, carefully follow the steps from this manual.
| It is not required to send the printer together with the side covers because there is a risk that they can get damaged during transport. They are not necessary for proper servicing. |
Unloading the Materials
Unload the two material using the options from the menu. Select Tools and Materials. Next, select which material you want to unload first and click Unload. Then, remove the material from the material guide and the material endstop. Repeat these steps with the other material.
Packing
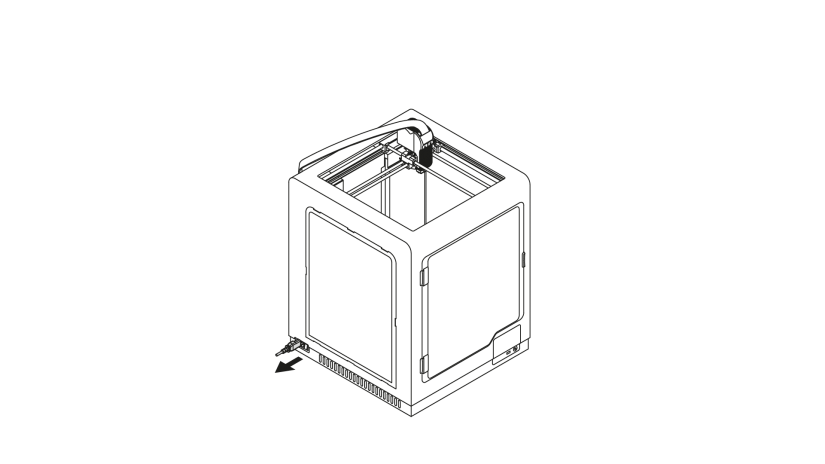
1. Turn the printer off and unplug the power cable.
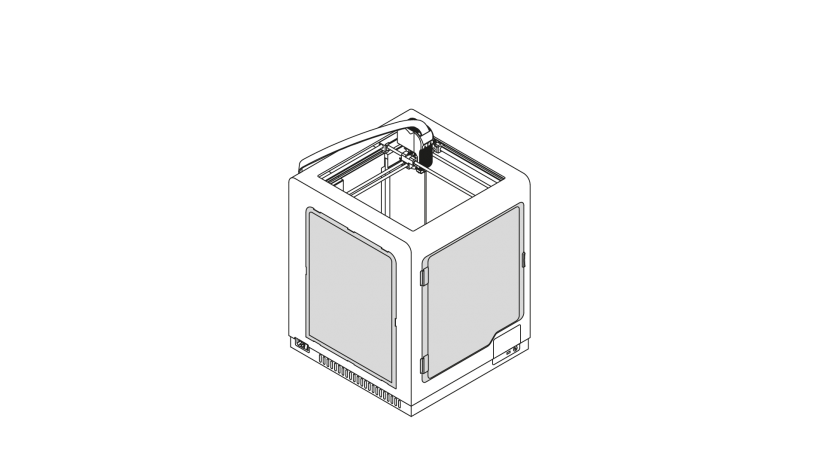
2. Remove the side covers.
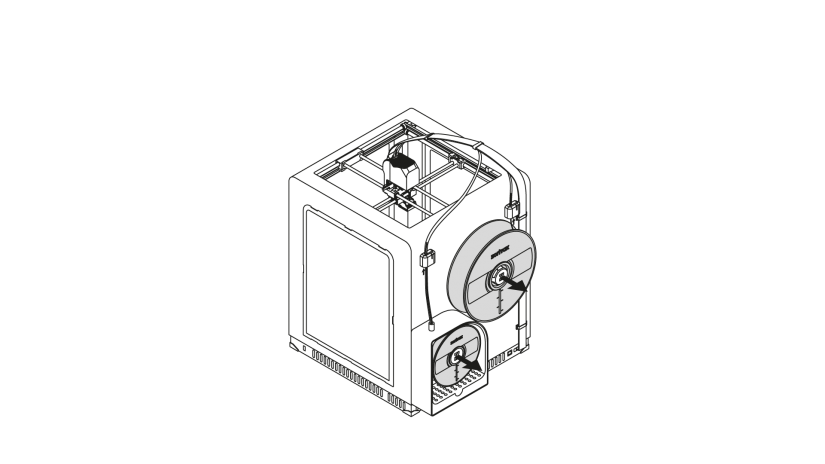
3. Remove the spools from the holders.
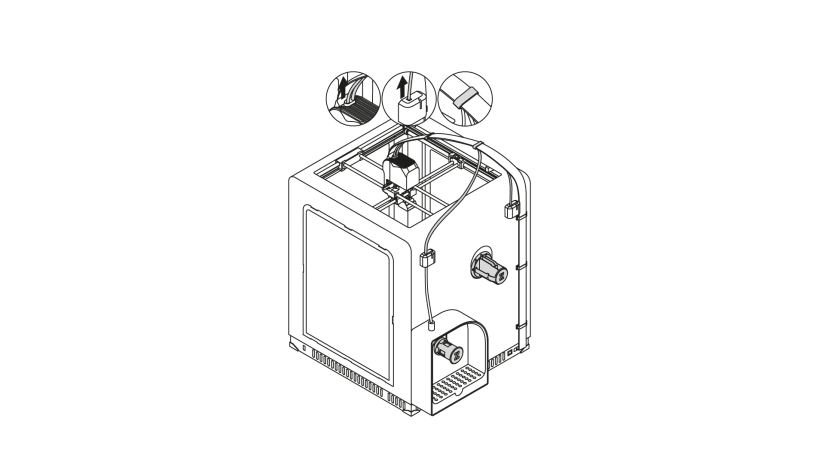
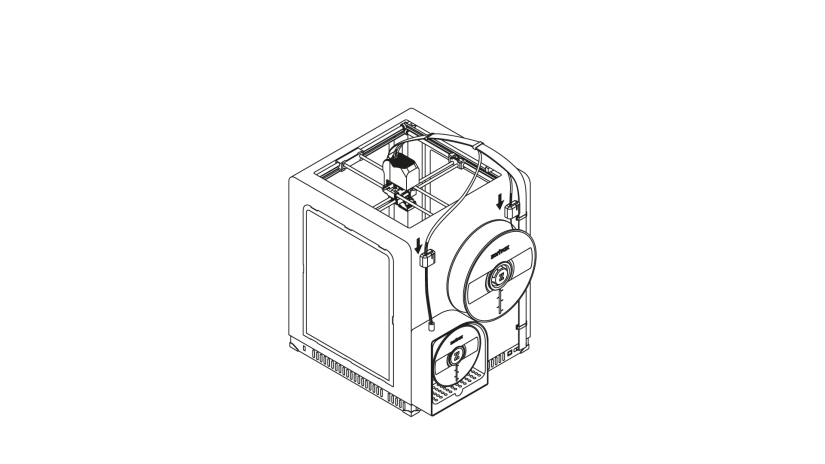
1. Remove the material guides from the extruder and the material endstops. Next, remove the spool holders.
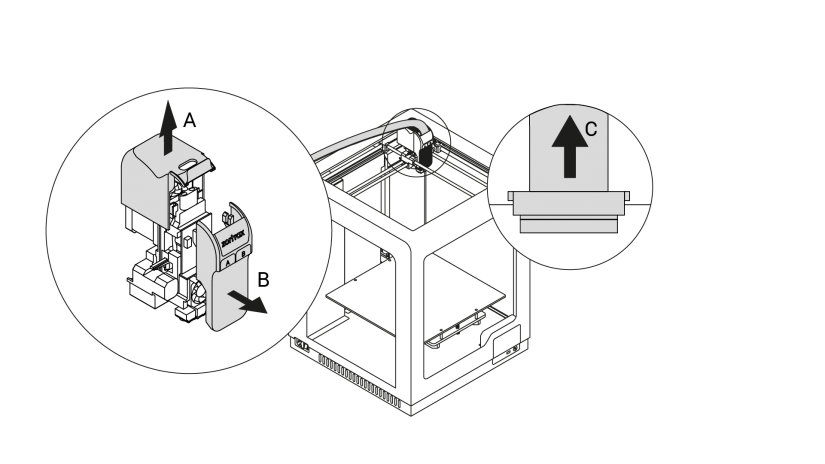
2. Remove the extruder top cover by pulling it upwards (A) and remove the front cover (B). Unplug the extruder cable (C). Place the front cover in its place and reattach the top cover.
1. Remove the material guides from the extruder and the material endstops. Next, remove the spool holders.
2. Remove the extruder top cover by pulling it upwards (A) and remove the front cover (B). Unplug the extruder cable (C). Place the front cover in its place and reattach the top cover.
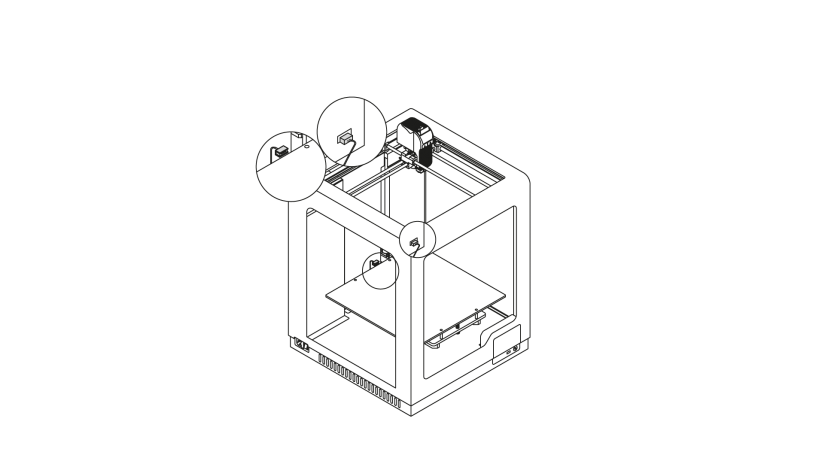
3. Unplug the heatbed cable from the platform and the adapter placed in the Z-axis cover.
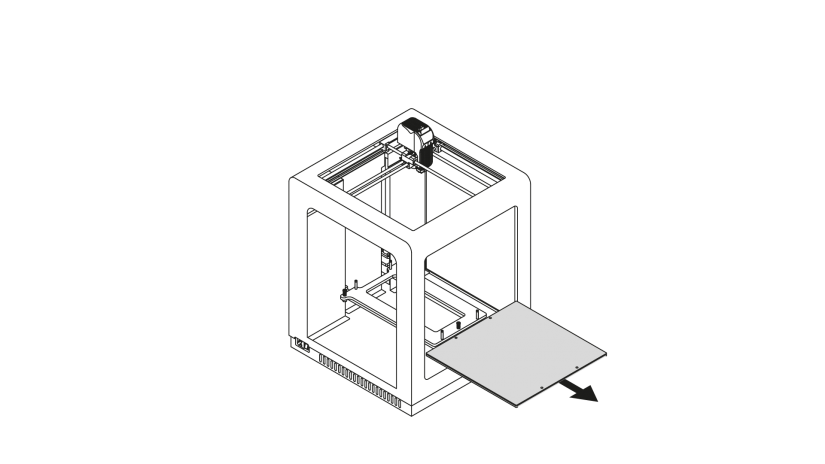
1. Remove the platform from the printer.
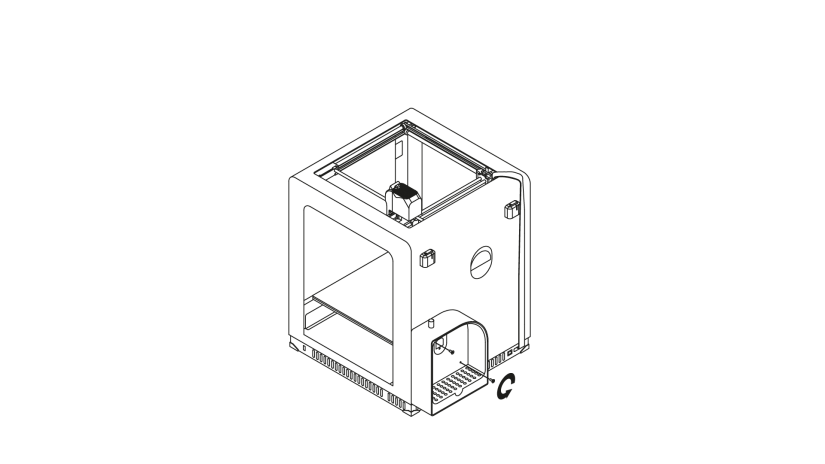
2. Unscrew the screw that secures the material box at the back of the printer. Remove the box.
Note! You don't have to send the printer with the material box. It is not necessary for proper servicing.
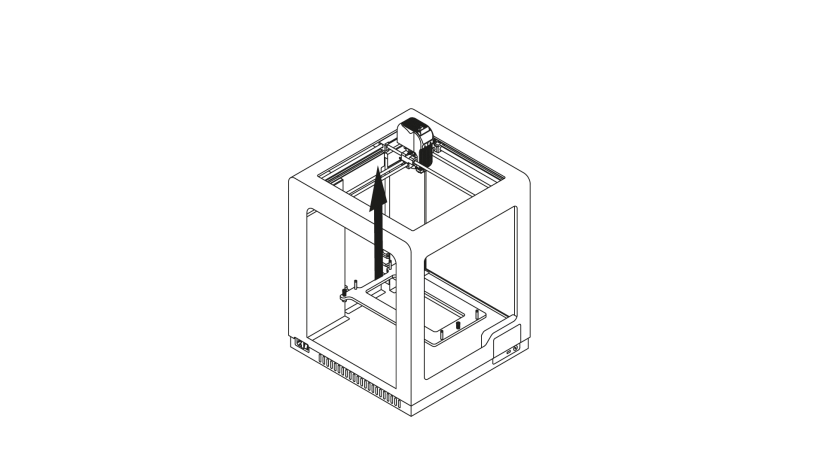
3. Lift the heatbed mount.
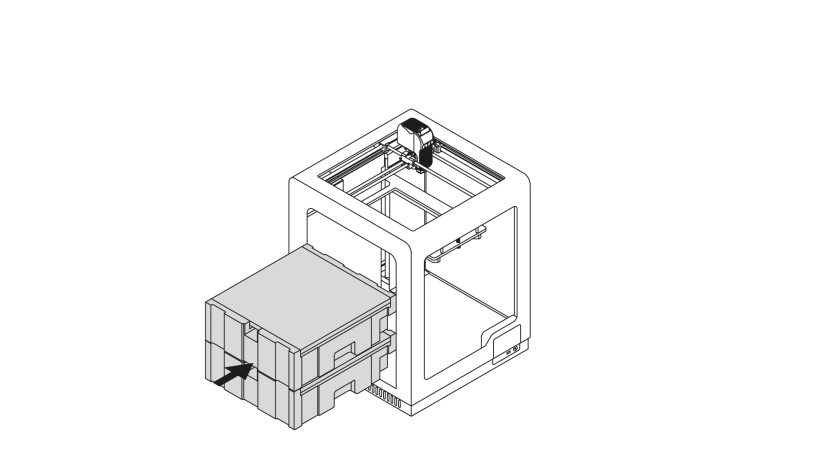
1. Put the platform into the accessories box and place the box on the bottom of the printer.
Put the printer's accessories in the foam and put the foam on the Starter Kit box inside the printer.
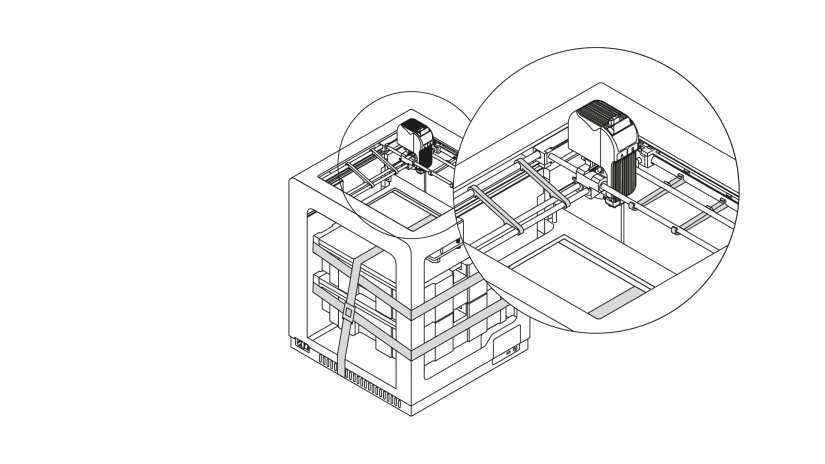
2. Move the extruder manually to the back right corner of the printer. Then, secure the extruder with the shipping clips.
Next, secure the foam and the Starter Kit box with the belts.
1. Put the platform into the accessories box and place the box on the bottom of the printer.
Put the printer's accessories in the foam and put the foam on the Starter Kit box inside the printer.
2. Move the extruder manually to the back right corner of the printer. Then, secure the extruder with the shipping clips.
Next, secure the foam and the Starter Kit box with the belts.
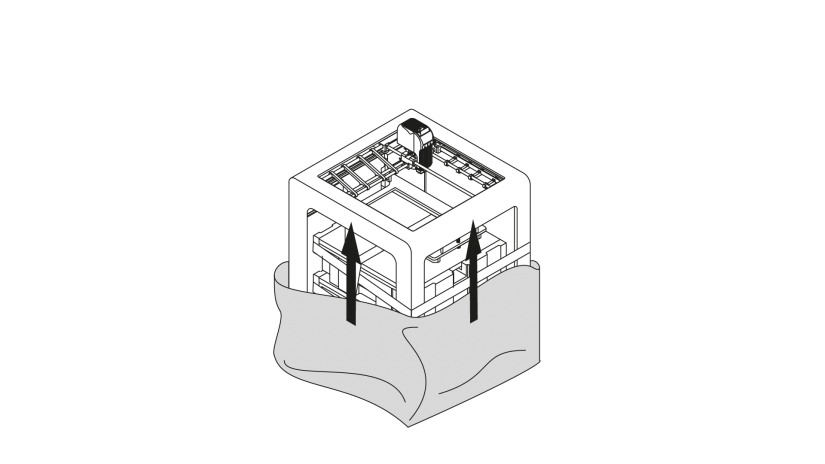
3. Wrap the printer in foil.
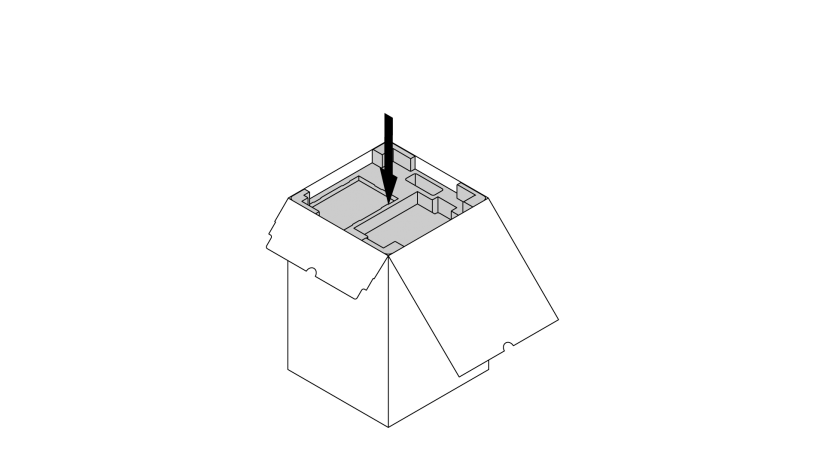
1. Place the cushioning at the bottom of the box.
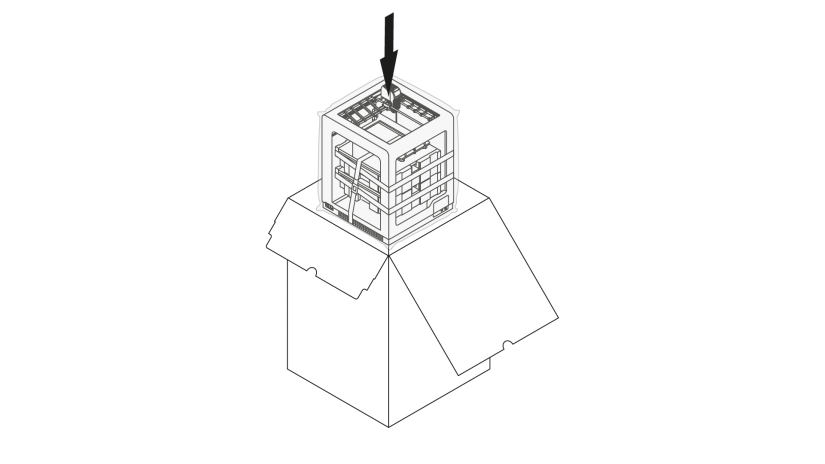
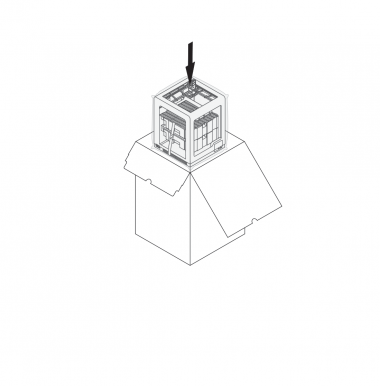
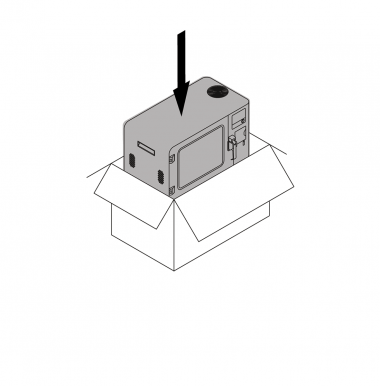
2. Place the printer on the bottom cushioning inside the box.
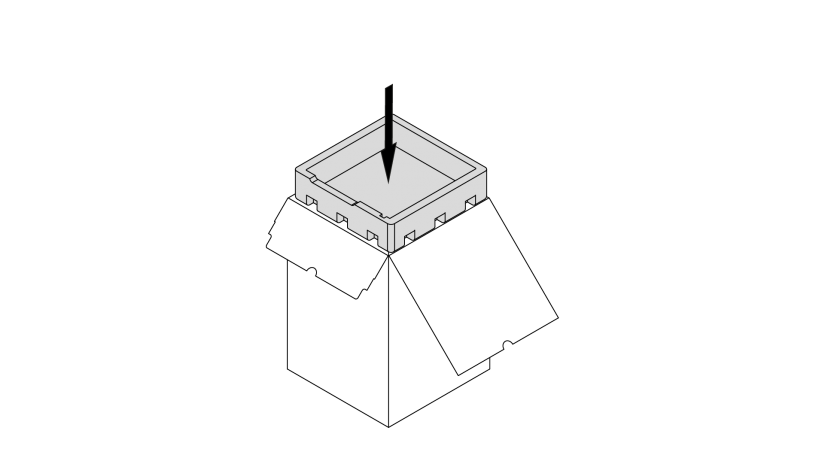
3. Place the top cushioning on the printer so that the cushioning fits the extruder.

