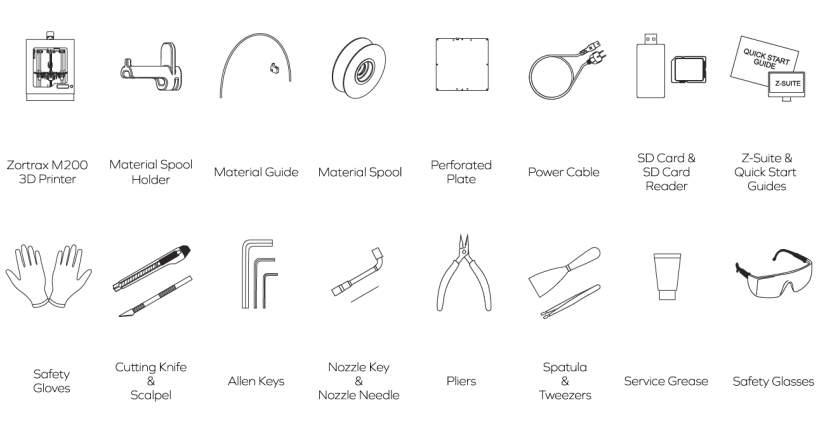
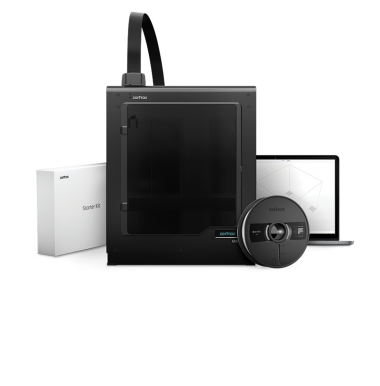
Preparing your printer before the first use is important to ensure proper functioning of the device and making the whole printing process easier. The following steps show how to properly unpack and set up the machine. This article also shows how to install the firmware and software as well as how to carry out the platform calibration procedure.
Preparing the Printer for Work
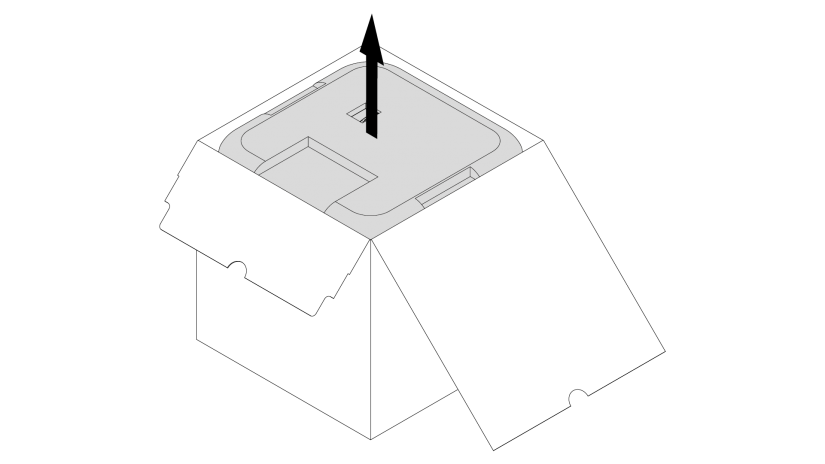
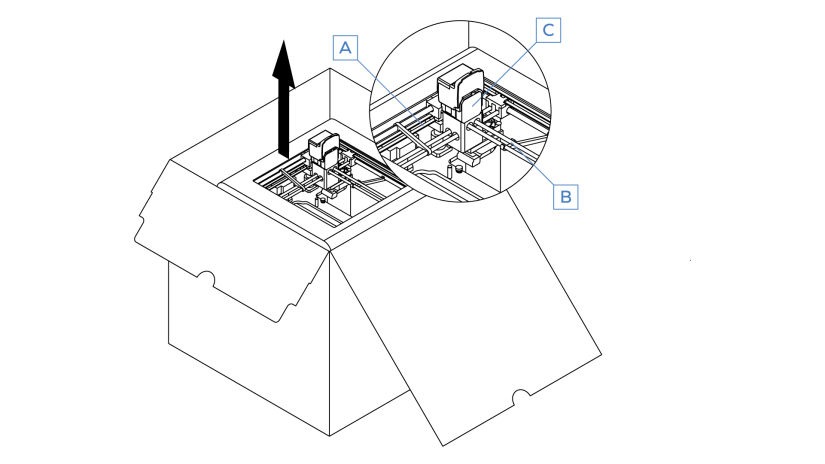
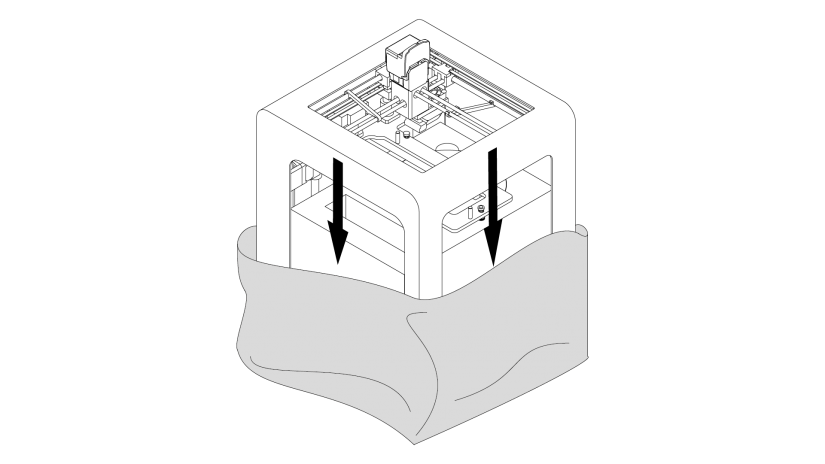
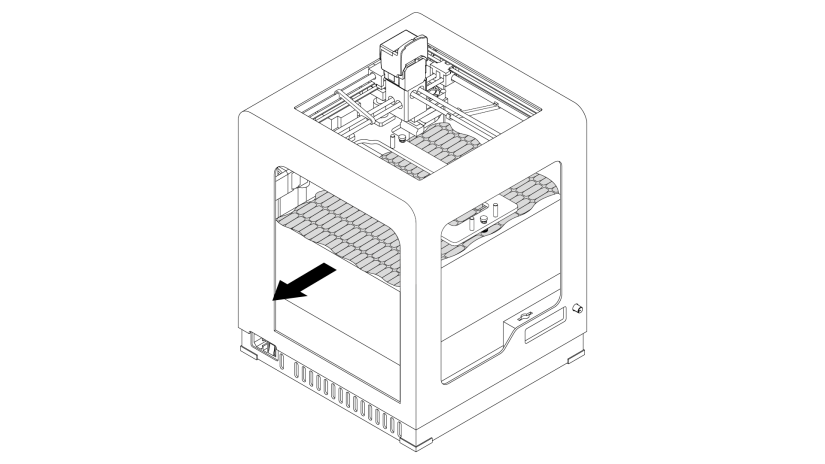
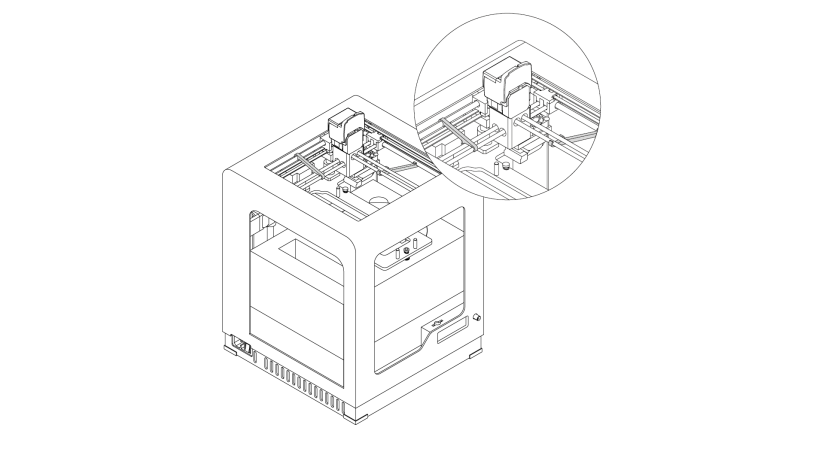
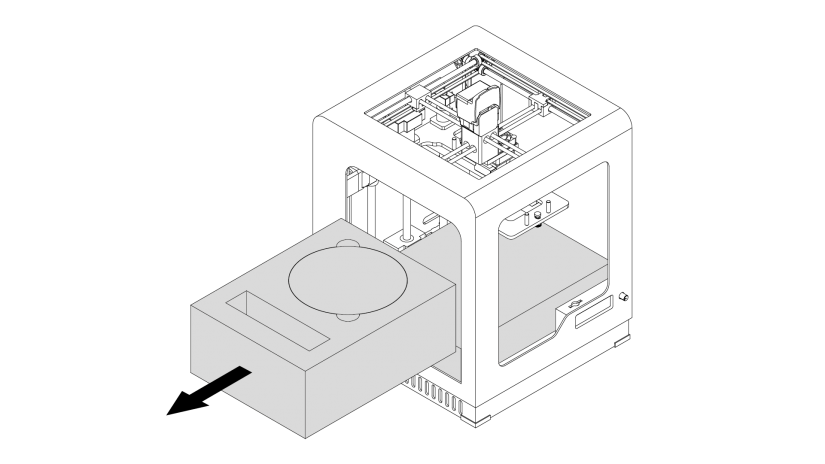
Take the 3D printer out of the box. When lifting or moving the printer, do not grab:
- belts
- shipping clips
- extruder
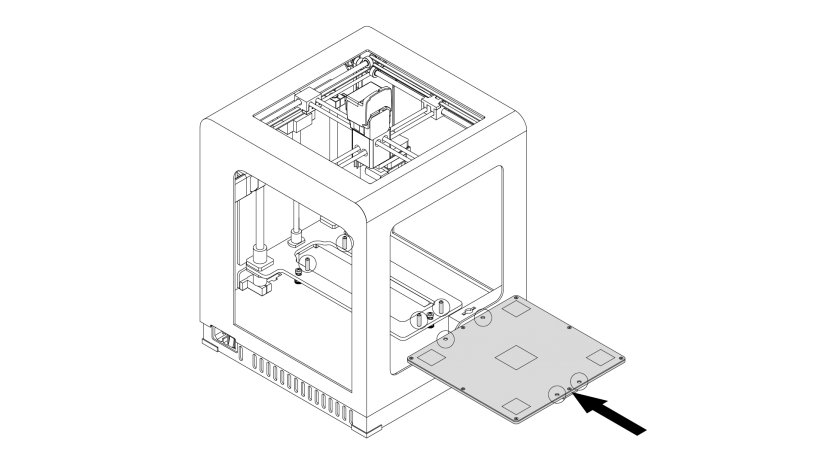
Install the build platform onto the bolts marked in the picture.
If you have any doubts during installation, take a look at the manual Platform Installation.
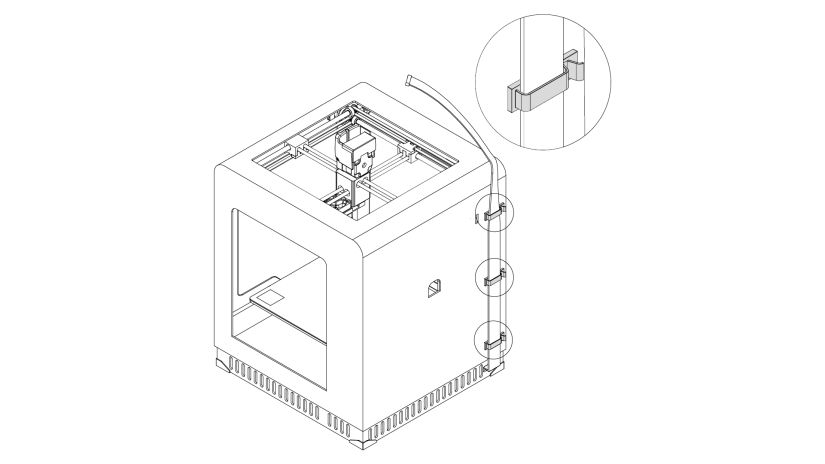
Stick the extruder cable clamps on the back of the printer. The upper clamp should be attached at 80 mm from the top of the printer and the bottom clamp at 90 mm from the bottom of the printer. Place the extruder cable in the clamps.
Place the material spool onto the spool holder. The spool should rotate anticlockwise. Feed the material into the extruder through the material guide.
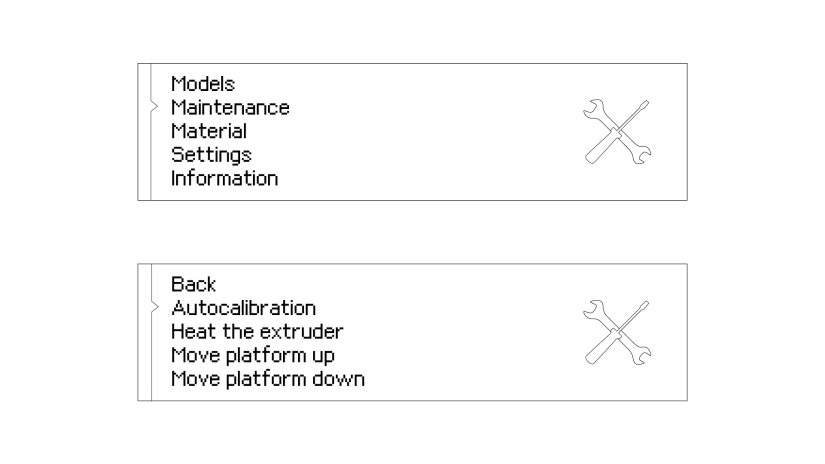
To calibrate the platform, select “Maintenance” and then “Autocalibration” from the menu.
Follow the instructions displayed on the screen.
For more details on calibration, see this video manual.
Firmware Installation
Download the latest update of firmware at Zortrax Support in the Downloads section.
To install the firmware, copy the Update.bin file to an SD card, insert the card into the printer and turn on the machine.
The firmware updates automatically.
Z-SUITE Software Installation
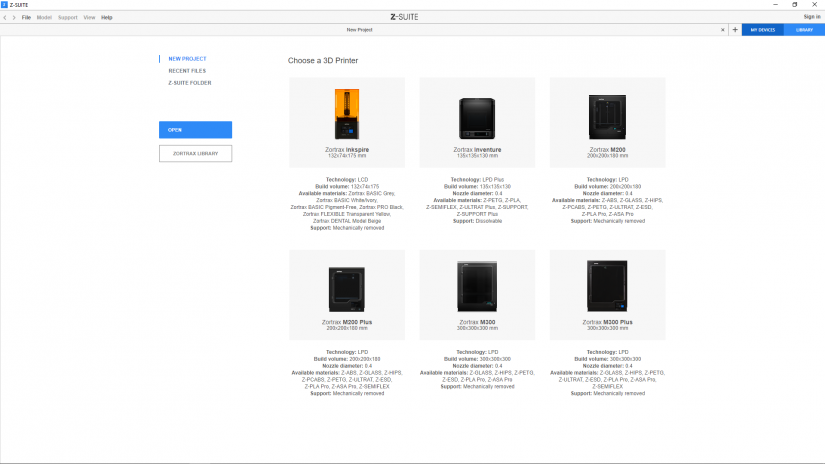
The latest Z-SUITE version can be found at Zortrax Support in the Downloads section.
To install the Z-SUITE, you need the serial number of your printer. To find this number, go to “Information” option in the menu and choose “Serial Number.”
Loading the Material
Select the “Material” option from the menu. To load the material, select the “Load the material” option.
When the display shows the message “Insert new material,” insert the end of the material into the extruder and push the knob.
Once the M200 finishes loading the material, it is ready to print. Remove the material remains using tweezers.
First Print
Insert the SD card with the models stored on it into the printer. The models should be saved in the main folder.
To choose the model for printing, select the “Models” option from the main menu.
Select the model in the .zcode format file and confirm by pushing the knob.
The printing procedure will begin automatically.
The display will show information about the extruder heating level. Once the heating has been completed, the M200 will start printing. The bar on the display shows the progress of the print.

