The firmware is a form of software programmed into the Zortrax printer, which controls and monitors all the data in the device. It also gives the possibility to enable/disable the printer’s options. Also, whenever there is a technical issue, the firmware immediately informs you about it by displaying an error message. The whole list of firmware error messages, together with the possible causes and solutions, is available here.
We systematically update our firmware – all updates are available here. Simply download the latest version, upload the file on the SD card, insert the card into the slot in the printer and turn on the printer. The firmware will be automatically installed in the printer. Remeber to check zortrax.com for updates.
INSTALLING FIRMWARE IN THE PRINTER
- Download the latest firmware update from the Downloads section.
- Copy the file to an SD card.
- Insert the SD card to a card slot in the printer and turn on the printer.
- Your firmware will be automatically installed in the printer.
| Remember to check zortrax.com for updates. Follow our Blog and sign up for our Newsletter. |
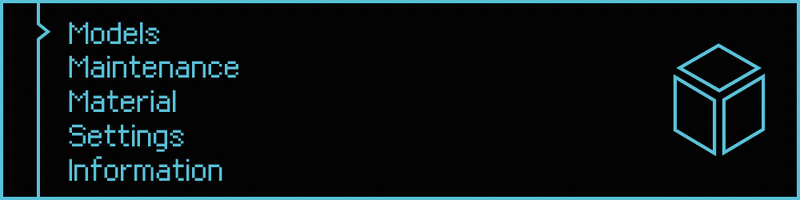

Maintenance
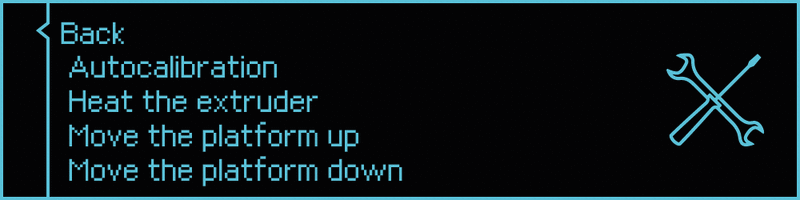
The maintenance section lists all the tools dedicated for keeping the printer in good condition.
- Back– Goes back to the menu
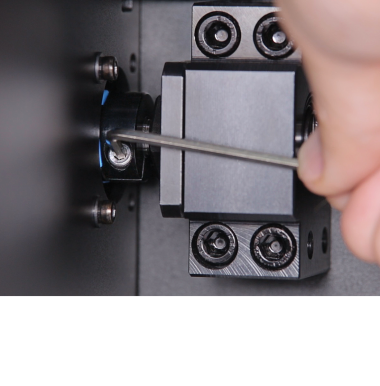
- Platform autocalibration – this option enables the platform to be precisely calibrated
| NOTE: Autocalibration must be performed every 100 working hours and before every longer print. |
- Heat the extruder – an option which heats up the hotend to working temperatures
| WARNING! As soon as the heating begins, the hotend gets very hot. Do not touch it. |
- Move the platform – Use this option to lift/lower the platform
Material

There are two options which are very useful during the printing process.
- Back – Goes back to the menu
- Unload the material – Use this option to change the material. Once the hotend heats up, the extruder will start to withdraw the material
| WARNING! The hotend gets very hot while unloading the material. Do not touch it. |
- Load the material – Use this option to change the material. Once the hotend heats up, the extruder will start to load the material
| WARNING! The hotend gets very hot while unloading the material. Do not touch it. |
Settings
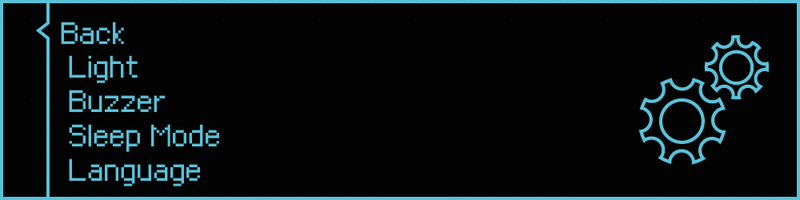
This section enables changing the printer’s settings and adjust its operation to your requirements.
- Back – Goes back to the menu
- Light – Turns the light on and off
- Buzzer – Turns the buzzer sounds on and off
- Sleep mode – Turns the Sleep Mode on and off
- Language – Shows the menu for language selection
Pausing a Print
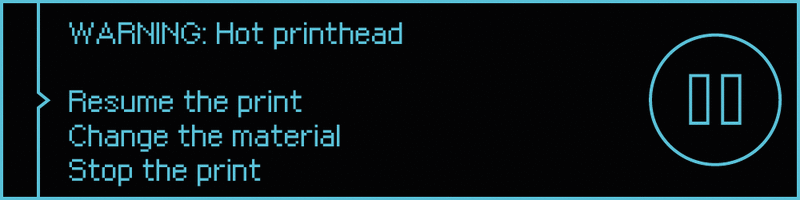
You can pause a print manually at any point of the printing process.
Press the knob for 10 seconds to pause the print.
Once you pause the print, additional options will appear on the display:
- Resume the print – Resumes the printing process
- Change the material – Unloads the material in order to load another one
- Stop the print – Cancels the printing process
