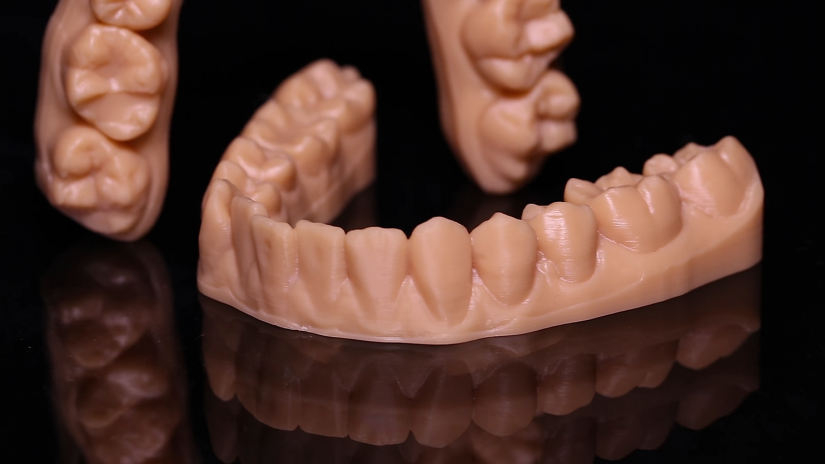
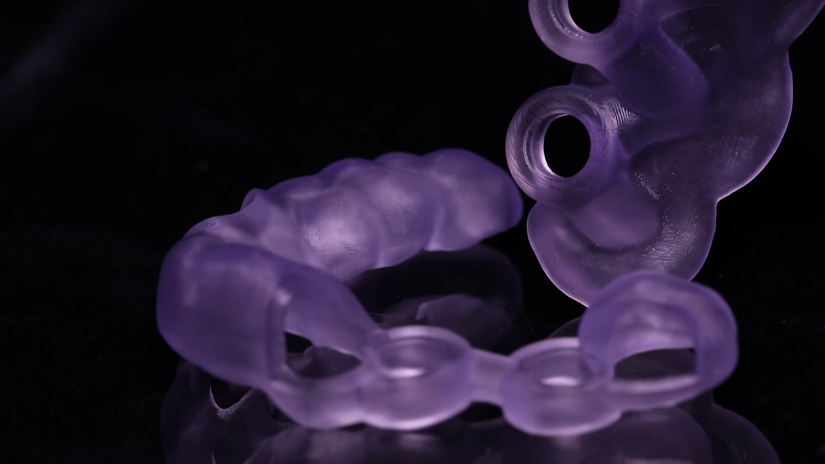
From the 2.15.0 Z-SUITE update, it is possible to print with resins delivered by Dreve. The update includes printing profiles for FotoDent® model and FotoDent® guide resins, which are suitable for dental applications. The FotoDent model resin can be used in orthodontics and prosthetics, allowing users to produce stable models resistant to moisture and abrasion. The FotoDent guide resin is dedicated for printing biocompatible dental drill guides with high dimensional accuracy. This article provides details about the resins’ features and instructions for the printing process.
FotoDent® model
Properties
- Flexular strength – ≥ 85 MPa
- Elongation at break – > 11 – 15 %
- Flexural modulus – ≥ 1750 MPa
- Hardness – 80 – 85 Shore D
- Viscosity – 0.8 – 1.2 Pa*s
Instructions for Printing
- Shake the bottle with resin approximately 1 hour before use,
- Wear personal protective equipment (suitable gloves, safety googles, etc.),
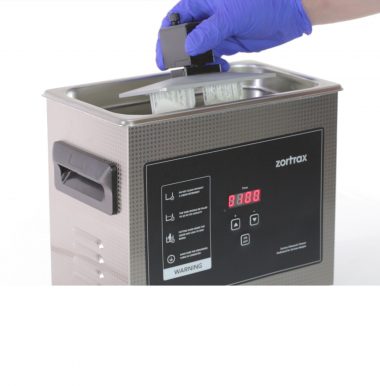
- A direct post-treatment is recommended after the printing process,
- Allow the resin to drip off of the model for at least 10 minutes after the printing process,
- Clean your models from the liquid resin before removing supports and raft to avoid warpage.

Print Settings
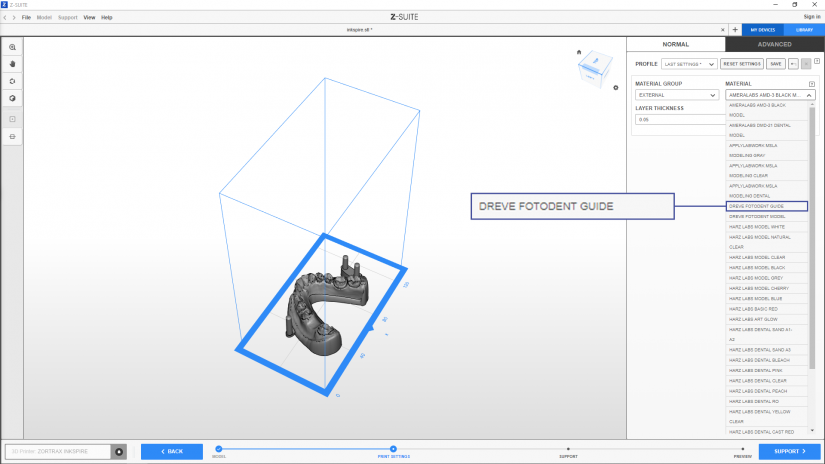
First, change the Material Group to External, and then select the Dreve FotoDent Model from the drop-down list.
Next, set the Layer thickness with which you are going to print your model. This parameter determines the height of each layer. Finer layers provide better surface quality but make the printing process more time-consuming.
FotoDent® guide

Properties
- Density – 1.1 – 1.2 g/cm2
- Viscosity – 0.65 – 1.05 Pa*s
- Flexural modulus – > 1700 MPa
- Flexular strength – ≥ 75 MPa
- Elongation at break – > 10 – 15 %
- Hardness – > 80 – 85 Shore D
Instructions for Printing
- Shake the bottle with resin approximately 1 hour before use,
- Wear personal protective equipment (suitable gloves, safety googles, etc.),
- A direct post-treatment is recommended after the printing process,
- Allow the resin to drip off of the model for at least 10 minutes after the printing process,
- Clean your models from liquid resin before removing supports and raft to avoid warpage.
Print Settings
First, change the Material Group to External, and then select the Dreve FotoDent Guide from the drop-down list.
Next, set the Layer thickness with which you are going to print your model. This parameter determines the height of each layer. Finer layers provide better surface quality but make the printing process more time-consuming.
