Signs indicating replacement:
– significant heating issues of the extruder,
– extrusion issues of either of the materials,
– material residue accumulation on models.
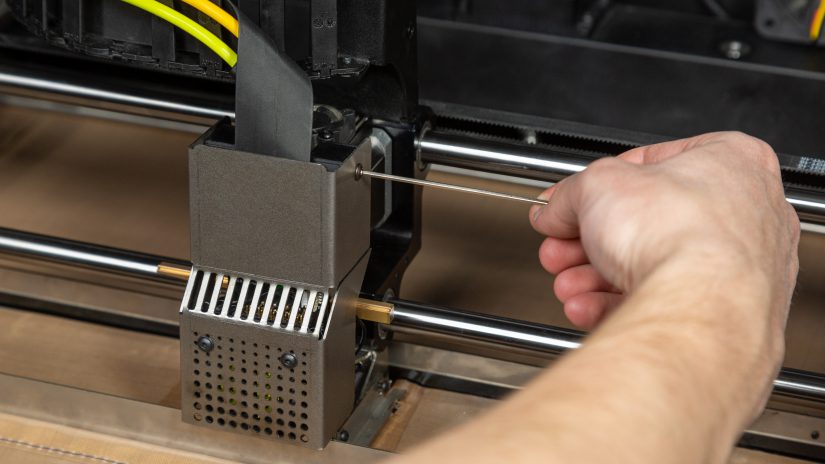
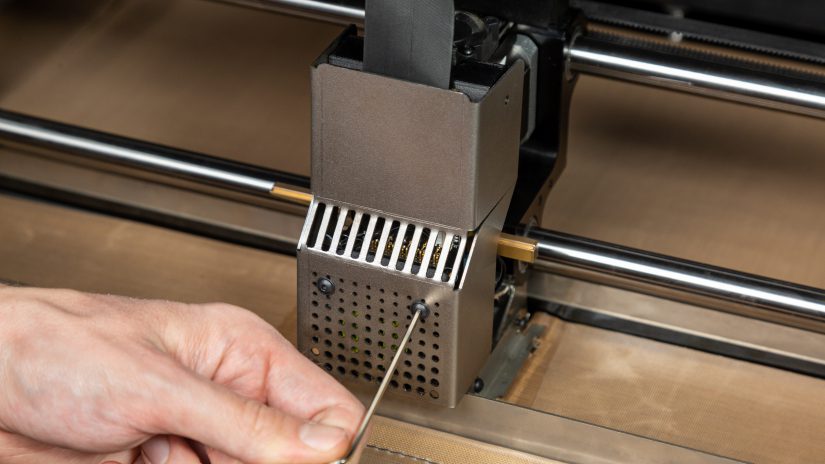
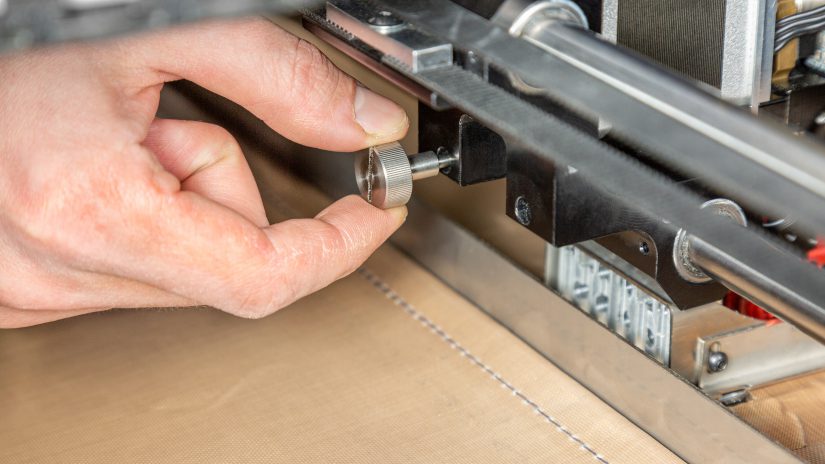
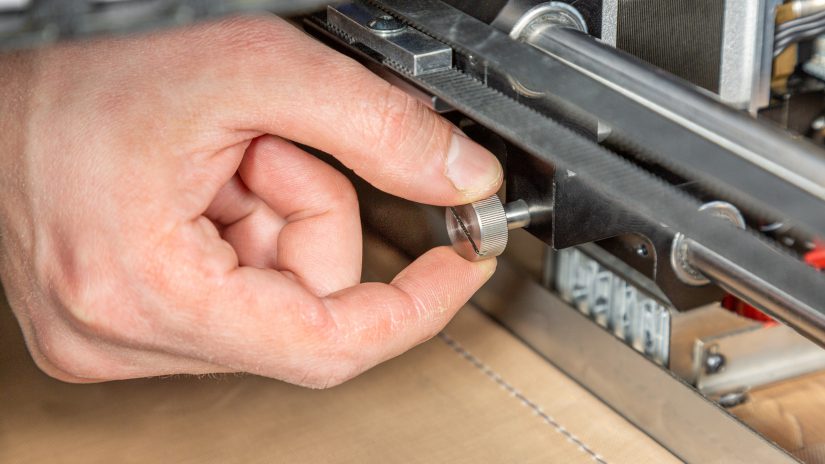
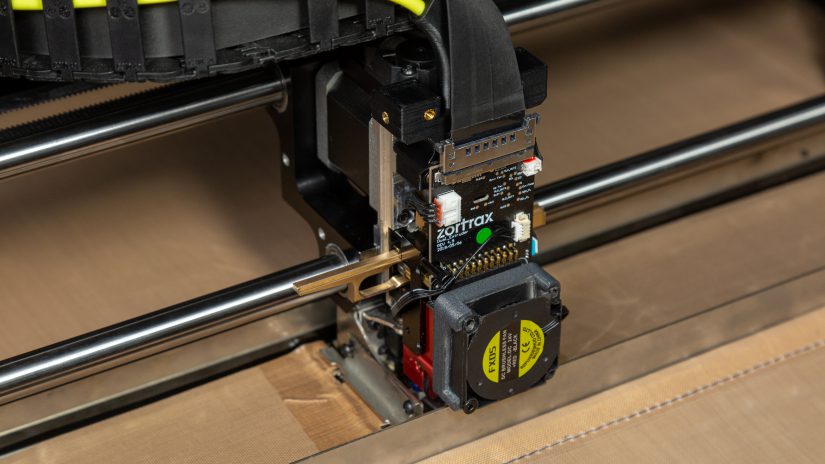
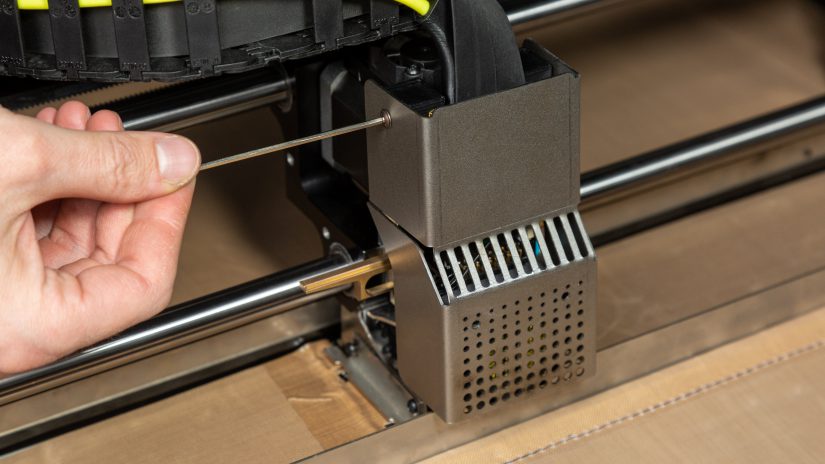
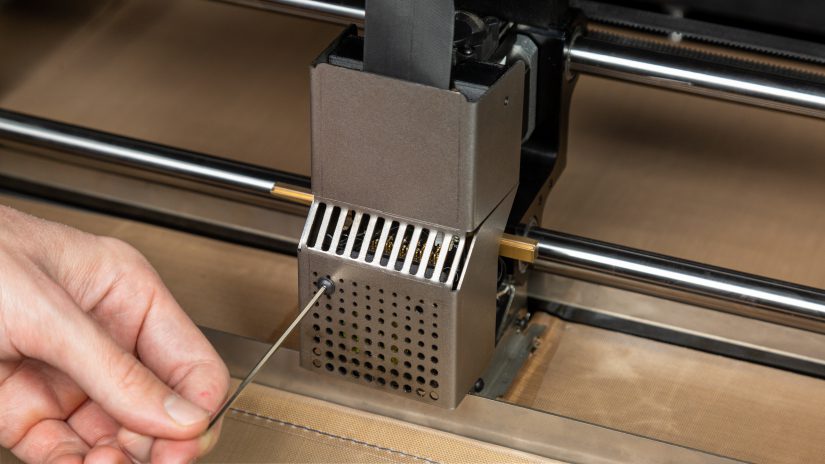
Required tools:
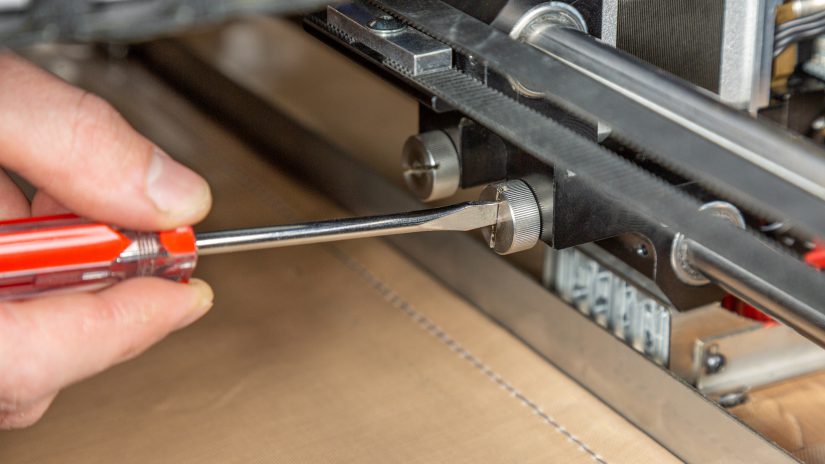
– Allen key,
– Flathead screwdriver,
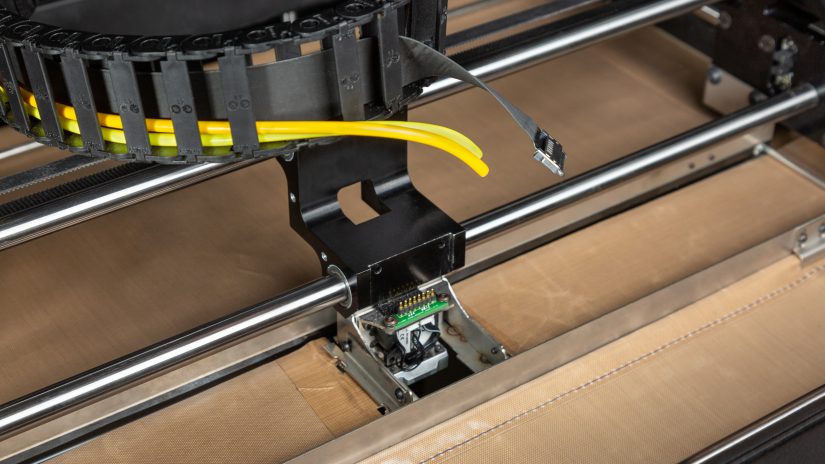
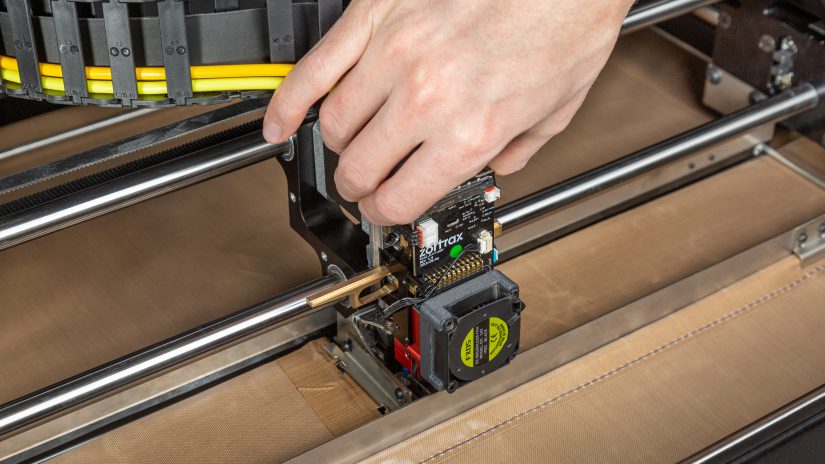
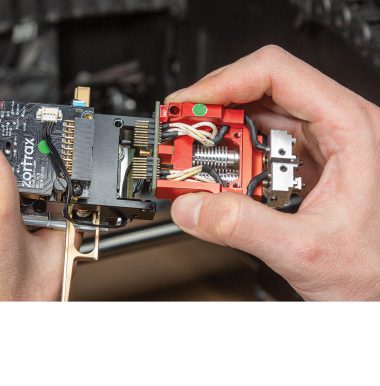
– New extruder.
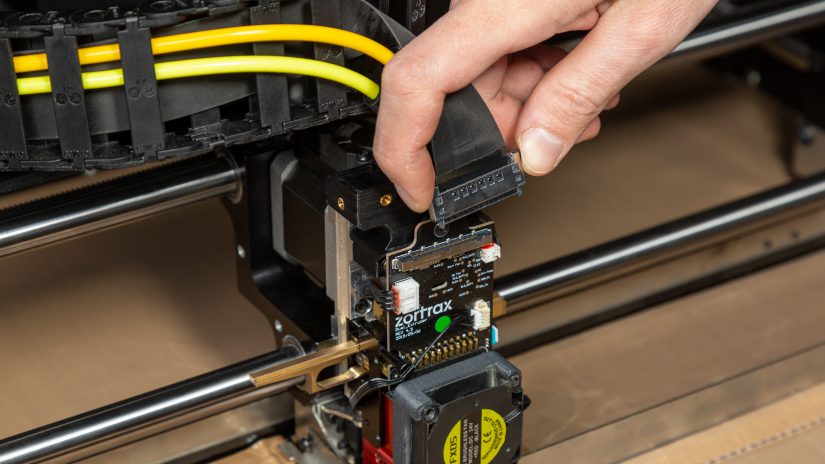
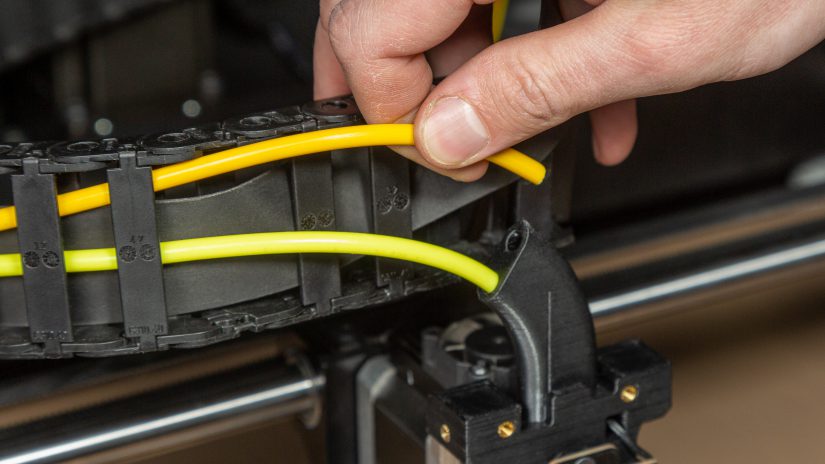
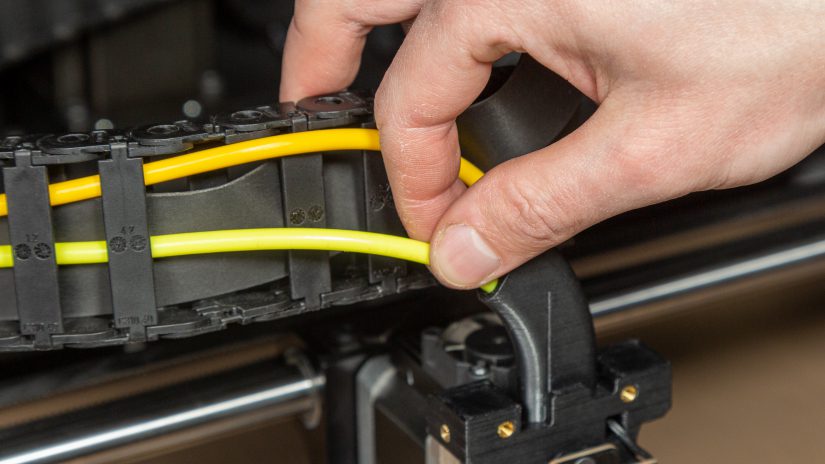
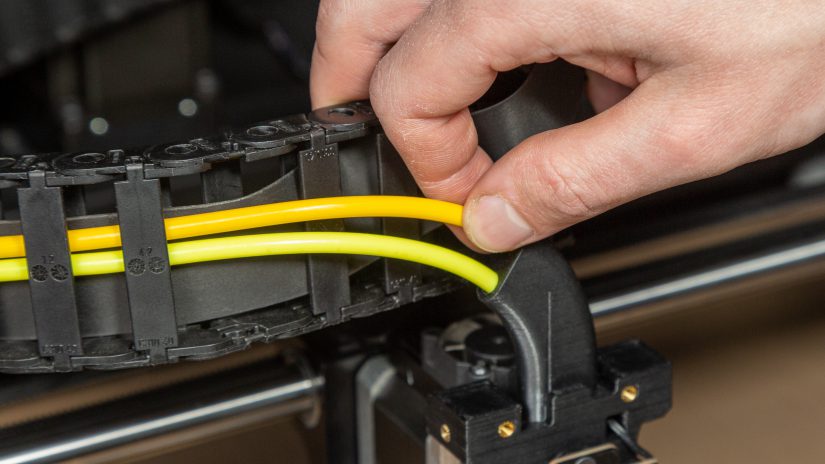
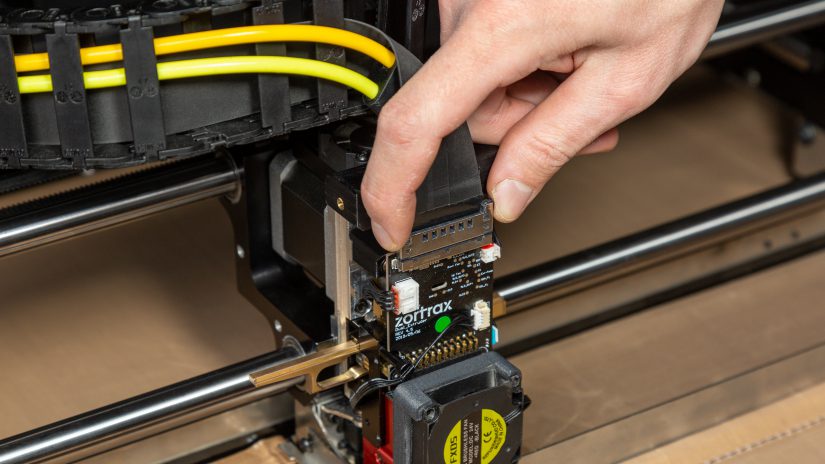
Initial steps:
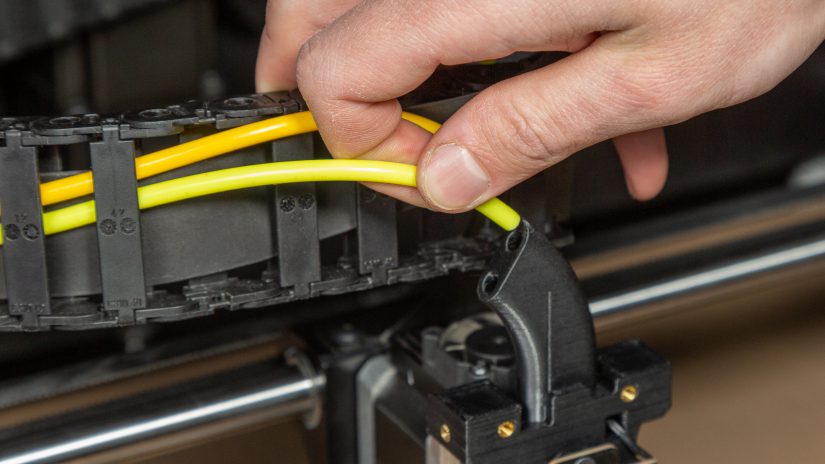
– Unload both materials; select Tools and Materials from the menu; follow the instructions displayed,
– Once unloading is complete, turn the printer off,
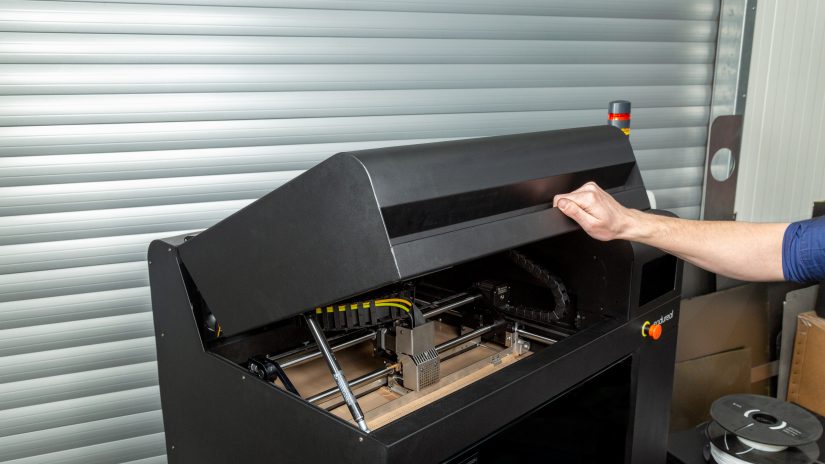
– Open the lid.


