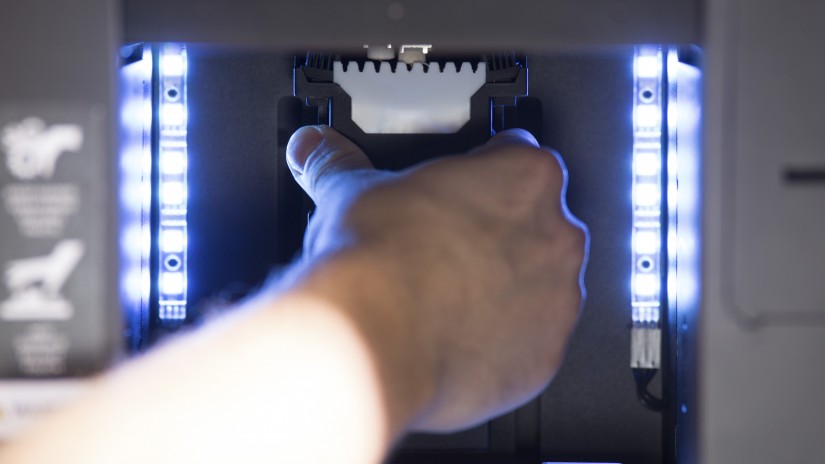
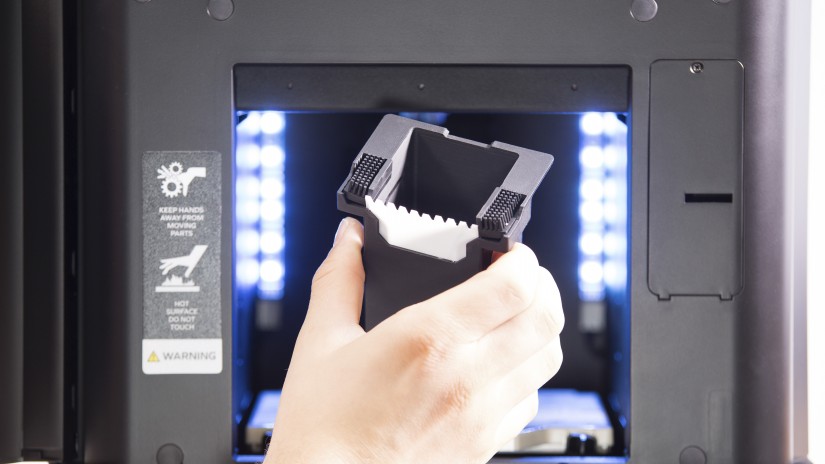
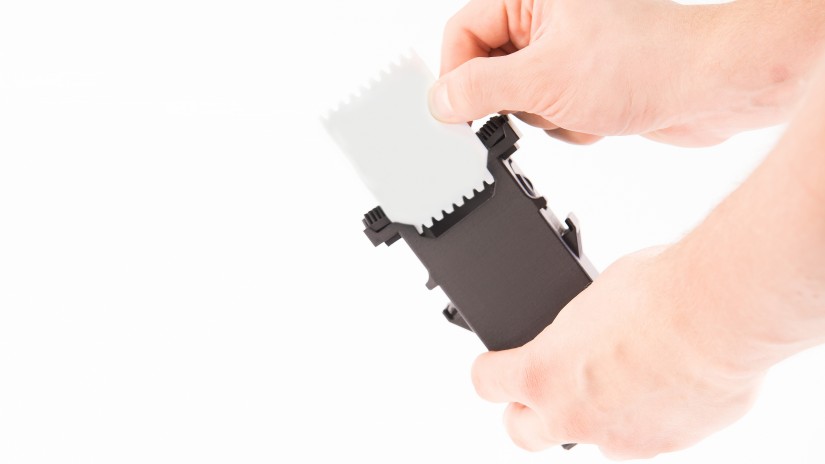
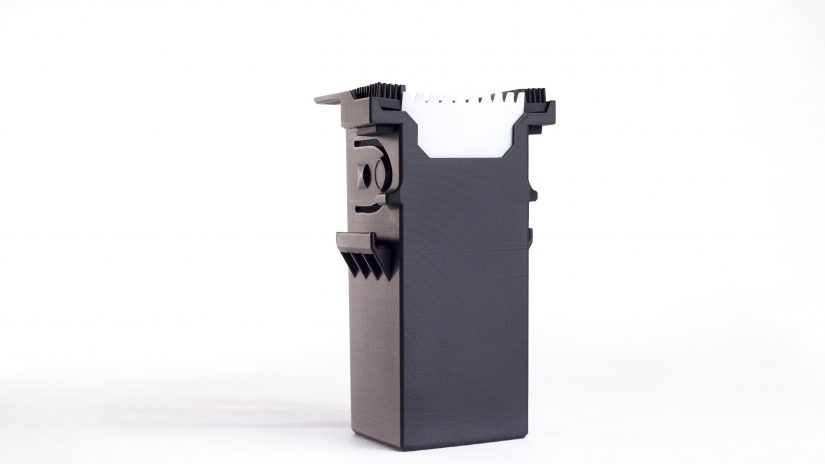
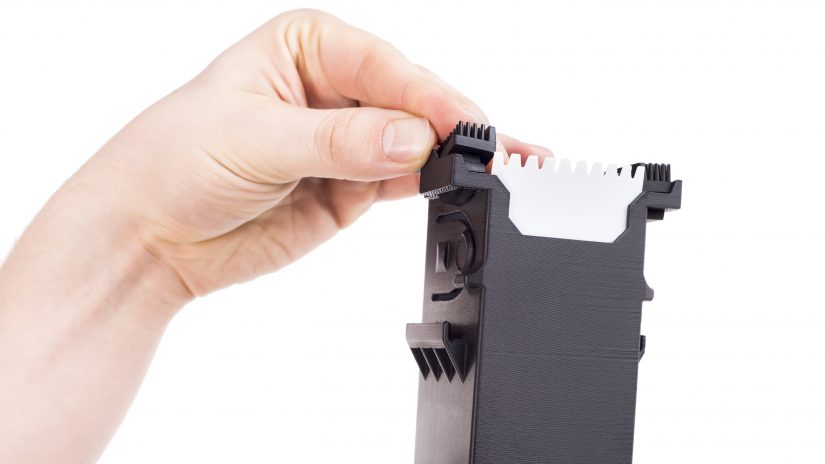
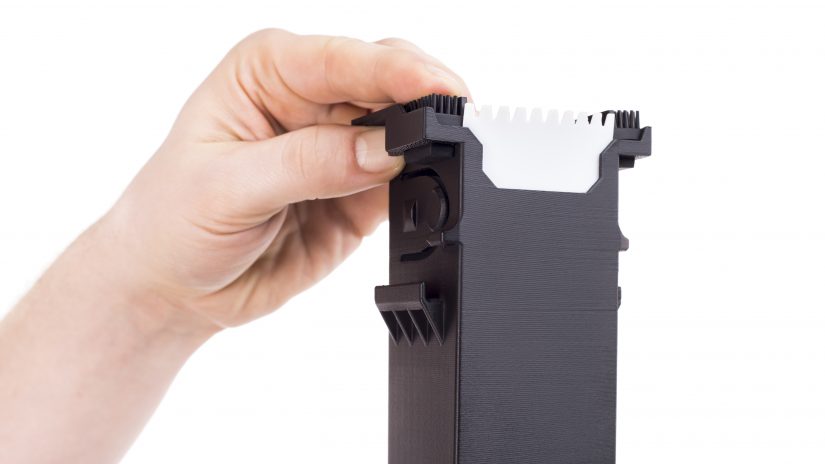
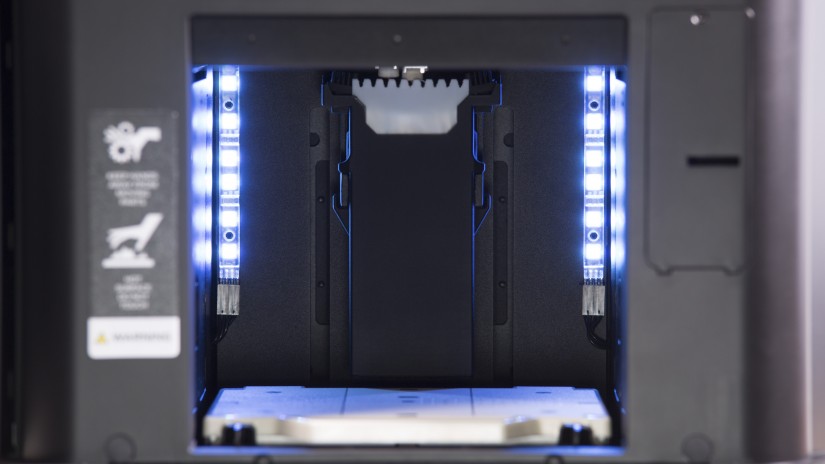
The waste container is the long, vertical box placed at the back of the workspace of the printer. It is equipped with two kinds of nozzle cleaning brushes: a PTFE brush and two silicone brushes. The brushes clean the nozzles and prevent waste material from accumulating on the surface of the print. Therefore, if you notice that the hotends and nozzles have become considerably dirty or if the two materials blend on the surface of the print and there is a lot of waste material on the tray around the print, replace the waste container brushes. This manual shows how to replace all waste container brushes.

1

Opening the Front Door

Waste-Container-Brushes-Replacement_1.jpg

Open the front door.

Before removing the waste container, make sure that the build tray is moved all the way down. In order to do this, from the printer's menu choose Maintenance->Move the platform. Hold the "down button" until the tray reaches the bottom of the printer.
2

Waste Container Removal

Remove the waste container by pressing on the handles on both sides and pulling it towards you.

3

PTFE Brush Removal

Waste-Container-Brushes-Replacement_3.jpg

Remove the PTFE brush.

4

PTFE Brush Installation

Waste-Container-Brushes-Replacement_4.jpg

Place the new PTFE brush in its place.

5

Silicone Brushes Removal

Remove the silicone brushes.

6

Silicone Brushes Installation

Place the new brushes in their place.

7

Waste Container Installation

Set the waste container in its place and push it until it clicks.

8

Closing the Front Door

Waste-Container-Brushes-Replacement_8.jpg

Close the front door.

Was this article helpful?

Yes No

Thank you for your feedback.

Arrow back Arrow up