BlueCast resins are advanced castable 3D printing resins designed for investment casting in the jewelry industry. They exhibit minimal shrinkage and high dimensional accuracy, which make it possible to print precise investment patterns of intricate jewelry designs. The BlueCast resins require special handling which can help you make the printing process easier and more efficient as well as prevent quality issues in the structure of the prints. This manual shows the correct workflow while using the BlueCast resins.
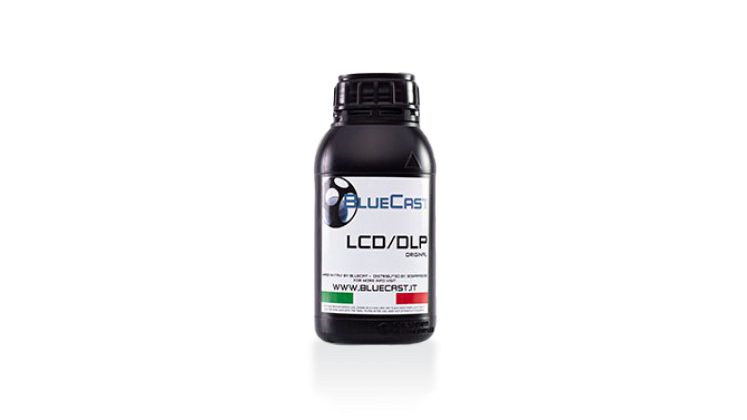
BlueCast Original
Before the printing process:
Inspect the FEP film for any defects, cracks or residues of cured resin. Also, make sure that the resin tank has been thoroughly cleaned using isopropyl alcohol (IPA) and paper towels.
Shake the bottle for 1 minute before pouring the resin into the tank. If the resin has already been kept in the tank for some time, mix the liquid using a plastic spatula.
Printing process:
Avoid printing too many items at the same time. Divide your production into several stages to achieve the most optimum results.
Do not store the resin in the tank for more than 24 hours after the printing process has been finished. The resin is highly hygroscopic and will absorb moisture from the air. To preserve the resins’s characteristics, filter the liquid after each printing process and protect the containers from direct sunlight.
Post-processing:
Instead of soaking the prints in an ultrasonic bath, pour IPA directly onto them in order to remove uncured resin. Next, use compressed air to remove excess IPA and dry the items. After that, the prints require UV-curing.
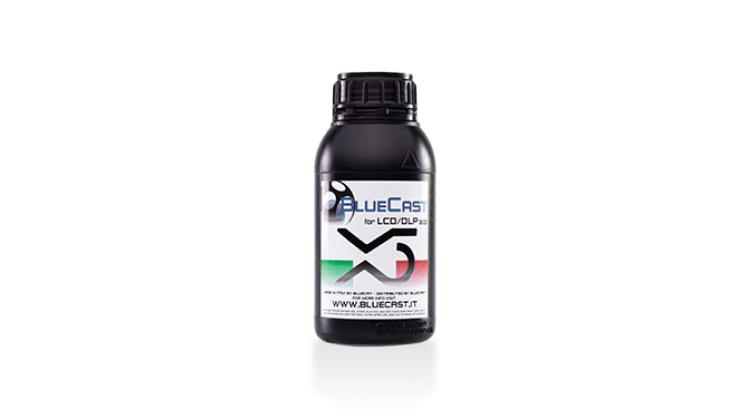
BlueCast X5
Before the printing process:
Inspect the FEP film for any defects, cracks or residues of cured resin. Also, make sure that the resin tank has been thoroughly cleaned using isopropyl alcohol (IPA) and paper towels.
Shake the bottle for 1 minute before pouring the resin into the tank. If the resin has already been kept in the tank for some time, mix the liquid using a plastic spatula.
Printing process:
Avoid printing too many items at the same time. Divide your production into several stages to achieve the most optimum results.
Do not store the resin in the tank for more than 24 hours after the printing process has been finished. The resin is highly hygroscopic and will absorb moisture from the air. To preserve the resins’s characteristics, filter the liquid after each printing process and protect the containers from direct sunlight.
Post-processing:
Instead of soaking the prints in an ultrasonic bath, pour IPA directly onto them in order to remove uncured resin. Next, use compressed air to remove excess IPA and dry the items. Additional UV-curing is not required.
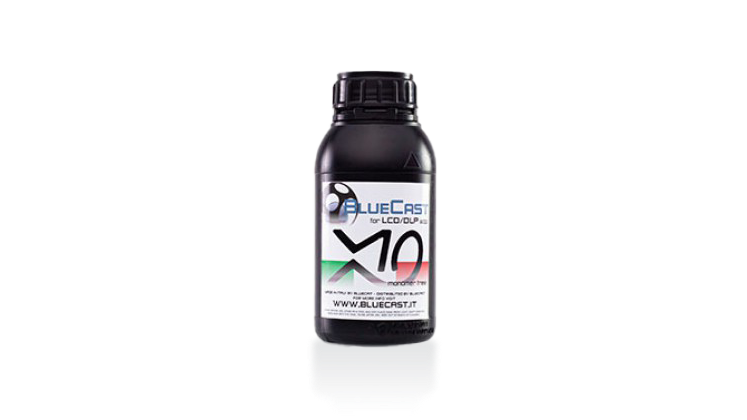
BlueCast X10
Before the printing process:
Inspect the FEP film for any defects, cracks or residues of cured resin. Also, make sure that the resin tank has been thoroughly cleaned using isopropyl alcohol (IPA) and paper towels.
Shake the bottle for 1 minute before pouring the resin into the tank. If the resin has already been kept in the tank for some time, mix the liquid using a plastic spatula.
Printing process:
Avoid printing too many items at the same time. Divide your production into several stages to achieve the most optimum results.
Do not store the resin in the tank for more than 48 hours after the printing process has been finished. The resin is highly hygroscopic and will absorb moisture from the air. To preserve the resins’s characteristics, filter the liquid after each printing process and protect the containers from direct sunlight.
Post-processing:
Instead of soaking the prints in an ultrasonic bath, pour IPA directly onto them in order to remove uncured resin. Next, use compressed air to remove excess IPA and dry the items. Additional UV-curing is not required.

