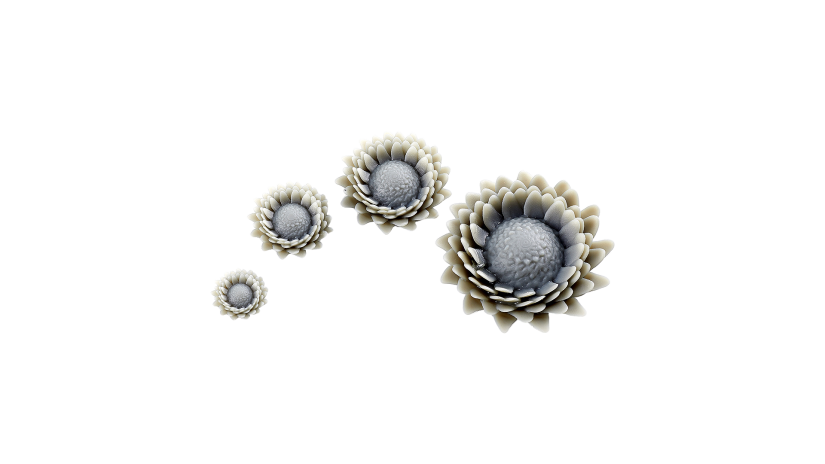
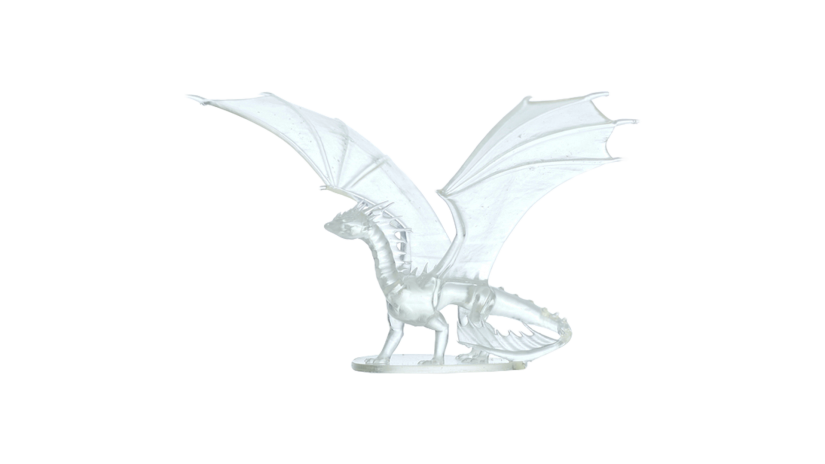
From the 2.15.0 Z-SUITE update, it is possible to print with resins delivered by ApplyLabWork. The updates includes printing profiles for MSLA Modeling Dental, MSLA Modeling Gray and MSLA Modeling Clear, which are suitable for advanced concept modeling, general prototyping as well as dental applications. The ApplyLabWork resins offer fast printing times, high dimensional accuracy and sharpness of finest details. Both MSLA Modeling Dental and MSLA Modeling Gray provide smooth and matte finish to printed parts, whereas the MSLA Modeling Clear resin is translucent. This article provides details about the resins’ features and instructions for the printing process.
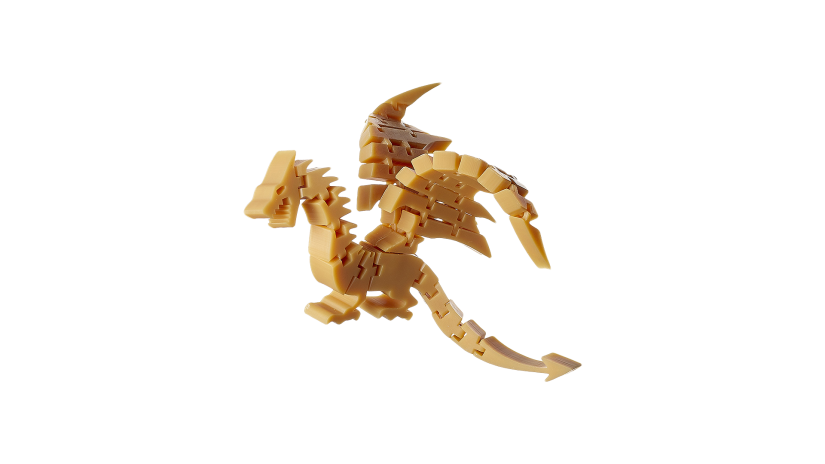
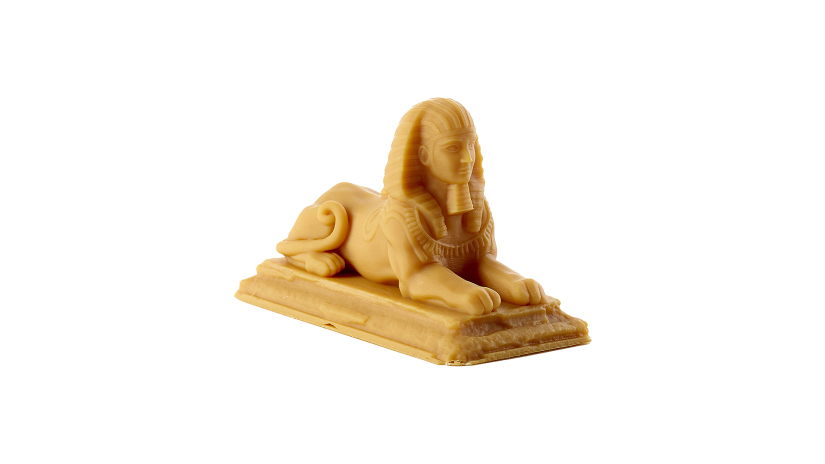
MSLA Modeling Dental
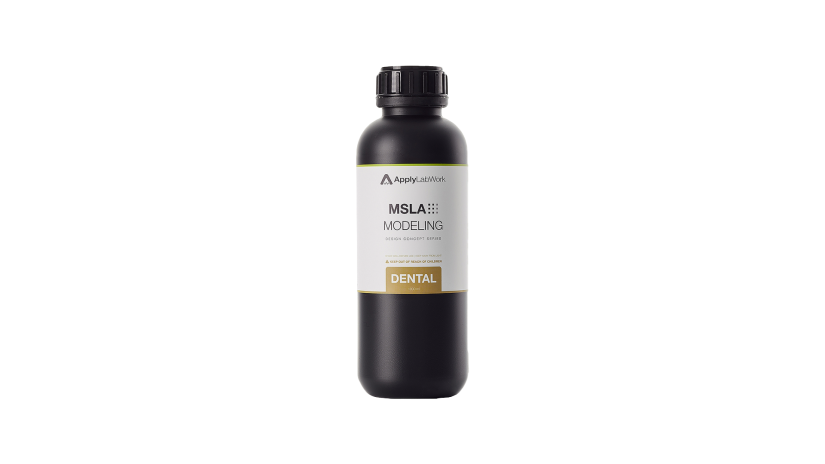
Properties
- Tensile Strength – 47 – 55 MPa
- Elongation – 1% – 4%
- Impact – 18 – 26 J/m
- Hardness – 86 – 90 Shore D
- Flexural Strength – 92 – 96 MPa
- Flexure Modulus – 2100 – 2300 MPa
- HDT – 58.8° C
- Viscosity at 25° C – 300 – 370 cPs
Instructions for Printing
- Shake the bottle with resin for at least 60 seconds before pouring it into the resin tank,
- Submerge prints in clean IPA for up to 5 minutes (longer times may cause print deformation); next, gently shake off or blow off excess IPA,
- Post-curing is required for optimal material performance,
- Don’t keep the resin in the tank for more than 2 days. Filter out all debris in the case of a failed print,
- Slight pigment settlement is normal. Gently mix the remaining resin in the tank with a spatula for color evenness.

Print Settings
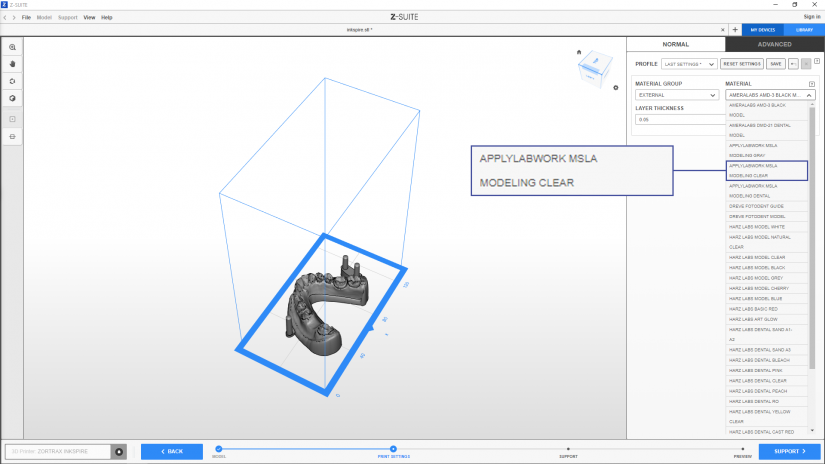
First, change the Material Group to External, and then select the ApplyLabWork MSLA Modeling Dental from the drop-down list.
Next, set the Layer thickness with which you are going to print your model. This parameter determines the height of each layer. Finer layers provide better surface quality but make the printing process more time-consuming.
MSLA Modeling Gray
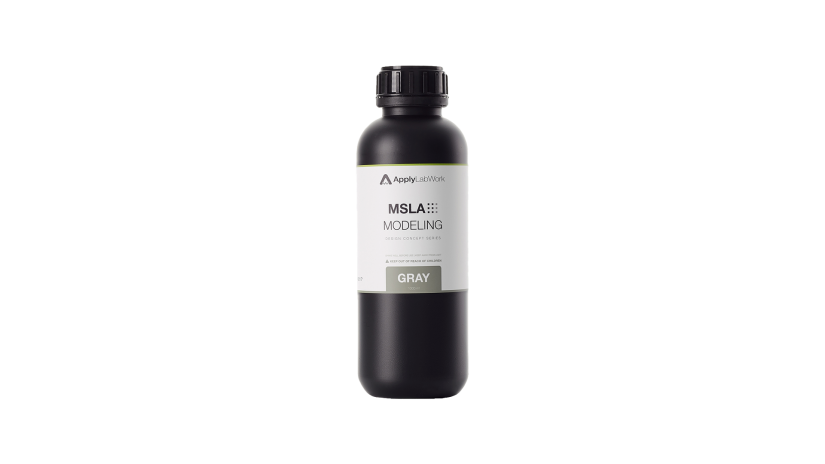
Properties
- Tensile – 52 – 60 MPa
- Elongation – 2 – 4%
- Impact – 20 – 28 J/m
- Hardness – 89 – 92 Shore D
- Flexural Strength – 92 – 100 MPa
- Flexure Modulus – 2100 – 2300 MPa
- HDT – 60.2° C
- Viscosity at 25°C – 310 – 380 cPs

Instructions for Printing
- Shake the bottle with resin for at least 60 seconds before pouring it into the resin tank,
- Submerge prints in clean IPA for up to 5 minutes (longer times may cause print deformation); next, gently shake off or blow off excess IPA,
- Post-curing is required for optimal material performance,
- The surface of dried prints might be a little sticky,
- Don’t keep the resin in the tank for more than 2 days. Filter out all debris in the case of a failed print,
- Slight pigment settlement is normal. Gently mix the remaining resin in the tank with a spatula for color evenness.
Print Settings
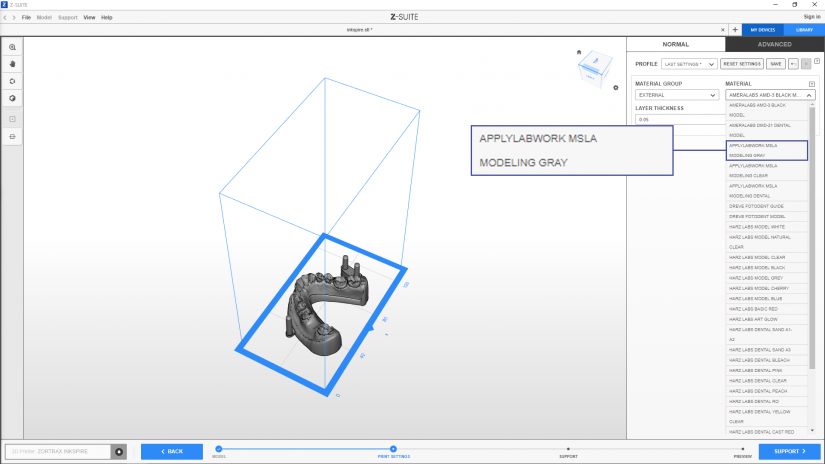
First, change the Material Group to External, and then select the ApplyLabWork MSLA Modeling Gray from the drop-down list.
Next, set the Layer thickness with which you are going to print your model. This parameter determines the height of each layer. Finer layers provide better surface quality but make the printing process more time-consuming.
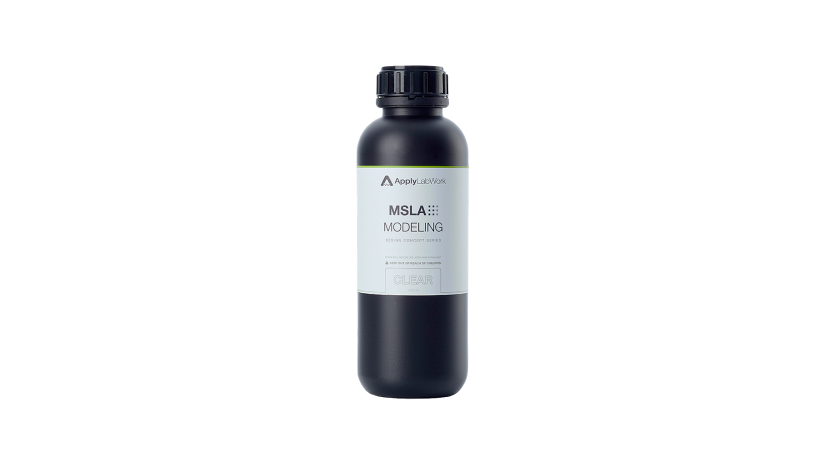
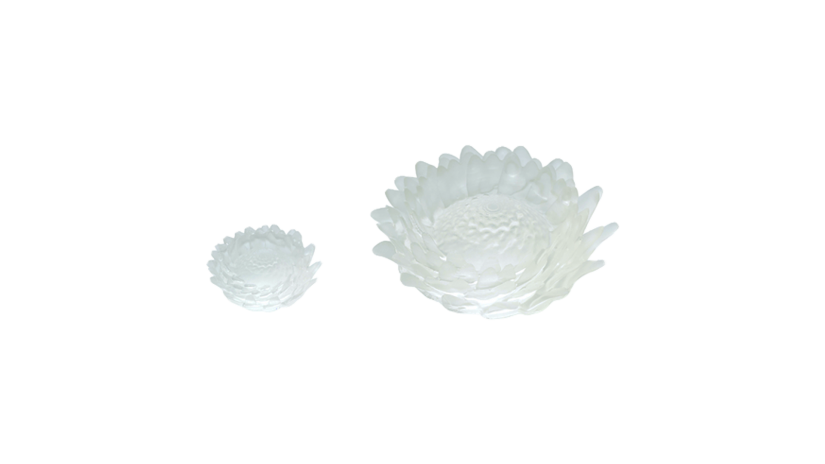
MSLA Modeling Clear
Properties
- Tensile – 53 – 67 MPa
- Elongation – 1 – 3%
- Impact – 29 – 31 J/m
- Hardness – 85 – 88 Shore D
- Flexural Strength – 95 – 105 MPa
- Flexure Modulus – 1800 – 2000 MPa
- HDT – 65.3° C
- Viscosity at 25° C – 360 – 450 cPs
Instructions for Printing
- Shake the bottle with resin for at least 60 seconds before pouring it into the resin tank,
- Submerge prints in clean IPA for up to 5 minutes (longer times may cause print deformation); next, gently shake off or blow off excess IPA,
- Post-curing is required for optimal material performance,
- The surface of dried prints might be a little sticky,
- Don’t keep the resin in the tank for more than 2 days. Filter out all debris in the case of a failed print,
- Slight yellowing after post-curing wears off after a few days. Thick-walled objects have a more intense yellowing effect, which can be minimized by avoiding high power UV light during post-curing.
Print Settings
First, change the Material Group to External, and then select the ApplyLabWork MSLA Modeling Clear from the drop-down list.
Next, set the Layer thickness with which you are going to print your model. This parameter determines the height of each layer. Finer layers provide better surface quality but make the printing process more time-consuming.


