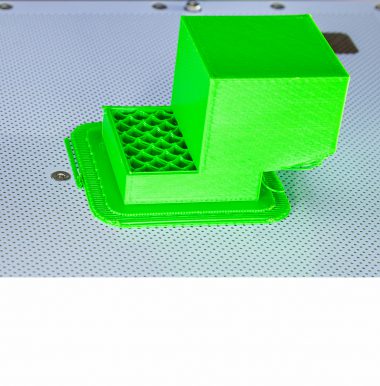
Axes maintenance – method with JIGS – is a procedure that can help you resolve problems connected with the extruder and the quality of your printed parts. If the extruder does not move freely and makes unusual sounds, or if you have problems with shifted layers and deformations on your models, and the measurement accuracy between the design and the final print cannot be achieved, the axes in your printer need maintenance work. Follow the steps from this manual to eliminate the mentioned problems and achieve the desired quality of prints.

1

Unplugging the Power Cable

M300-Axes-Maintenance-with-Jigs-01.jpg

Turn off the printer and unplug the power cable.

2

Unplugging the Extruder Cable

Unplug the extruder cable.

3

JIGS Assembly

M300-Axes-Maintenance-with-Jigs-bad.jpg

Put the jigs on the extruder guide rails and move the extruder manually so that the jigs are touching the X axis. This way, you will check if the extruder guide rails are parallel to the X axis. If not, follow the steps in this manual.

4

Locking the Block

Put the shipping clips on the Y axis next to the axis block so that it won’t move.

5

Pushing the Block

M300-Axes-Maintenance-with-Jigs-07.jpg

Push the opposite block forward until it clicks (the belt will move by one tooth on the rack).

Do not use too much force or the belt will skip too far.
6

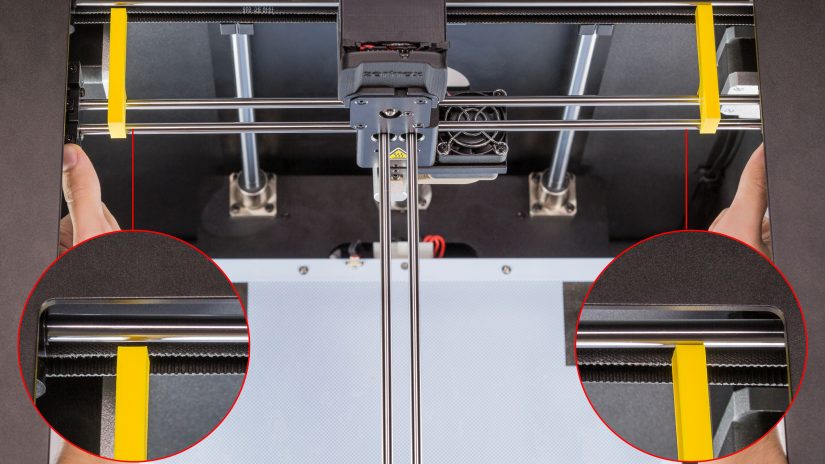
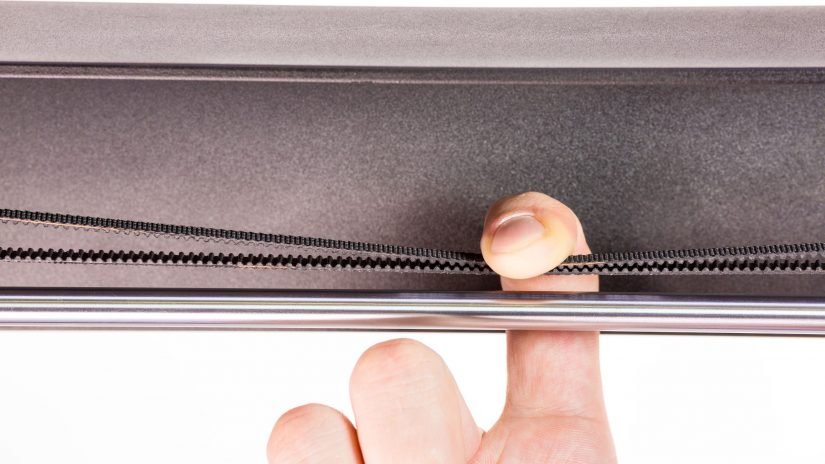
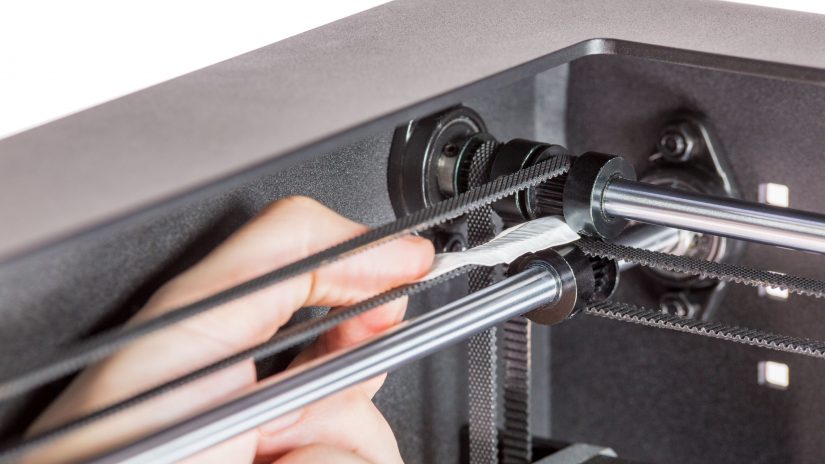
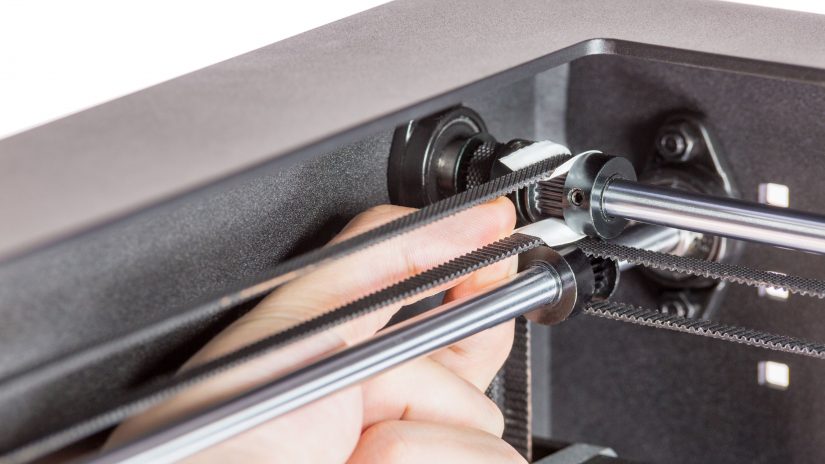
Tensing up the Belts

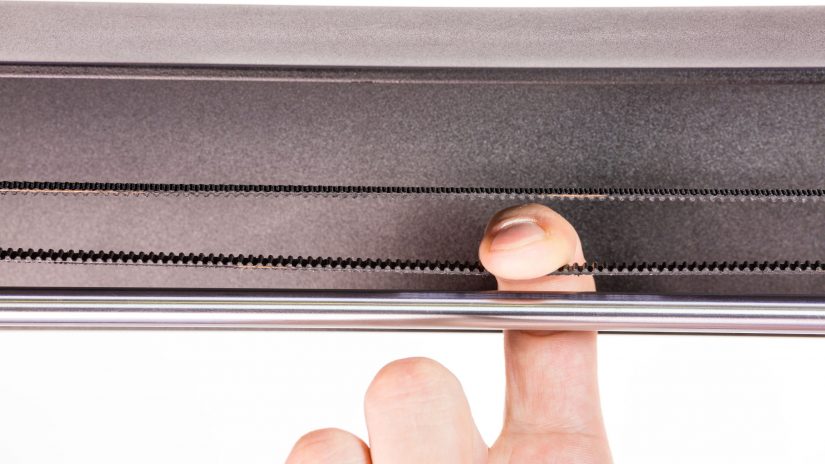
Check the belts for proper tension.
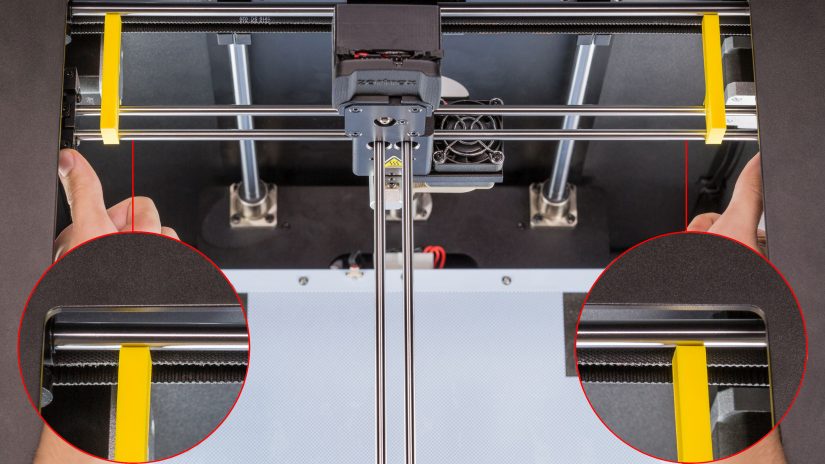
a) Check both the upper and lower belt. If the belts are properly tense, you can finish the maintenance work.

b) If not, take a piece of tape and put it on the belt.
Then move the extruder manually back and forth so that the tape gets on the rack. Remove the tape.

7

Finishing Axes Maintenance

M300-Axes-Maintenance-with-Jigs-good.jpg

Use the jigs again to check if the extruder guide rails are parallel to the axis. If not, start again from the step no. 4.

Was this article helpful?

Yes No

Thank you for your feedback.

Arrow back Arrow up